Plastik Smurff
Well-known member
It's coming together nicely 

Modelers Alliance has updated the forum software on our website. We have migrated all post, content and user accounts but we could not migrate the passwords.
This requires that you manually reset your password.
Please click here, http://modelersalliance.org/forums/login to go to logon page and use the "Forgot your Password" option.
Its always great to see them old tamiya kits shine. It looks like you added the doodads that were needed without overdoing it...
:v
It's coming together nicely
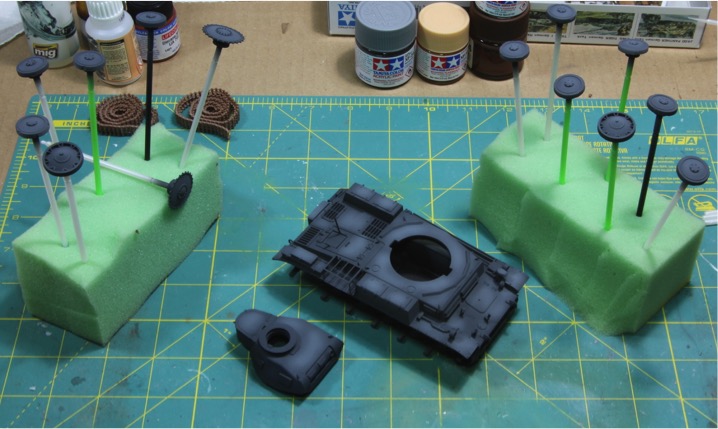
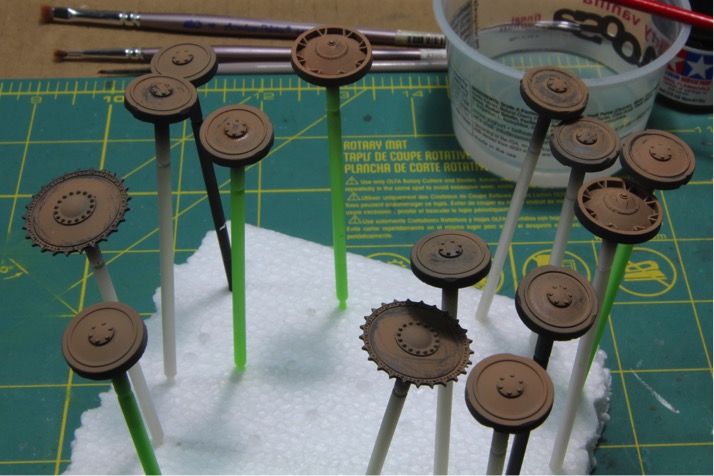
 so I couldn't get all the shading done. I should have opened the bottle instead of assuming it was full :facepalm !
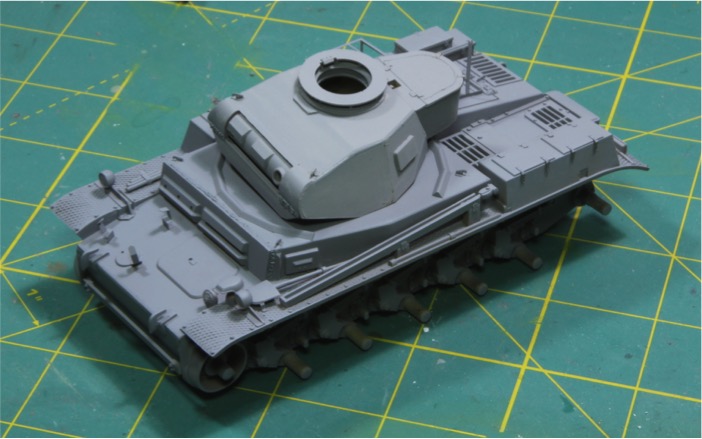


Hi all!
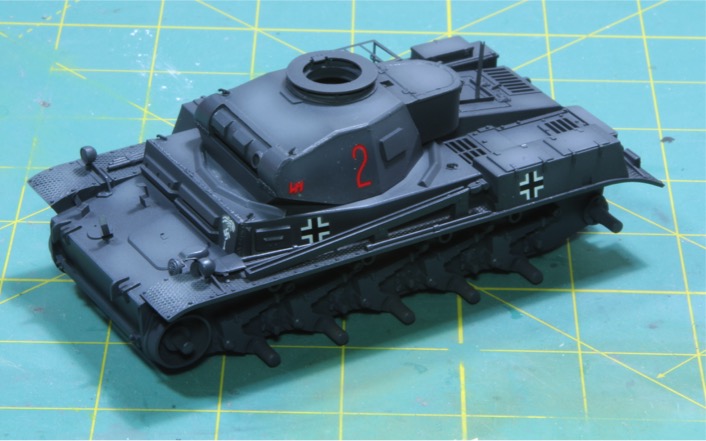
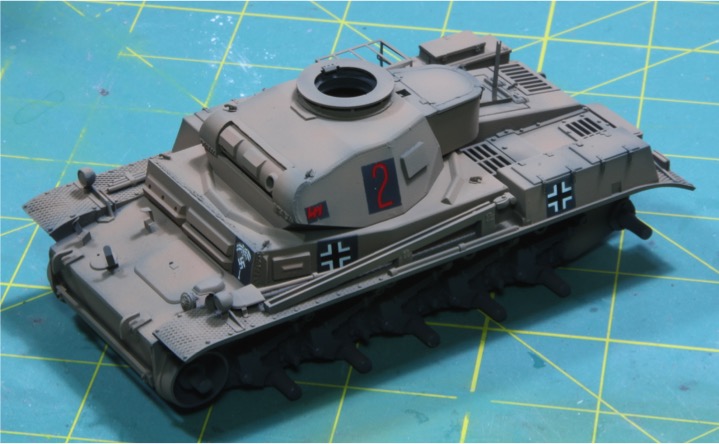
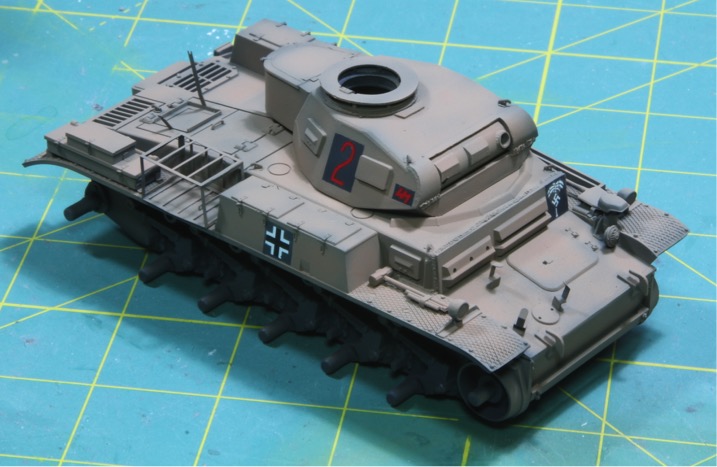
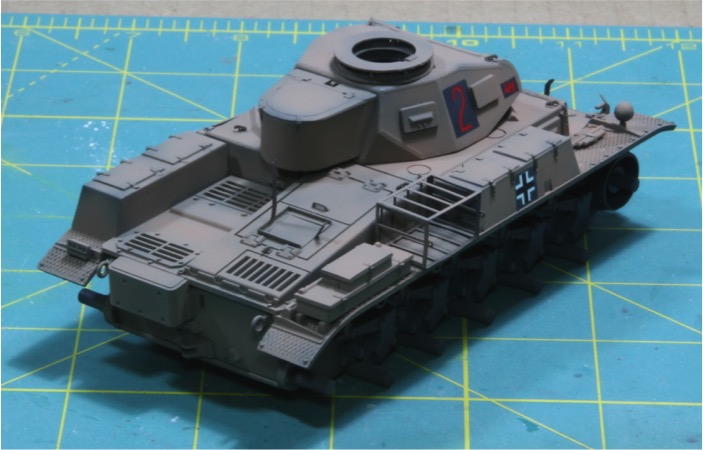
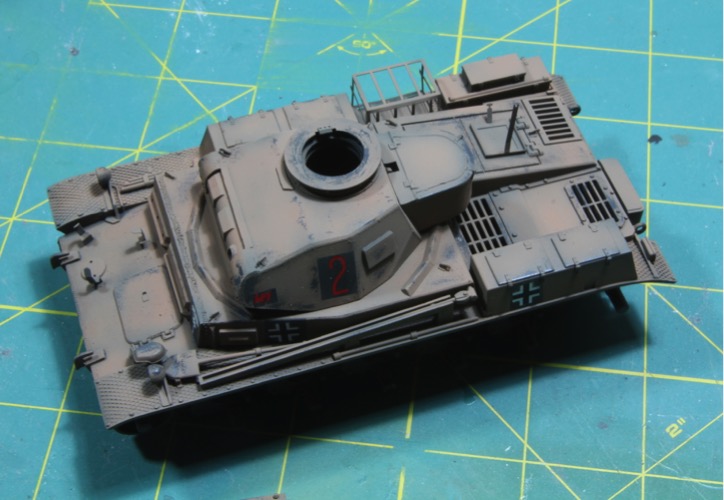
Quick update before I head out of town for the week. Decals are added.
I gave the whole tank a coat of future, then used some Echelon Panzer II and IV DAK decals I had in the stash, followed by an overspray of future followed by a full coat of Ammo Semi-Gloss Varnish.
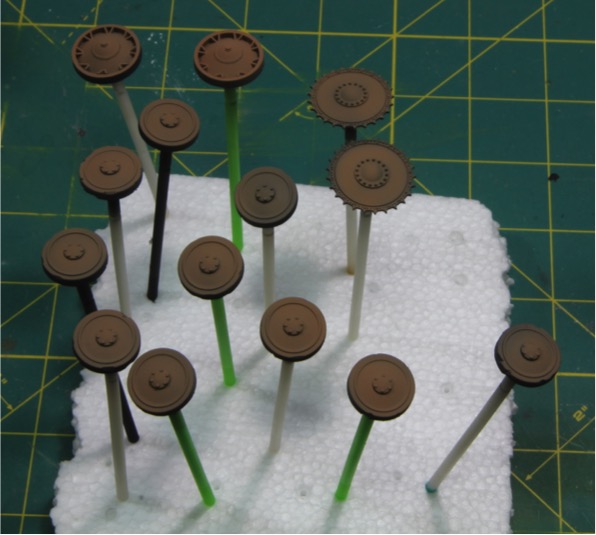
I also mixed up my RAL 8020.
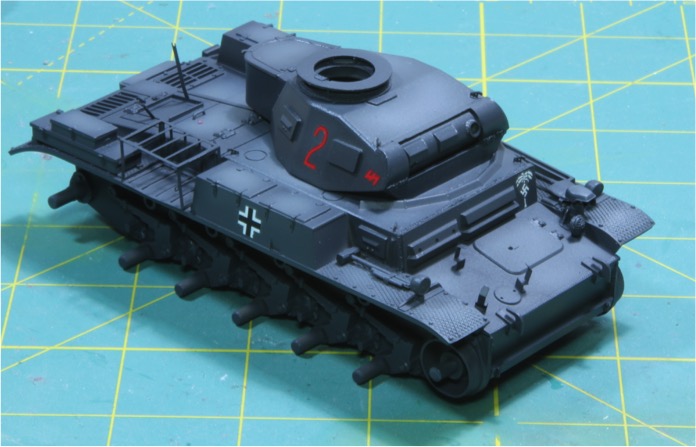
Well didn't get quite as far as I hoped, but I am getting closer!
Thanks for looking
Mike
Your gonna catch me pretty soon!
Nice work!

Sweet!
