• Modelers Alliance has updated the forum software on our website. We have migrated all post, content and user accounts but we could not migrate the passwords.
    This requires that you manually reset your password.
    Please click here, http://modelersalliance.org/forums/login to go to logon page and use the "Forgot your Password" option.

Bristol Britannia C.1

RichB

Well-known member
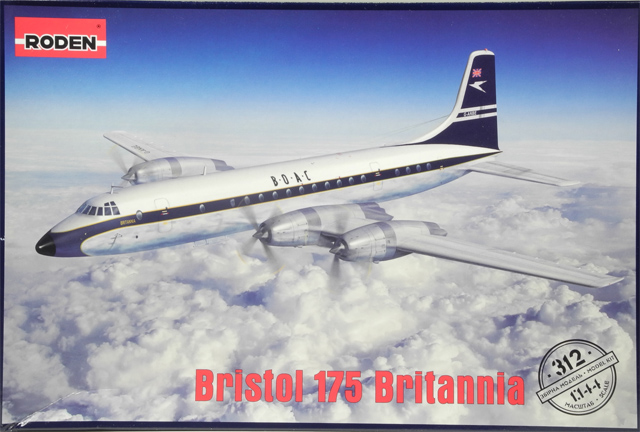
Staying with the RAF theme, I will be using the new Roden 1/144 Bristol Britannia 175-312.
192386-19277-96-pristine.jpg


To build the Aircraft & Armament Evaluation Establishment Britannia C.1 XX367.
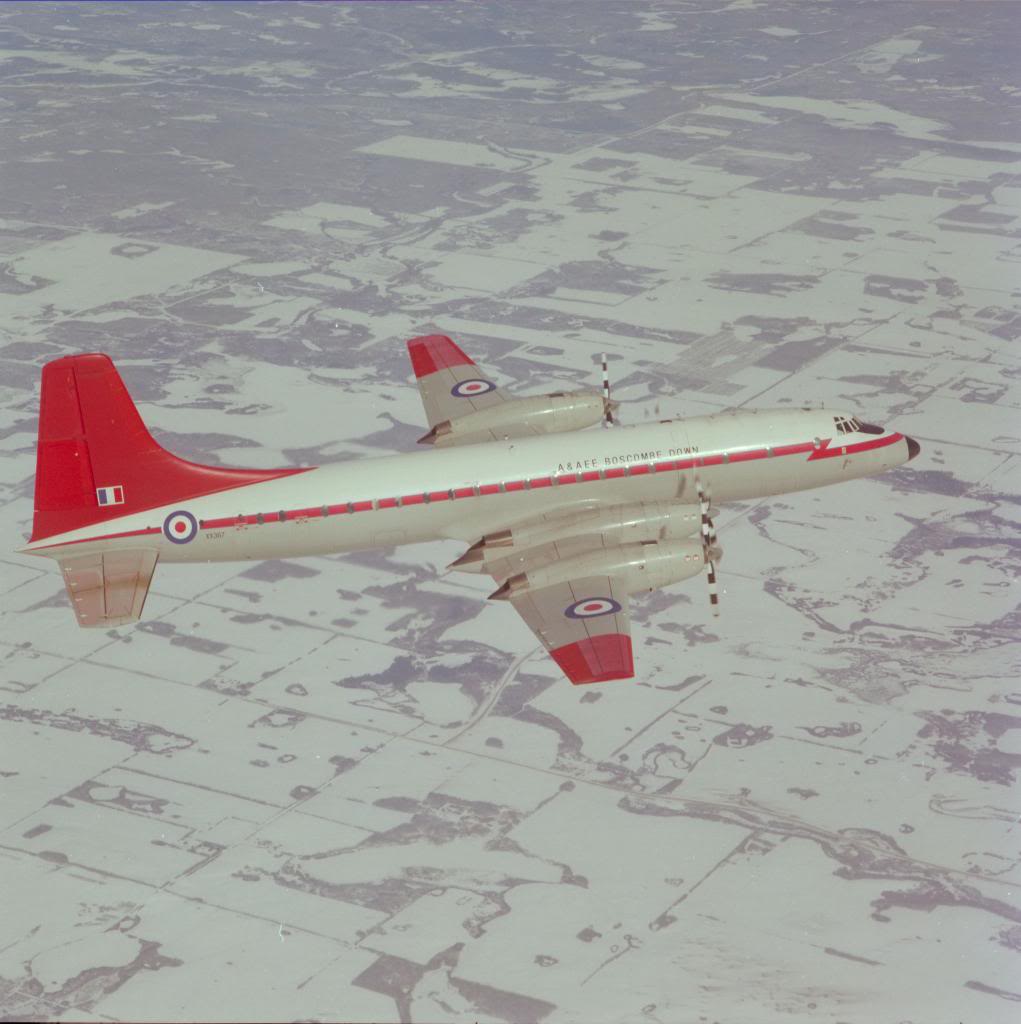
AEC79-204RAFBritanniaatColdLake.jpg


BOAC as a 175-312 in 1958
British Eagle International Airlines in 1964
Converted to 175-312F in 1968
A&AEE in 1968
Katale Aero in 1984
Business Cash Flow Aviation in 1989
Retired in 1991
Scrapped in 1994

Cheers,
Rich
 
My Dad was on the RCAF Hot/Cold Weather Test Team for the Canadian version, the CC106 Yukon. He got to go to Churchill, Manitoba in January and Yuma, Arizona in July for that testing. Hopefully Roden will come out with a Yukon and maybe even a CP107 Argus.

Cheers,
Rich
 
Quick look at what's in the box before the cutting and gluing begins.

Everything comes in a single plastic bag. Once that is opened, you get the kit instructions (they look clear and easy to follow)

Kit_Instr.JPG


and decals and painting guide. The first release had decals for a BOAC Series 100 aircraft some 12 ft shorter than the Series 312 in the kit. Roden corrected this for the second batch and provided free replacement decals to those that bought the earlier kit.

Kit_Decals.JPG


All the plastic is contained in a second bag inside the first. Light grey plastic, nicely engraved panel lines and only a little flash.

The fuselage halves.

Kit_Fuselage.JPG


The wings.

Kit_Wings.JPG


The stabilizers and main landing gear.

Kit_Tail___Ldg_Gear.JPG


The engines. The worst flash is on the propellers.

Kit_Engines.JPG


And the clear bits.

Kit_Clear.JPG


The decals for A&AEE's Britannia are from 26 Decals, a UK based company the deals mostly in 1/72 scale and smaller decals as well as a few 1/144 kits and resin accessories.

The painting and decal placement guide. Paints have BSC numbers and are referenced to Xtracolor.

26_Decals_1.JPG


And the decals, nicely printed and in register.

26_Decals_2.JPG


Cheers,
Rich
 
After the momentary confusion of not having a cockpit or interior to build on an aircraft, I started on the major sub-assemblies.

The horizontal stabilizers have ejector tower to be removed from the inner surface before assembly.
HStab_1.JPG


Stabilizers assembled.
Hstab_2.JPG


The fuselage windows are on various length strips to accommodate the compound curves. Each window has a slight sink mark. If I was using the kit decals, each window would need to be masked. The 26 Decals include window decals so I will use a little filler to smooth over the windows. The instructions call for 20g of weight to be added in the nose.
Fuslg_1.JPG


The wings. There is no detail in the gear bays, but with the struts and doors in place it wouldn't be visible if it was.
Wing_1.JPG


A quick look at what the "Beast" will look like.
Mockup.JPG


It doesn't look like much filler will be needed along the seams. I was able to squeeze a little bead of plastic out as I worked along the joints ensuring the panel lines and edges lined up. Let all this setup overnight before cleaning things up.

Cheers,
Rich
 
Back
Top