• Modelers Alliance has updated the forum software on our website. We have migrated all post, content and user accounts but we could not migrate the passwords.
    This requires that you manually reset your password.
    Please click here, http://modelersalliance.org/forums/login to go to logon page and use the "Forgot your Password" option.

B-57B Cranberry

Old Dog

Well-known member
Tail end Charlie reporting in, I committed to this 10 months ago and successfully squandered all but the last month away but I guess I just work better under stress. :D

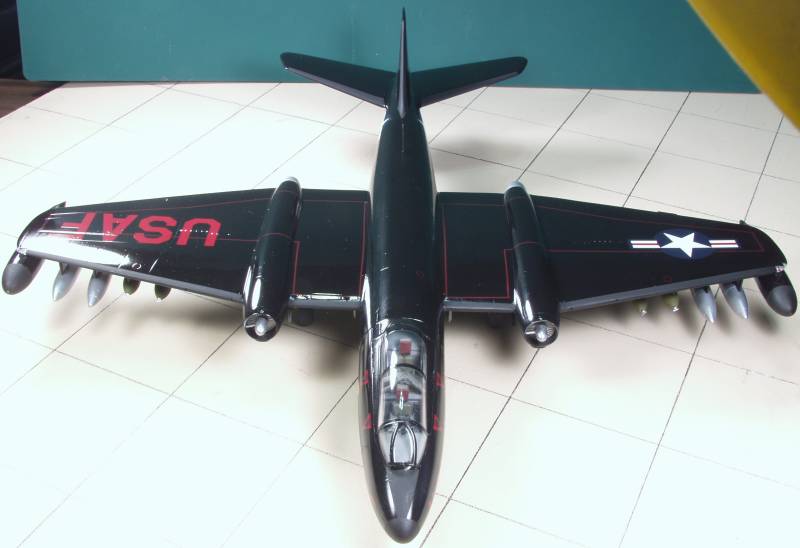
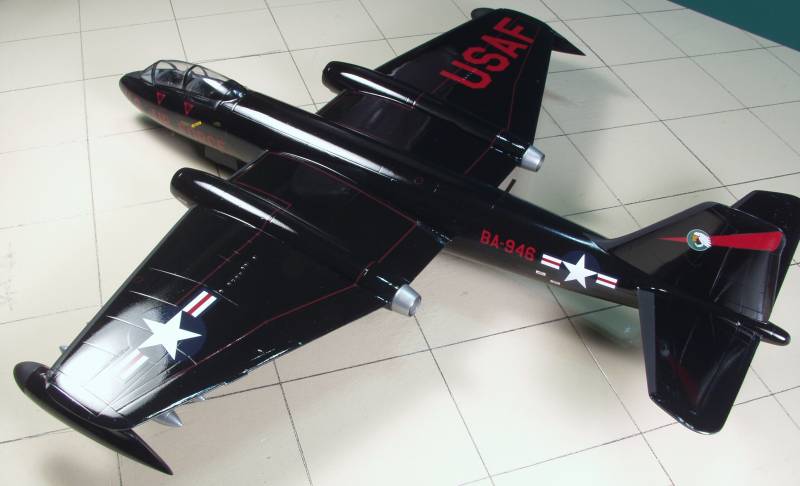
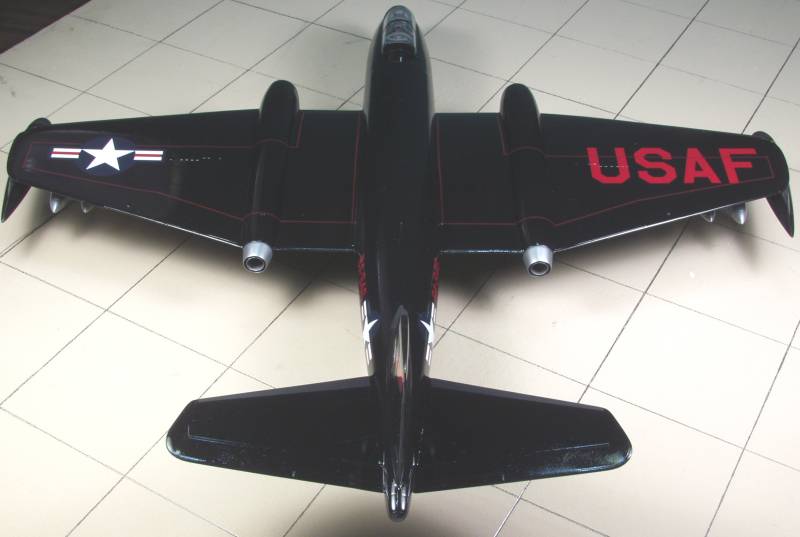
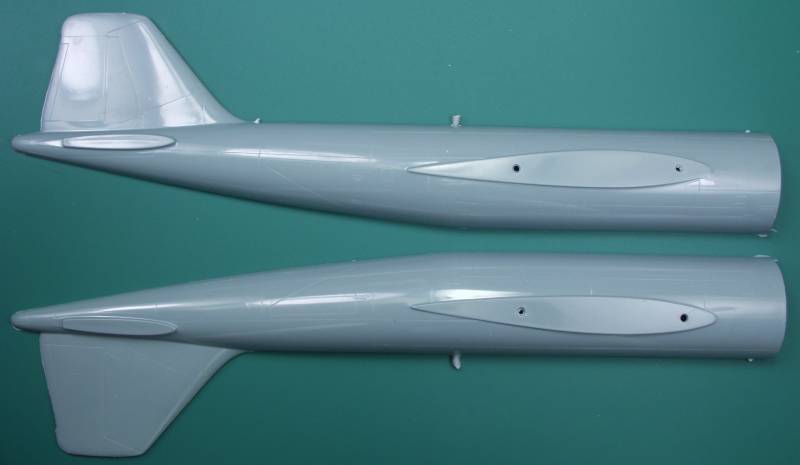
Anyway here is my entry

b57datestamp1.jpg


b57datestamp2.jpg


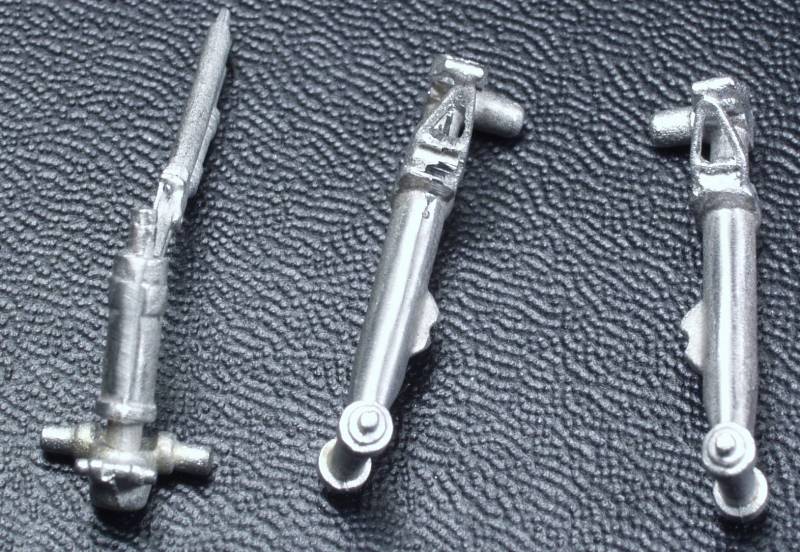
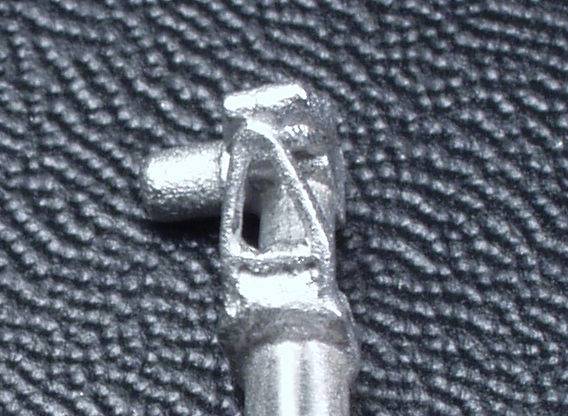
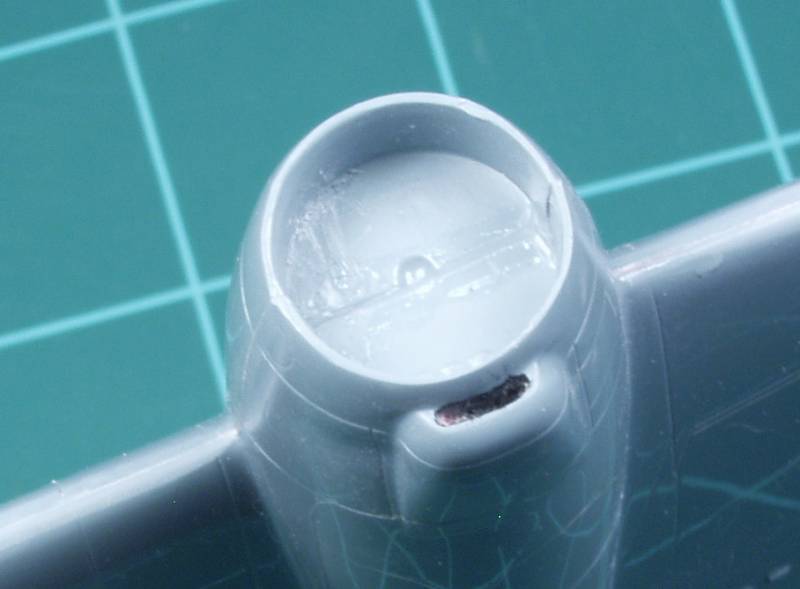
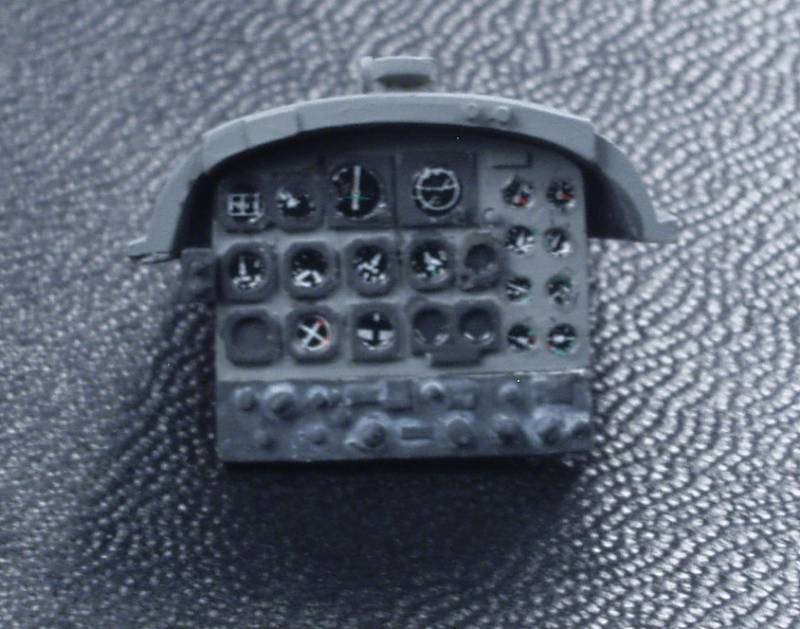
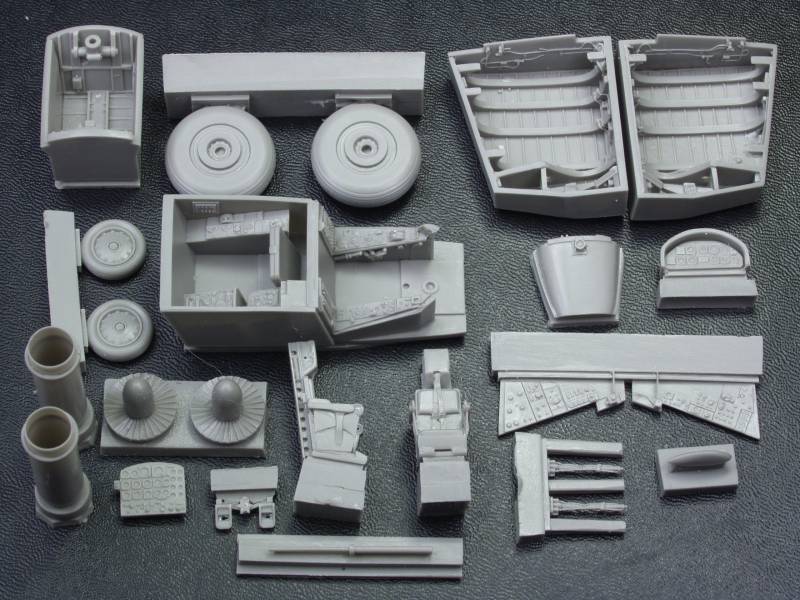
Going to be mostly out of box, the only aftermarket I have is a set of SAC metal landing gear. While I don't really like these, the set came with a cast nose gear bay which while not as sharply detailed as the resin bay supplied with the kit will reduce the amount of other weight I'll need to add to keep the nose on the ground. I had hoped it would also solve the issue of the nose gear being too long but alas that was not case, opportunity lost on SAC's part. Here is a comparison shot of the two gear bays.

b57-09.jpg


The light reflecting off the shiny metal makes it tough to see. It has most of the same detail just not as sharp. Not an issue with me as once it hits the shelf I seldom pick them up and look up their skirts. ;)

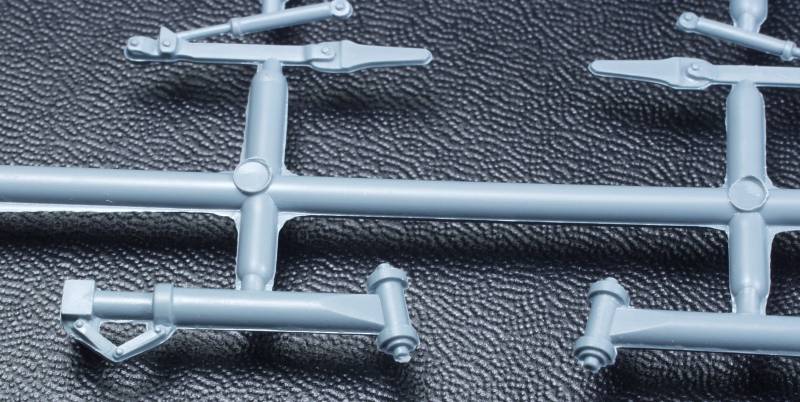
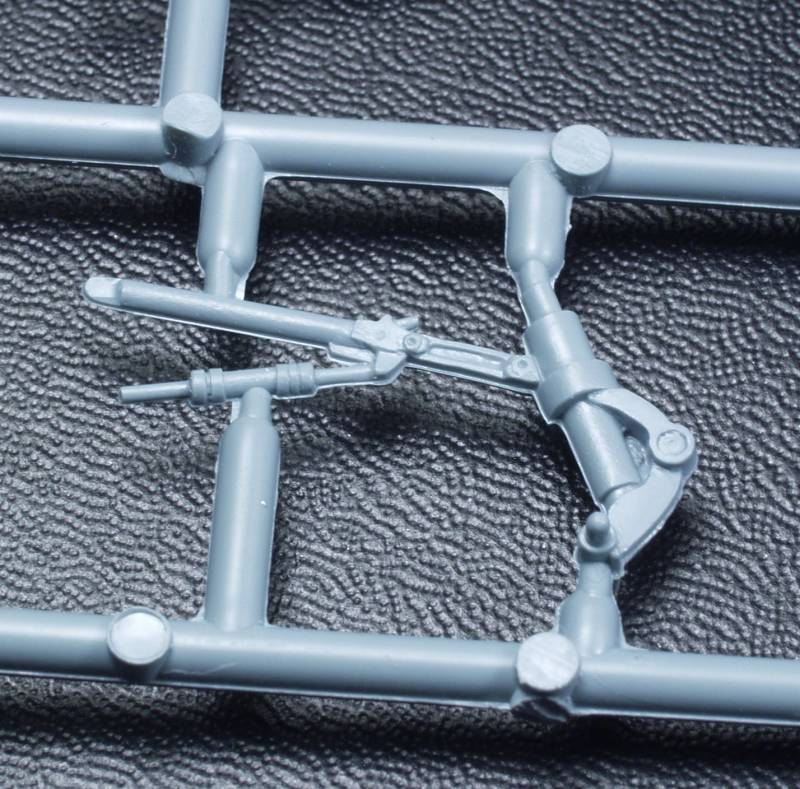
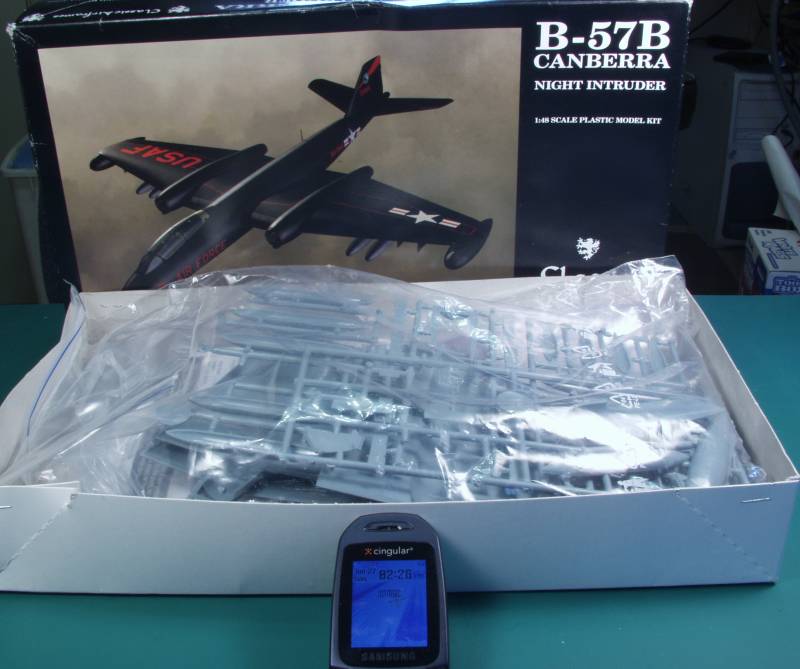
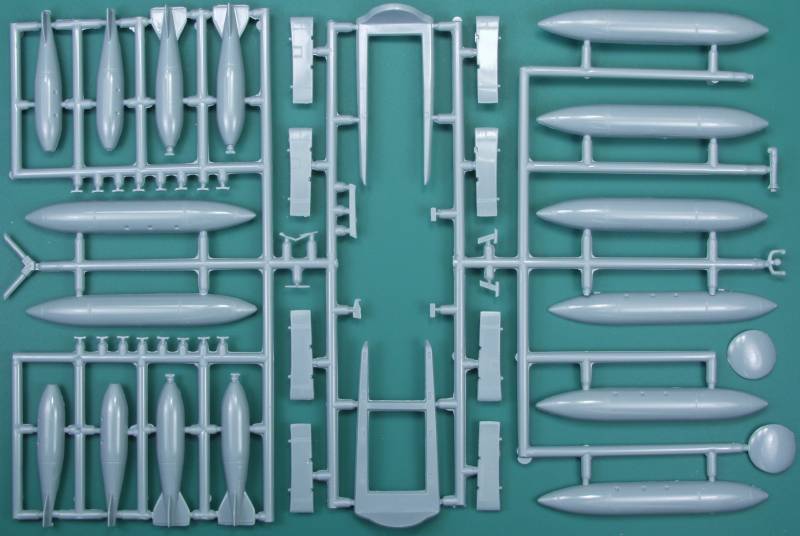
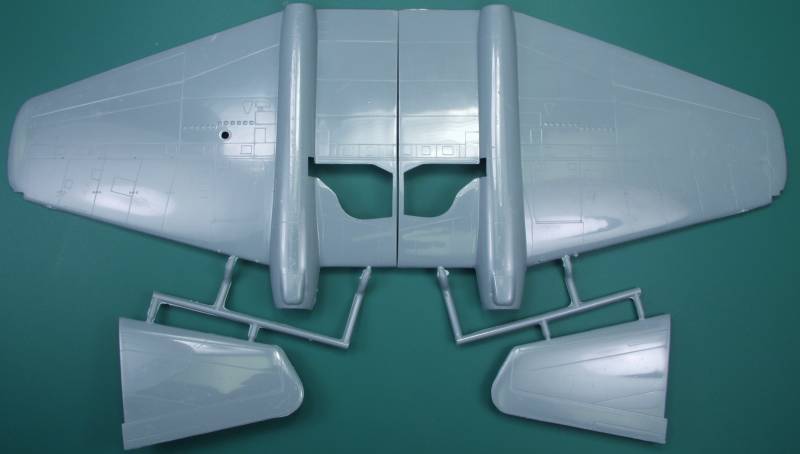
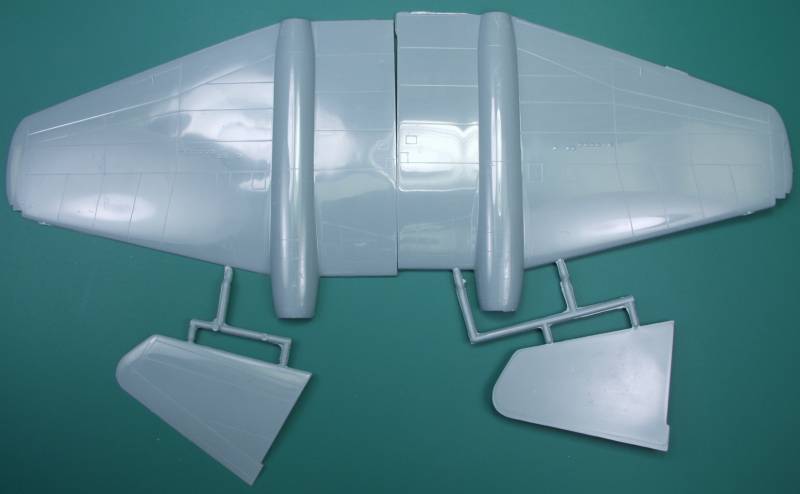
The one color finish will cut final finishing time as there will be little masking and no gloss coating before stickers go on. Also being a flying blowtorch there are way less fiddly bits to deal with so I'm hoping to finish on time. Anyway here is what is included in the box...

b57-01.jpg


b57-02.jpg


b57-03.jpg


b57-04.jpg


b57-05.jpg


b57-06.jpg


b57-07.jpg


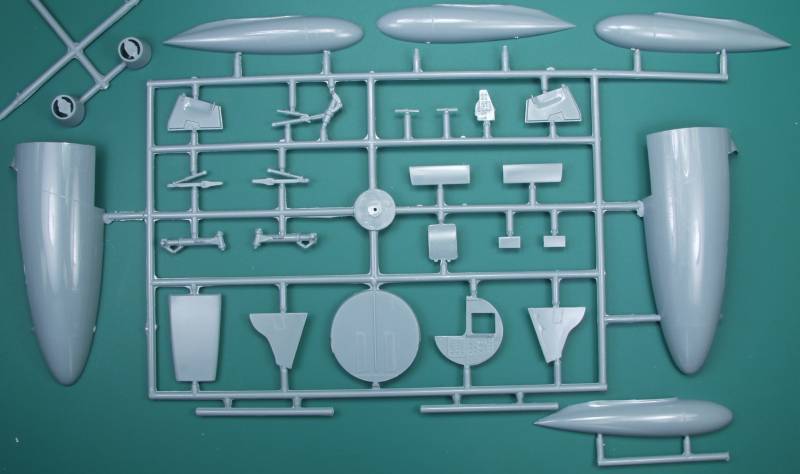
Should have the first progress shots in a few days, I have a lot of resin to clean up first.
 
Dave the B model was the first truly operational variant and the first unit to get them was the 461st Bomb Group in January of 1955. They saw a lot of usage in Vietnam. By the end of the Vietnam conflict most of the B's were pretty worn out although some were refurbished and soldiered on there were also a number of later variants that were purpose build and these as well as some ANG aircraft were not retired until around 1978. After Vietnam a number were also sold to Pakistan.
 
Wow thanks for the info. That black version I have never seen was it used during Vietnam or was that earlier paint scheme. The only ones pictures I have ever seen from USA was the SEC paint scheme used in Vietnam.
 
Nice Jet Gary! like the idea of the white metal gear bay, doing double duty for nose weight.

:popcorn
 
Dave the black scheme predated Vietnam although at least one ANG unit had a black painted one in the middle 70's. While stationed in Europe in the late 50's one Bomb Group actually had a precision flying team that put on acrobatic routines for air shows.
 
OK, just so ya know I am working on this I thought I'd post an update. Like many limited run kits most of the work to be done is prepping the parts. Freeing resin parts from pour stubs and trimming flash from plastic parts.

In the first installment I didn't give the SAC gear parts much credit but after looking at the kit supplied gear parts I changed my tune. At first glance it didn't look like they had shortened the nose gear but upon closer examination they actually did and produced it without the torque link that needs to be removed from the kit part. The kit parts also suffer from major mold alignment issues which would make cleaning them up so that they looked round very difficult. The mold lines on the SAC gear were minimal and quite easy to clean up. Finally the torque links on the main gear supplied with the kit are molded rather poorly while the SAC gear were well done and I was able to drill and carve out the center of them to give them a better look.

Kit parts

b57-b03.jpg


b57-b04.jpg


SAC parts

b57-b01.jpg


b57-b02.jpg


So the SAC parts are definitely worth it for this kit anyway.

I've gotten all the resin parts cleaned up. The pit is going to be the most labor intensive part of the build as painting up all the panels and populating the IP's with instruments is going to take some time.

b57-b05.jpg


On short run kits I find that quite often the mating surfaces are not always real smooth and this kit is no exception, so all the major parts were sanded on a flat surface to smooth them up. I then glued the wings together.

b57-b06.jpg


Fit issues are also common and though the rest of the wing fit well this one area next to the engine didn't but nothing an little sanding and filler won't fix.

b57-b07.jpg


The air scoop below the engine was not open and I thought it would look better open so I hacked away at it. No way to just drill through as it's solid plastic behind it so I drilled in about 3/16" and worked it out. It left the inside pretty rough but nothing some flat black paint won't hide. Also note there are some fairly nasty seams inside the intake and no separate trunking is supplied so something else requiring a bit of additional work. The back surface is rough but will be covered by a resin turbine casting.

b57-b08.jpg


The main gear wells were nicely detailed and as not uncommon, the top side needed to be sanded down to the point you could see light through it in order for the wing to fit together.

b57-b09.jpg


Tail surfaces went together without any issues. Them and the wings both have rather thick trailing edges so I'm probably going to work them down as well.

b57-b10.jpg


The fuselage was in two sections and fortunately the sections joined at a panel line. As you can see it's a long sucker !

b57-b11.jpg


When a panel line is on a join like that I like to chamfer the edges of the join so that when glued there is still an indication where the line is even if you get some glue squeeze out. It provides a guide in case it needs cleaned out. Much easier than trying to scribe a new line over a glue joint. In this case the fit was quite good.

b57-b12.jpg


With that done and the wings and tail together I'll be able to determine how much additional weight will be needed to keep the nose on the ground. The instructions call for 6 ounces which is a bunch, we'll see.

It also gave me the opportunity to check a rumor that the cockpit can be left out until after the fuselage is joined to avoid exposing it to the riggers on sanding and filling and it appears that the rumor is true.

More to come....
 
Well, it has been over two weeks and apparently I must be boring everyone as no one has checked in since my last update :idonno Anyway since last time the wings were cleaned up in preparation for installation. The trailing edges were really thick so these were thinned out a bit. The locations of the 20mm cannons were just faint marks on the wings so these were drilled out and blast tubes installed. The intakes were cleaned up and seams smoothed out and the resin engine faces were installed. One missing detail was the rather prominent exhaust tube for the black powder starter. This was made from some styrene rod. The real part is airfoil shaped but since it is mostly viewed from the front round was good enough for me.

b57-b14.jpg


The B-57 was some what unique in using this black powder starting system, it utilized a 5 pound block of black powder that was inserted in the nose cone of the engine. It was electrically ignited and as it burned it spun up a small turbine that turned the main turbine up to starting speed. At the time this was developed it was assumed that the aircraft might need to operate from forward air strips that might not have starting carts. This would allow them to operate with minimal ground support. each aircraft carried enough cartridges for three starts. The photos below show a pilot removing a spent cartridge and a typical start sequence. The right engine was started first so that hydraulic pressure could then be used to close the canopy to spare the crew from smoke from the left engine. Later on cleaner burning cartridges were developed.

b57-r001.jpg


b57-r002.jpg


With the wings done, the wings and tail were attached to the fuselage. As is with most typical Classic Airframes kits, fit was not the best. The kit supplied short stub spars but on one side they actually shifted the wing low so the holes needed to be made oval for best alignment. Once filled everything was given a coat of primer.

b57-b13.jpg


The cockpit can be inserted after all the paint is done on the fuselage saving it from the riggers of sanding an masking. Practically everything in the pit was gray or black. Panels in this time frame were black with black controls. I decided to do a light wash to highlight the panels and let it go at that. Airscale decals were used for the instruments.

b57-b15.jpg


b57-b16.jpg


The only thing I added to the well appointed pit was PE throttle levers from the scrap box

b57-b17.jpg


b57-b18.jpg


b57-b19.jpg


b57-b20.jpg


The main instrument panel is mounted to the front coaming.

b57-b21.jpg


Primary color on.

b57-b22.jpg


After doing several 3 and 4 color paint schemes in a row a monochromatic paint scheme looked real inviting. However a glossy scheme like this is as bad as a NMF as it shows every flaw, dust particle and cat hair. Biggest trouble area was the points of over spray from painting the top and bottom. I used decanted Krylon gloss black (the old formulation) and both surfaces got two coats. It took over 2 ounces of paint. Good news is that it dries fast and hard and withing two hours I was installing decals with no worries about finger prints and no gloss coat required. Primary stickers on.

b57-b23.jpg


I still have the wing walks and stencils, sealing coat and another layer of painting to do. Fortunately not all that many fiddly bits to install but it's still going to be close.
 
Sorry I missed this. Just getting caught up. I didn't know about the black powder starter. That was a nice bit of information. Your plane is looking good! I have the Airfix version in 1/48. I may have to break it out and give it a go.

Terry B)
 
Not sure about the black powder but the Alert B52s would smoke like that when they pulled a MITO. They would spin up all 8 engines at once. Scared the crap out of me first time I saw it. we were going through the sally port getting our badges exchanged and they locked us in. Had to wait till the roll out was over and everyone was back where they belong before they would let us leave.

I bet you'd get some responses now Gary, really fine looking IP. Hate it when we miss good updates like that. :bang head
 
Looking really good. Lots of work though.
MP saw a B-52 do that in Comox the Monday after an airshow. Standing on the wing of an Aurora and BANG and tons of smoke. We thought she was going up. Never ever forget that.
James
 
Well, another 11 hour finish :woohoo: I had to take the day off to deal with some other issues and it turned out to be a good thing as I probably wouldn't have made it otherwise.

I chose the all black scheme because I was tired of doing multicolor camo schemes but in the end I think I would have been happier with this one in SEA colors. The gloss black was a major pain. :bang head A constant battle with finger prints and trying to handle fiddly bits with gloves on wasn't a happening thing. It also was a dust magnet. It did provide a nice surface for the decals which worked great and were tough enough to stand the rigors of being coaxed into position. I think the USAF on the wings is the largest single decal I have ever used. I'm not totally happy with a few things but that seems to be the case with most of my builds. Anyway, here she be...Note: the glossy finish also made it a pain to photograph :angry:

b57-b24.jpg


b57-b25.jpg


b57-b26.jpg


b57-b27.jpg


b57-b28.jpg


b57-b29.jpg


Thanks for looking in !
 
Beautiful (y) (y) (y) I like the SEA schemes also, but this is definitely different. Very well done.
James
 
Black Magic Gary!

damned nice work there, and a Classic Airframes kit to boot - which I love - (y) (y) (y)
 
Nice build Gary . No idea how I've missed it before . I've always though the black scheme to be the most attractive on the B-57.

Never saw many of them in any scheme while we still had them .

Cheers, Christian B)
 
Beautiful, I really like this plane, I have no clue where I can find this box, but yestrday I saw revell (classic boxing edt 5000p.) in local store. :hmmm. Real old classic revell kit in 72nd scale re edition so I might add that kit to my stash...

All the best!
Dusan.
 
Back
Top