• Modelers Alliance has updated the forum software on our website. We have migrated all post, content and user accounts but we could not migrate the passwords.
    This requires that you manually reset your password.
    Please click here, http://modelersalliance.org/forums/login to go to logon page and use the "Forgot your Password" option.

Alan Katyusha

nsmekanik

Member
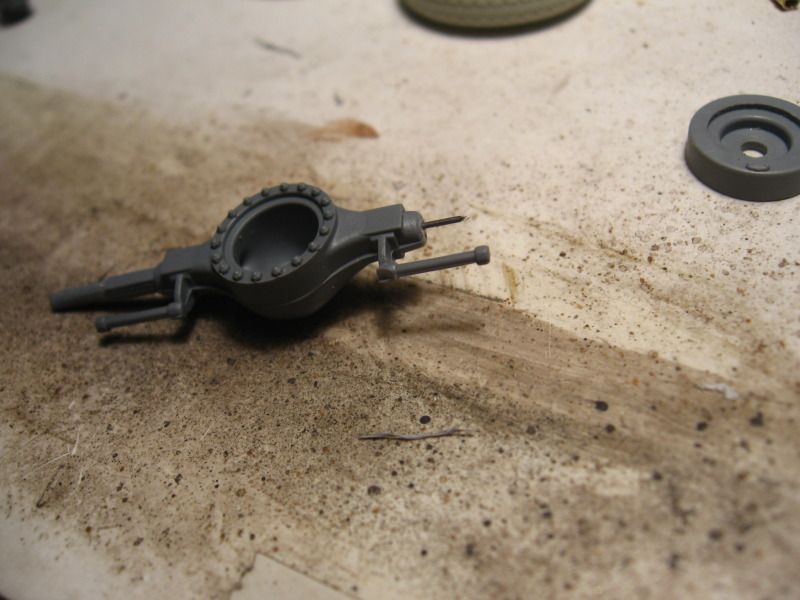
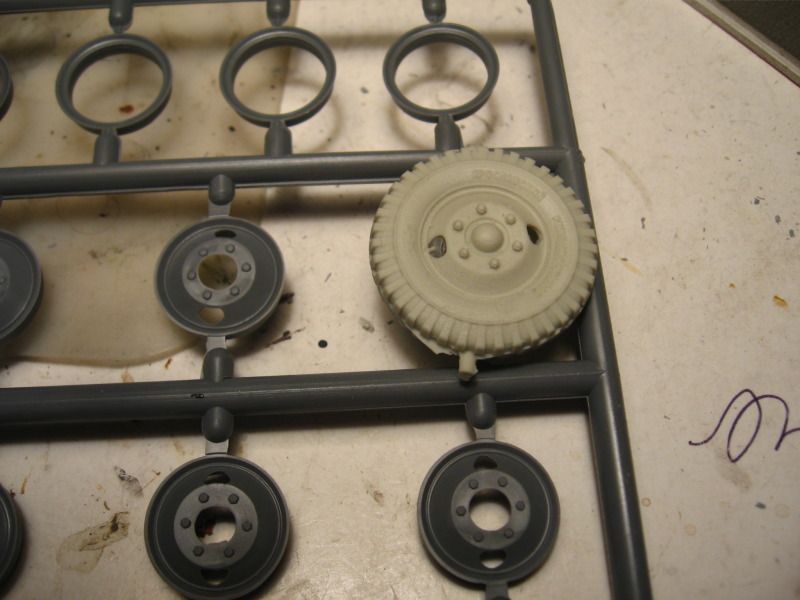
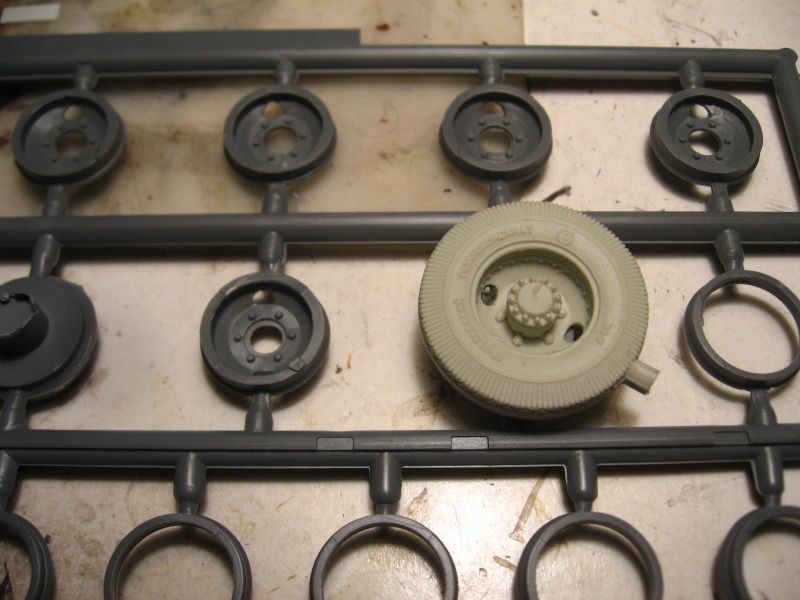
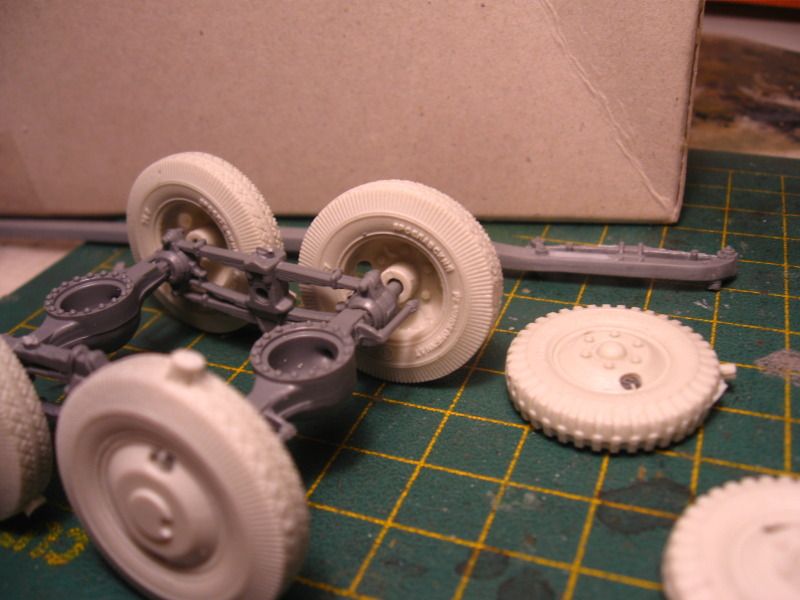
Now that I've finished the Krupp and there is 2 weeks till the CTA kick off and, well I'm taking a bit of a break from my JU 88's, I was scratching my head on what I felt like doing, so I decided that since I've finally got the Hussar wheels for the thing I might as well do something. Who knows, maybe It'll just keep going and I'll finish it sooner then later, as it's always been one of my favourite subjects.

The alan kit may be a bit crude by todays standards, once you get past the mould seems and sink marks, but it is not that bad and there have been some very nice builds of it. As the kit is designed to be built as either the single axle, or tandem, all the parts are there to do either, and if you want to build the tandem as required by this kit, there are a few things that need to be cleaned off the frame rails.

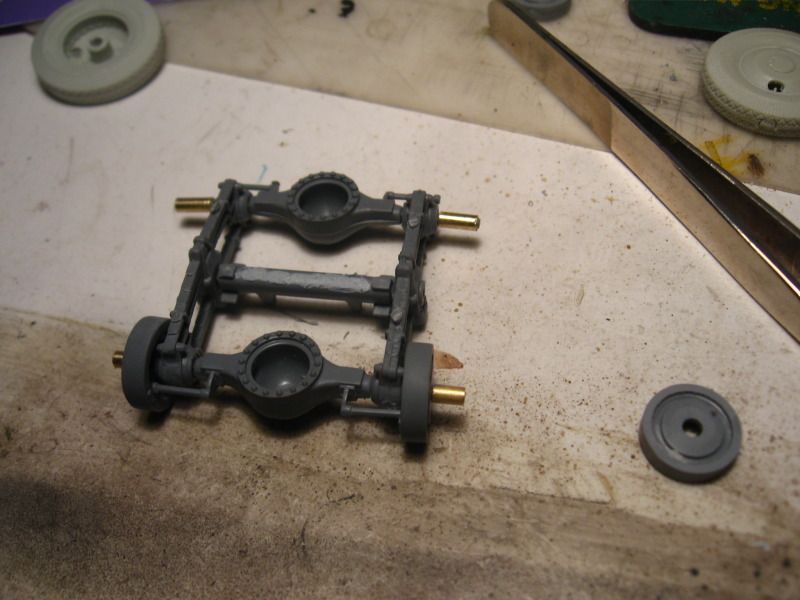
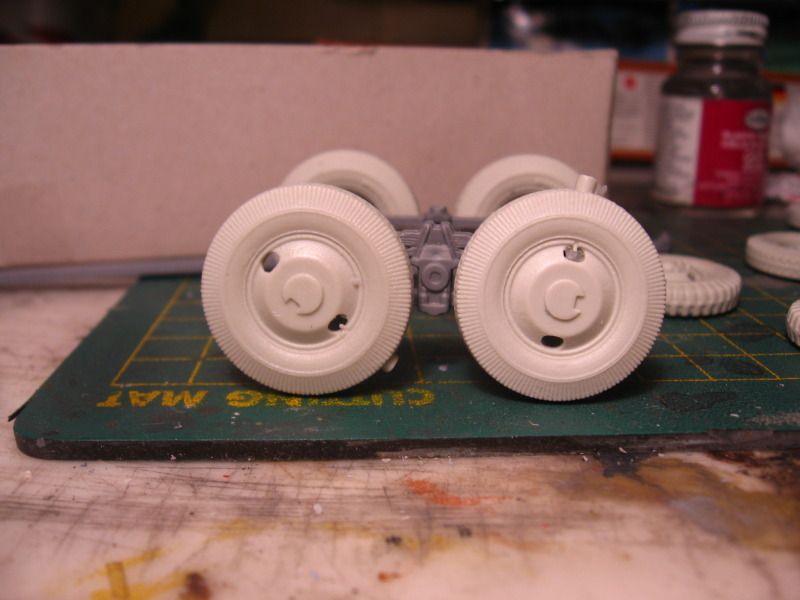
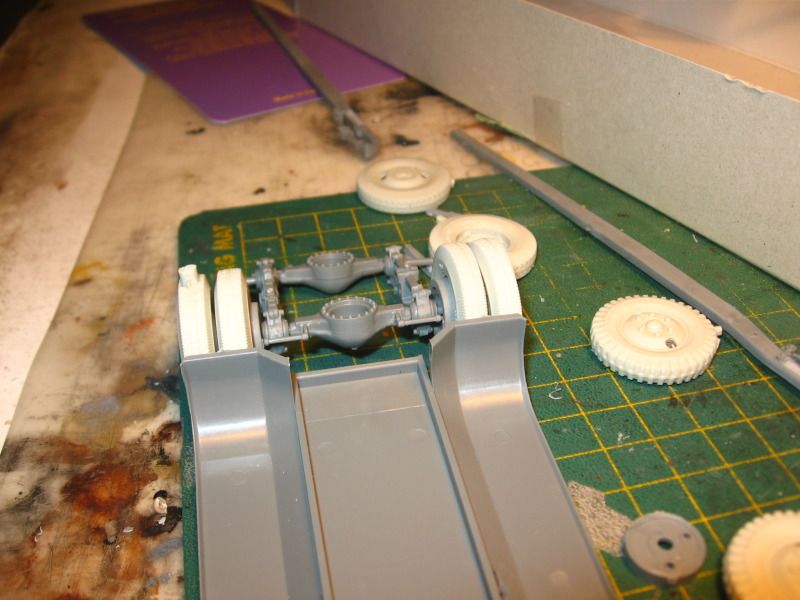
Of course, as with any kit, the first thing you need to do in getting started is to break something, which I did right off with the first frame rail cutting it off the sprue (y) . After looking at some excellent walkaround pics I discovered that you could pretty much clean everything off the rails for this build so I did after carefuly notching the inside where the alignment marks were for the rear suspension.
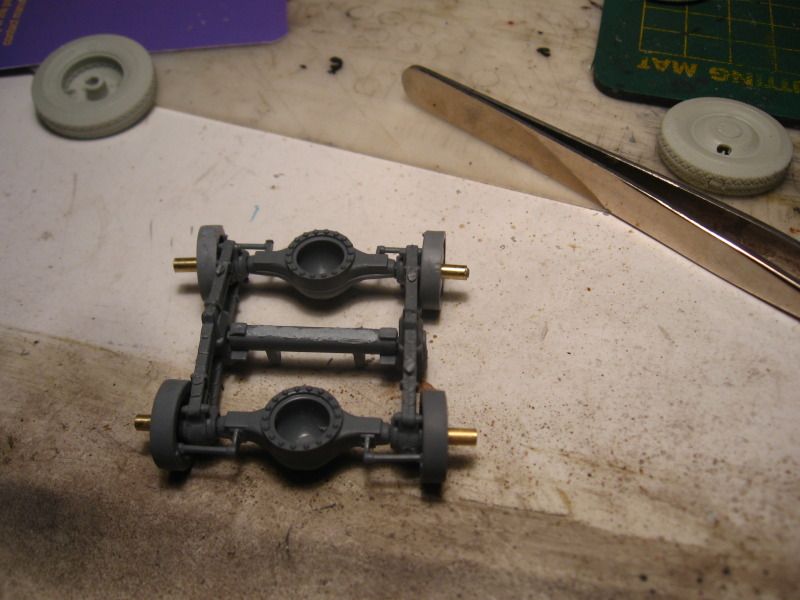
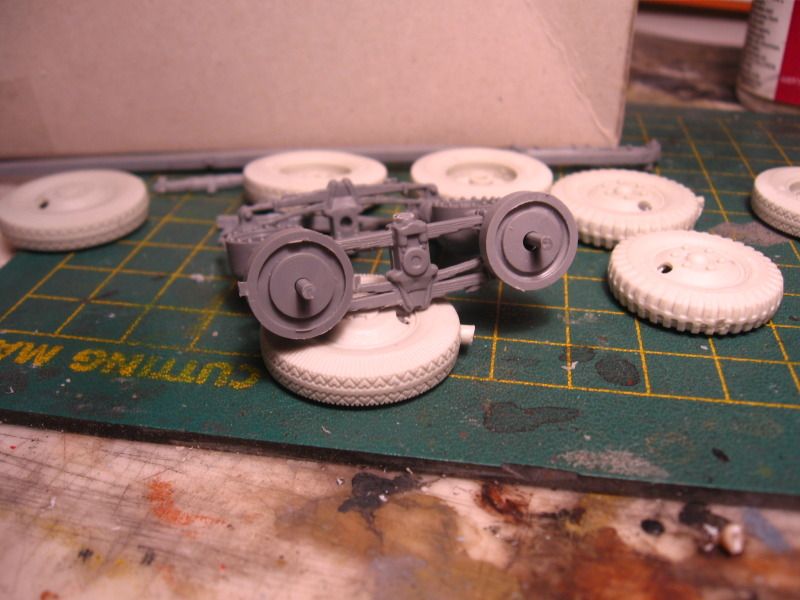
One side done
IMG_0821.jpg

IMG_0820.jpg


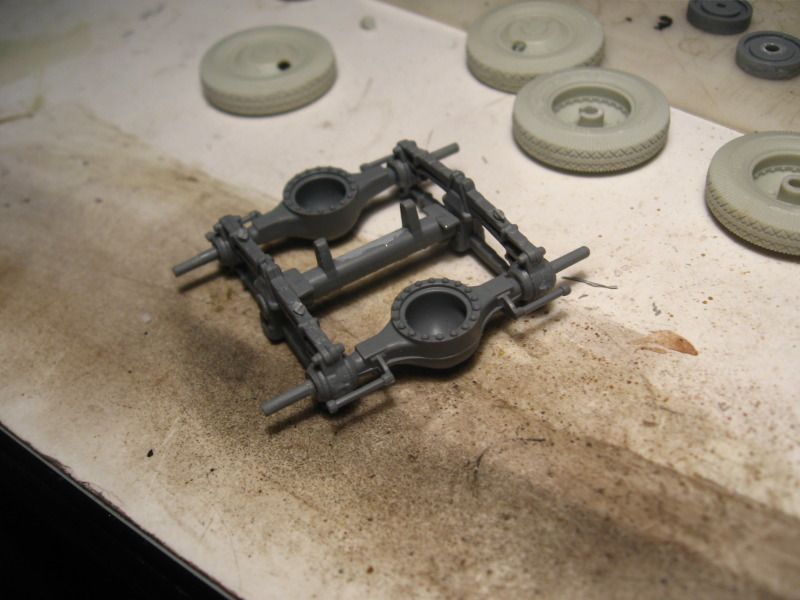
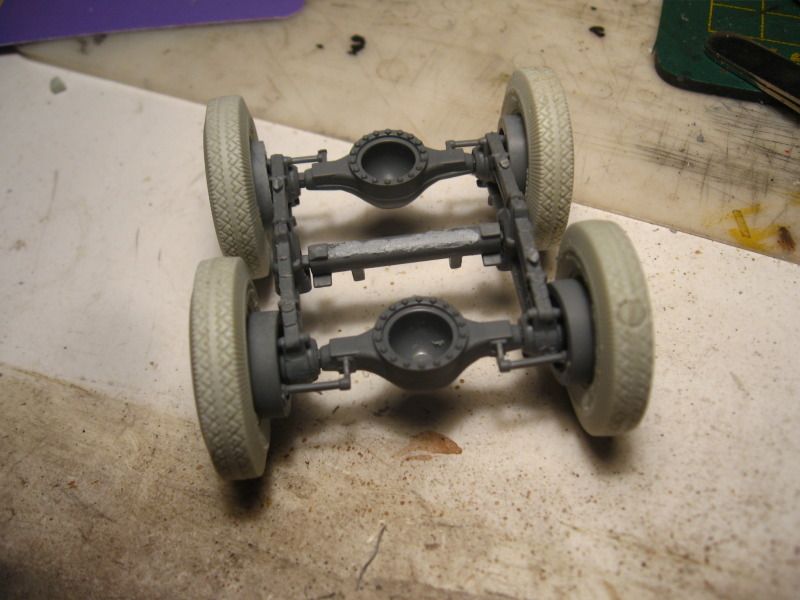
These really were a very simple frame with no real cross members
 
OK, I had to look to find the kit.

ala008.jpg


Basically Alan's ZiS-5 converted to a ZiS-6 with a new frame, suspension, launcher base, and Italeri's rocket launcher, to make the BM-13.

I'll be watching this build for sure!

Regards,
 
Word of caution, the plastic is very brittle, I broke one of the rear axles as well. First serious issue is the rear axles(aside from the springs being crap but I think I have an idea on how to fix that), the sprue with the Tandem axle parts only has one set of drums for them, while the single axle sprue has another, the 2 axles are smaller in diameter then the single one, so only one set of rear drums and none of the hubs fit the tandem axles, and the Hussar wheels are a very sloppy fit. The brake rods also do not let the drums slide on all the way so in order to figure out where the wheels should sit width wise I think I'm going to have to assemble the front axle and adjust things accordingly so they all line up.

Nothing insurmountable but is simple as this kit is in it's construction it is going to take a lot of preplanning to get things squared off and sitting correctly. Pics later. This is going to be a very slow build but I think an ok one. I will be working on it off and on as I don't want to burn out on it.
 
Word of caution, the plastic is very brittle,

A second note to add (as I built a few of the Russian trucks), the plastic responds too well to hot cements like Tenax7 and Tamiya Extra Thin (green cap) as it doesn't seem to work and then it becomes mush. Always looking at the bright side, this plastic works great for stretching and making weld beads on other manufacturer's kits.

Regards,

Thanks for that, for the first few bits I've been using Testors liquid cement so I guess maybe I should switch and I'll remeber not to through all the sprue away :drinks
 
for the first few bits I've been using Testors liquid cement so I guess maybe I should switch

If this is what you are using:
d27c035abb296d43032c26320deaec83.jpg

You are fine. This is what worked best for me. Light clamping was rarely needed. Sometimes I ran a little Tamiya Extra Thin for strength.

Regards,
 
Thank you Saul, I'm using this which I think is the same thing
IMG_0835.jpg


seems to have worked well enough but I will definitely take care with the parts

The first thing I'm going to say is if you are going to build this kit the Hussar wheels are a must have, I'll let the pics speak for them selves
IMG_0832.jpg

IMG_0833.jpg

They will probably cost more then the kit, I know mine did, but there really is no comparison. The problem with the Hussar wheels is they make the rest of the kit look like crap
IMG_0825.jpg

I'm not going to knock the kit though, given when and where it was produced, but these pics will give a better idea of how things look as well as show the problems with the break drums and wheel fit
IMG_0827.jpg

IMG_0826-1.jpg

And here is how things are when they are set together, just a touch on the wide side but I don't think that is going to be the most difficult fix
IMG_0829.jpg

This is going to be more of a tedious build then anything as every part is an exercise in scraping filling and sanding.
I think it would be nice to have a newer kit of this truck and even nicer to have one in 1/48.......but alas I'm not seein the image in my crystal ball
:drinks
 
Yes yes we are :soldier on for the moment and here is where we are at
IMG_0844.jpg

and here is how we got there ("we" being me myself and I, and "we' are all in good company we thinks :lol: )
IMG_0838.jpg

IMG_0839.jpg

not glued just yet as I think I'll wait till the axle is cleaned up so as to avoid another disastrous moment
IMG_0840.jpg

IMG_0841.jpg

IMG_0842.jpg

IMG_0843.jpg

:drinks
 
Back
Top