
jeaton01
Well-known member
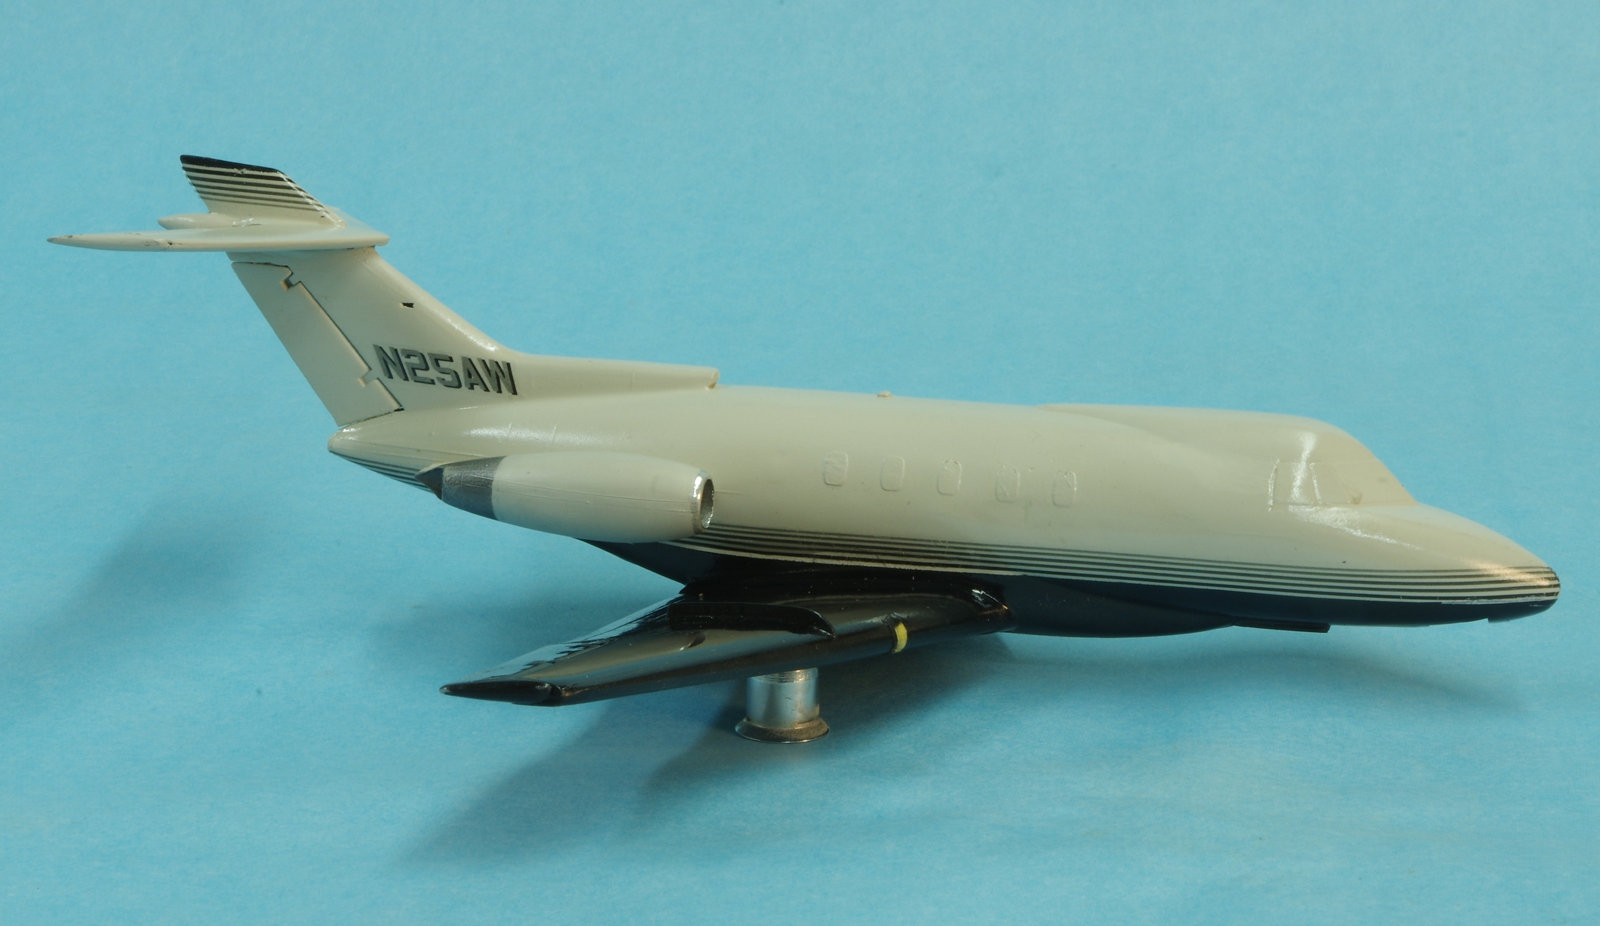
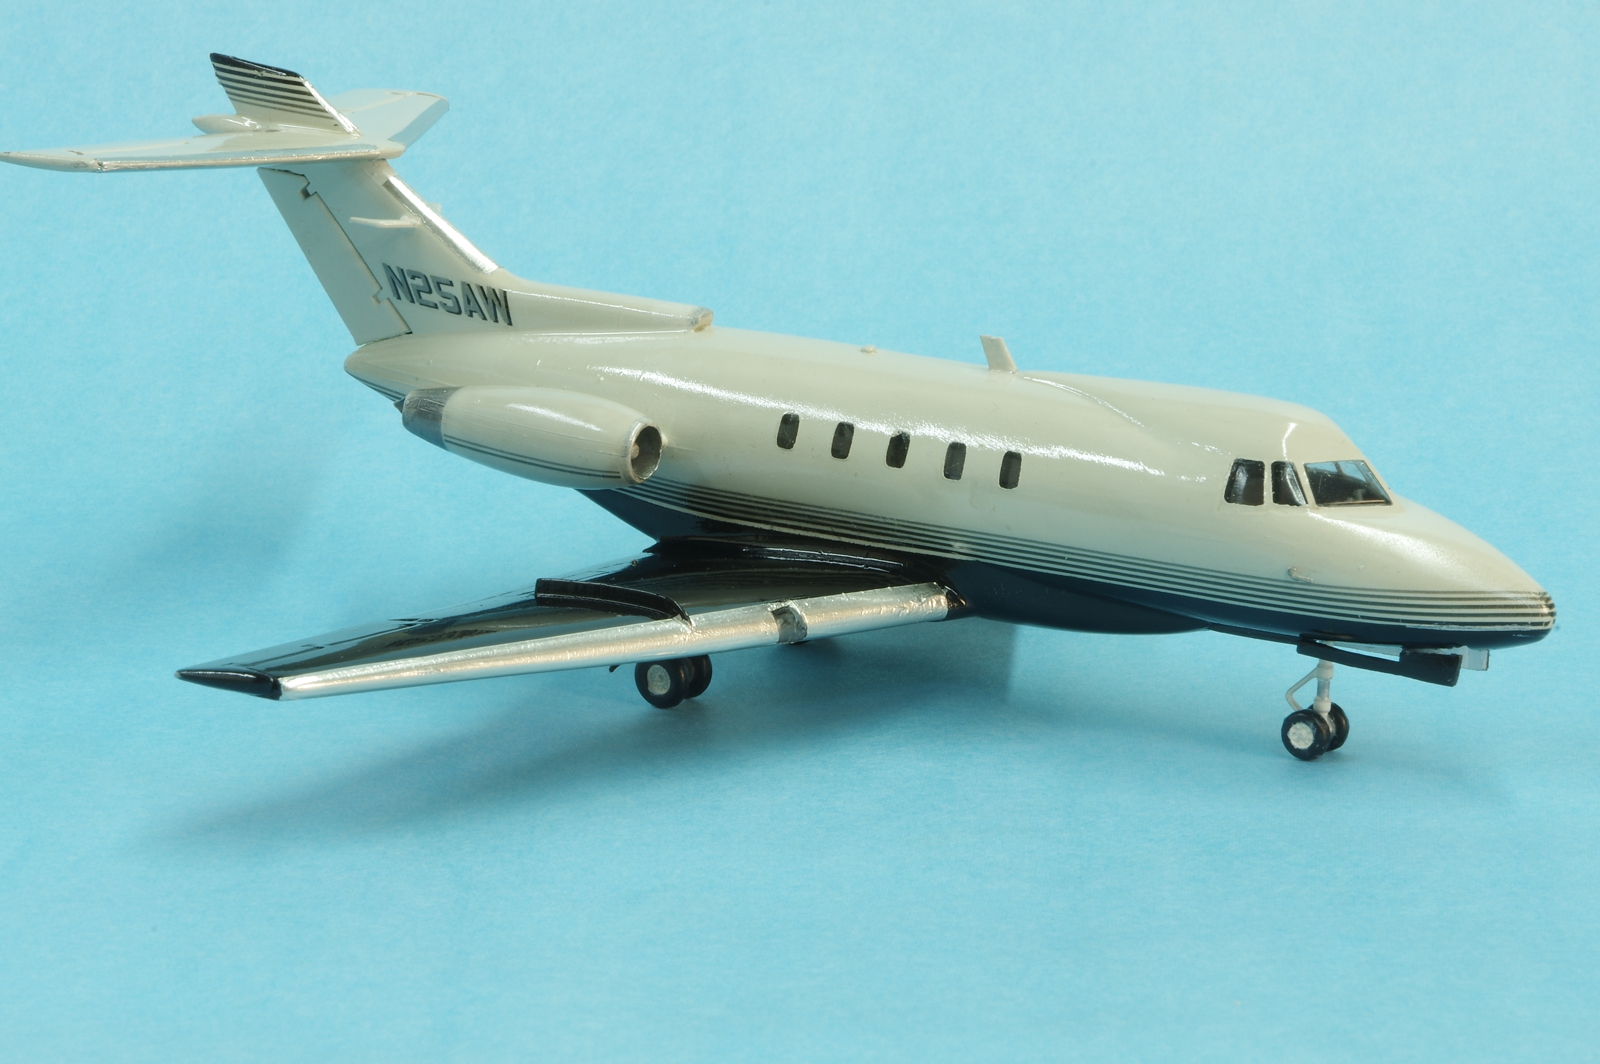
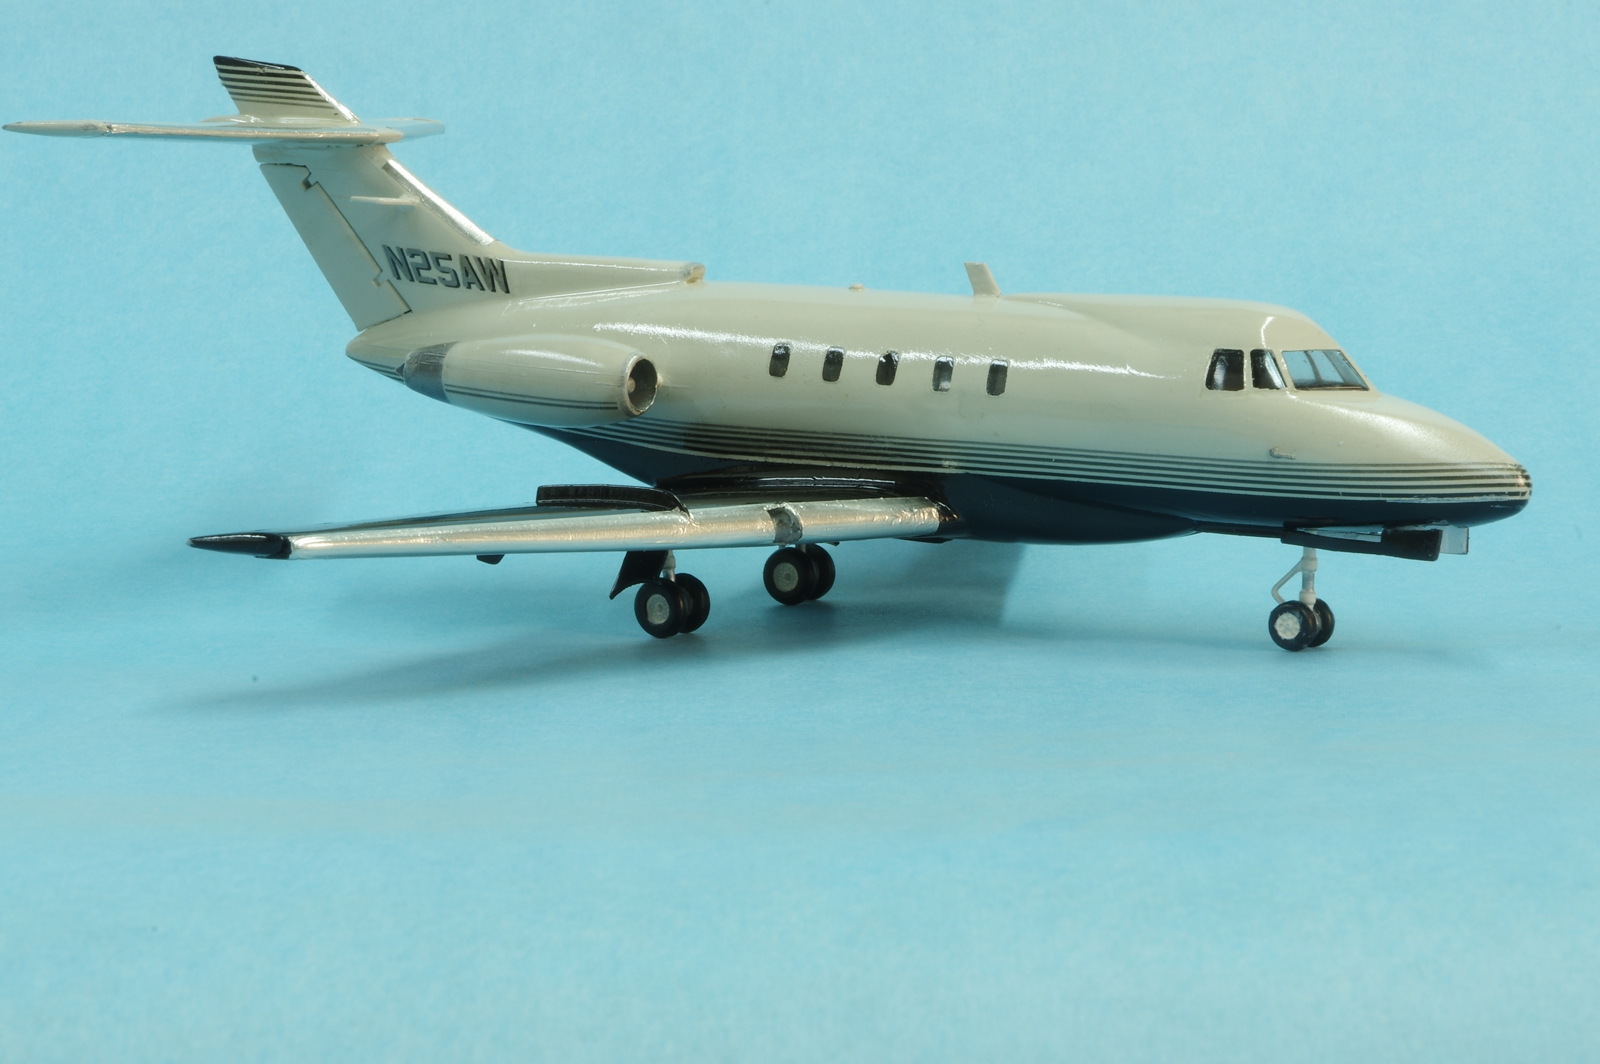
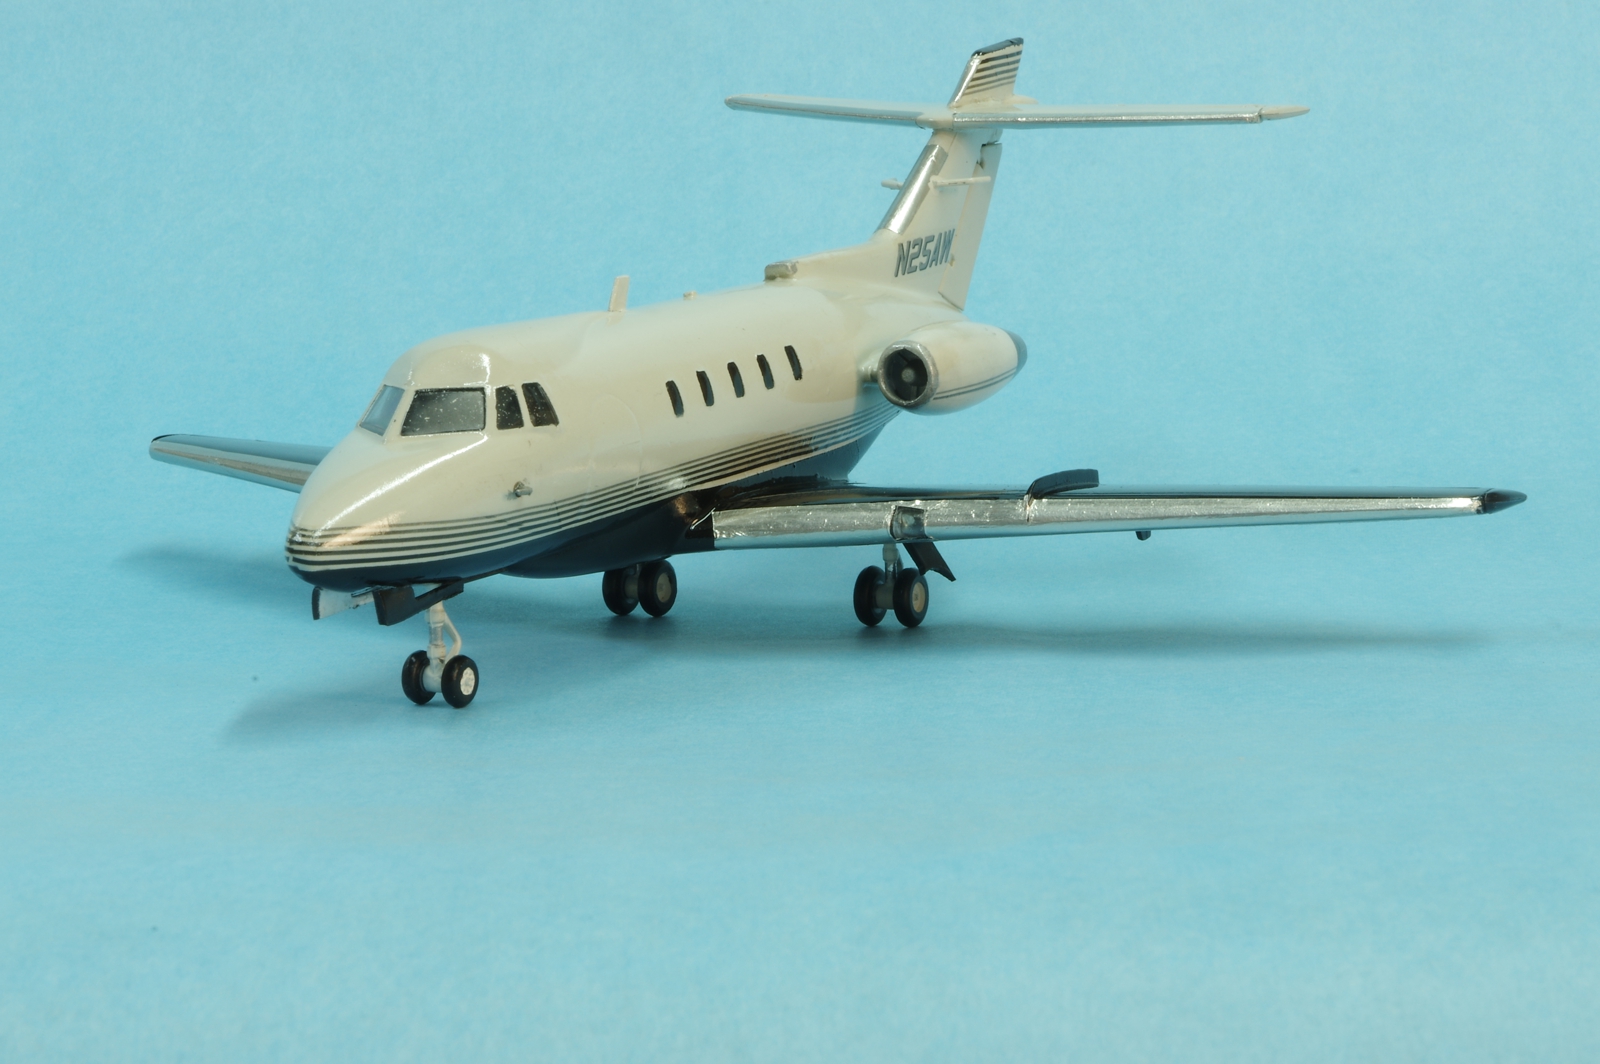
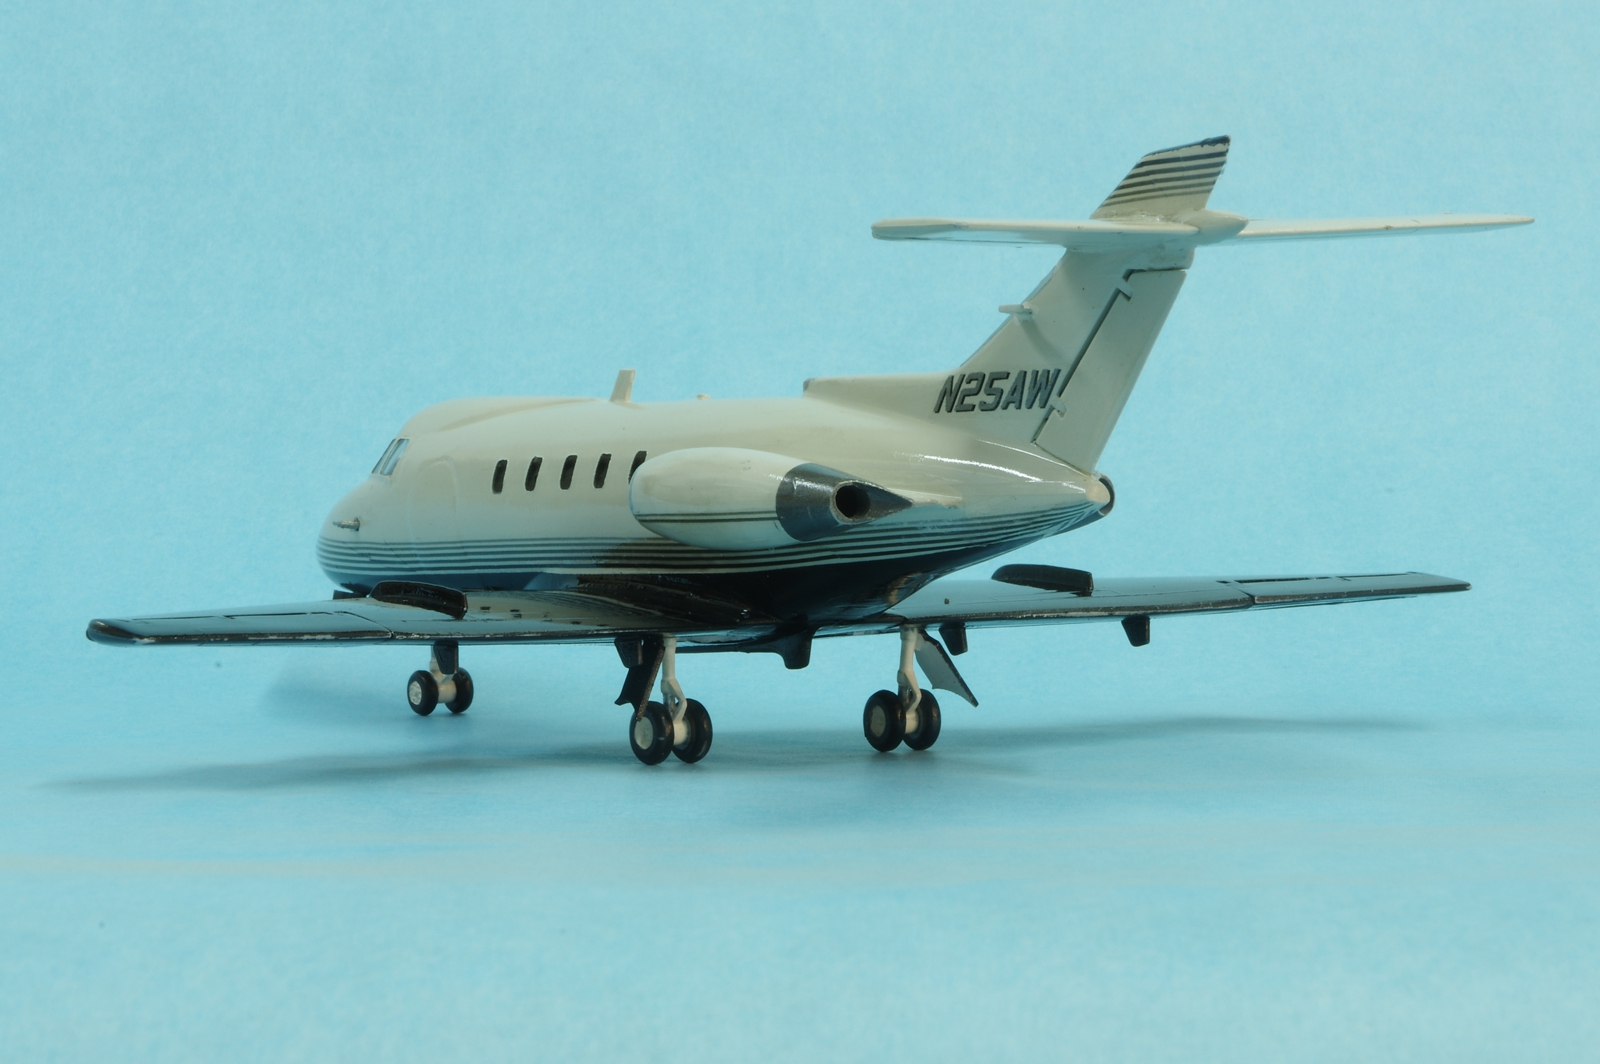
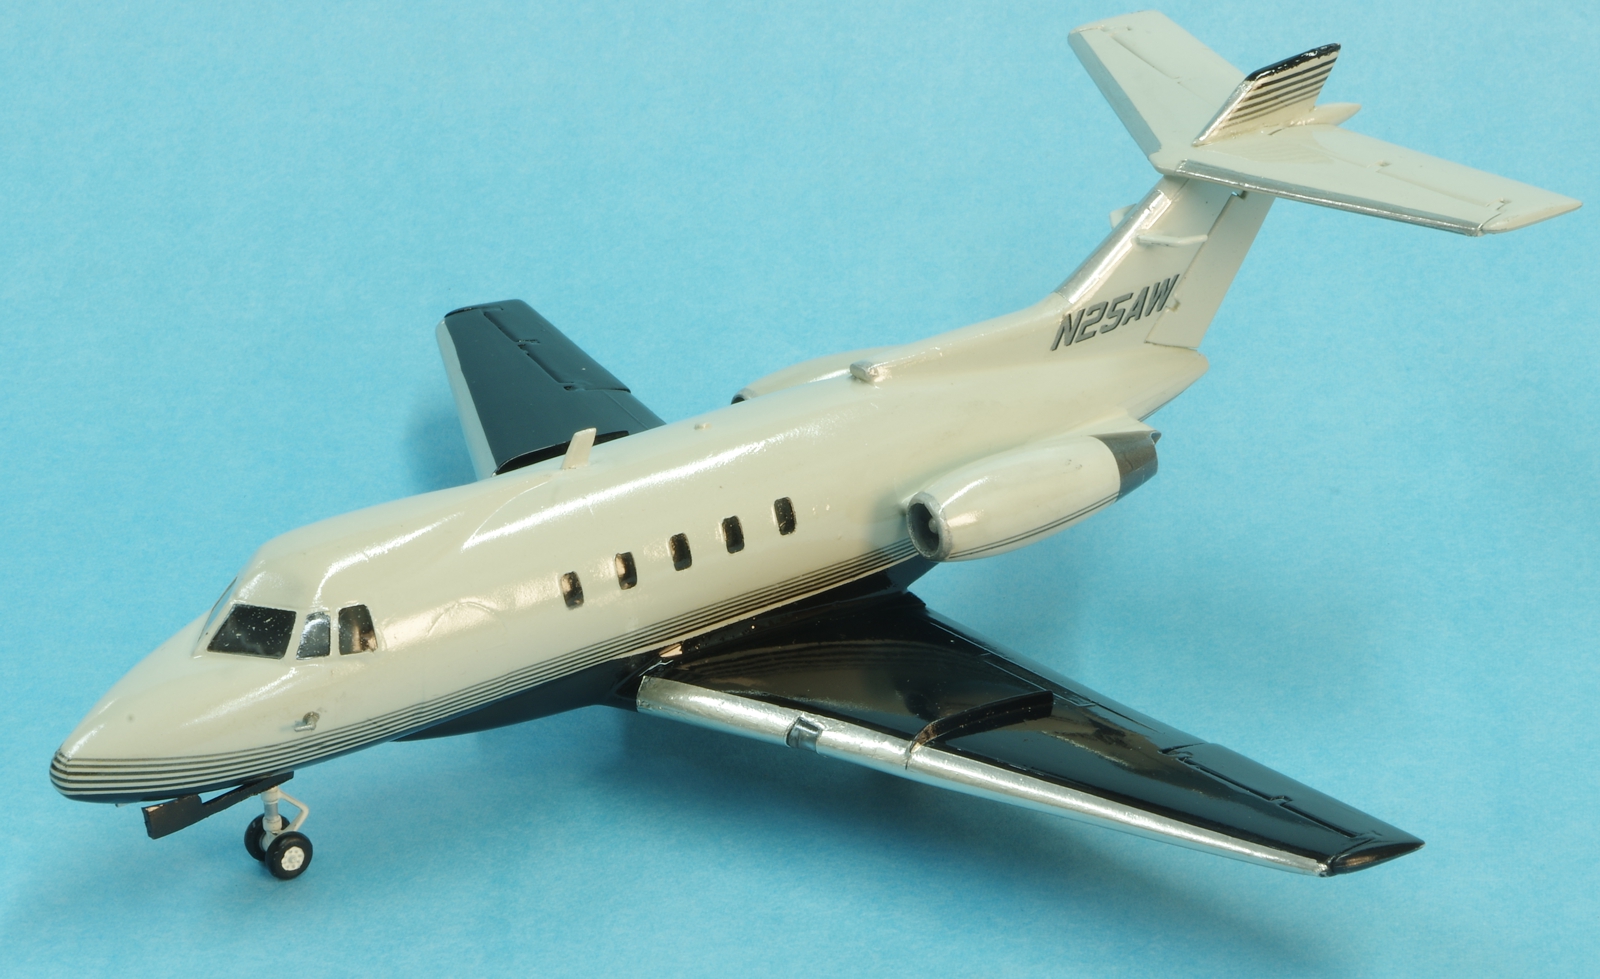
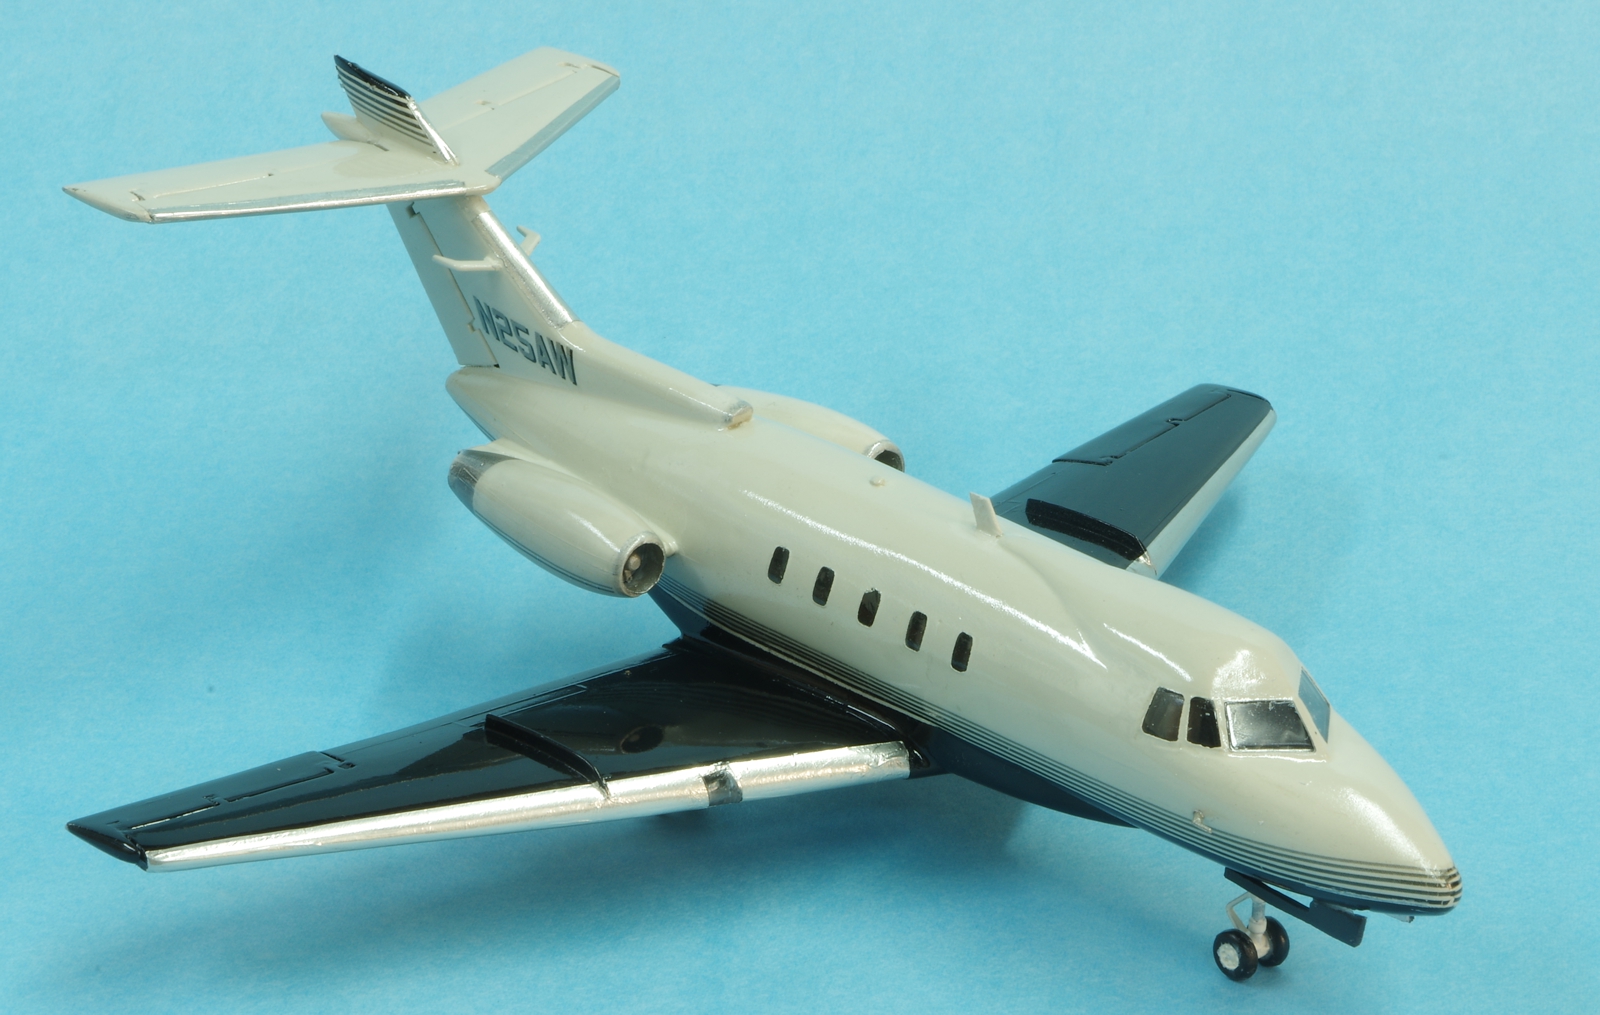
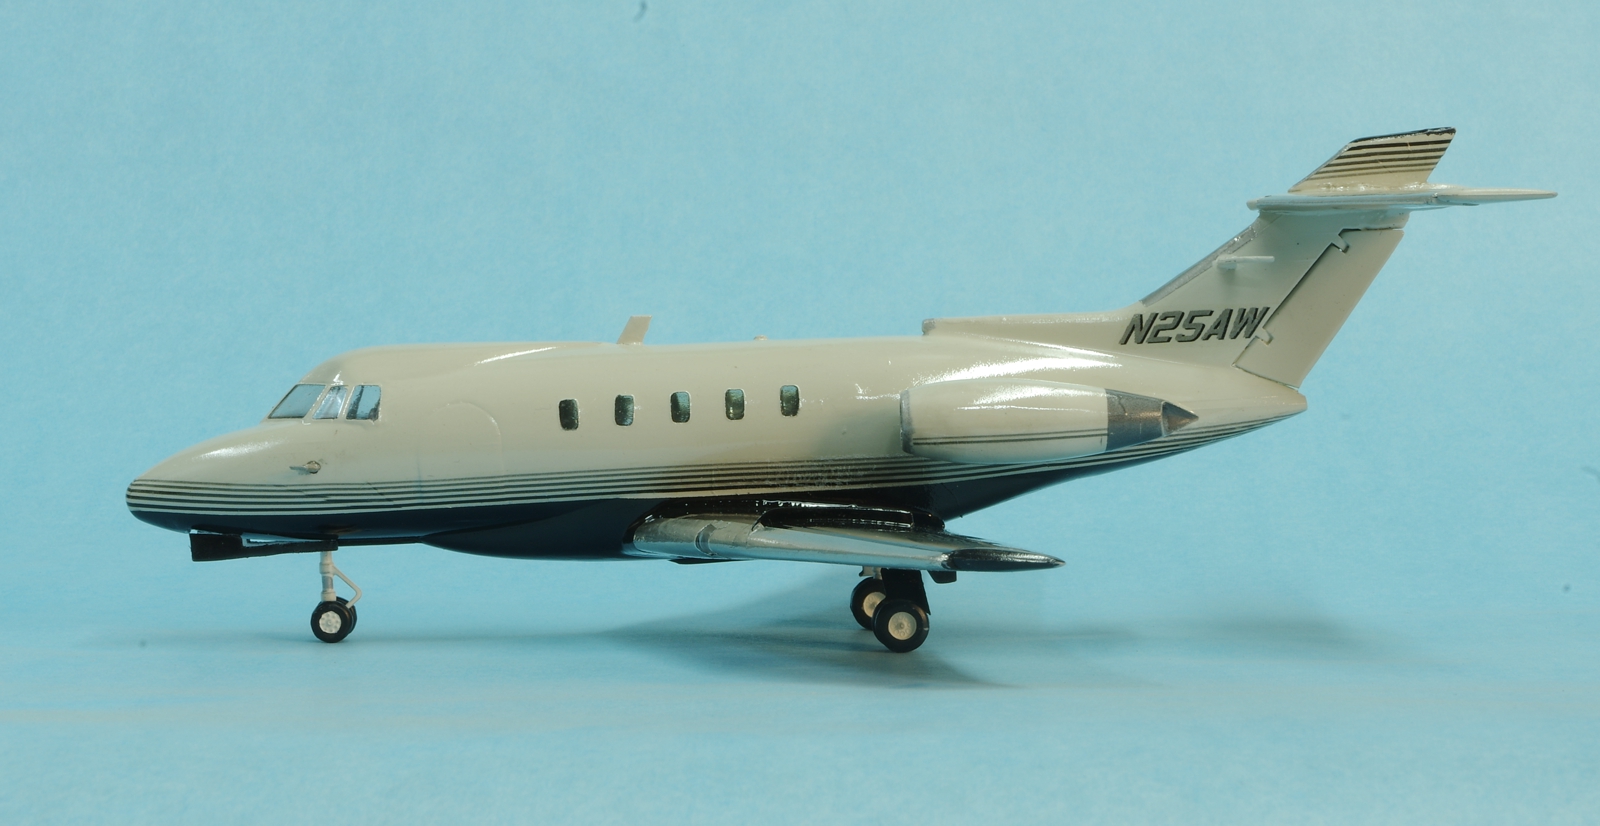
I've been working on this one for awhile, it's an airplane I used to fly back when I was in that business.
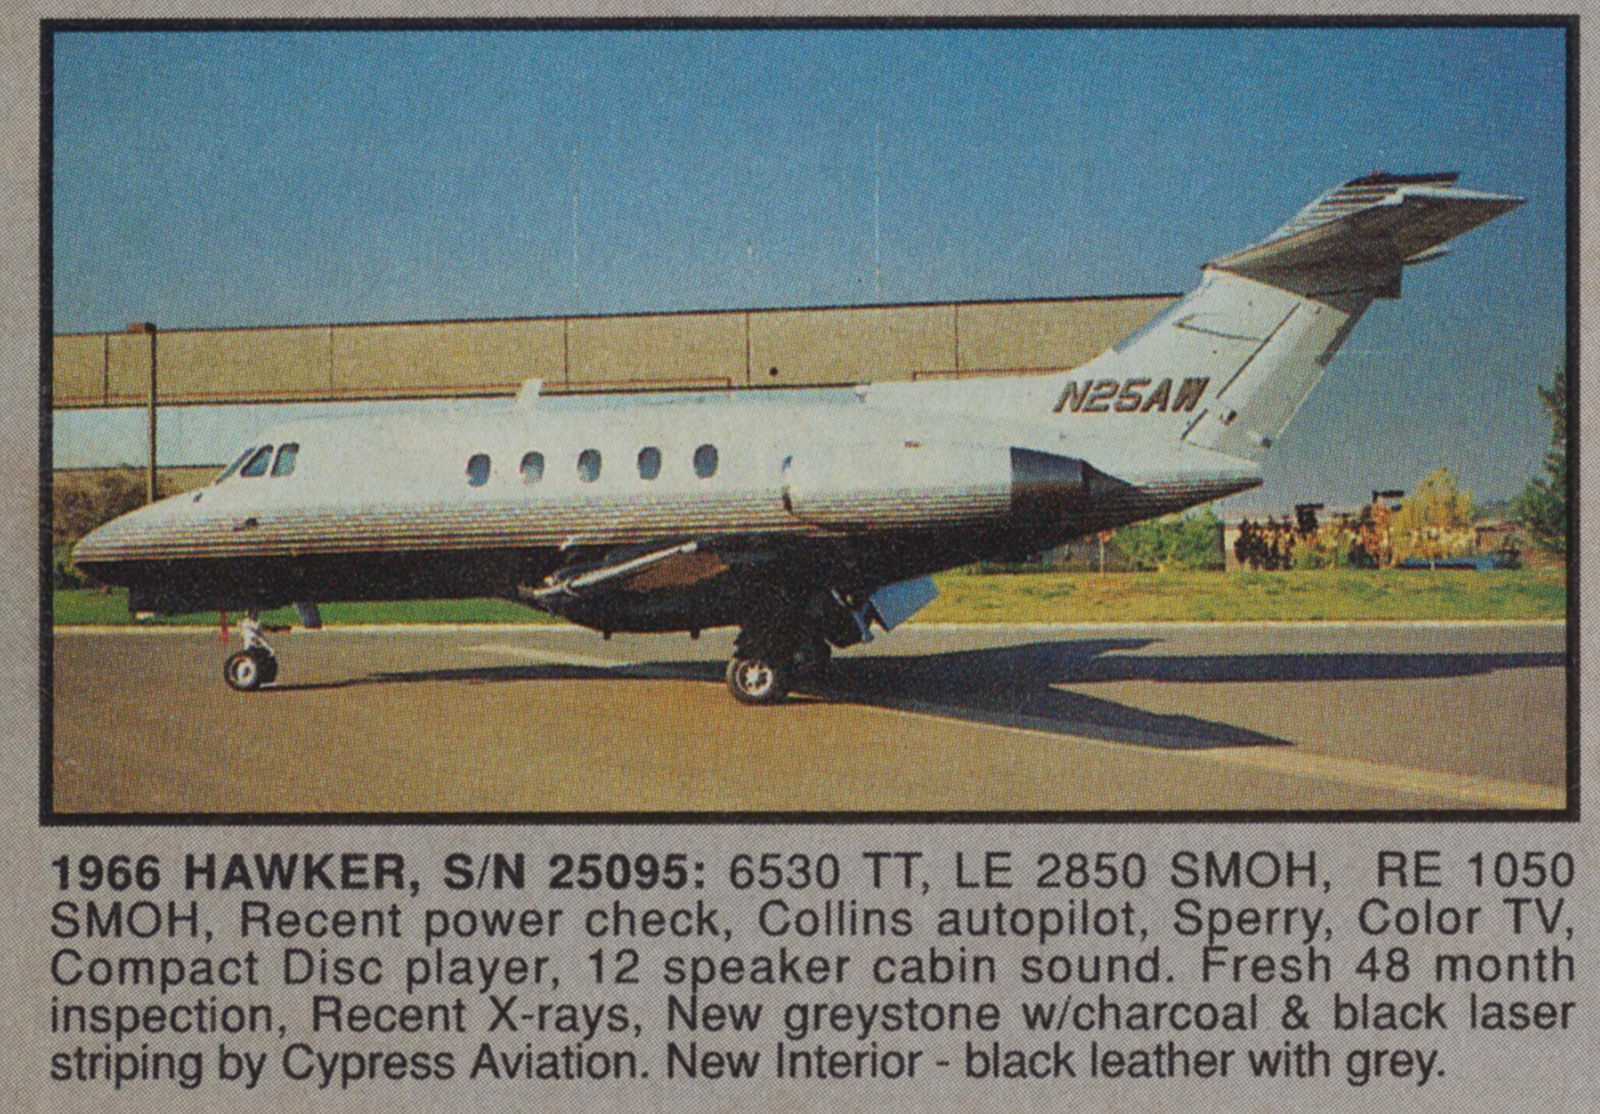
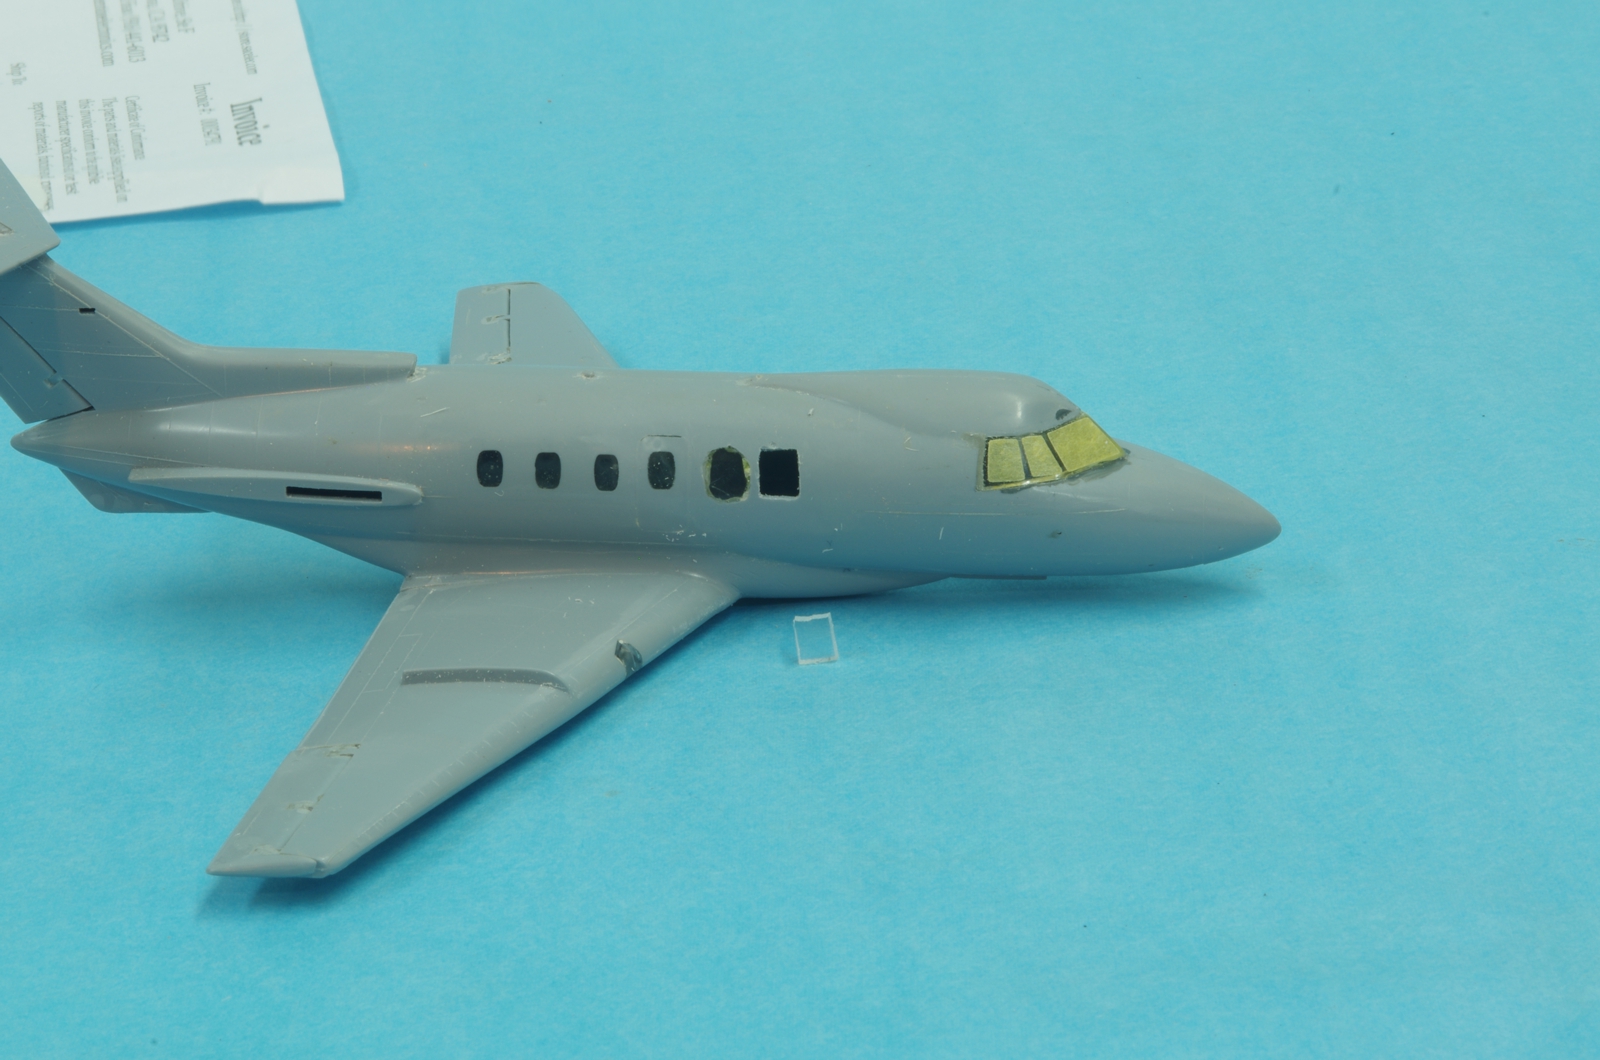
It's an older kit and fairly basic. There were a few places a little short shot and the transparencies were not the best so I filled the cabin windows with clear epoxy and filed and sanded them flush with the surface. I should have counted the windows at this stage.
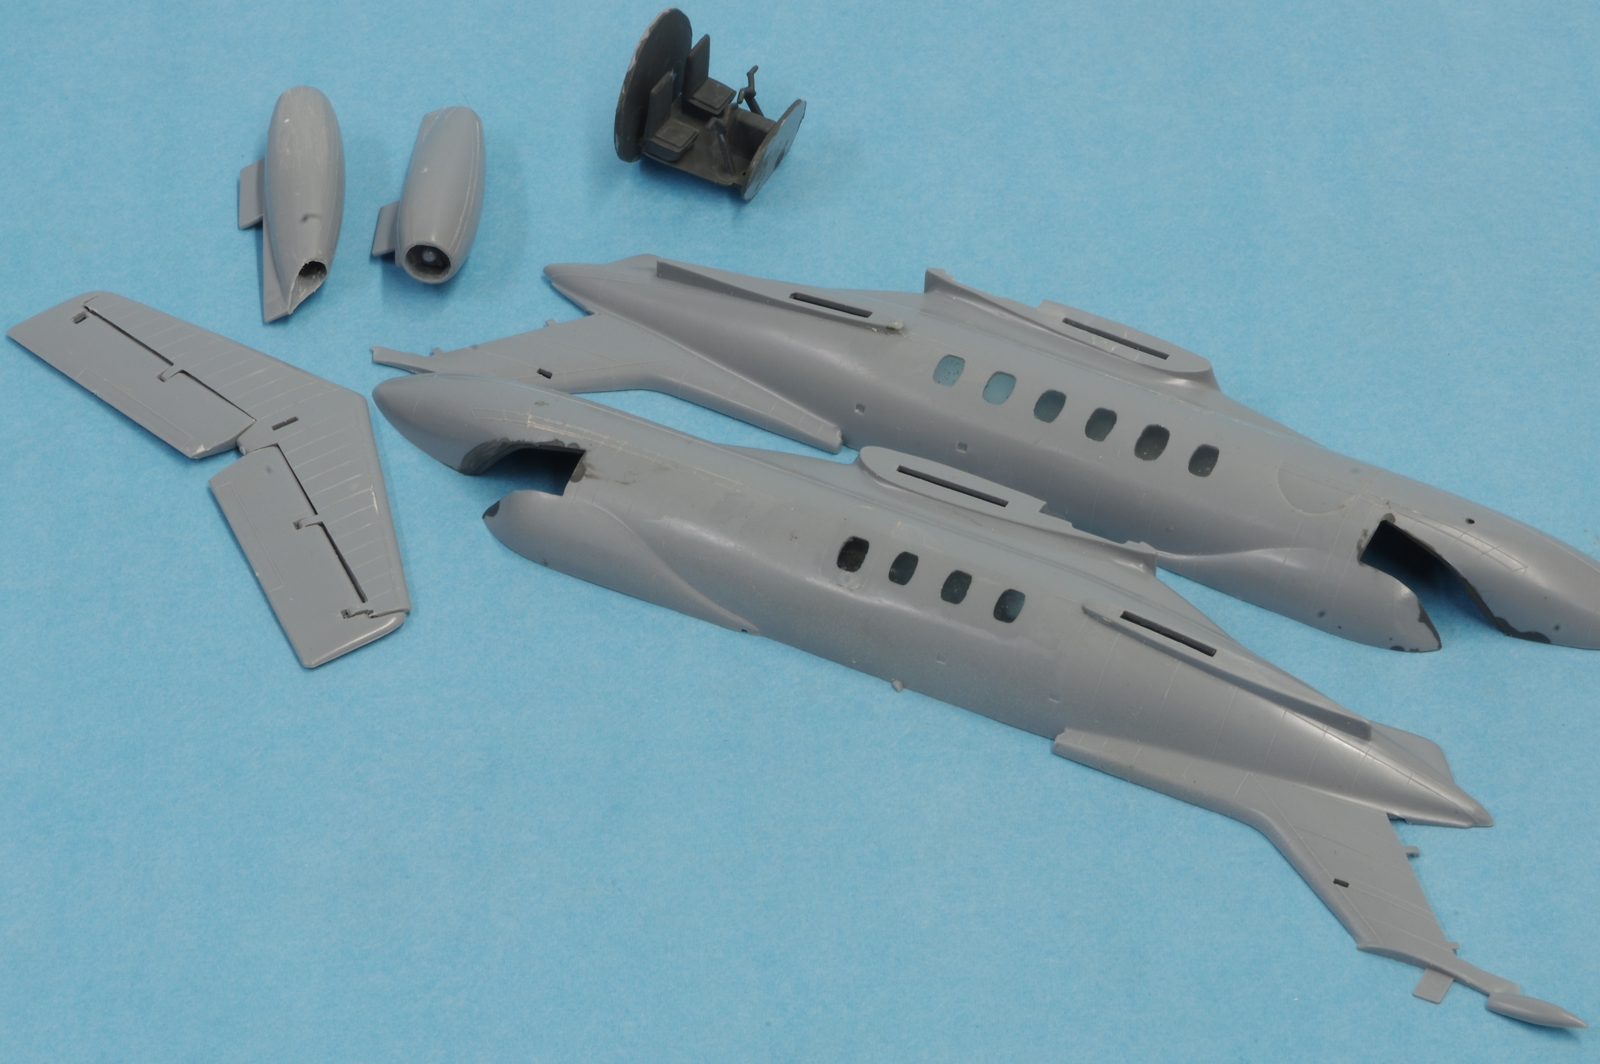
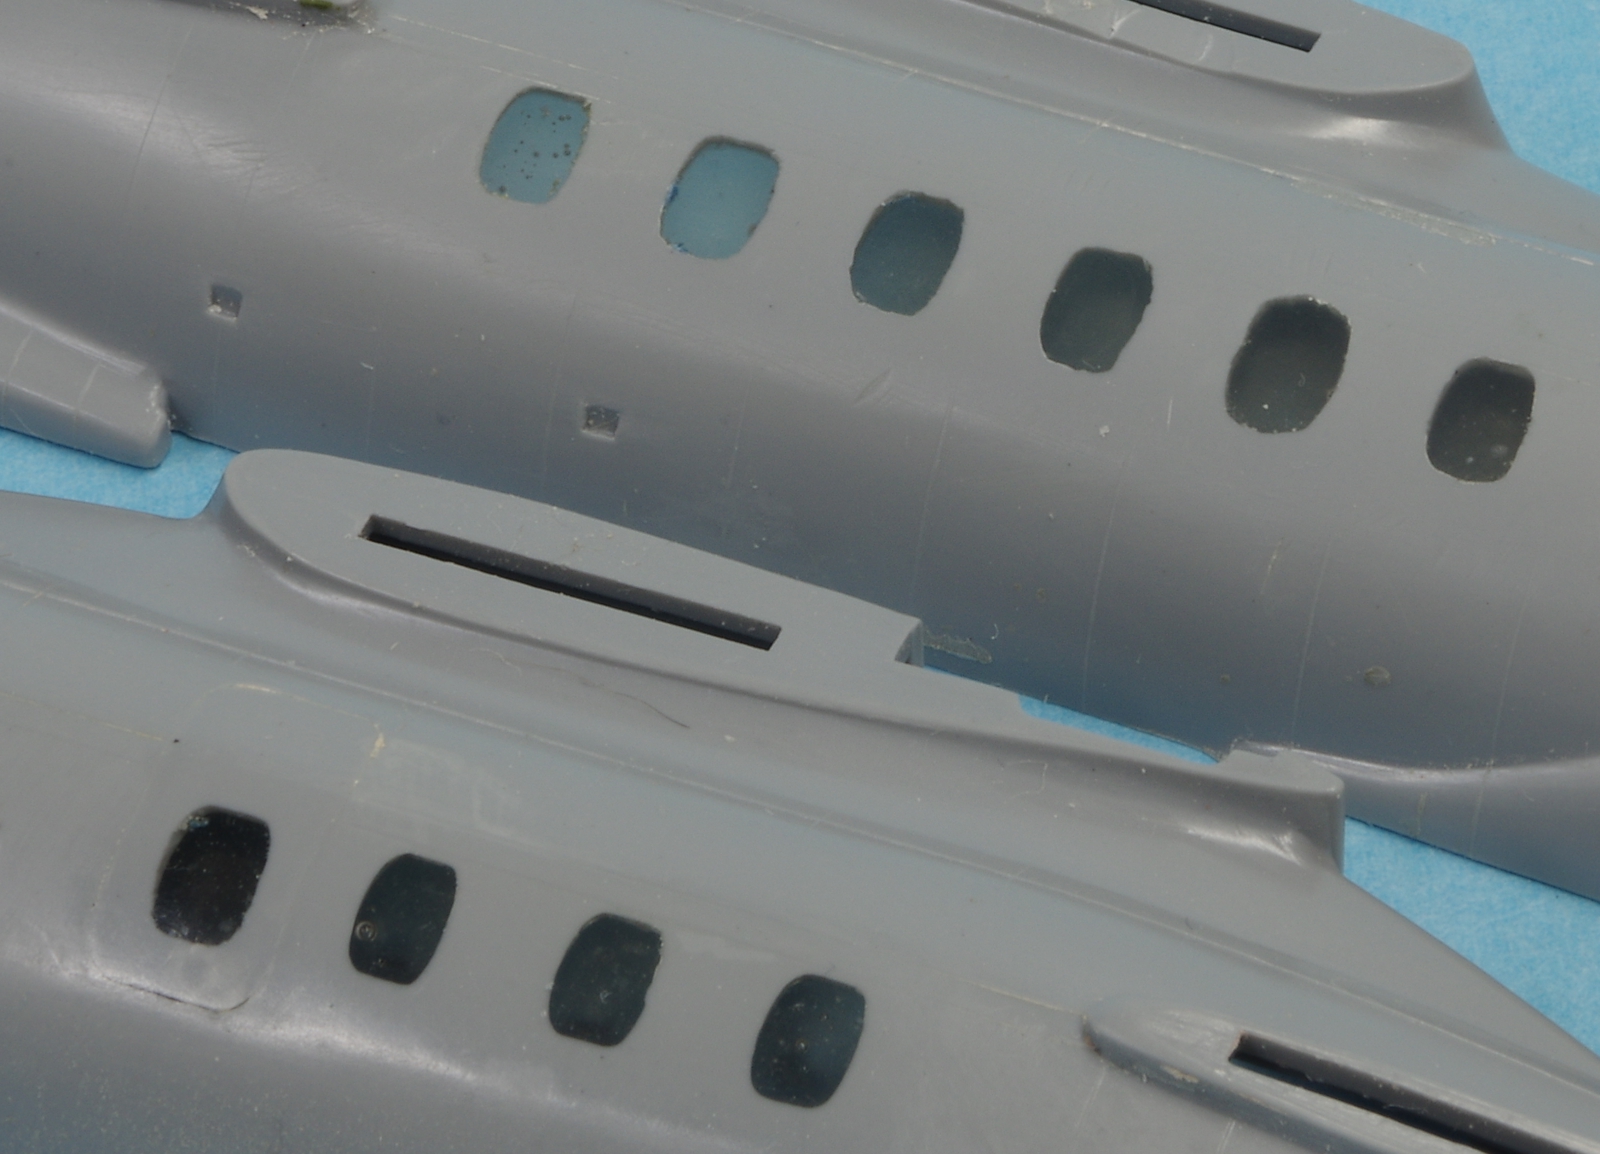
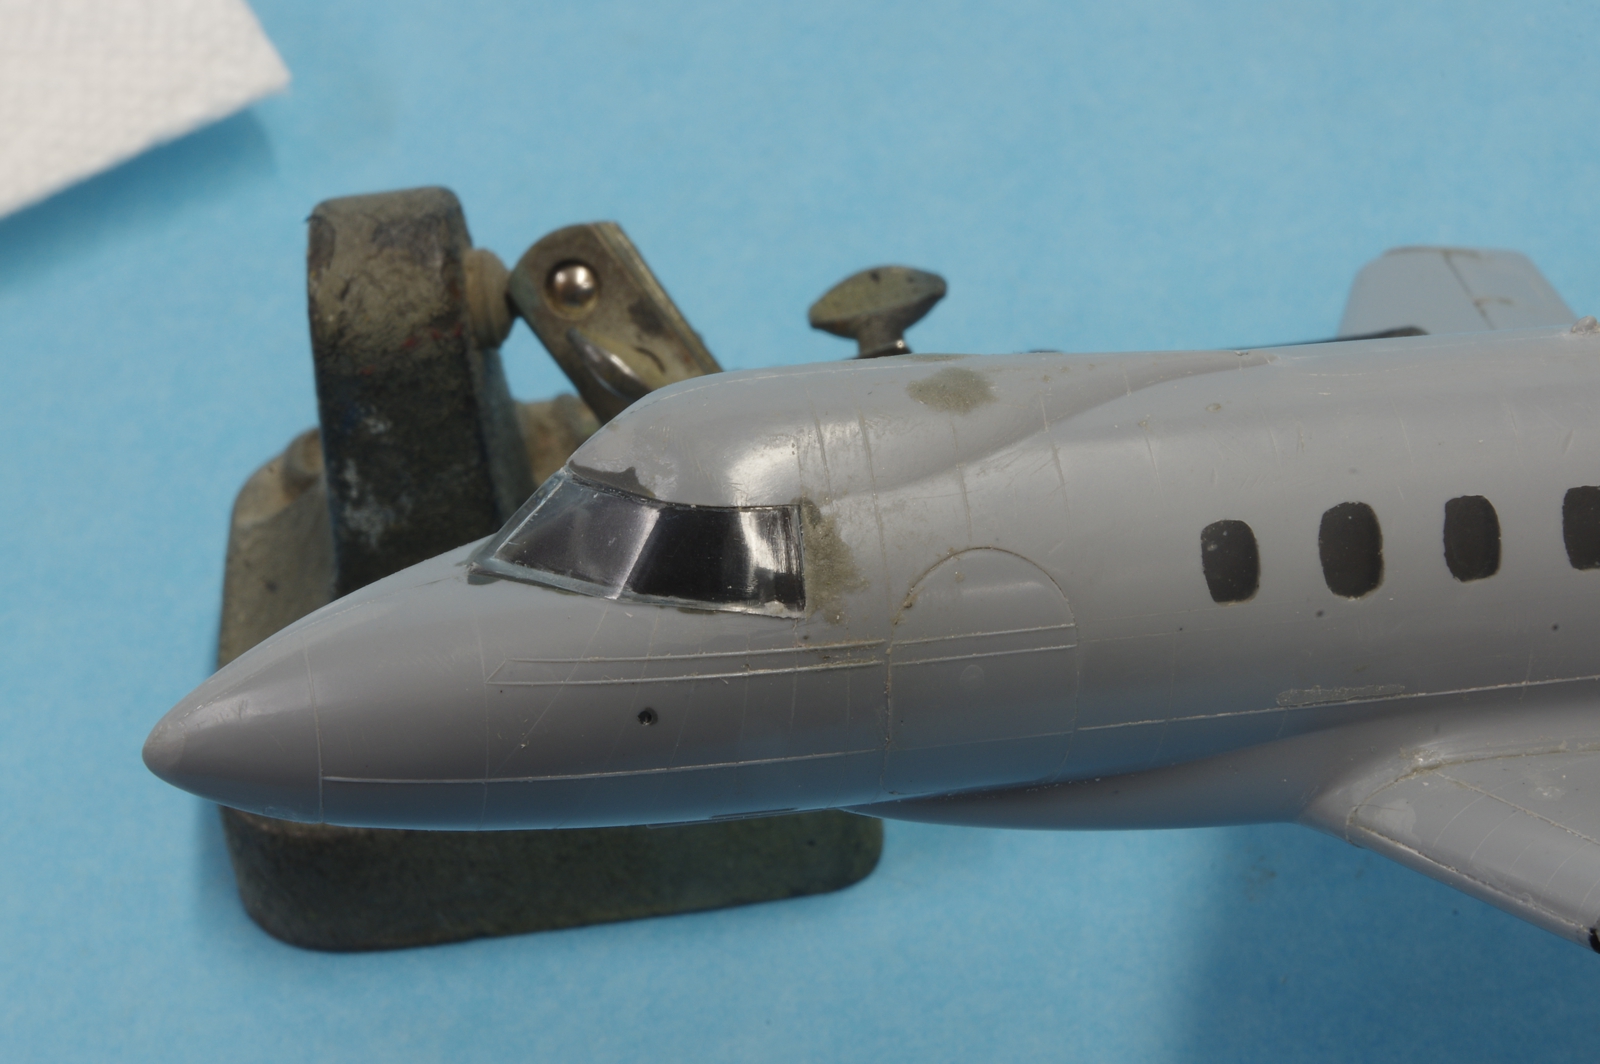
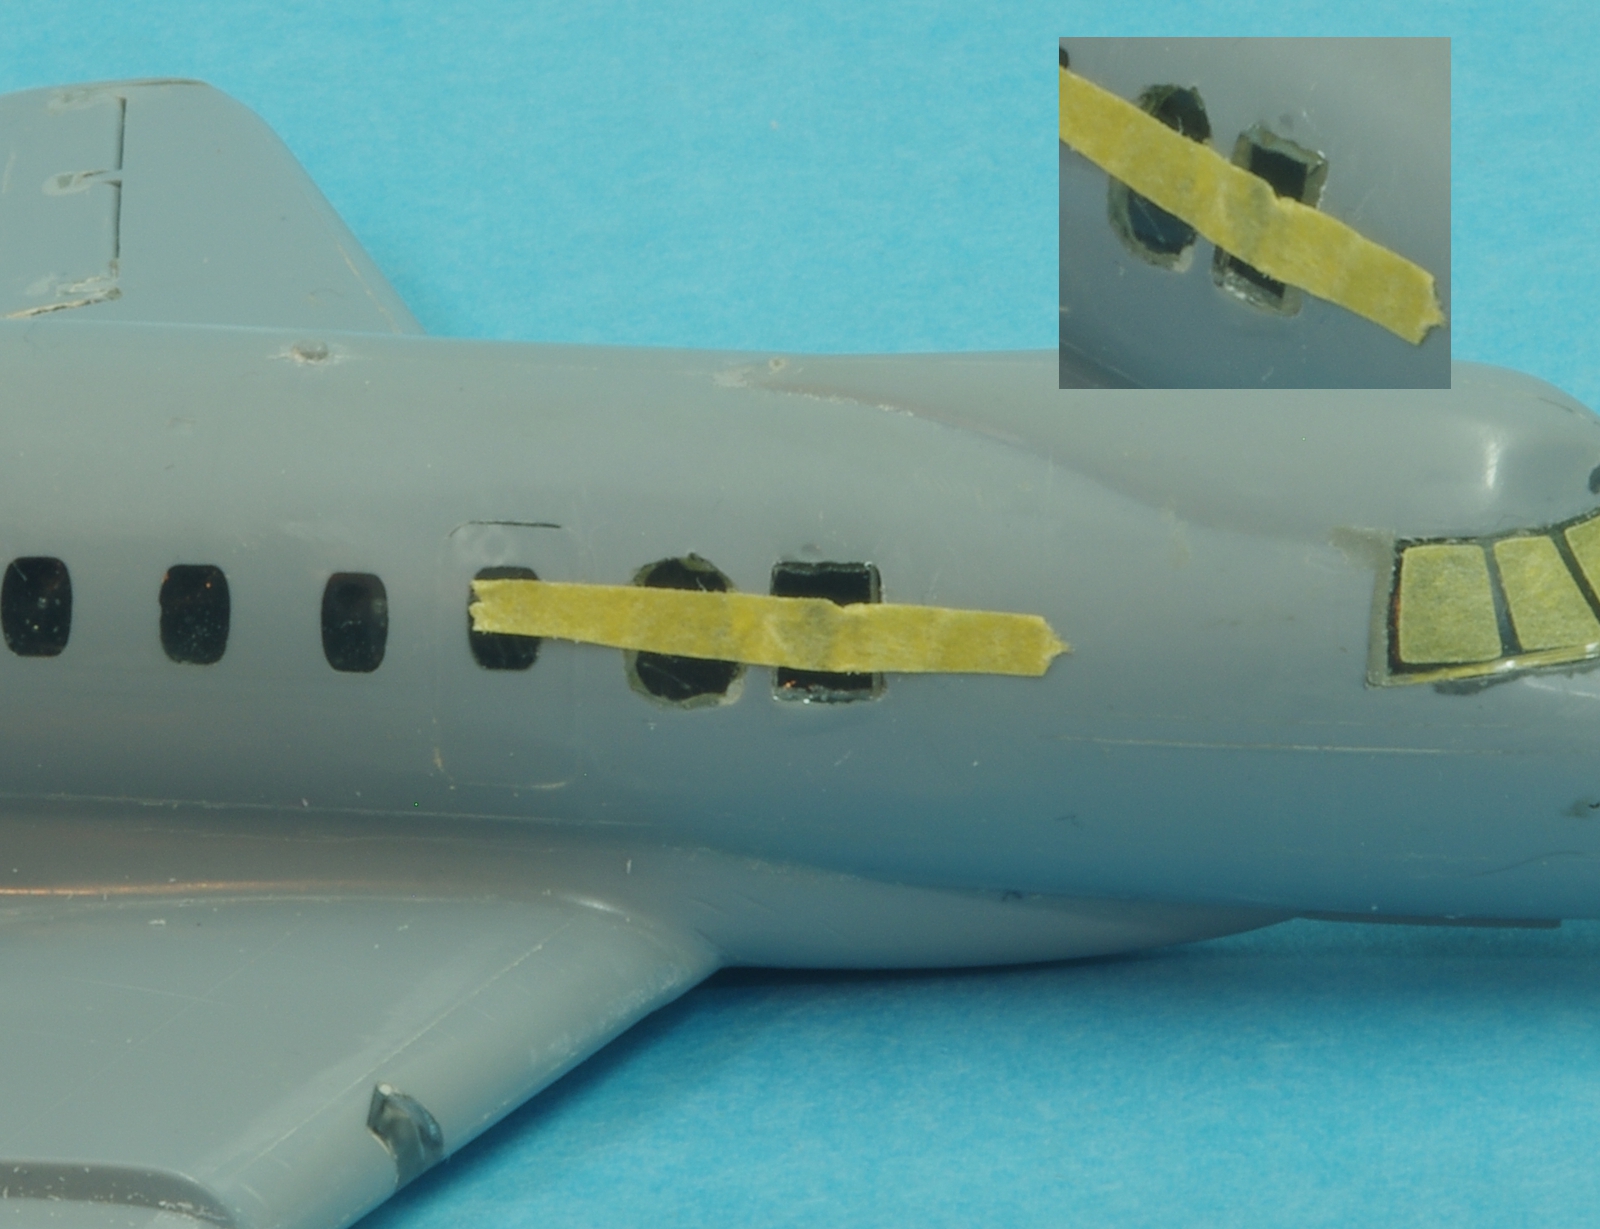
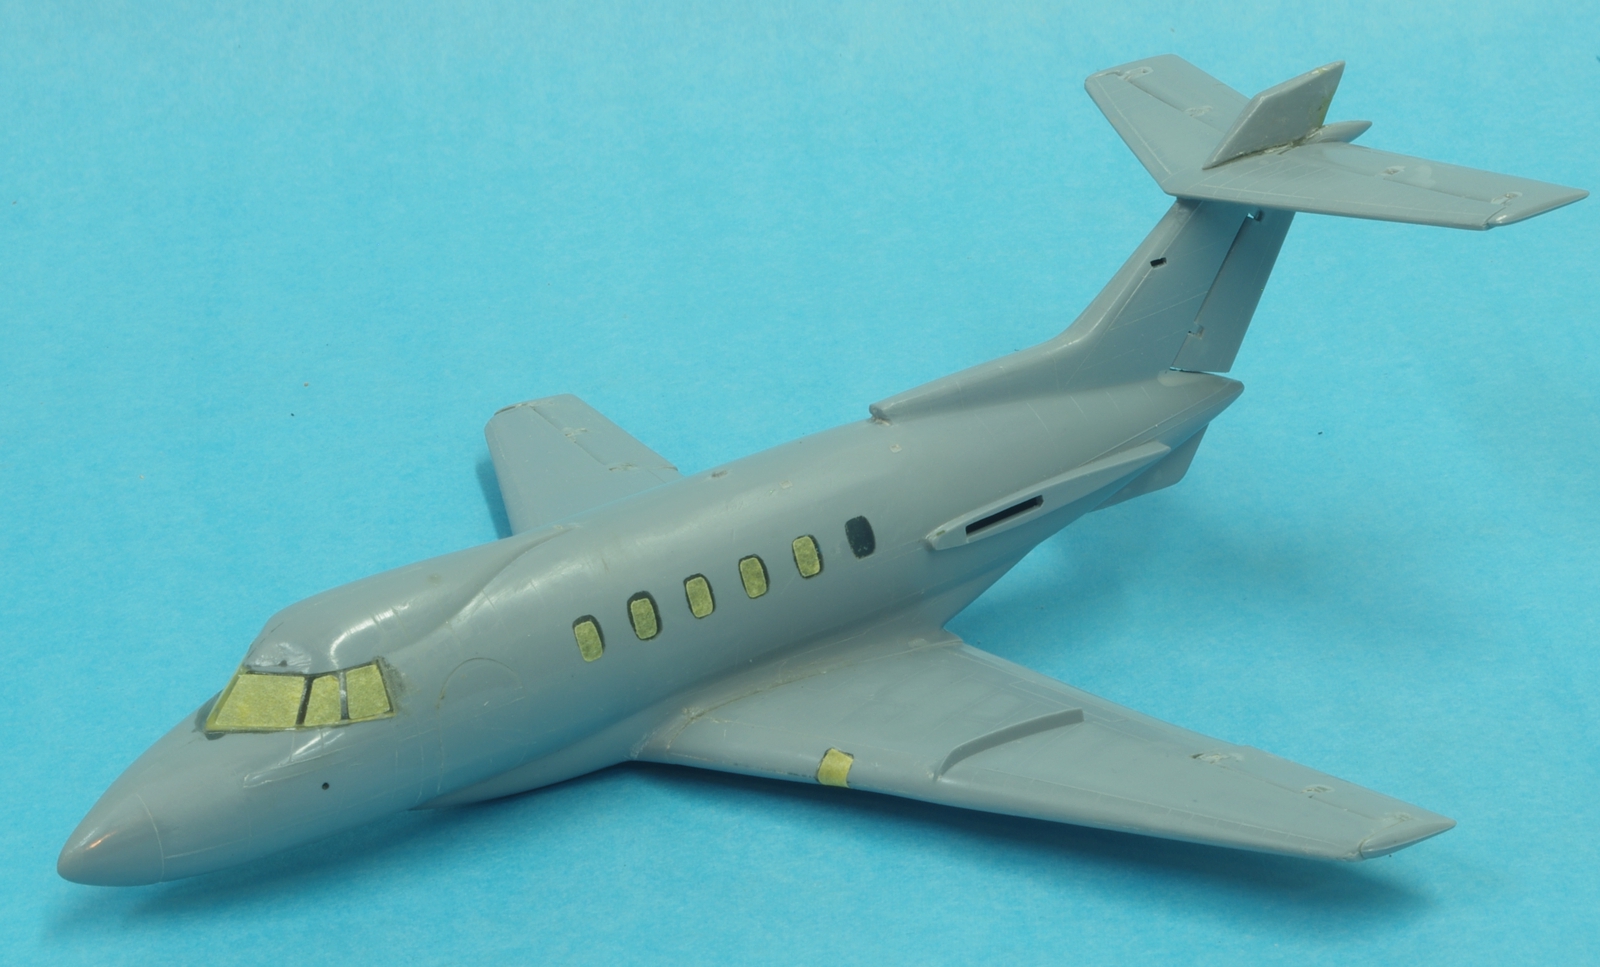
After some study I realized after assembling the basic airplane that the cabin window arrangement on the Airfix kit is different from the civil DH-125-1A, in that on the one I flew there were five on each side but the kit has six on the left and four on the right. The aft windows on both sides were too far aft. No problem on the left side as I can just paint over that one, but on the right side the aft one had to go and two more needed to be added toward the front. I made masks for all the windows and the cockpit windows as well and that made it easy to locate where the windows should be. Rather than try to use clear epoxy I gouged out oversize holes and filled them with clear acrylic cut from an old drafting triangle and superglued them in, leaving them proud of the surface. Then I filed and sanded them down flush with the surface and polished them. The landing light transparencies were also installed, which took a while as the fit was not good. More filing, sanding, and polishing ensued. In general fits were off enough to require work with Epoxysculpt in a lot of places. The windscreen was a bit shorter that the opening for it on both sides and that was dealt with Epoxysculpt. The control surfaces were meant to move but the associated fits were not too good and also fragile.
I think I am about ready for paint. I'm leaving the nacelles off until most of the painting is done, remember all that striping? It's all over the nacelles.
![0101dh125.jpg]](http://goldeneramodel.com/mymodels/dh125/1dh125/0101dh125.jpg])
It's an older kit and fairly basic. There were a few places a little short shot and the transparencies were not the best so I filled the cabin windows with clear epoxy and filed and sanded them flush with the surface. I should have counted the windows at this stage.
After some study I realized after assembling the basic airplane that the cabin window arrangement on the Airfix kit is different from the civil DH-125-1A, in that on the one I flew there were five on each side but the kit has six on the left and four on the right. The aft windows on both sides were too far aft. No problem on the left side as I can just paint over that one, but on the right side the aft one had to go and two more needed to be added toward the front. I made masks for all the windows and the cockpit windows as well and that made it easy to locate where the windows should be. Rather than try to use clear epoxy I gouged out oversize holes and filled them with clear acrylic cut from an old drafting triangle and superglued them in, leaving them proud of the surface. Then I filed and sanded them down flush with the surface and polished them. The landing light transparencies were also installed, which took a while as the fit was not good. More filing, sanding, and polishing ensued. In general fits were off enough to require work with Epoxysculpt in a lot of places. The windscreen was a bit shorter that the opening for it on both sides and that was dealt with Epoxysculpt. The control surfaces were meant to move but the associated fits were not too good and also fragile.
I think I am about ready for paint. I'm leaving the nacelles off until most of the painting is done, remember all that striping? It's all over the nacelles.


 :dude
:dude
 ldguy
ldguy