-
Modelers Alliance has updated the forum software on our website. We have migrated all post, content and user accounts but we could not migrate the passwords.
This requires that you manually reset your password.
Please click here, http://modelersalliance.org/forums/login to go to logon page and use the "Forgot your Password" option.
You are using an out of date browser. It may not display this or other websites correctly.
You should upgrade or use an alternative browser.
You should upgrade or use an alternative browser.
AFV Stuart M5A1 - Finished.
- Thread starter wds
- Start date
AFV Stuart M5A1
I'm growing fond of those light tanks. Looking forward to this Bill
I'm growing fond of those light tanks. Looking forward to this Bill

Sherman 18
Master at Arms
AFV Stuart M5A1
Been wondering about this kit. Glad your doing one.
Been wondering about this kit. Glad your doing one.
wds
Active member
AFV Stuart M5A1
Thanks, Terry, Mike, Sherm, and Bob!
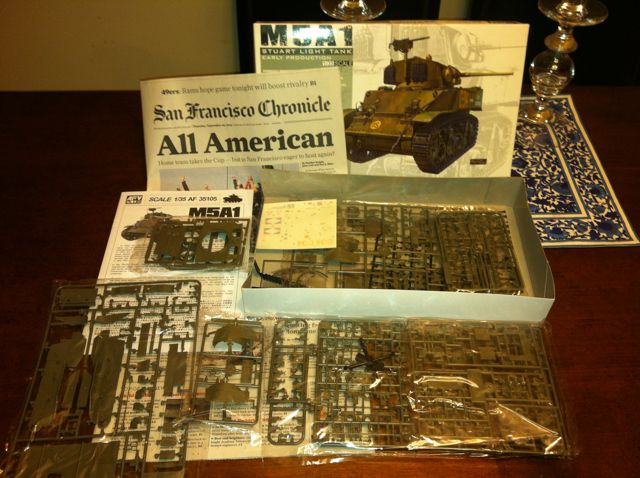
This is my first AFV Club kit.
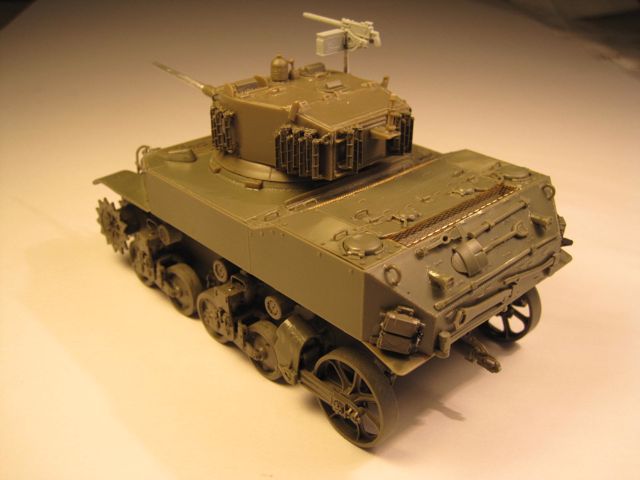
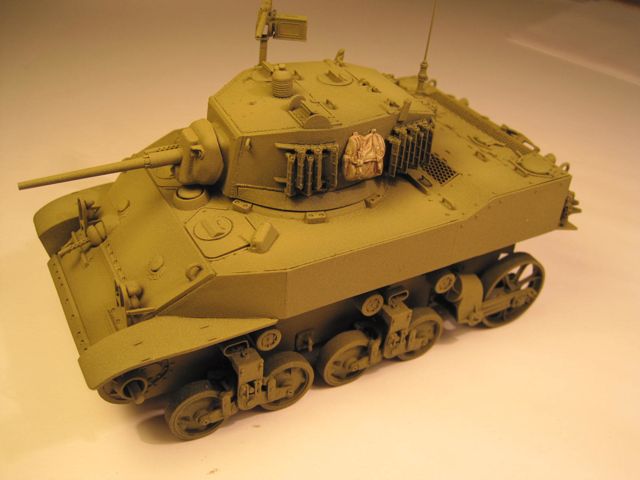
I'm generally pleased. It sems like there were a lot of little parts. The grousers (32 of them) were in two pieces each. There were no less than 20 handles or lift rings, not couting 4 on the inside of hatches. Lots of tweezer work. Aluminum barrel and aluminum MG riser (what was the point of that?). PE fret for the engine deck grills.The machine gun was a left-over from a dragon kit (it had a little better detail than the kit offering).
Lets paint this thing.
Cheers,
Bill

v27
Thanks, Terry, Mike, Sherm, and Bob!
This is my first AFV Club kit.
I'm generally pleased. It sems like there were a lot of little parts. The grousers (32 of them) were in two pieces each. There were no less than 20 handles or lift rings, not couting 4 on the inside of hatches. Lots of tweezer work. Aluminum barrel and aluminum MG riser (what was the point of that?). PE fret for the engine deck grills.The machine gun was a left-over from a dragon kit (it had a little better detail than the kit offering).

Lets paint this thing.
Cheers,
Bill


v27
AFV Stuart M5A1
Been saving up that bench time Bill?
Been saving up that bench time Bill?

wds
Active member
AFV Stuart M5A1
A little bit, Bob. I grab it when I can. I'm enjoying a little me time between work jobs.
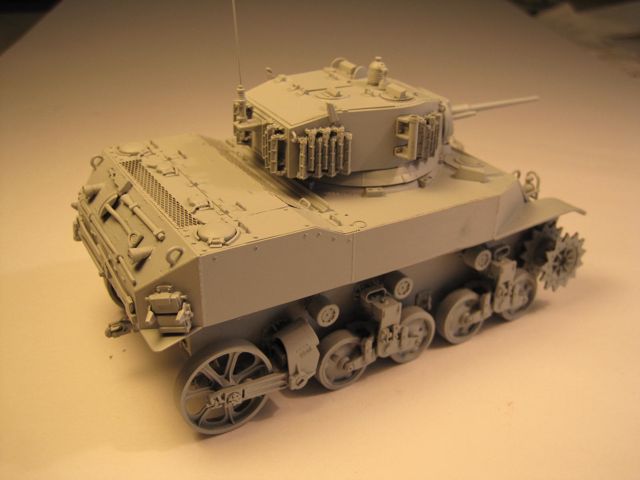
Primer is a start. I like the way it unifies all the different materials and hides all my glue snail trails.
 .
.
The spare tracks on the front are a maybe. I will paint them off the vehicle along with some stowage and add them at the end only if they enhance the final product.
Green, green, green, the boys are maarrrrrrrching.


Cheers,
Bill

Been saving up that bench time Bill?
A little bit, Bob. I grab it when I can. I'm enjoying a little me time between work jobs.
.... Let's get painting then!:drinks
Primer is a start. I like the way it unifies all the different materials and hides all my glue snail trails.

The spare tracks on the front are a maybe. I will paint them off the vehicle along with some stowage and add them at the end only if they enhance the final product.
Green, green, green, the boys are maarrrrrrrching.


Cheers,
Bill


AFV Stuart M5A1 - assembled

Nice and clean
Nice and clean
wds
Active member
AFV Stuart M5A1 - assembled
Thanks, Mike, cb1, and Bob!
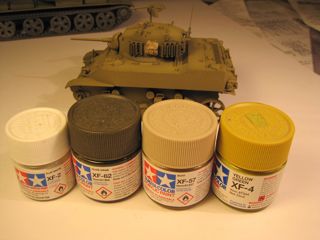
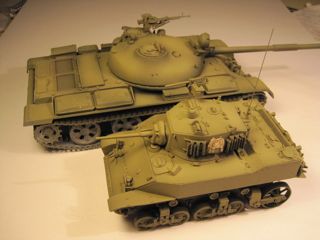
Ok, … So a little Tamiya Olive drab applied and subsequently lightened. I swear there is some variation and shadows, but the camera and lights are making a liar out of me. :vmad Who ya’ gonna’ believe? :hmmm
Something I have started doing is using a “donor” like this old Tamiya “T” to spray on the same colors so I can practice the weathering and testing other techniques on something other than the real subject. I just blast away and don’t worry about it. I think this “T” has about 5 paint jobs on it.
Thanks for looking,
Bill
Thanks, Mike, cb1, and Bob!
Ok, … So a little Tamiya Olive drab applied and subsequently lightened. I swear there is some variation and shadows, but the camera and lights are making a liar out of me. :vmad Who ya’ gonna’ believe? :hmmm
Something I have started doing is using a “donor” like this old Tamiya “T” to spray on the same colors so I can practice the weathering and testing other techniques on something other than the real subject. I just blast away and don’t worry about it. I think this “T” has about 5 paint jobs on it.

Thanks for looking,
Bill


AFV Stuart M5A1 - assembled
You can clearly see it on the T but not so much on Stuart. Maybe another blast of the darker shades?
You can clearly see it on the T but not so much on Stuart. Maybe another blast of the darker shades?
wds
Active member
AFV Stuart M5A1 - assembled
Thanks Dave and Mike! Thanks Chuck!
I 'll let the whole shebang cure for a few days then apply Bob L's turpinoid and artist oil wash.
Thanks for looking,
Bill
Right Bob. I think I'll bump up the contrast in the wash and highlight stages to come. We'll see.... Maybe another blast of the darker shades?
Thanks Tom. Subtlety is a thin line and one I'm still trying to figure out....if you do it right, it shouldn't be noticeable. ...
Thanks Dave and Mike! Thanks Chuck!

I 'll let the whole shebang cure for a few days then apply Bob L's turpinoid and artist oil wash.
Thanks for looking,
Bill
jknaus
Administrator
AFV Stuart M5A1 - base coat paint
It looks great


 I use a test bed too, makes life so much easier. Now if only I had take that thought one step farther like you did and tried the weathering I might be a better modeler. Thanks for another trick to add to my modeling bag of tricks
James
It looks great
James

