• Modelers Alliance has updated the forum software on our website. We have migrated all post, content and user accounts but we could not migrate the passwords.
    This requires that you manually reset your password.
    Please click here, http://modelersalliance.org/forums/login to go to logon page and use the "Forgot your Password" option.

AFV Club M113 ACAV

JamesOLeary

Master at Arms
Having built a couple Academy M113s as well as making a few "wedgies" out of Academy and Italeri kits, I decided to give the AFV Club M113 ACAV kit a try. It is more detailed than my old standby, the Academy kit, but there were a few things missing which I will be adding.

This model will eventually find itself in a diorama and the vehicle will be depicting a gas-powered M113 belonging to C Company, 2d Battalion, 47th Infantry (Mechanized), 9th Infantry Division. To backdate the kit to depict a regular M113 I have to make some changes to the fuel tank and the headlight guards for sure.

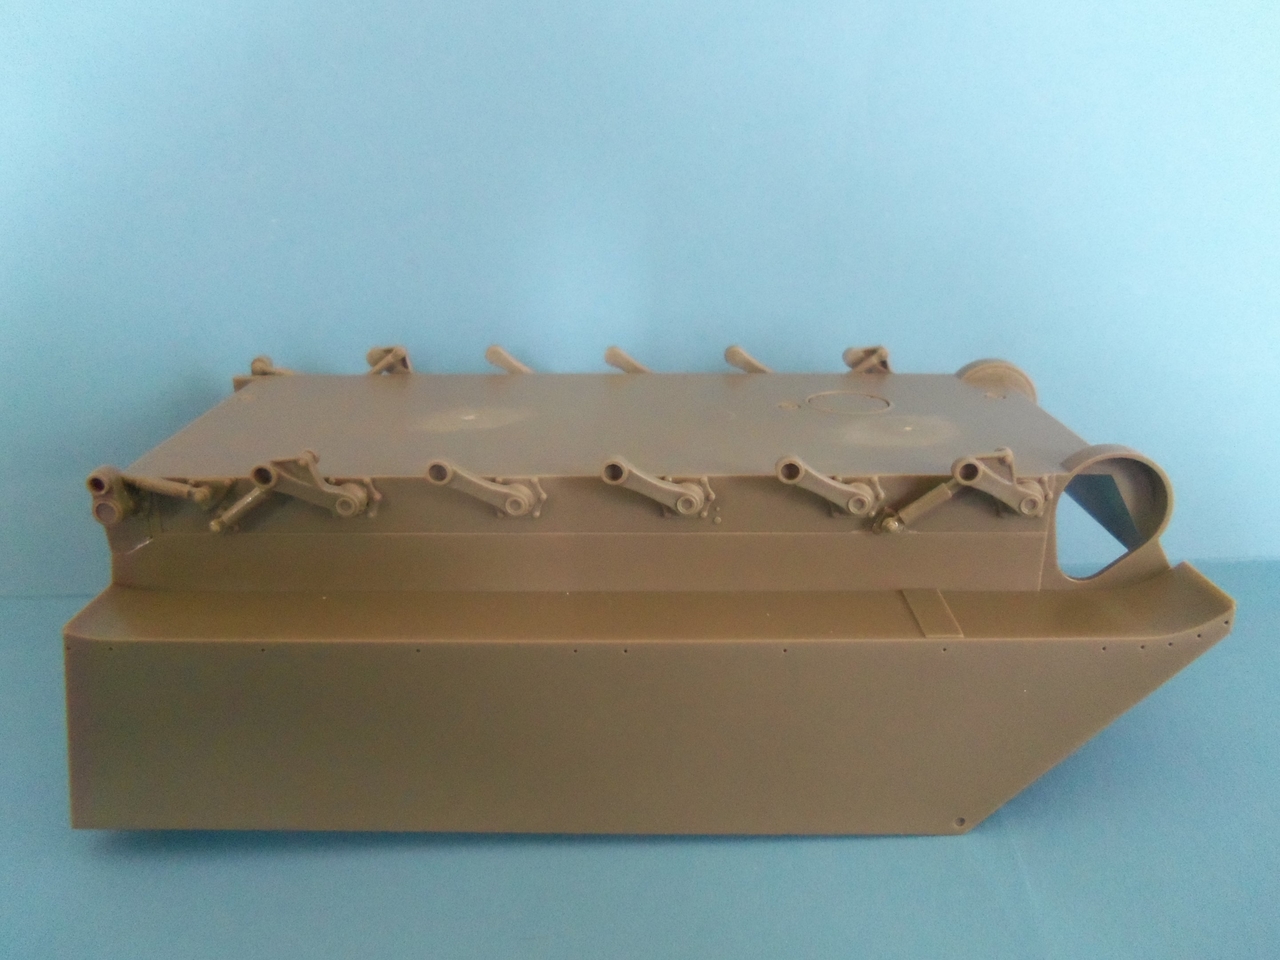
The first thing I did to start this build was to install the suspension system. It is quite a bit better than those that were found in the Tamiya, Italeri, and Academy kits.
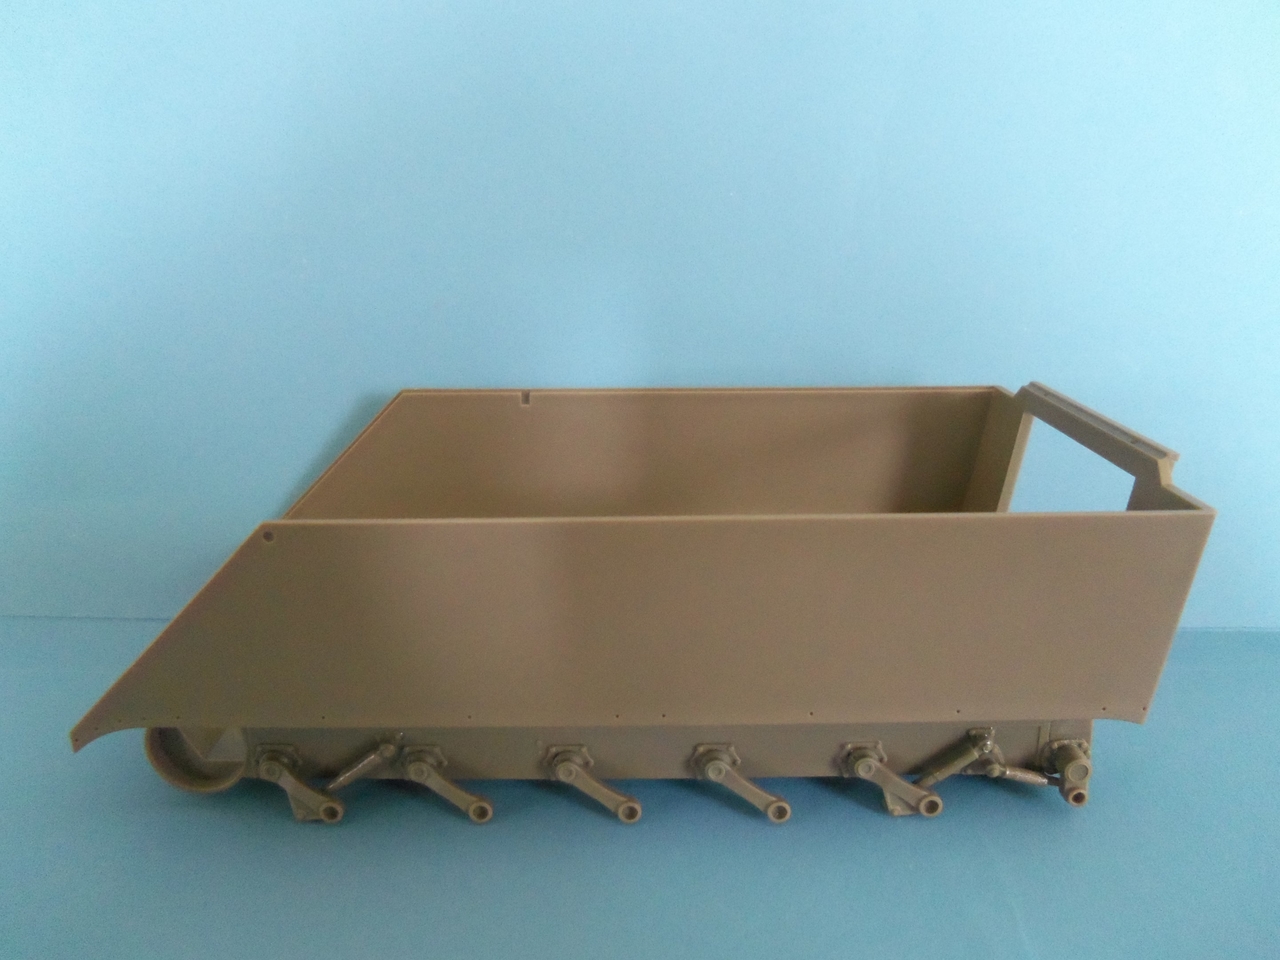
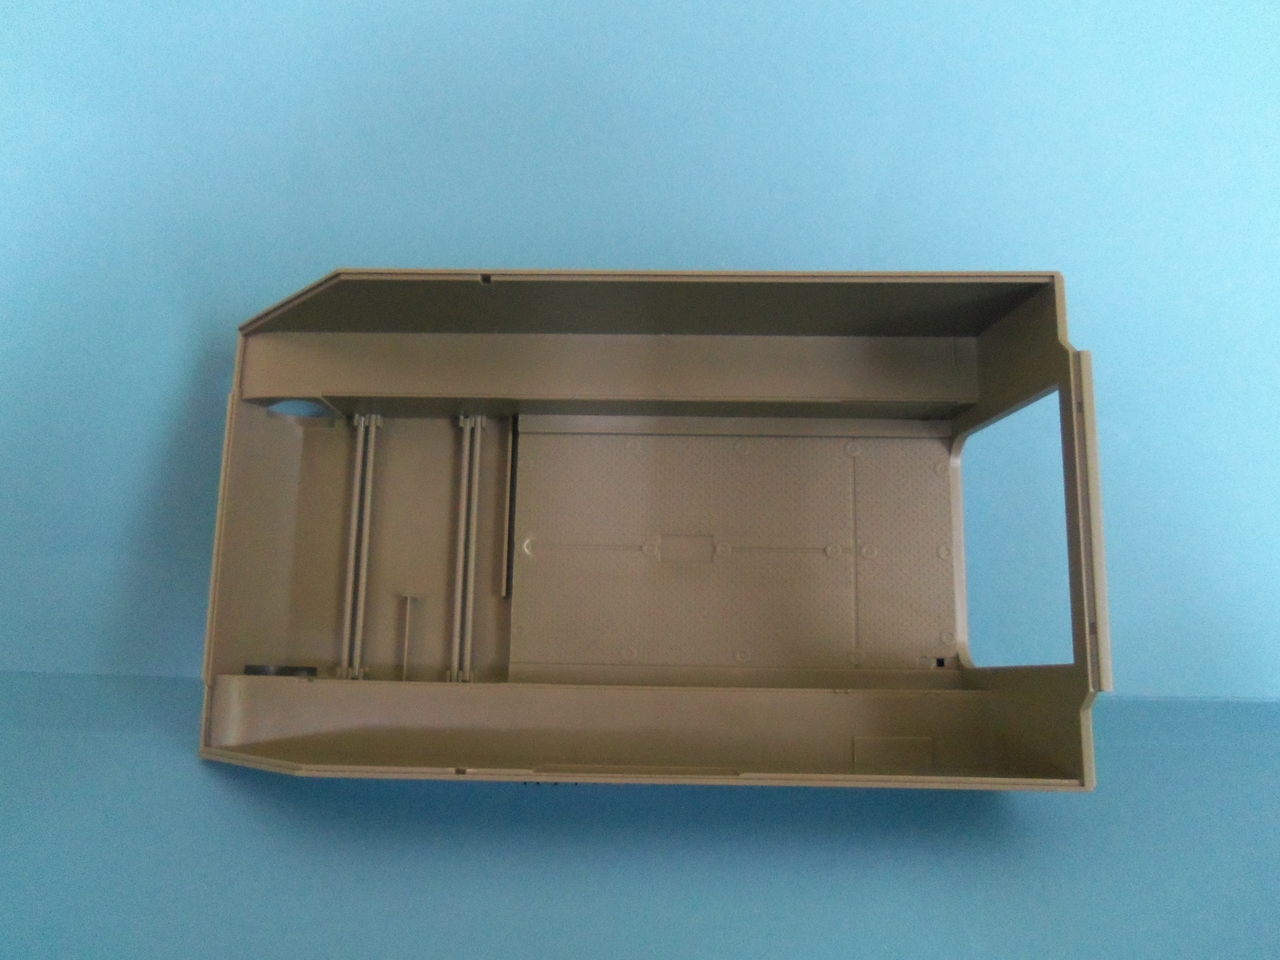
100_9494.JPG


100_9495.JPG


100_9496.JPG


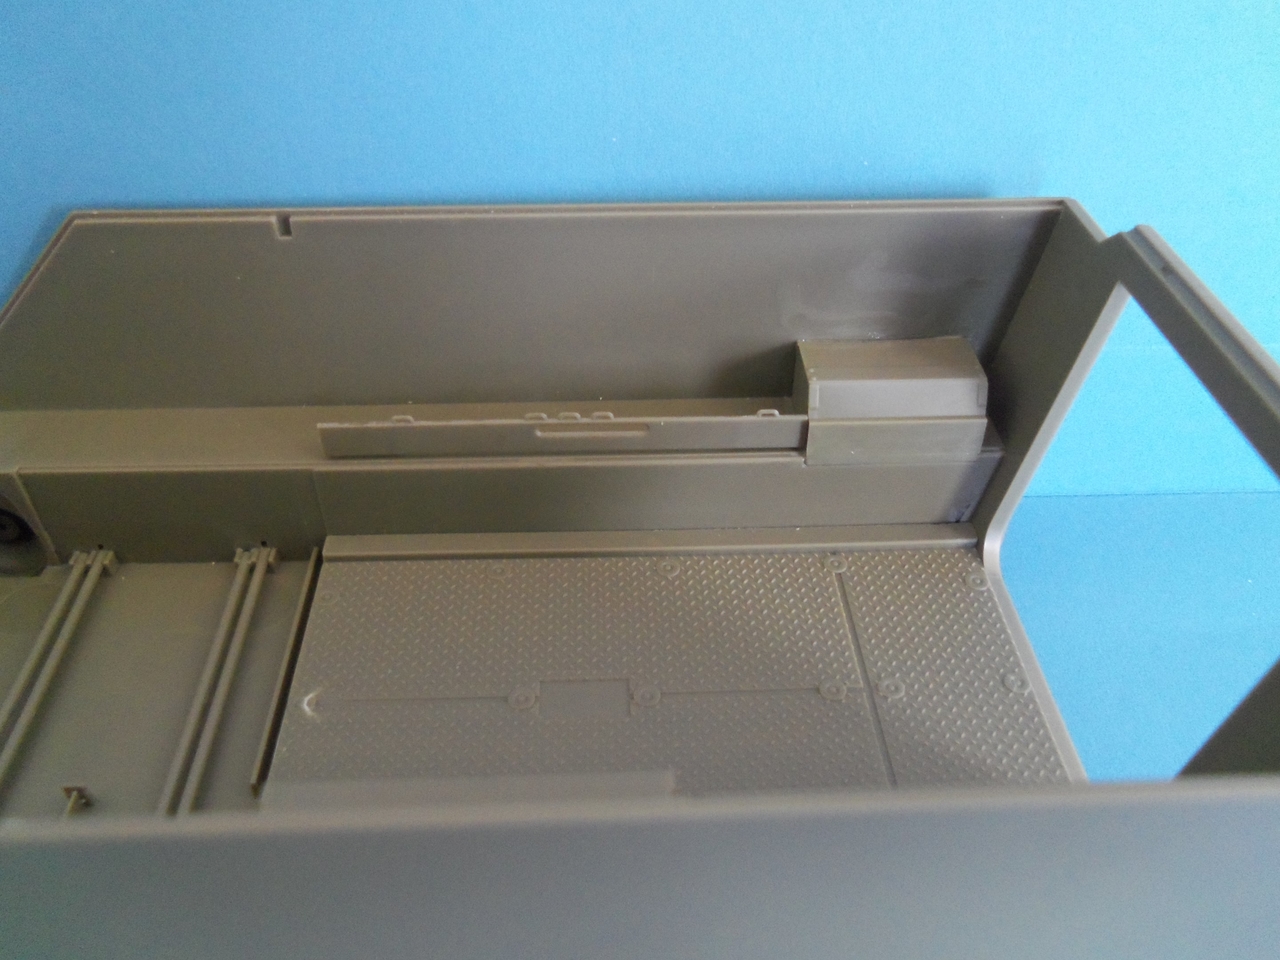
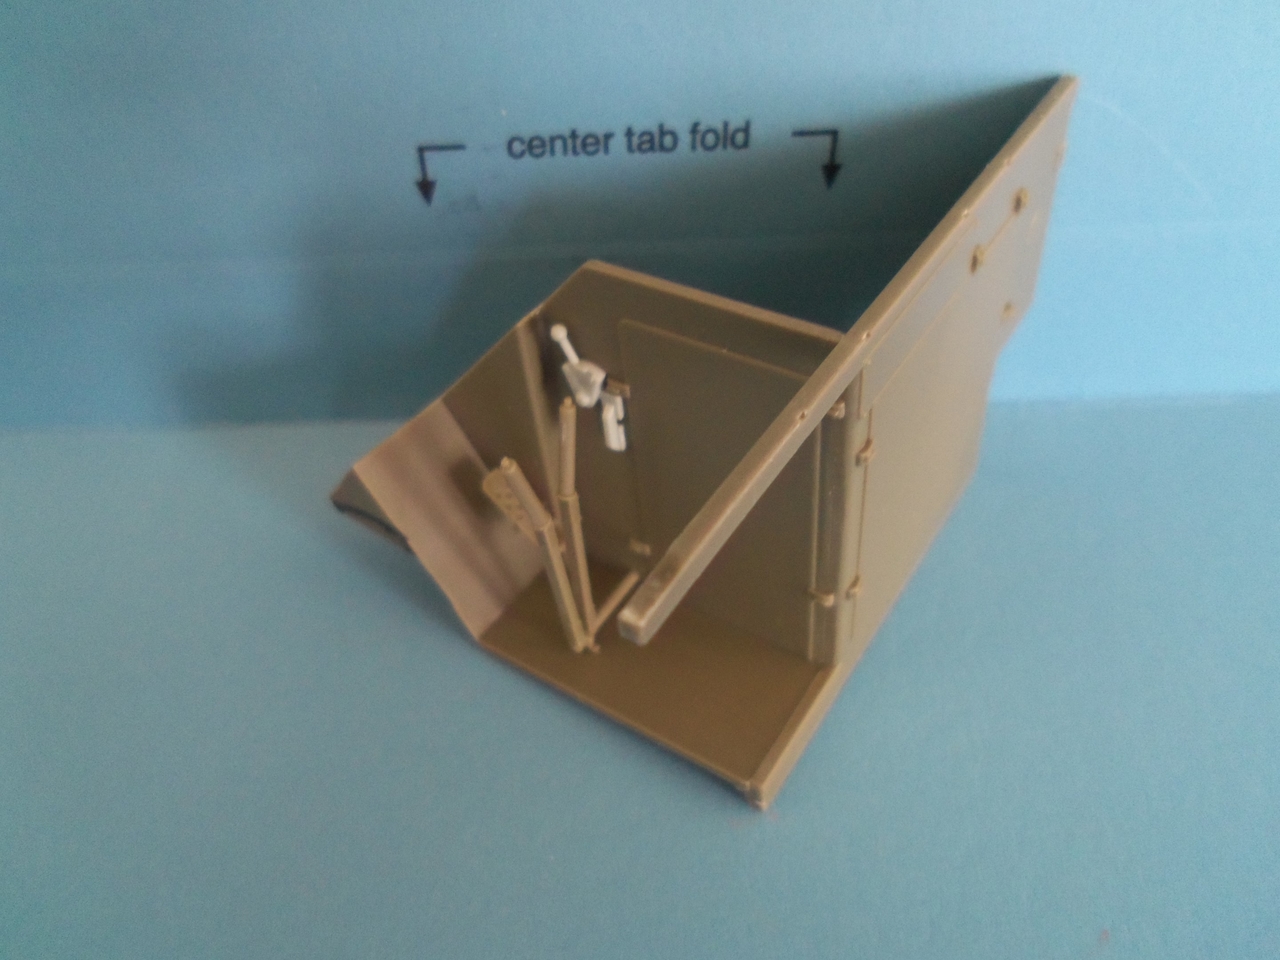
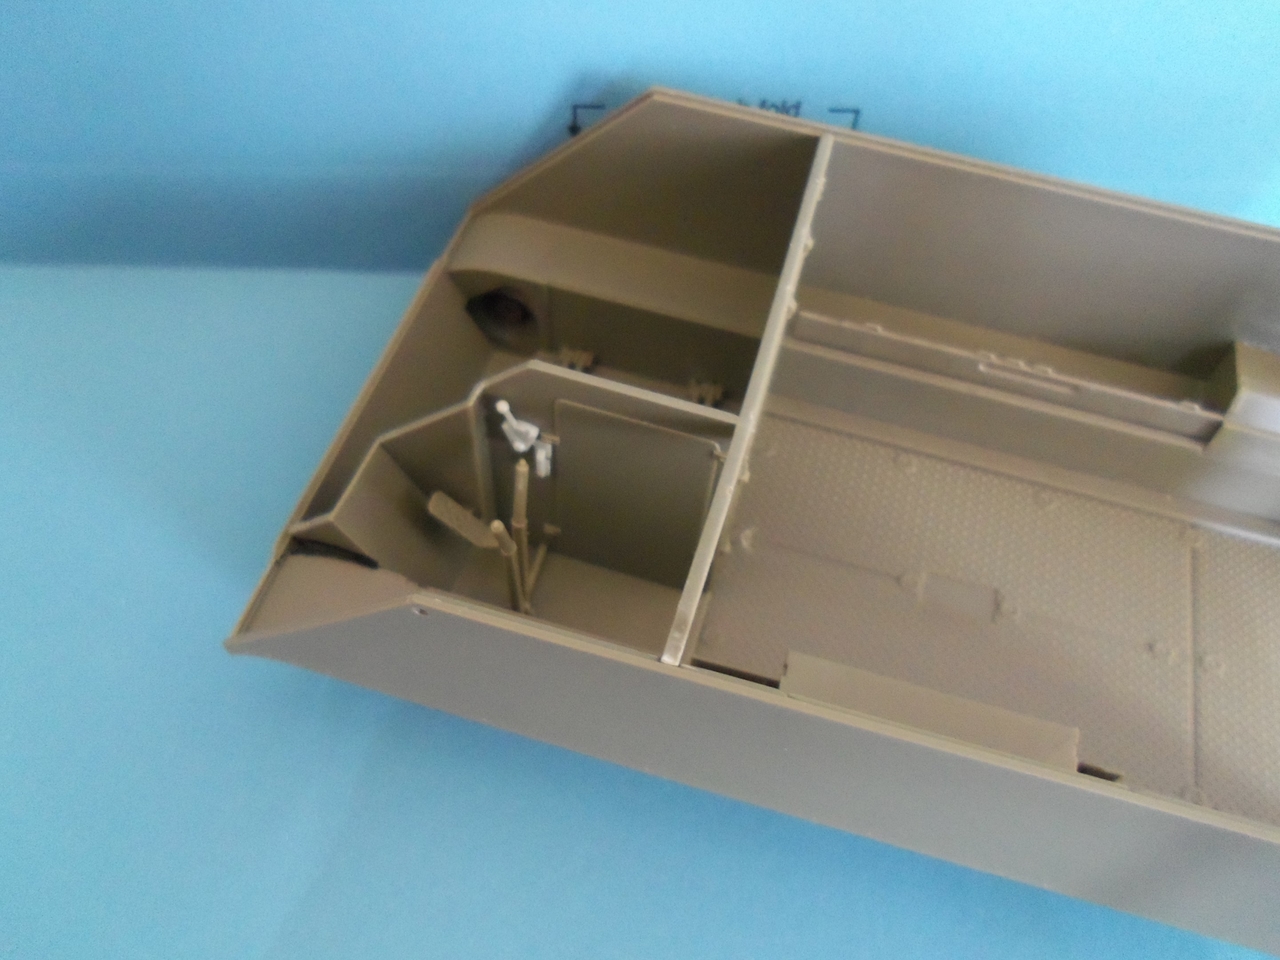
Then I started to put together the parts that will form the interior. There were a few items that are missing from the AFV Club kit so I added them from parts from the Academy kit. They are the items in light grey plastic.
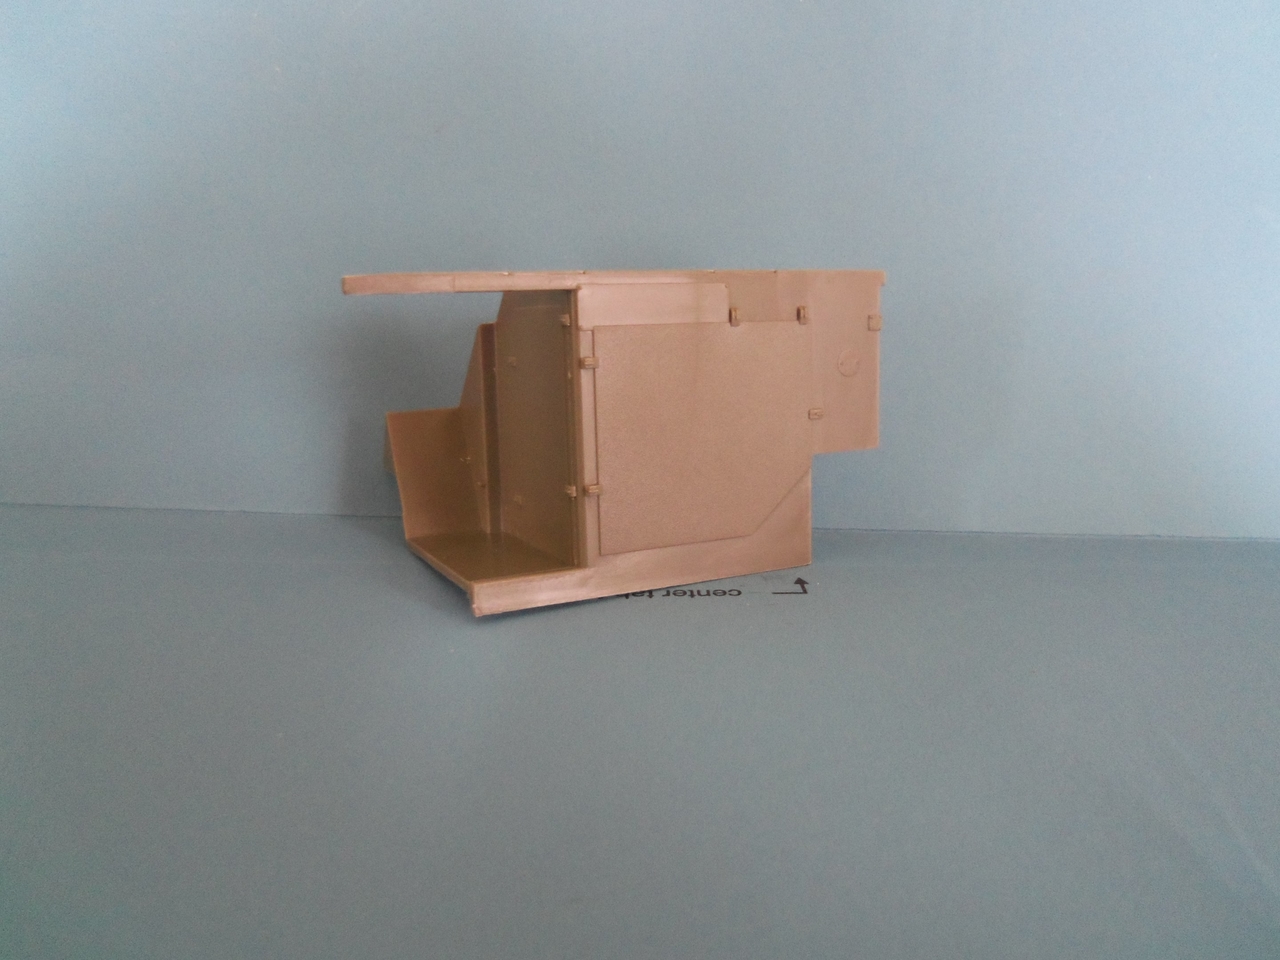
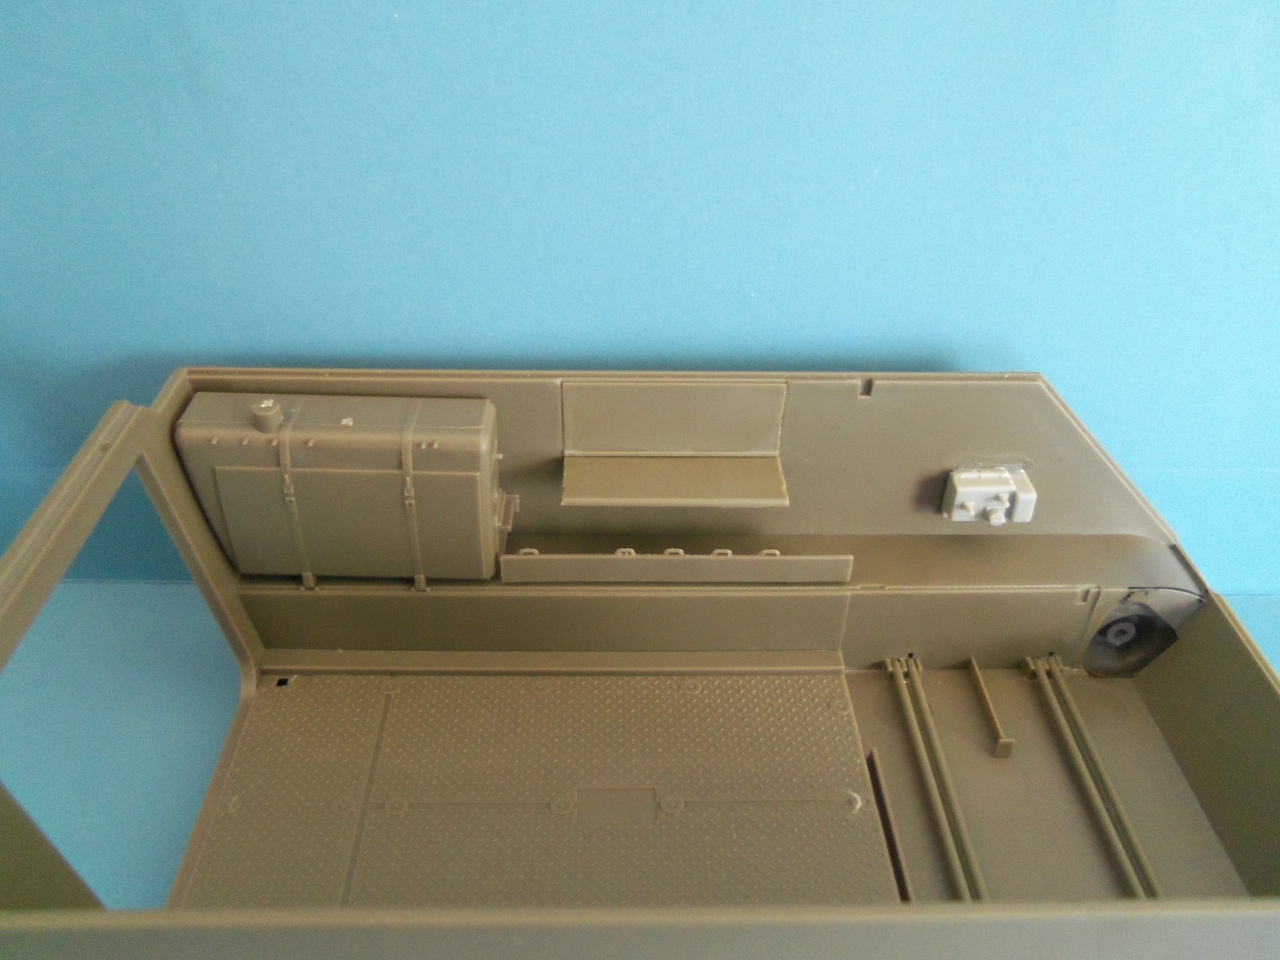
100_9497.JPG


100_9508.JPG


100_9509.JPG


100_9510.JPG


100_9511.JPG


There is still more to add, but that will be done as work progresses.
 
One of the main differences between the M113 and the M113A1 is the fuel tank. In the gas-powered M113 it is a more squarish shape with an access panel. Since I want to meet a timeline on the construction of this model, I am just making it appear as though it is the correct fuel tank. First I sanded away the roundness of the kit-supplied fuel tank. Then I took some sheet styrene and cut the rough shape and glued it to the kit-supplied fuel tank.

100_9514.JPG


I checked it's fit with the rest of the interior. Since the tank was welded in place, I will fill in the gaps with putty when the time comes.

100_9515.JPG


I then took another piece of sheet styrene to make the access panel. I cut a rectangular shape and then scribed the inner panel. Two pieces of wire made the two runners on either side of the access panel. To make the bolts and make sure they were placed properly, I decided to drill holes and make the bolts with copper wire.

100_9518.JPG


100_9519.JPG


100_9520.JPG


100_9521.JPG


I then glued the fuel tank in place and applied some Vallejo putty to fill the gaps.

100_9552.JPG


100_9553.JPG


100_9554.JPG


100_9555.JPG
 
A few more bits and pieces were added along the left wall such as the night vision periscope (which came with the kit but was intended to be mounted to the drivers hatch - to use here I added a mounting bracket that it rests on and some straps to keep it in place since it was not used much if at all by 2/47th Infantry), drivers intercom control box, and the thing near the drive sprocket area. I also cut a hole in the shelf where the radios are mounted where the cables come through. The piping that goes to the bilge pump has been added on thre rear right hand wall.

I then painted the interior white since that is how the gas-powered M113s were painted. The floor was painted black and subsequent layers of gradually lightened greys were painted over it.

100_9556.JPG


100_9557.JPG


100_9558.JPG


In the driver's compartment, there are some wires that come out of the right side. I have drilled holes and installed those wires.

100_9559.JPG


100_9560.JPG


There is a green power box that is located beneath the radio shelf and here it is prior to installation with its wiring.

100_9561.JPG


The bottom three wires are twisted together with the top one loose as it will eventually be routed towards the warning indicator panel.

100_9568.JPG


100_9569.JPG


100_9571.JPG
 
The power junction box for the radios is ready to install.

100_9572.JPG


Now the madness begins! The wiring for the radios and commo equipment is being emplaced and the hoses and wiring of other items is starting to be installed as well.

100_9573.JPG


100_9574.JPG


100_9575.JPG


100_9576.JPG


100_9577.JPG


100_9579.JPG


100_9580.JPG


The drivers compartment receives its decals and the wiring is further prepped for the front of the M113 to be installed.

100_9581.JPG


100_9582.JPG


100_9583.JPG


The drivers compartment is put in its place. I only glued the parts touching the front left side of the hull. The cross beam on the left side and the wall on the right side are not glued in place as suggested in Aaron Skinner's article in the Vietnam issue of Fine Scale Modeler.

100_9584.JPG


In this shot, you can see the plumbing to the fire suppression system and the internal fire extinguisher that is activated by pulling a lever on the top of the hull.

100_9585.JPG


100_9586.JPG


100_9587.JPG


Here are the battery cables going from the batter box to the front of the troop compartment into the engine area.

100_9591.JPG


100_9593.JPG


100_9594.JPG
 
A few washes of oil paints have been applied to start the weathering process to depict the dust that accumulates from use in a dusty environment. A pencil has been used to create the chipping of paint where equipment has rubbed up against the walls, etc.

Something that was Standard Operating Procedure in C Company was the use of wooden box seats to store ammo, grenades, claymores, pop flares, spare radio gear, etc in a standardized load plan that was common to all tracks in the company. This occurred after the company had been in-country a few months and it was determined that a better way for storing ammo so it was readily accessible and was separated by type was needed. The boxes were made during one of the unit's stand downs at the motor pool at Bearcat and were constructed by each crew. There were some slight variances due to some guys having carpentry skills and others not having them, but they all worked as intended. After the items were loaded in the boxes, they were covered with the vinyl covers of the original seats or by some that were locally made.

The boxes I am using were made in miniature by my friend Bill Rambow who served in that unit and was one of the guys who built the real thing.

100_9606.JPG


100_9607.JPG


100_9609.JPG


100_9610.JPG


I used Magic Sculpt to fashion the seat cushions.

100_9613.JPG


100_9614.JPG


100_9616.JPG


100_9617.JPG


And here they are painted and mounted in the track.

100_9621.JPG


100_9622.JPG


100_9623.JPG


100_9624.JPG


100_9625.JPG


100_9626.JPG


100_9627.JPG


100_9628.JPG


That is as far as I have gotten so far. Next I will be working on installing the radios and the stowage.

Thanks for looking.

Cheers,
James
 
I keep thinking Center Tab Fold is something to pay attention to....:rotf

The seats are just off the hook! (y)
 
Thanks James,

Great work, I need to pick one up for a project I started with Academy but this one seems better suited.

Regards,
 
I'm with Mike- this is great stuff! I have the Academy kit in the stash but can learn lots from this kit build of yours as well!
 
I keep thinking Center Tab Fold is something to pay attention to....:rotf

The seats are just off the hook! (y)

Thanks. Glad you like the seats.

I really hate seeing that Center Tab Fold thing. I really need to get a different folder for my backdrop. :)

Cheers,
James
 
Thanks James,

Great work, I need to pick one up for a project I started with Academy but this one seems better suited.

Regards,

Thanks.

I think you will be pleased with the AFV Club kit. The push pin marks are the biggest distractor, but there are plenty of small detail parts that earlier kits left off or were not modeled properly.

Cheers,
James
 
Very nice SBS, thank you for sharing it! :ro:

You're welcome. Hopefully explaining the snags I come across along the way will help anyone else wanting to build this kit. I know that having a heads up about not gluing that crossbeam and the wall meeting up with the right side of the hull saved me some headaches later for when I put the roof on.

Cheers,
James
 
Thanks, Luiz and Jeeves.

Much of what I am doing with this kit I had done to the Academy kit as well in regards to detailing the interior. The Academy kit is till a nice kit and I still have a few of them on the shelf. The Academy kit seems to go together a bit easier and more quickly as a stock kit compared to the AFV Club kit. Both make for a good model.

Cheers,
James
 
After taking a short break from this model to finish up a project for the Charlie Don't Surf III build campaign, I have prepared the radio set I am going to use for this track prepared to be painted. Since this track is going to be one of the platoon vehicles NOT containing the platoon leader or platoon sergeant it only has a AN/VRC 160 radio set installed which is basically a AN/PRC 25 or 77 with a power amplifier for vehicular use. If necessary, the radio can be removed, the battery pack installed, and can be carried on the back of the RTO.

I would have used the radio that came with the kit, but the molding of the piece was incomplete leaving off part of one side of the face of the radio. I checked the other three kits I have and all have the same problem, so I chose to use the one that came in the Verlinden M113 Interior kit. I drilled the appropriate holes for the antenna cable, the W4 cable connecting the radio and the amplifier, and for the handset (I won't install that until after painting and placement on the shelf)

Here are some pics of the radio set...

100_9644.JPG


100_9645.JPG


And this is where it will be mounted...

100_9646.JPG


100_9647.JPG


100_9648.JPG


Now to do some painting...

Cheers,
James
 
Back
Top