fledermaus
Master at Arms
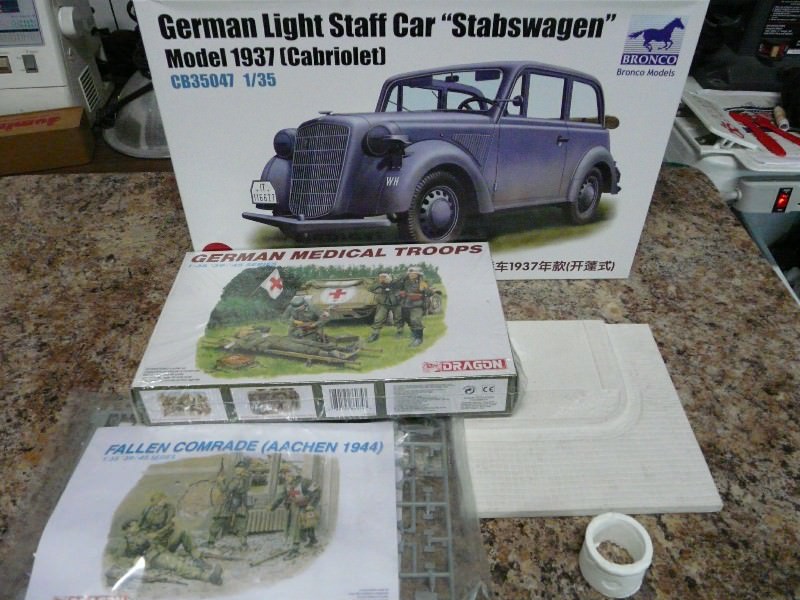
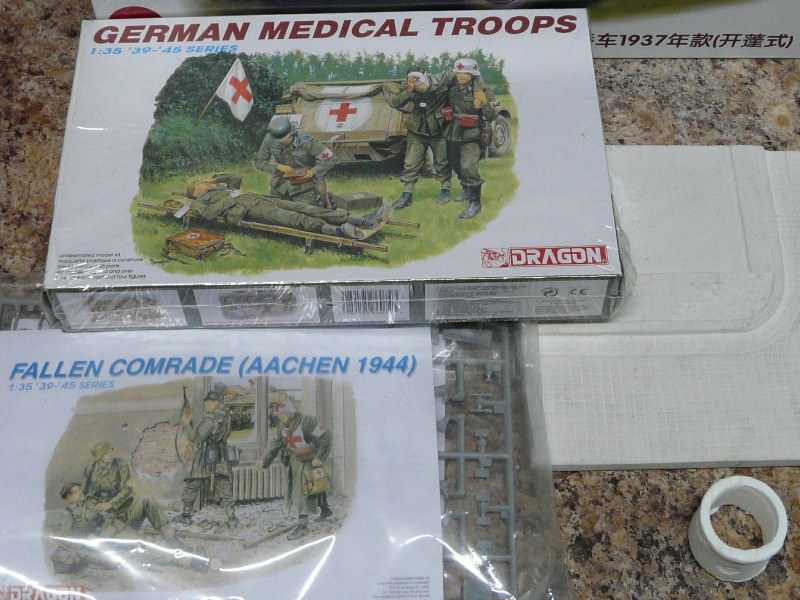
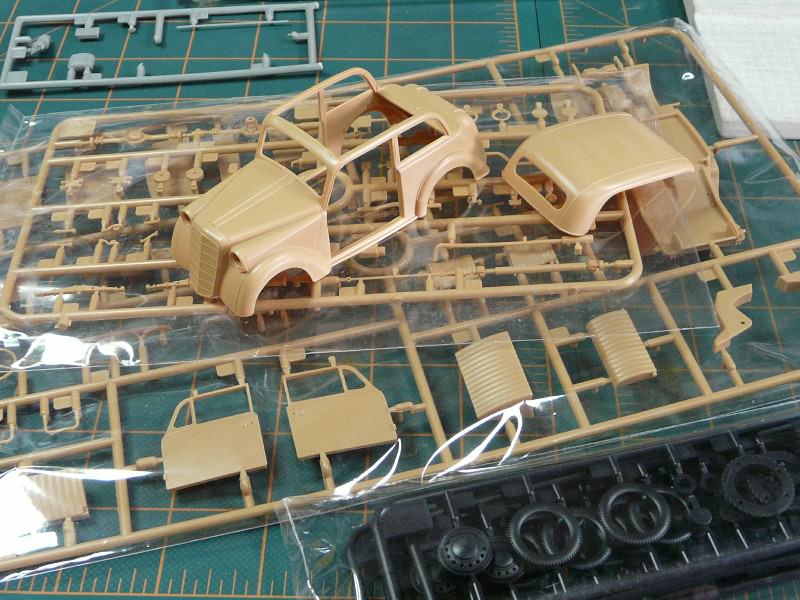
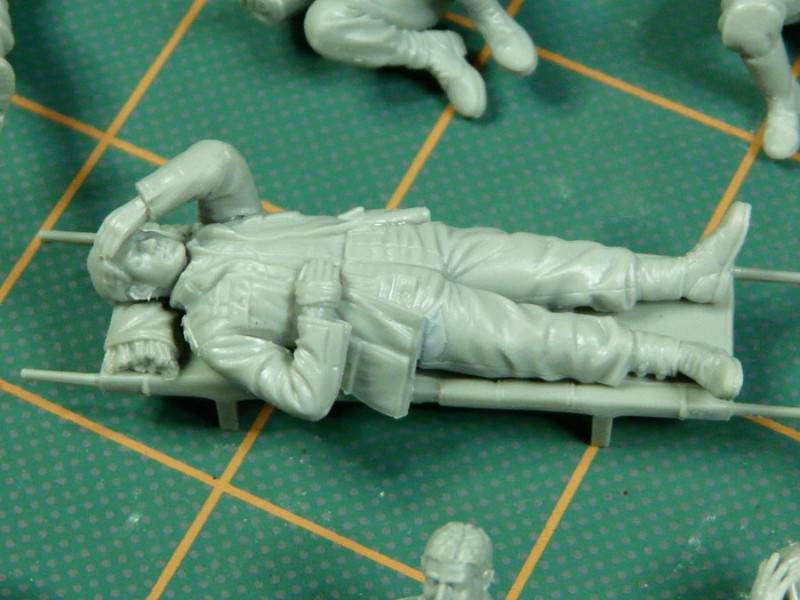
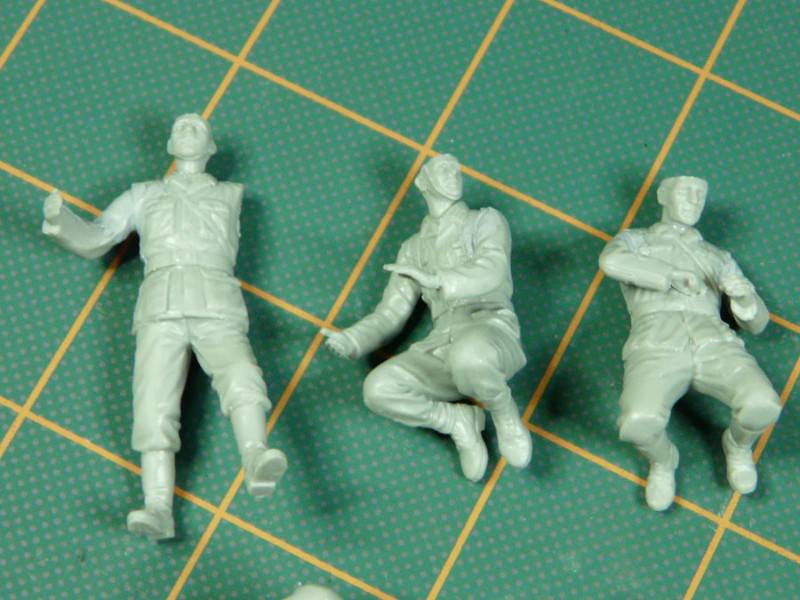
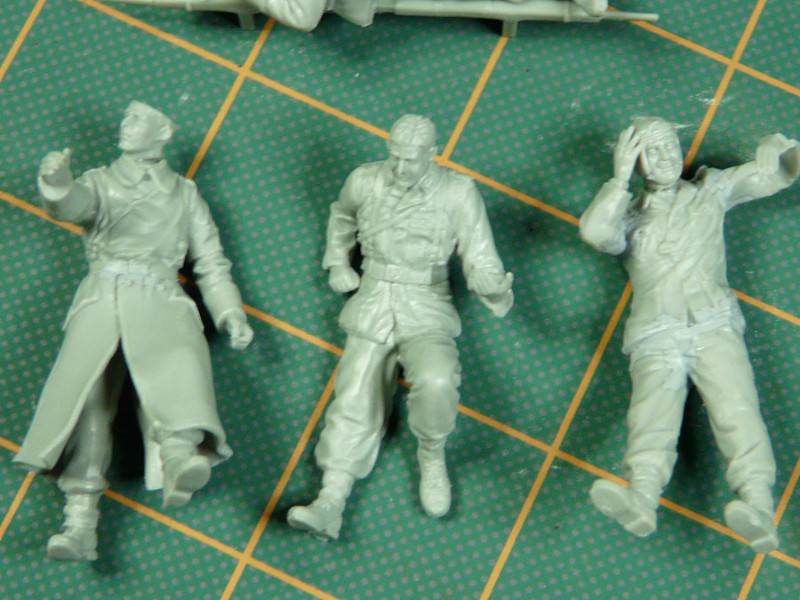
Hi my Friends, finally found the time to start this project. Here are the kits I’m planning to use if there are no more changes. Some dragon figures and the new Bronco staff car, and
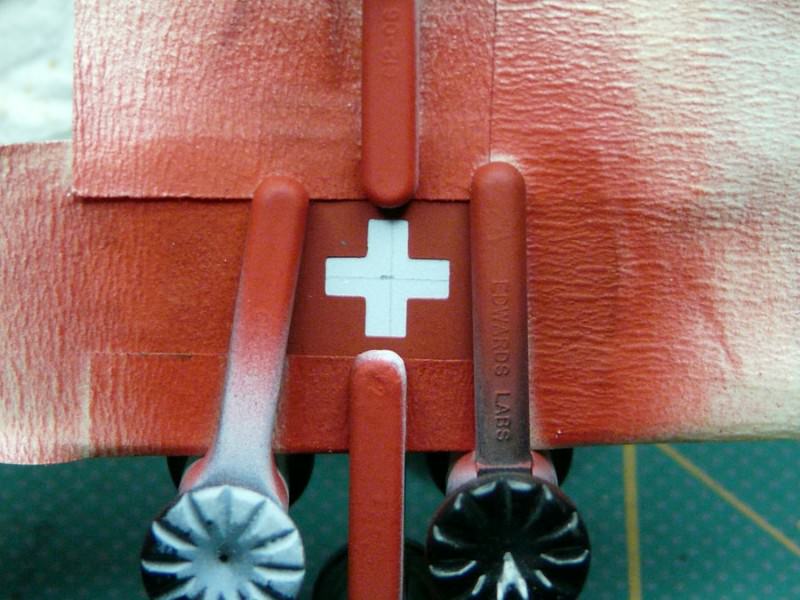
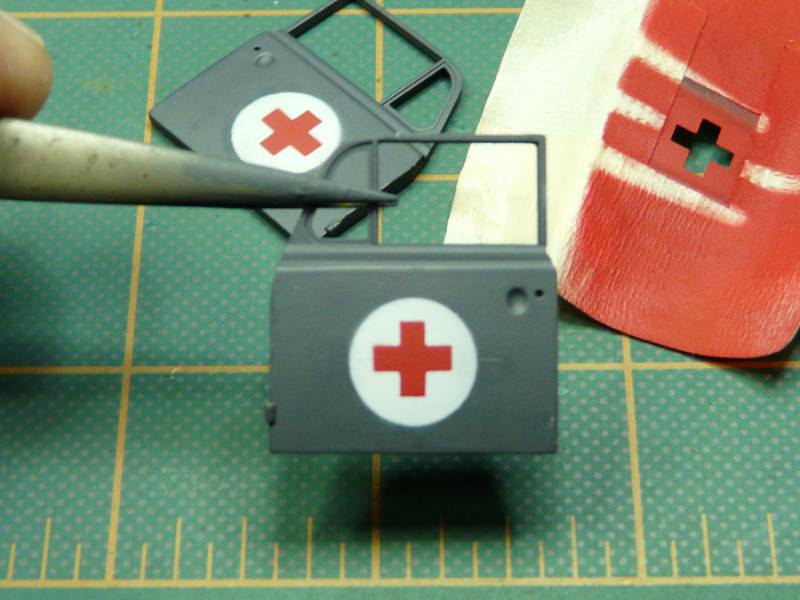
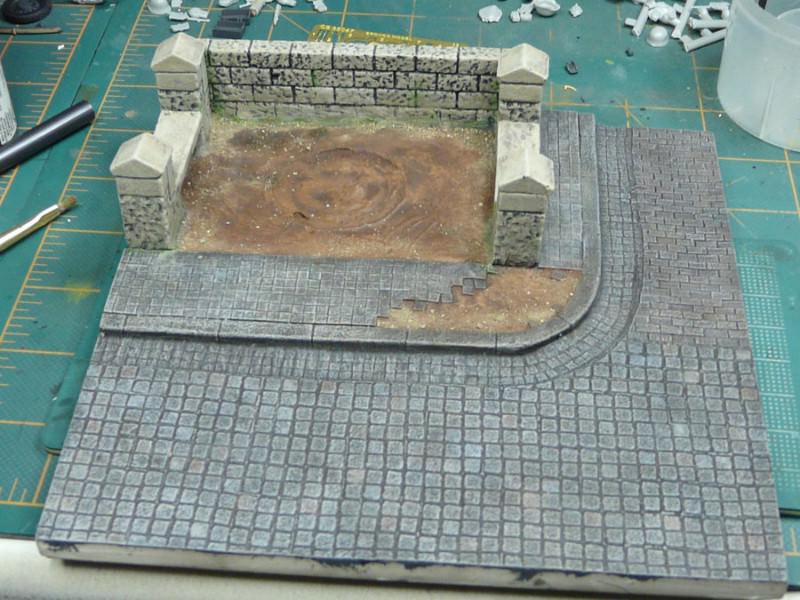
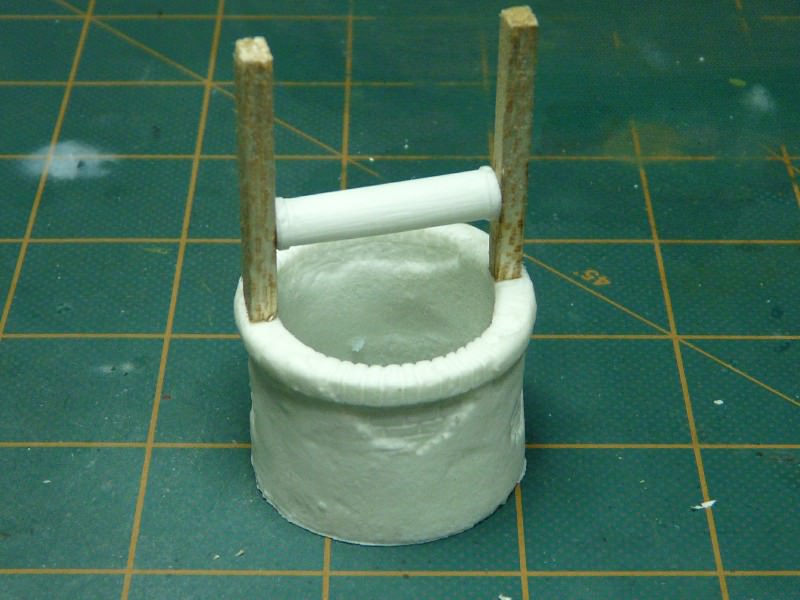
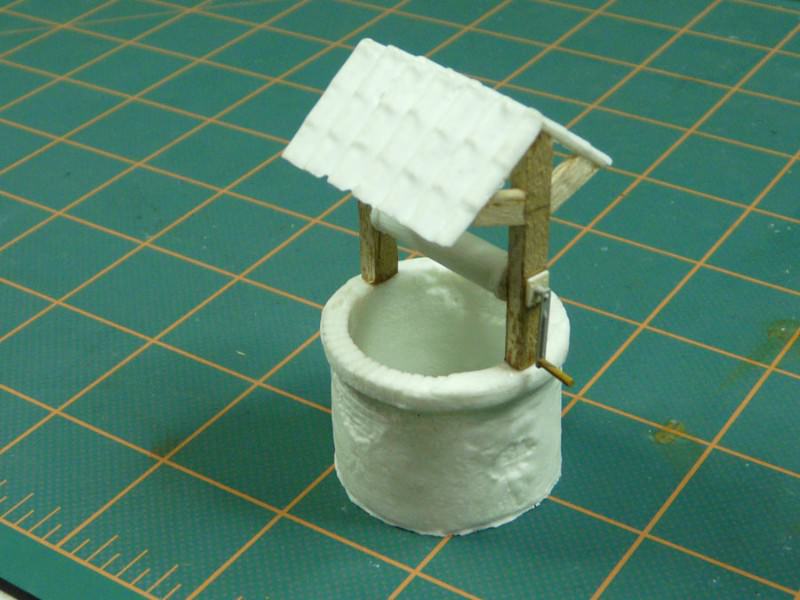
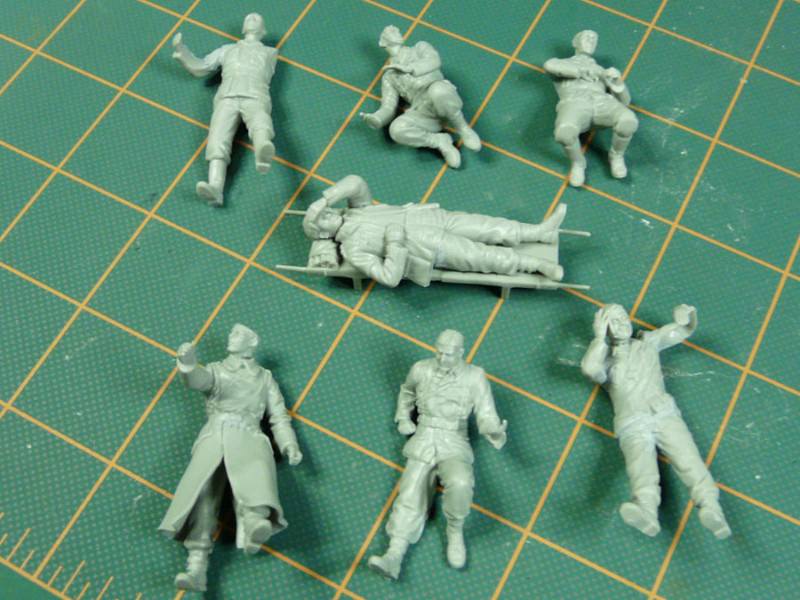
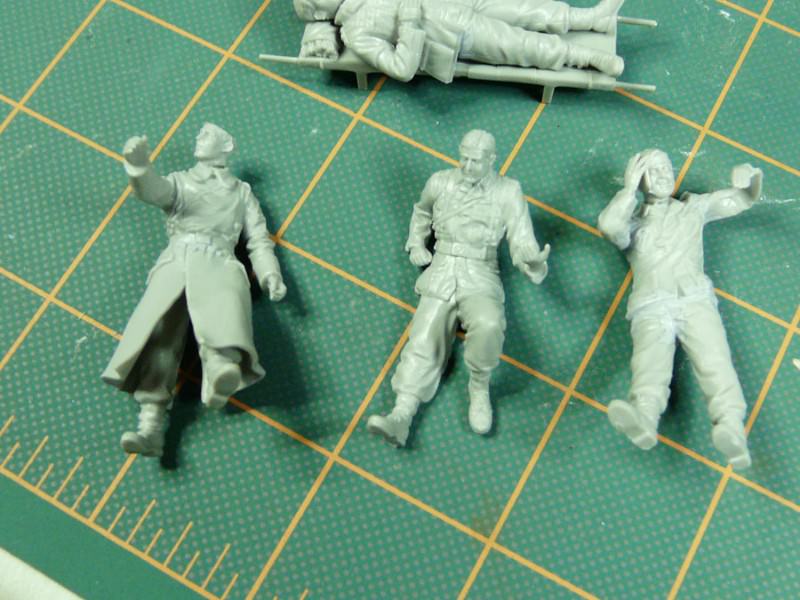
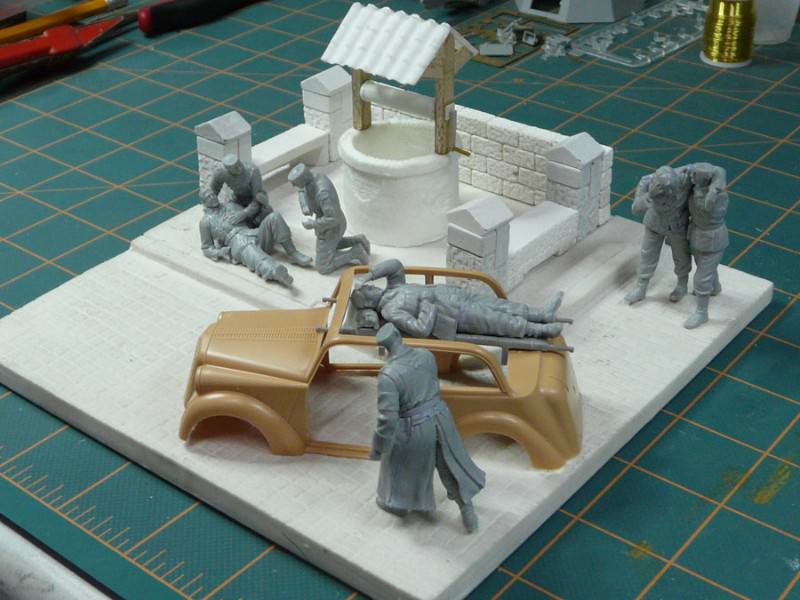
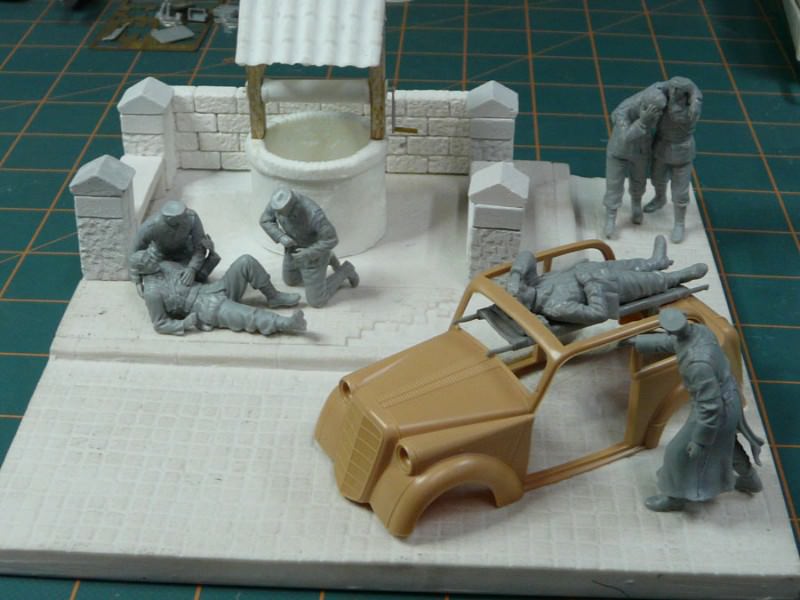
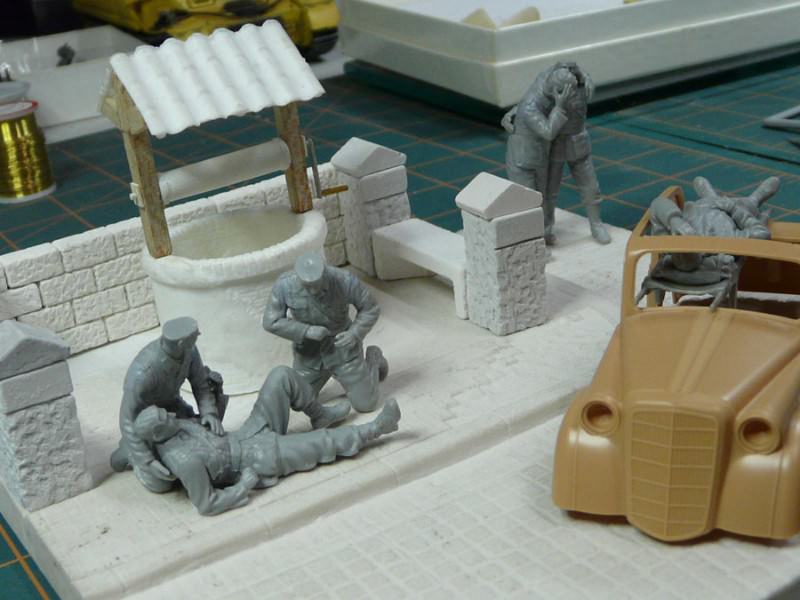
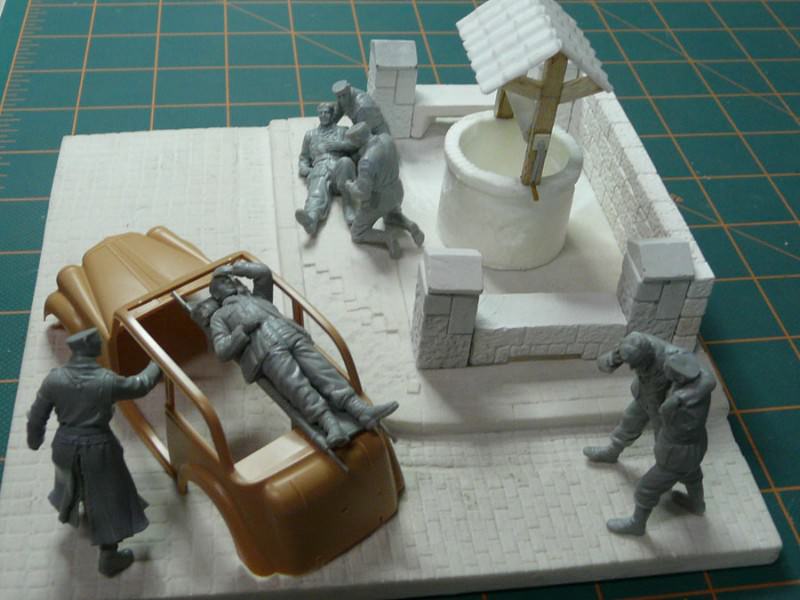
A small one it is. Also I replaced the tree or the area for the tree with a water well, it going to be the old water well corner and the medics are helping some injured soldiers.
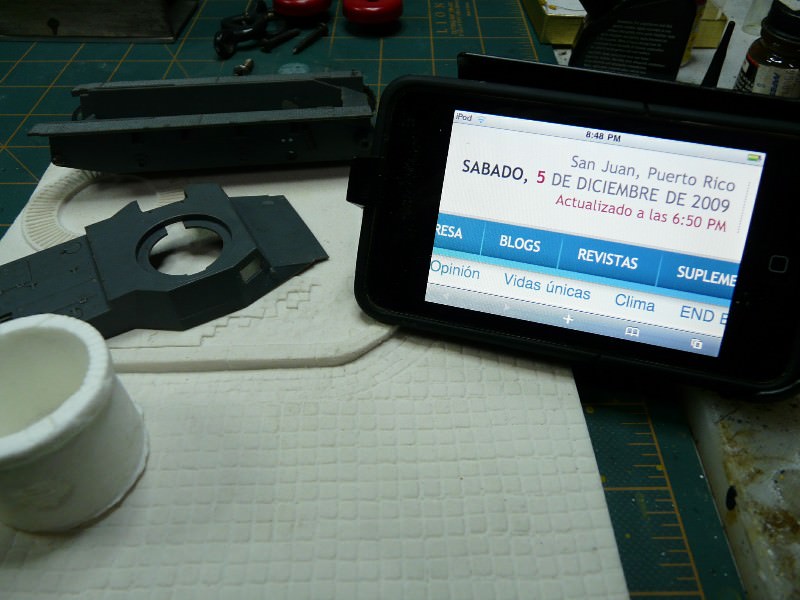
First the photos of the kits and the mandatory date photo…

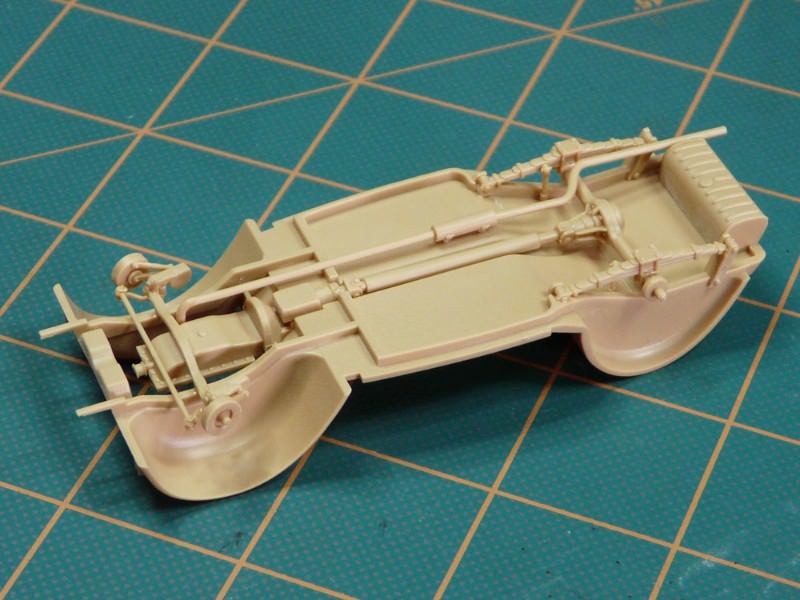
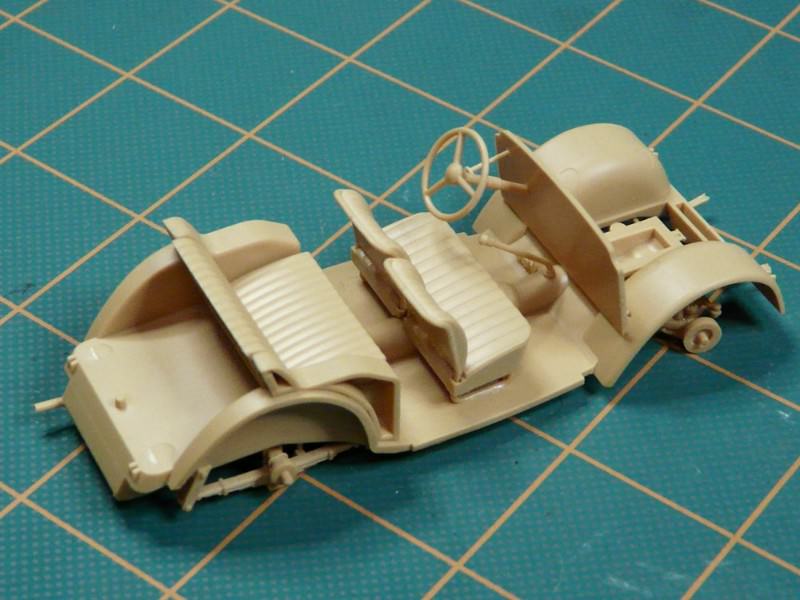
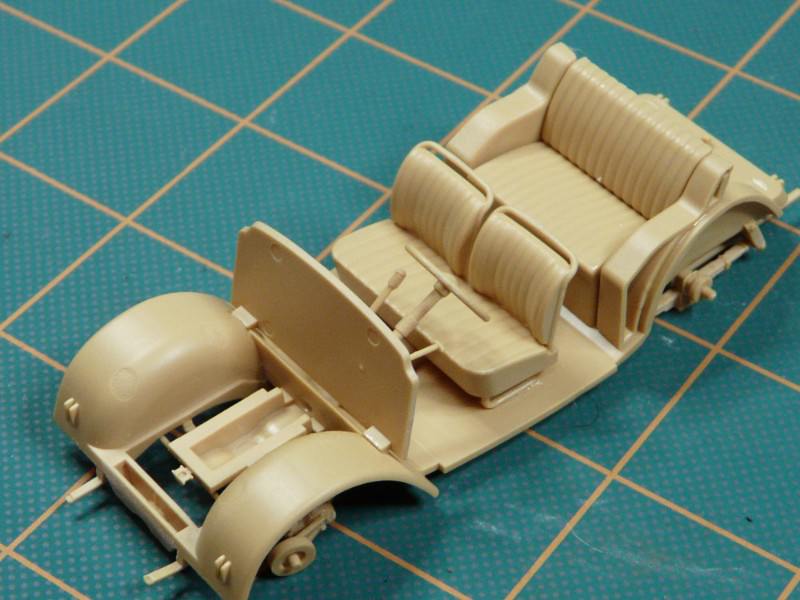
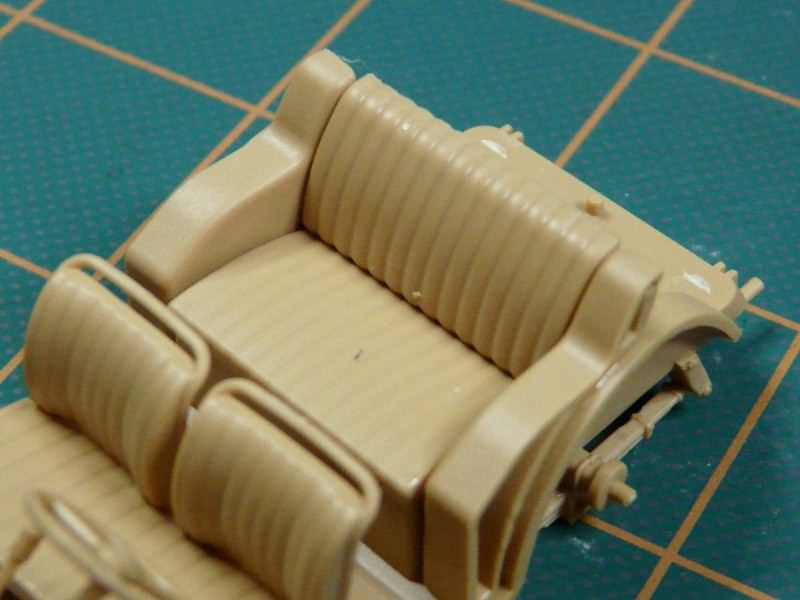
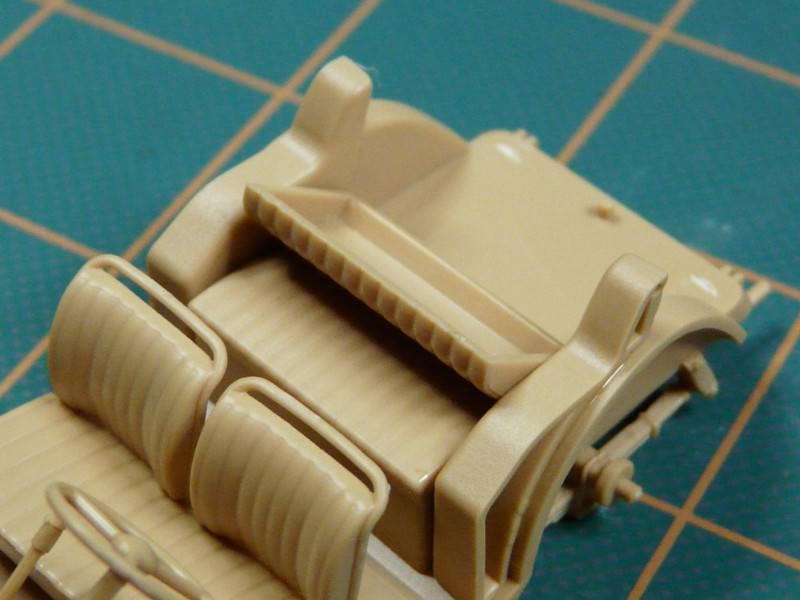
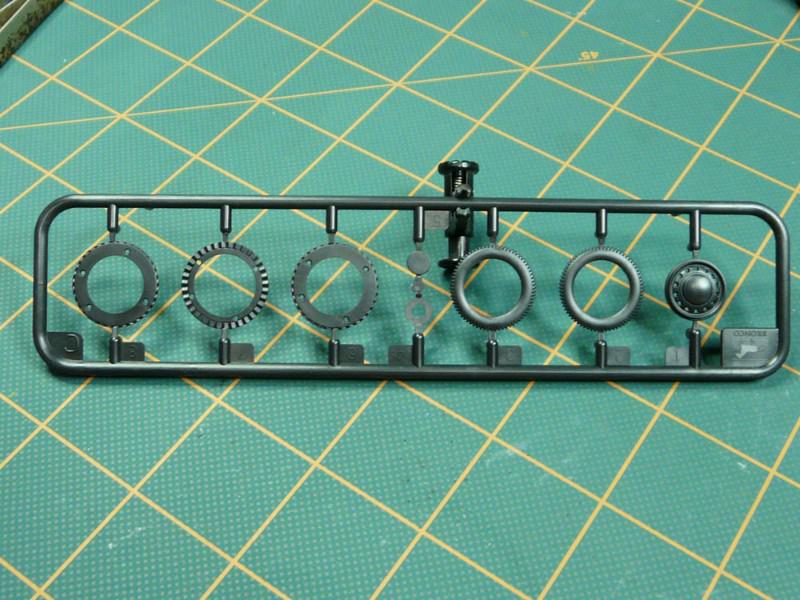
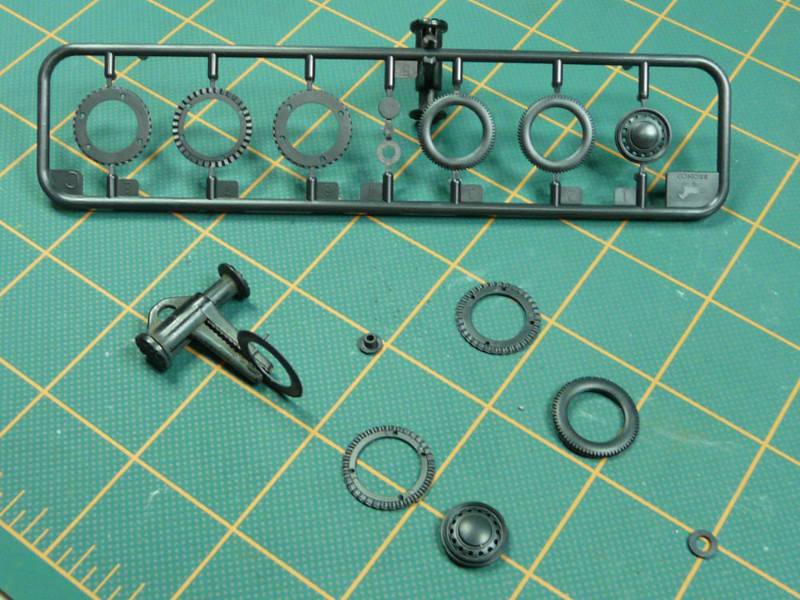
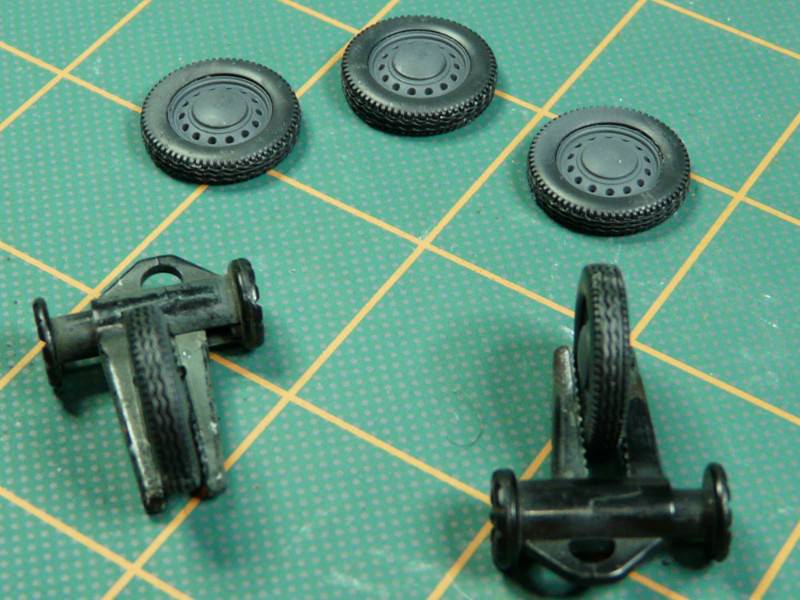
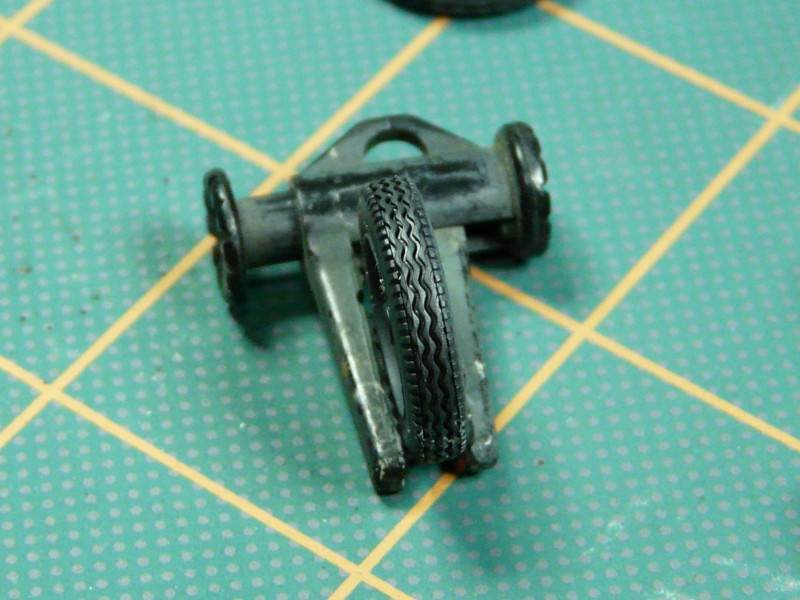
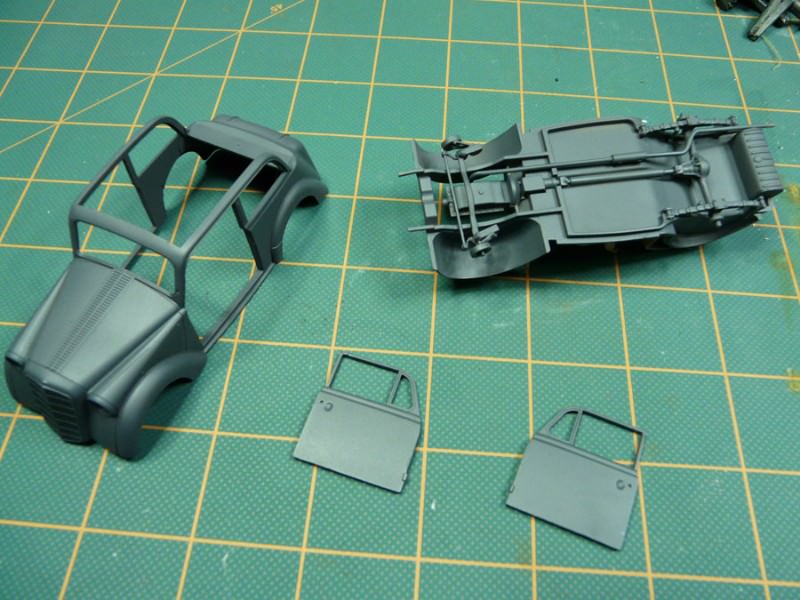
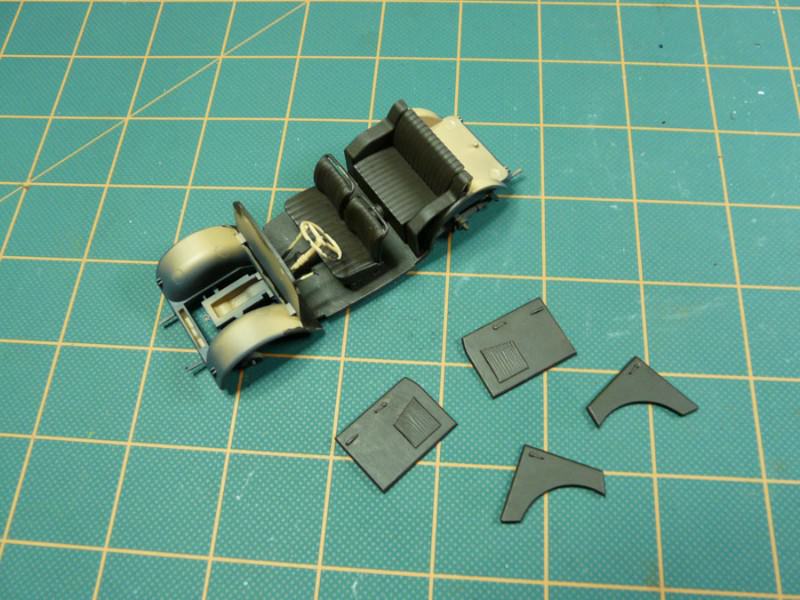
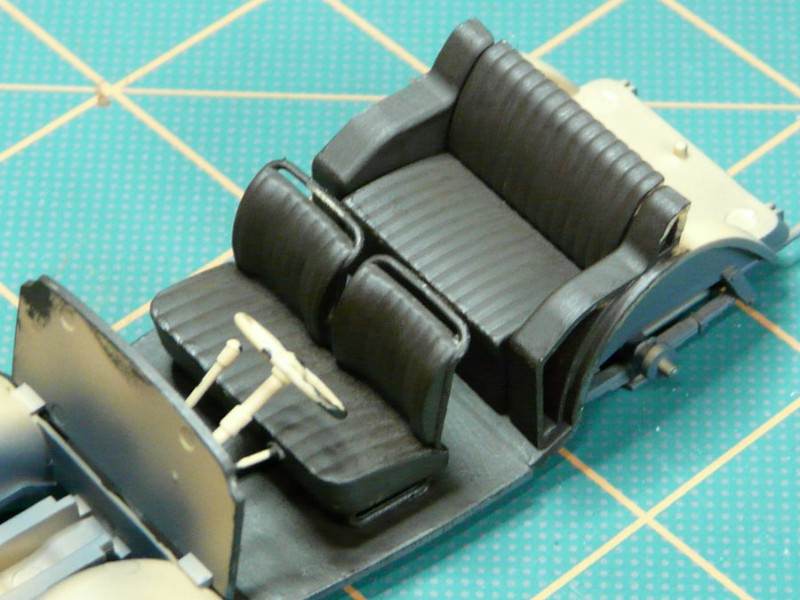
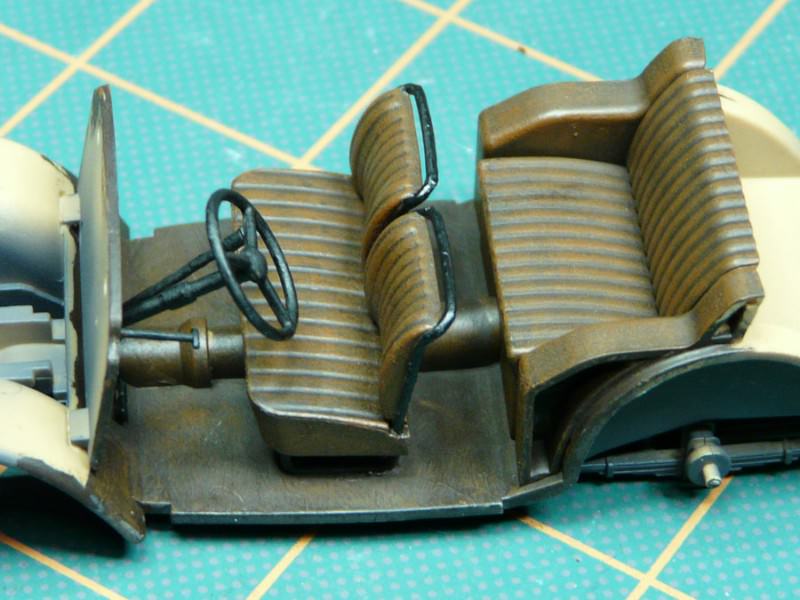
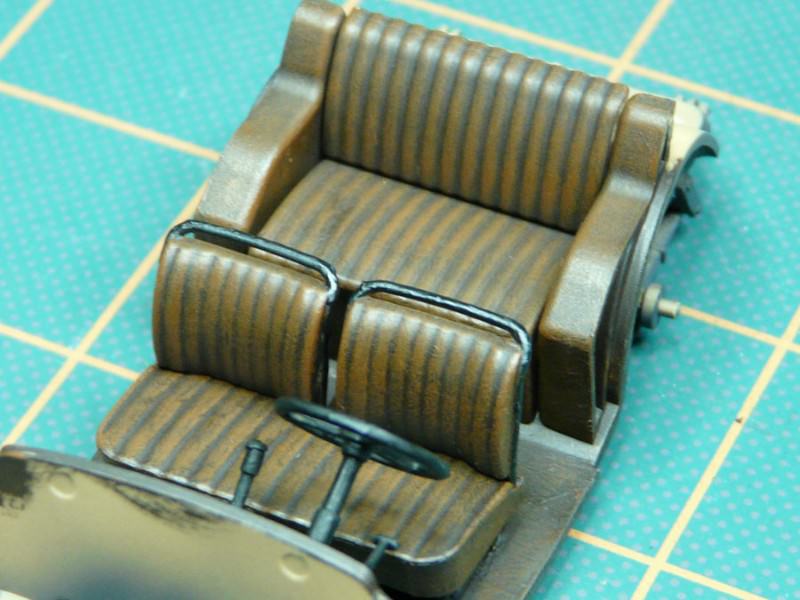
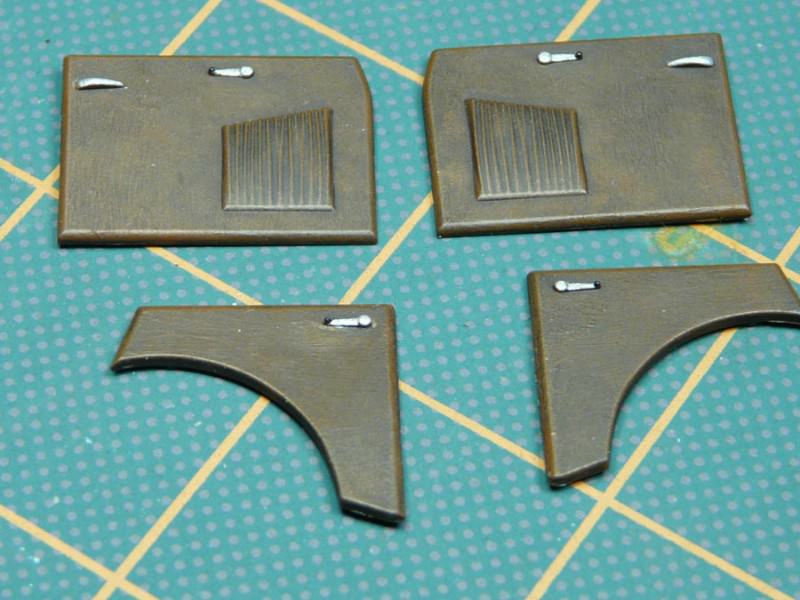
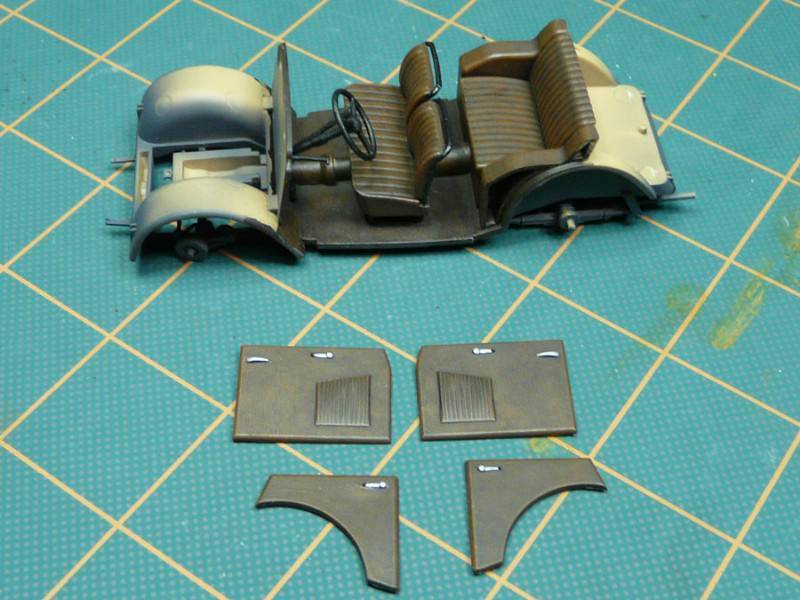
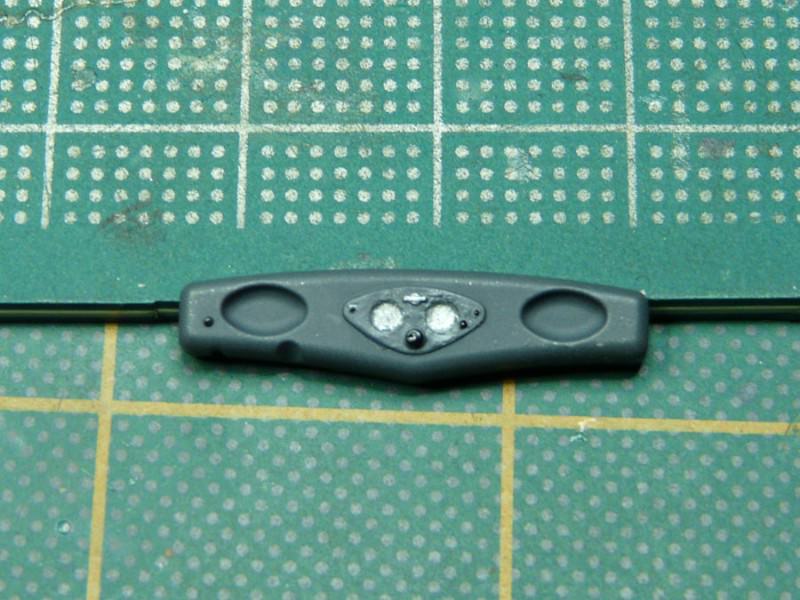
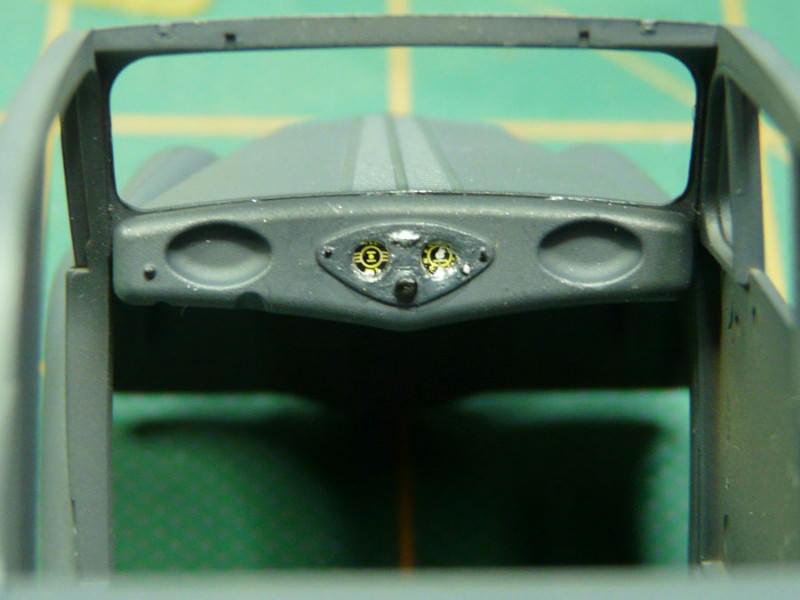
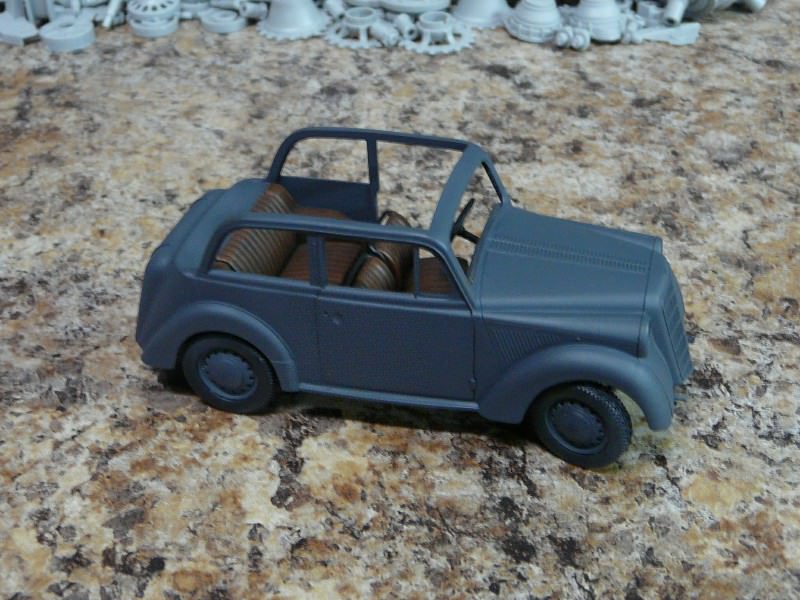
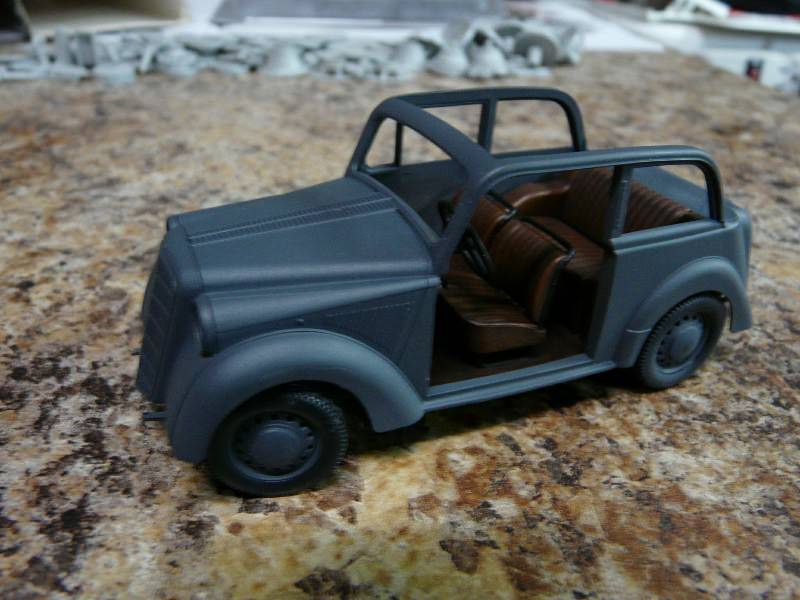
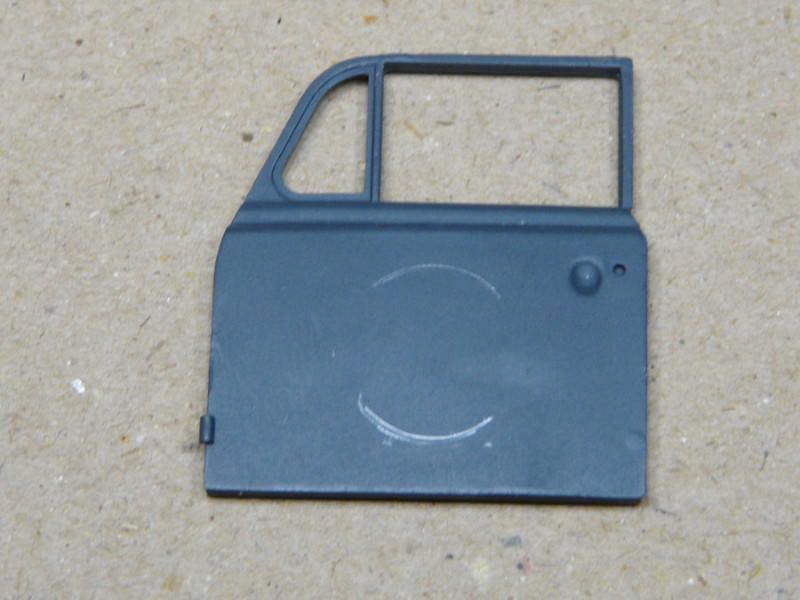
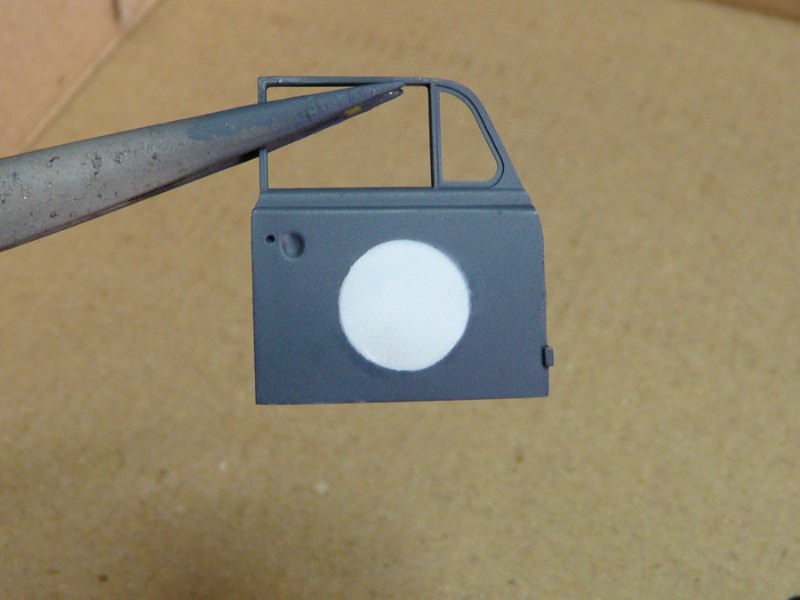
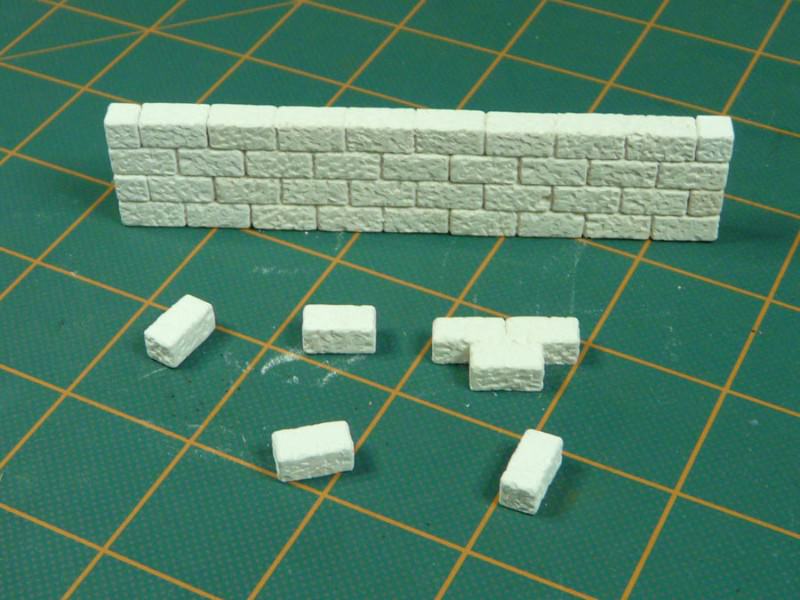
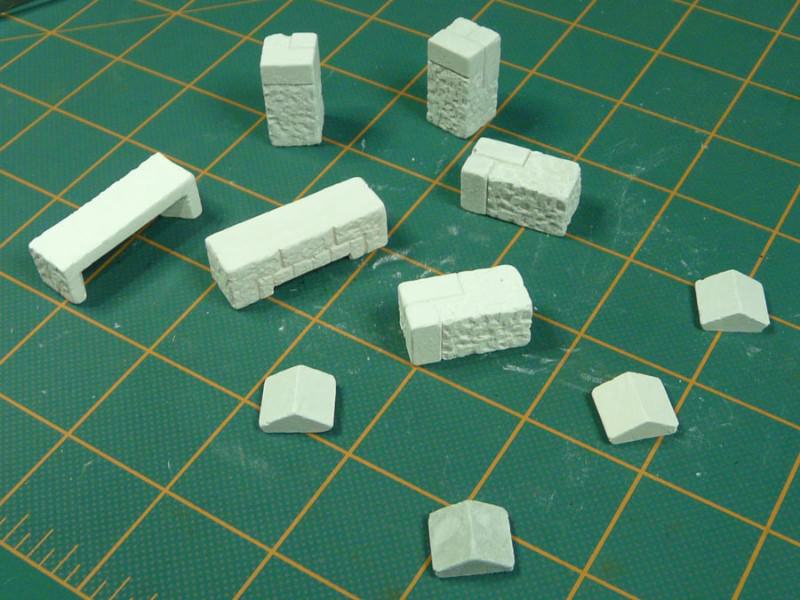
This are the Bronco kit and its parts…
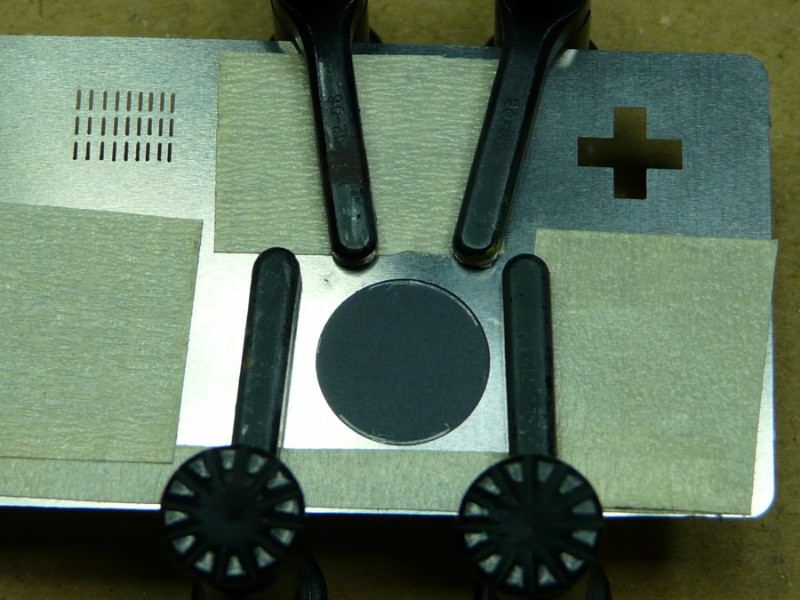
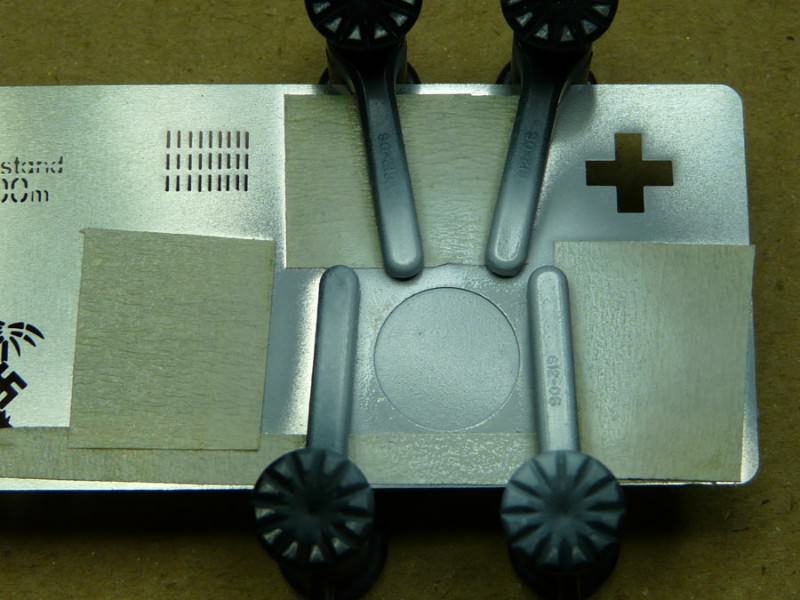
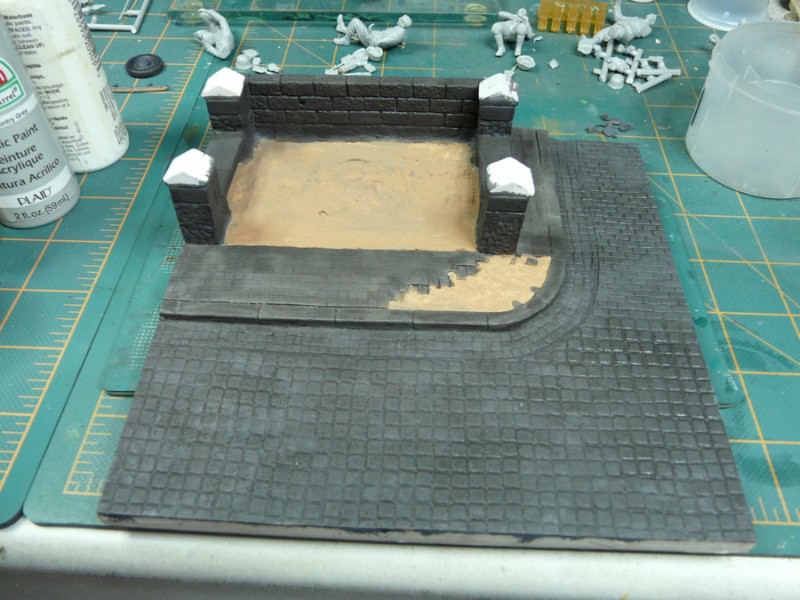
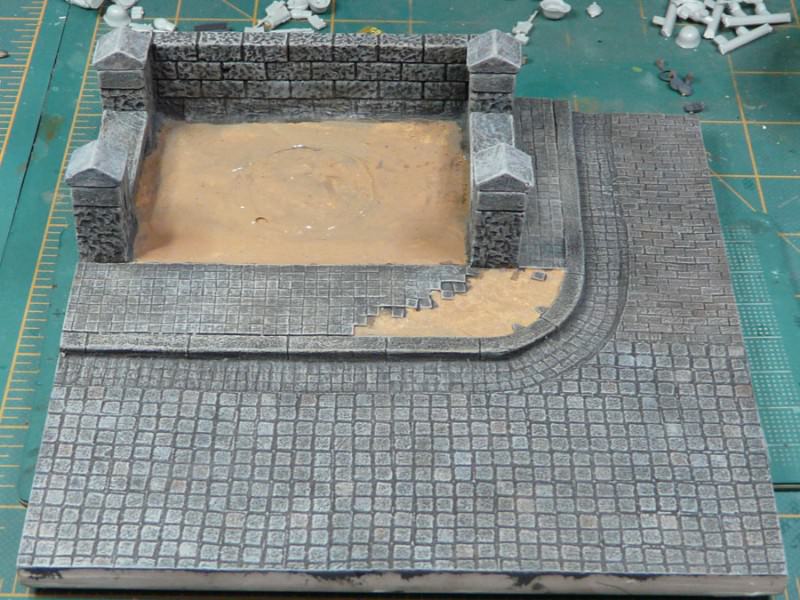
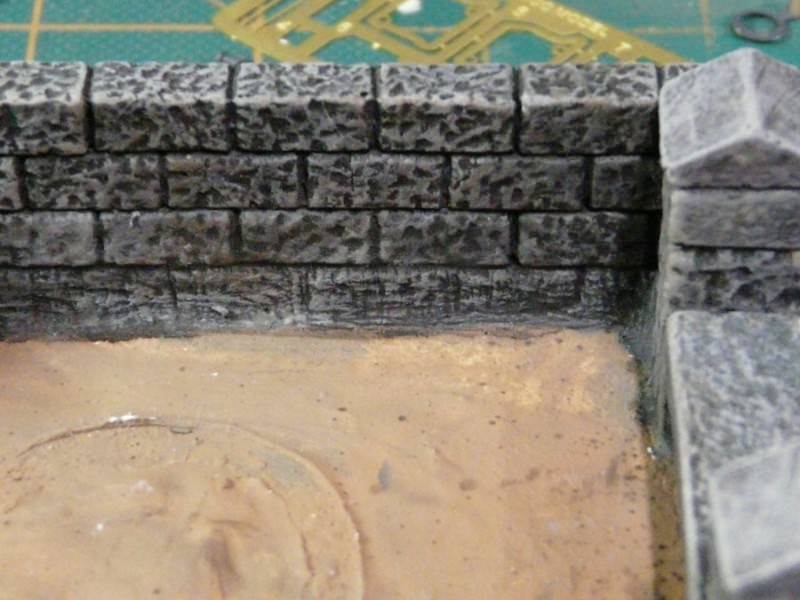
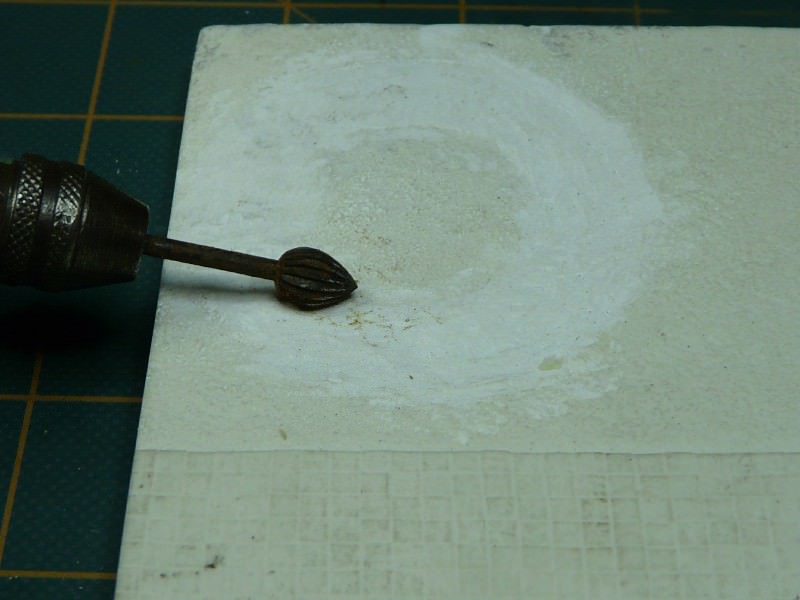
So I started by removing the grilles for the tree so the well can be fitted in that area…
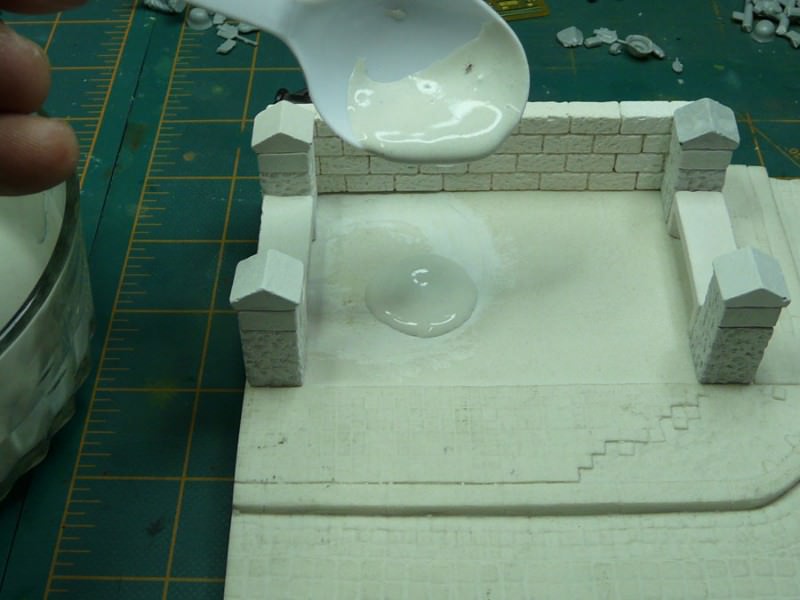
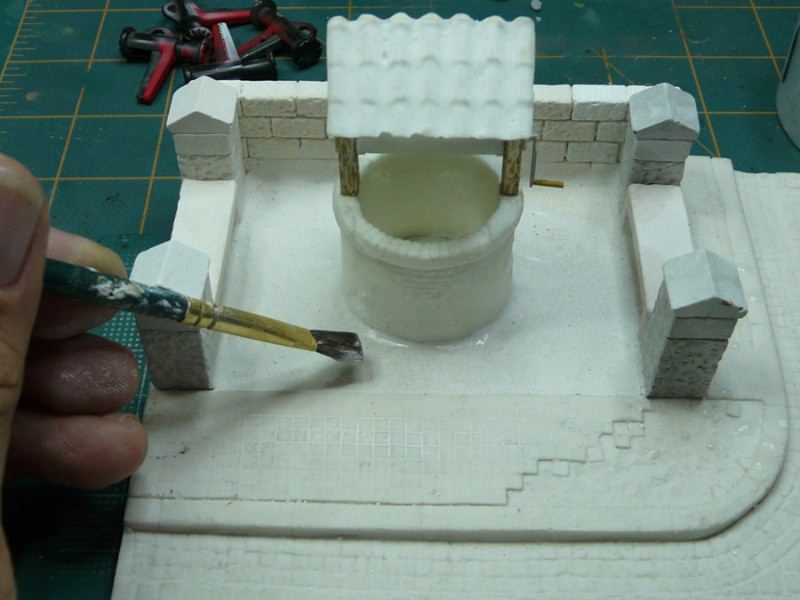
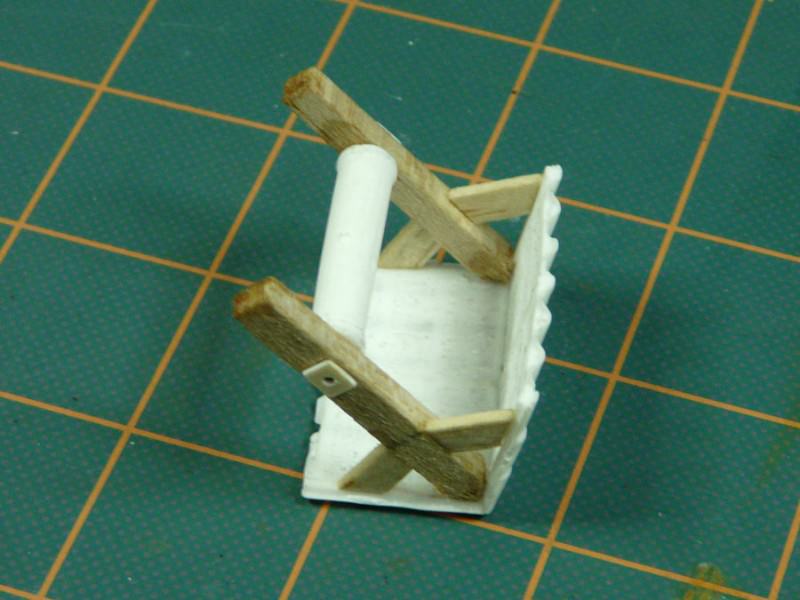
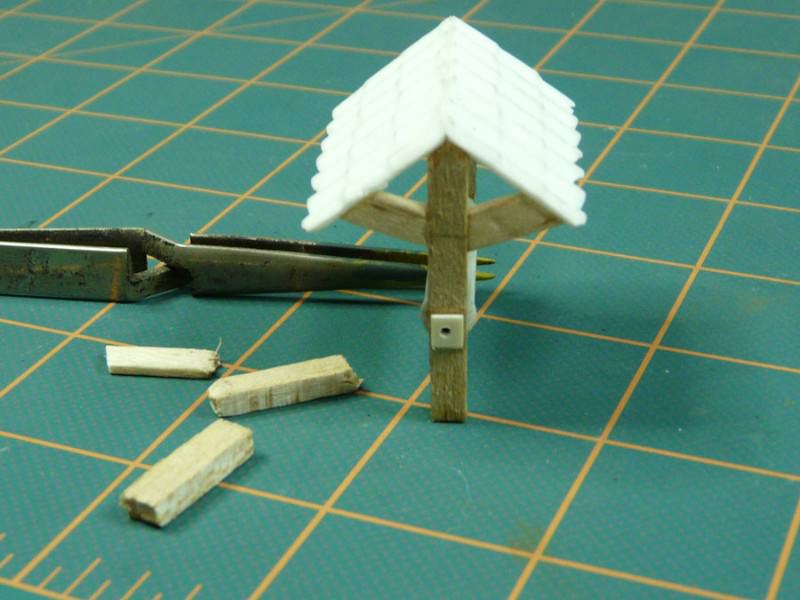
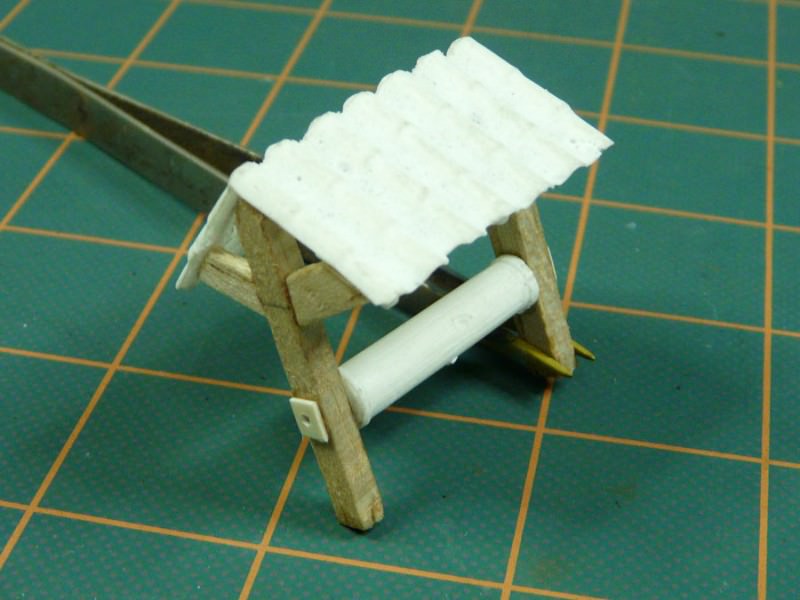
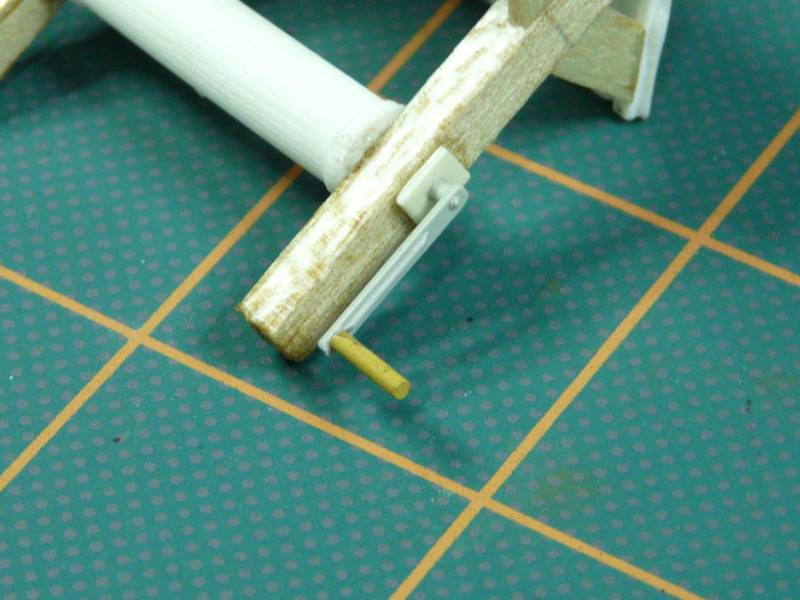
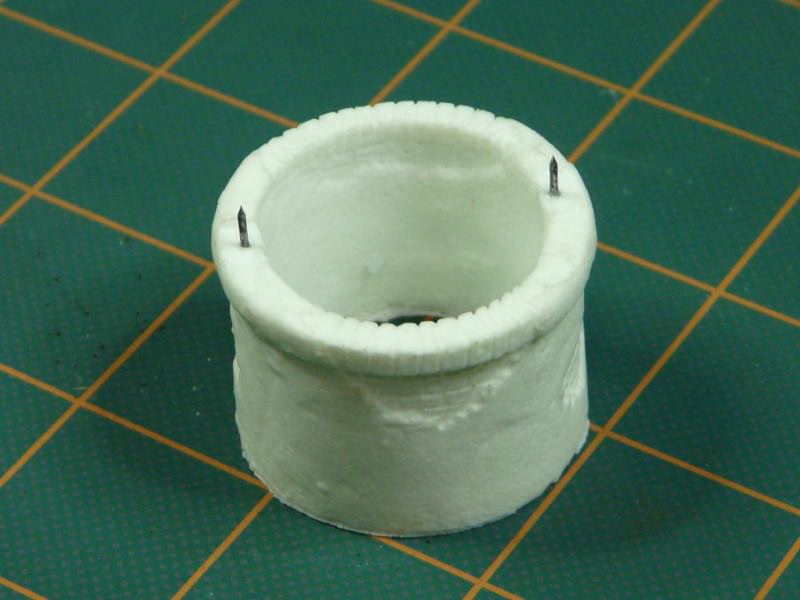
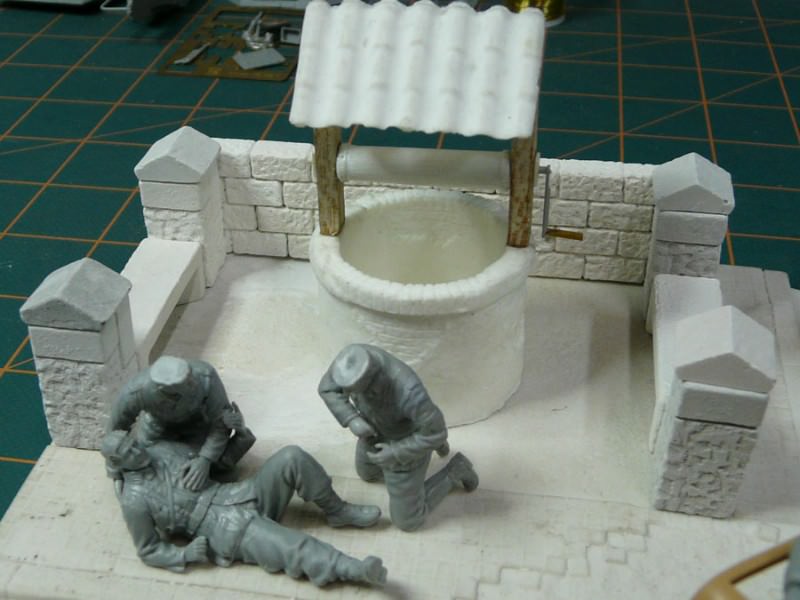
The well is a resin copy and needed to be cleaned; using balsa the roof support beans are done
I already started with the figures and the well is done, pictures coming soon, thanks!!!!!And see you soon…
A small one it is. Also I replaced the tree or the area for the tree with a water well, it going to be the old water well corner and the medics are helping some injured soldiers.
First the photos of the kits and the mandatory date photo…
This are the Bronco kit and its parts…
So I started by removing the grilles for the tree so the well can be fitted in that area…
The well is a resin copy and needed to be cleaned; using balsa the roof support beans are done
I already started with the figures and the well is done, pictures coming soon, thanks!!!!!And see you soon…
") Just kidding.
Just kidding. 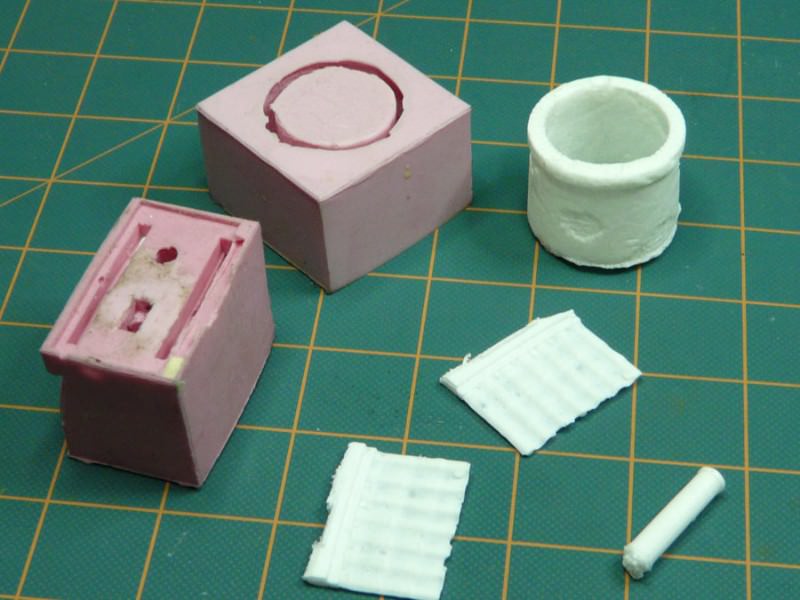
 t :peace