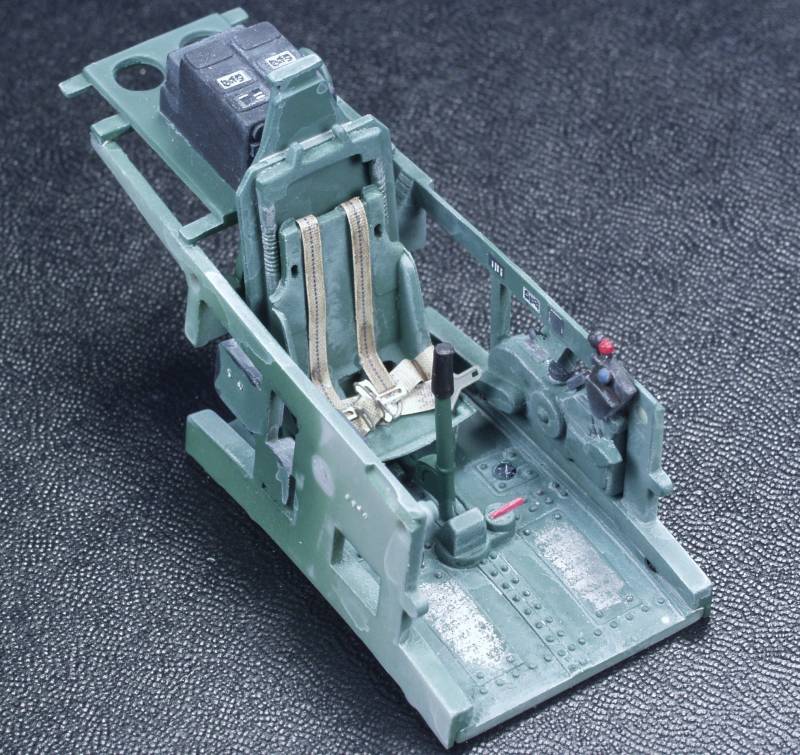
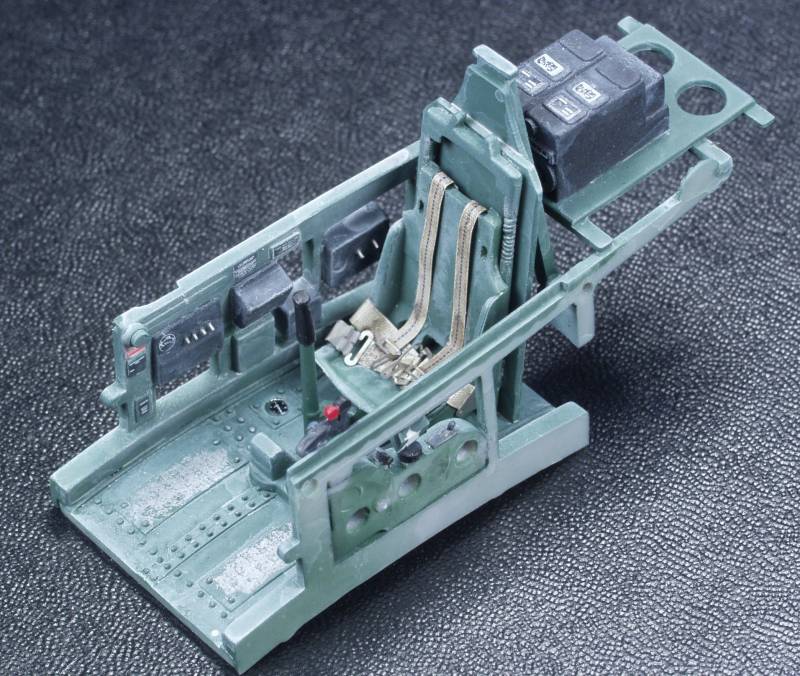
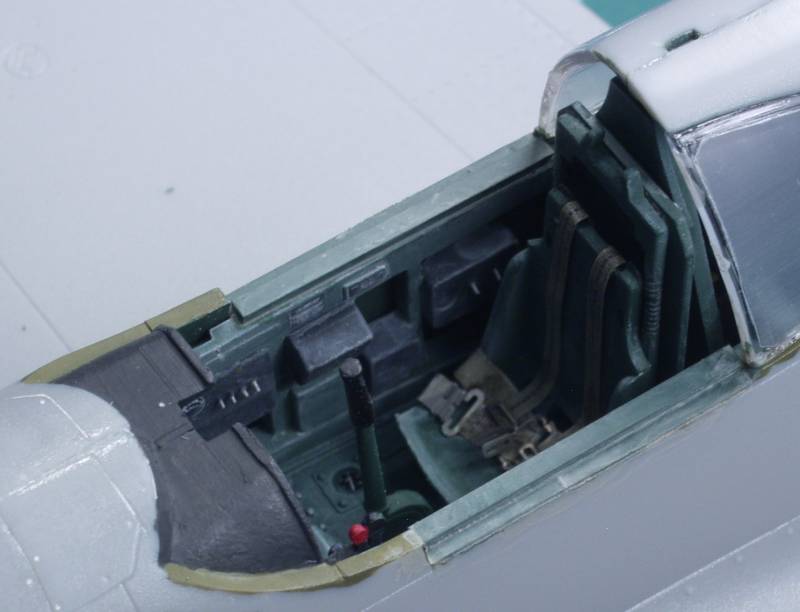
OK, got the pit together. Instead of a shadow or grime wash I'm thinking dusty here and mixed up a light tan colored dust wash and use it.
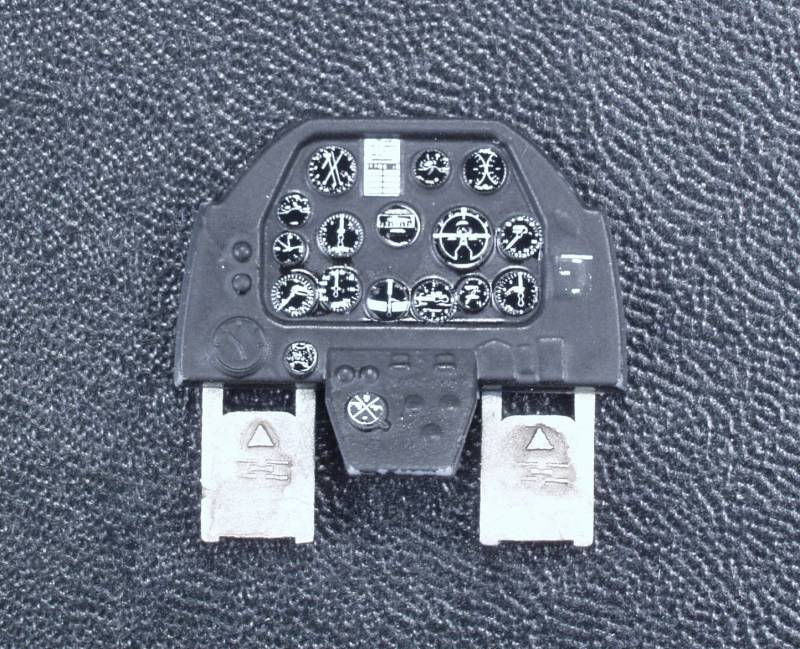
My first pass on the instrument panel was to hit all the raised detail with a silver pencil. Looked OK at arms length but in a close up photo, well, it was just hideous !

Sooo. I striped it down and repainted and when dry I grabbed a sheet Airscale decals and my Waldron punch set and spent a couple hours punching and placing. Not perfect and the instrument arrangement on the kit part didn't exactly match photos but it looks 100% better than my first try.
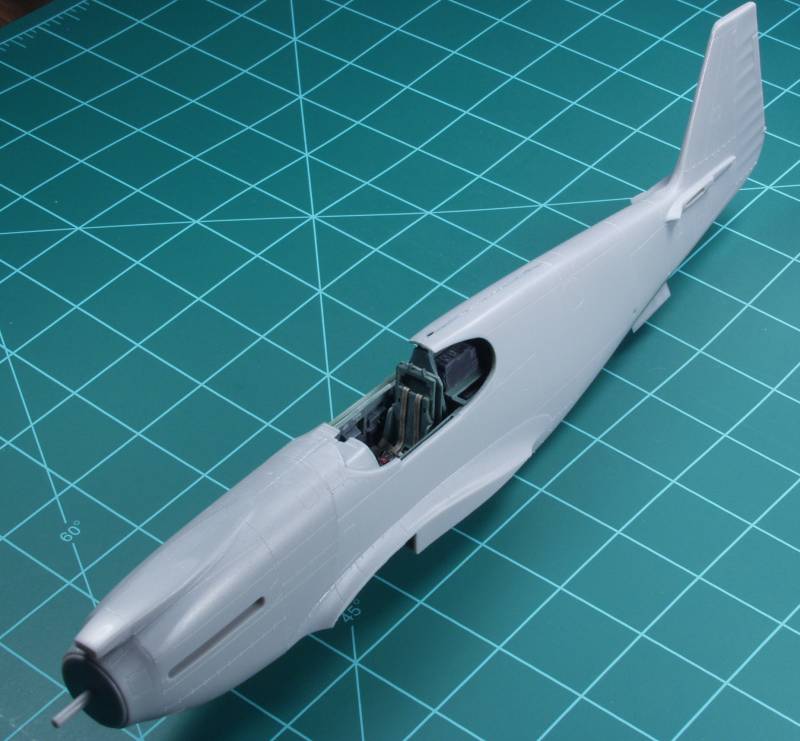
With that done it was on to the fuselage. The kit provides the nose separate from the rest of the fuselage to accommodate various versions. This is usually best handled by gluing the nose part to the fuselage part prior to assembling the fuselage so that's what I did. One side clicked right into place but the other side required torquing the fuselage a bit until the glue dried. Once done both halved were sanded where they join. I cut the alignment pins off as they didn't seem to help the fit any. After testing that all the guts fit OK the halves were glued together. I found it necessary to do a slow progressive gluing allowing each section to dry a bit. Apparently the torquing I did put some stress in the parts and they didn't want to just go together without a fight. Everything eventually fit pretty well, had a step here and there to work on and a little filler will be required but I've seen much worse. Also got the nose carburetor intake installed.
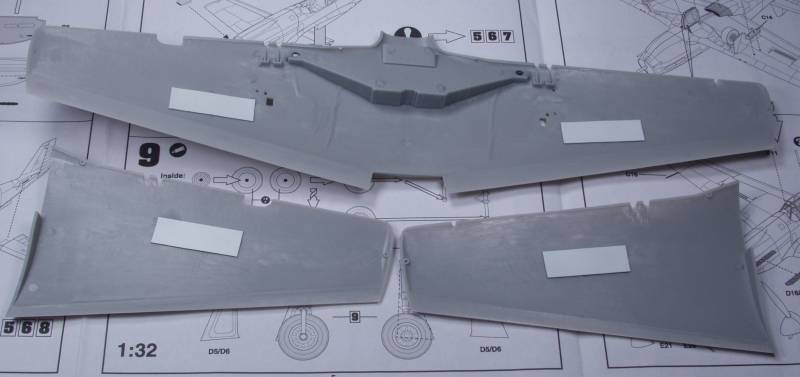
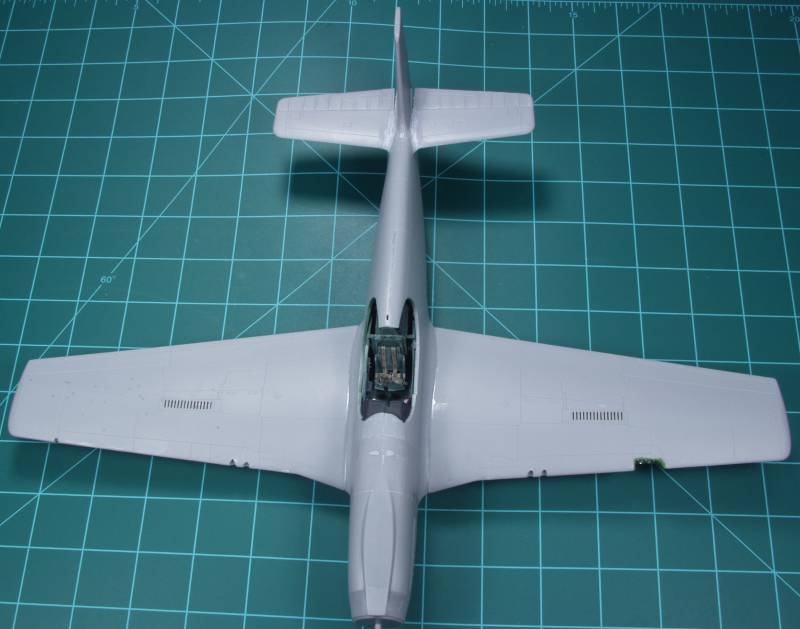
Next step will be the wings. First task on those was to install blanking pieces on the inside to block off the airbrakes so you can't see light through the wings, just some pieces of thin styrene.
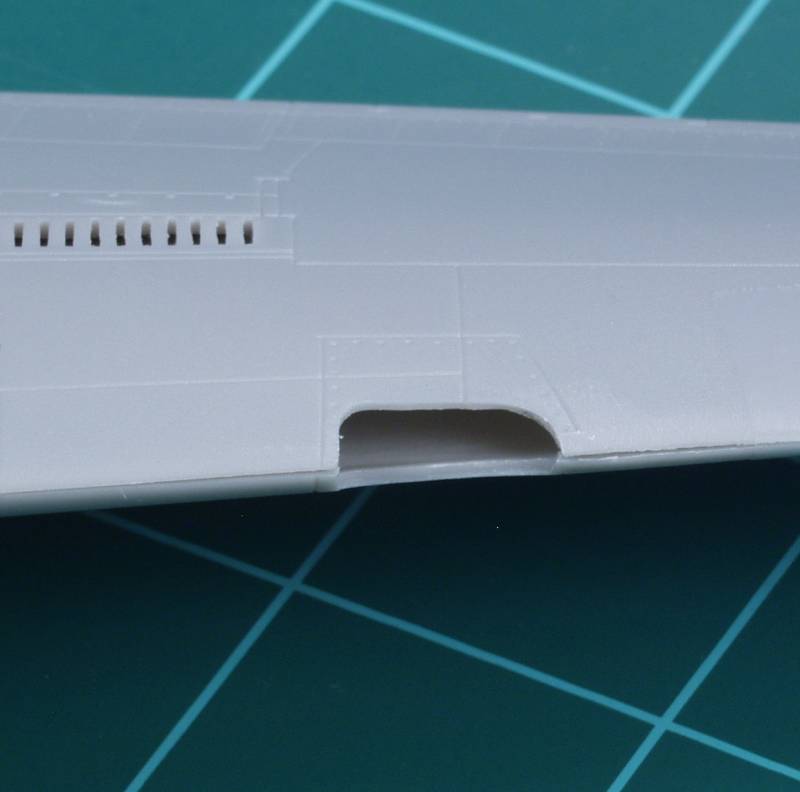
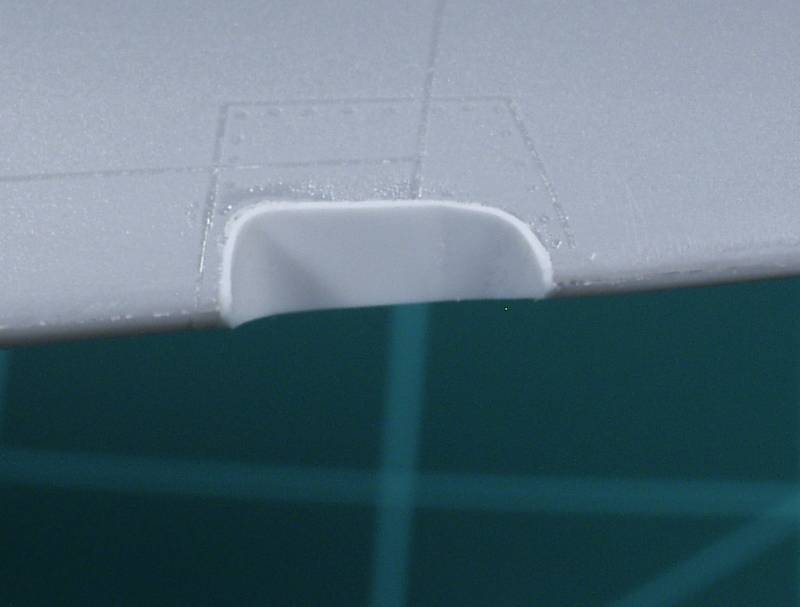
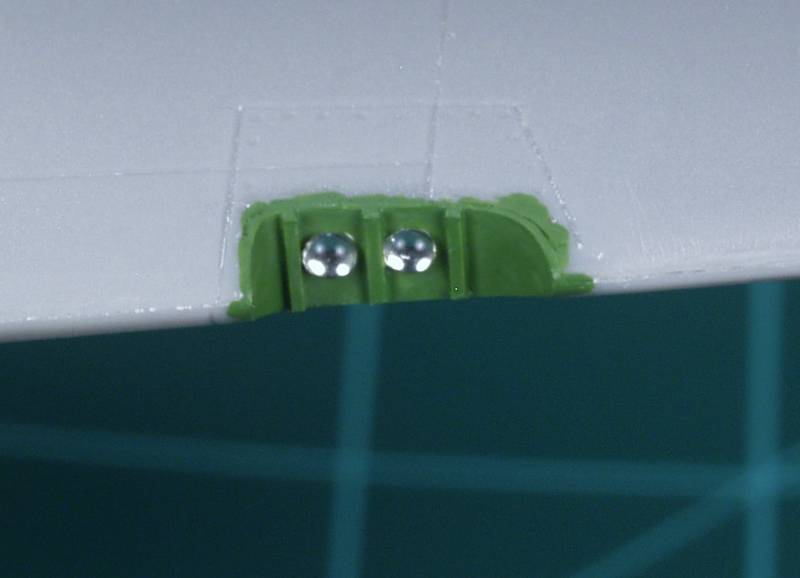
Next up will be to fill this cavern in so it resembles a landing light.
Got some MV lenses on order from the brothers Sprue that should be here later this week.