• Modelers Alliance has updated the forum software on our website. We have migrated all post, content and user accounts but we could not migrate the passwords.
    This requires that you manually reset your password.
    Please click here, http://modelersalliance.org/forums/login to go to logon page and use the "Forgot your Password" option.

$19 and OD's Hurricane buddy build

Old Dog

Well-known member
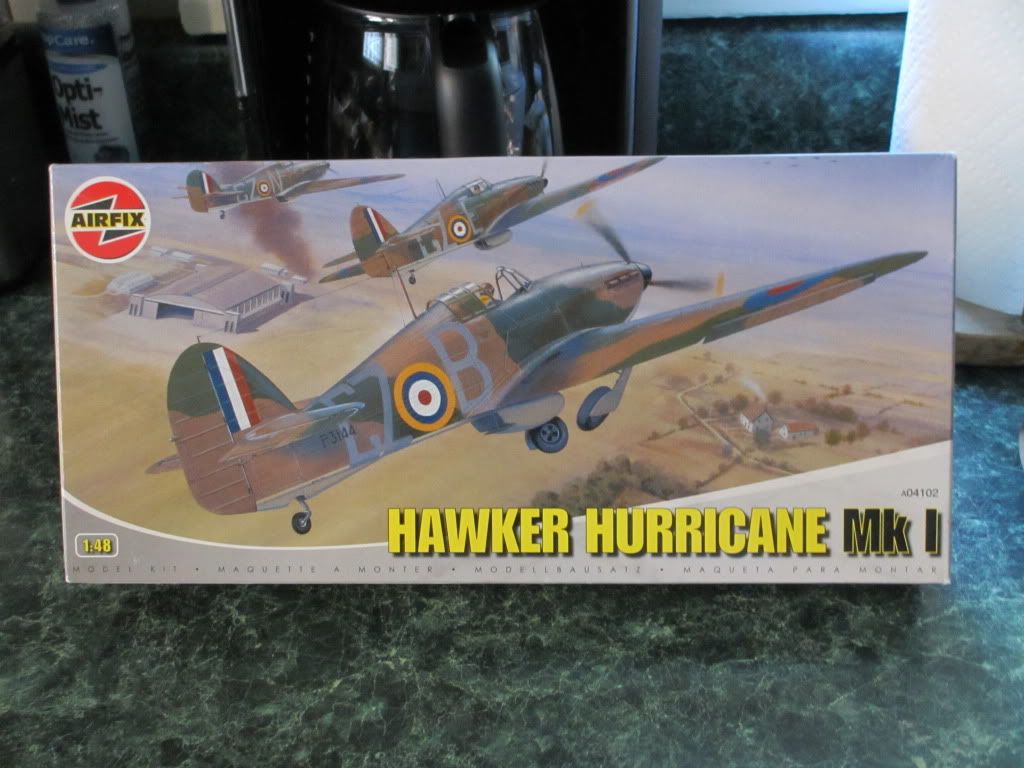
Greg and I both have Hurricanes to build, his is the new Italeri in 1/48 and mine is the Pacific Coast Models kit in 1/32 that I intended to build for the Battle of Britain Campaign and never got more than just started on. He suggested a buddy build and it sounded like a plan to me. He sent me some starting photos of his to post but I procrastinated too long and they got auto deleted so he'll need to chime in and show us what he'll be doing. At least for me this is not going to be a quick built as I have a lot of irons in the fire but maybe with enough friendly prodding I'll gitter done. :drinks

If anyone else has a Hurricane they are dying to build feel free to join in !

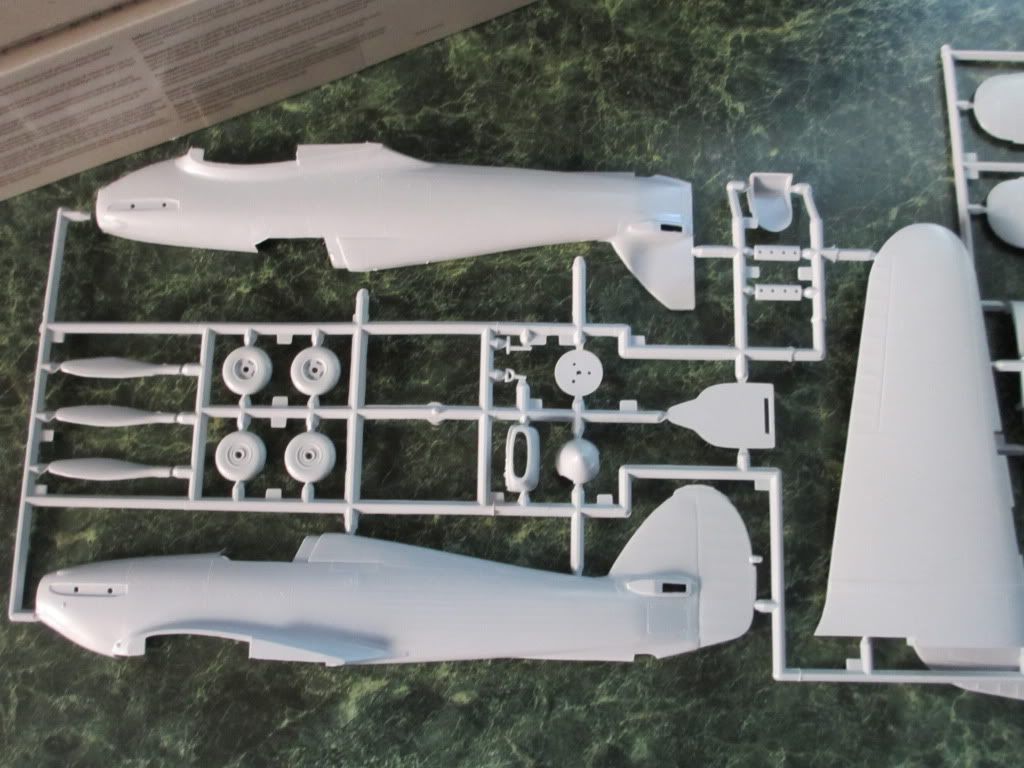
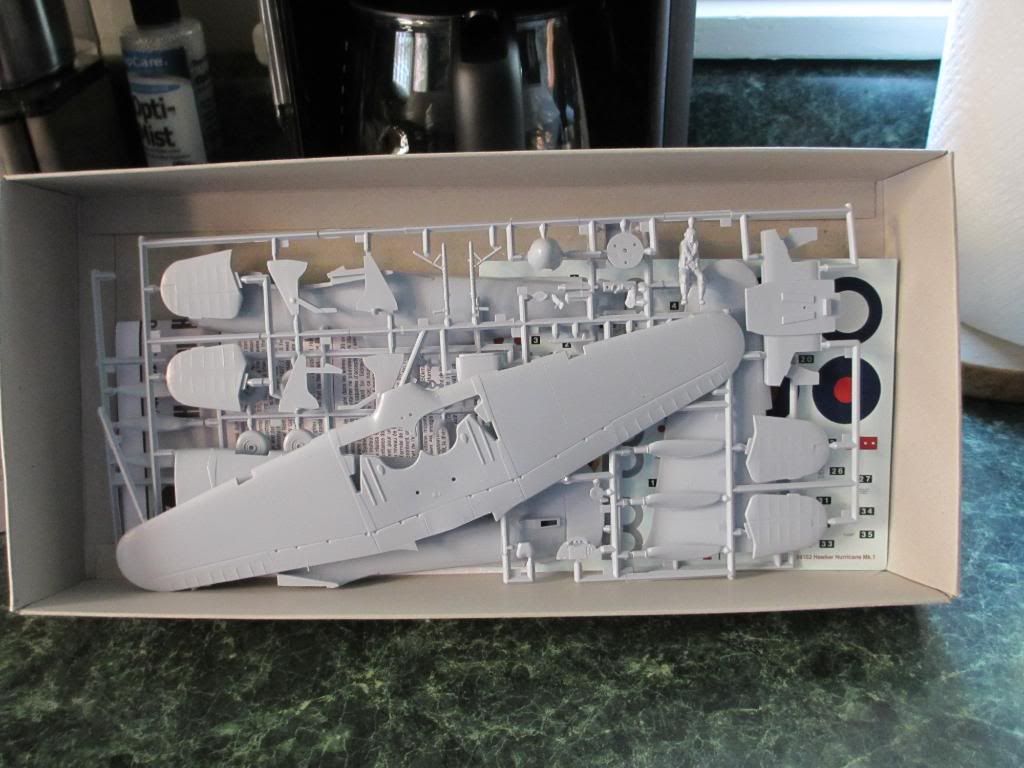
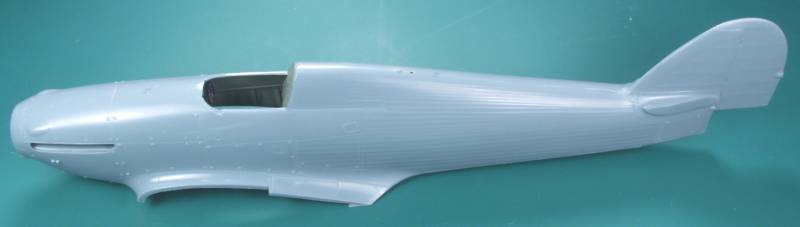
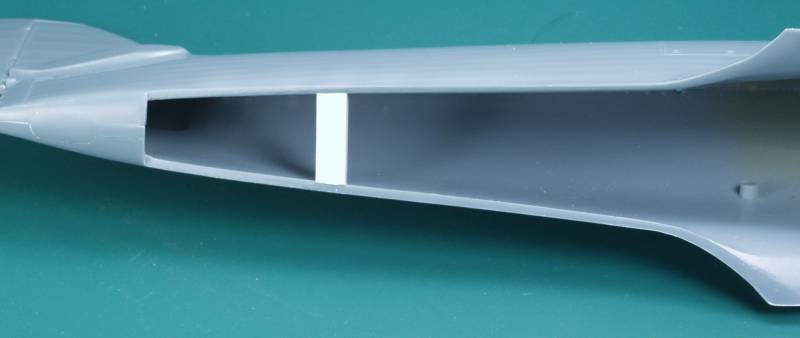
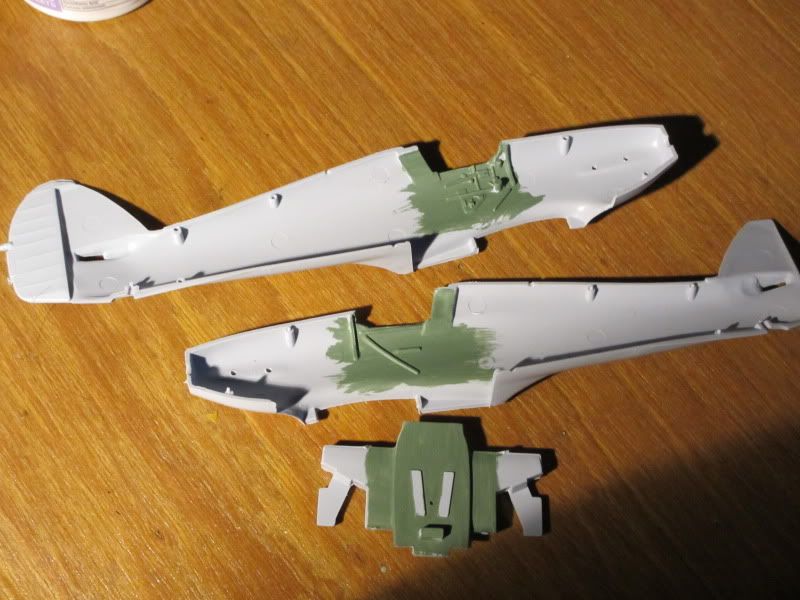
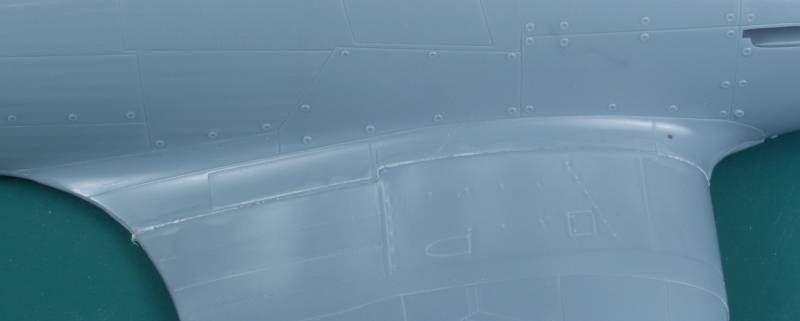
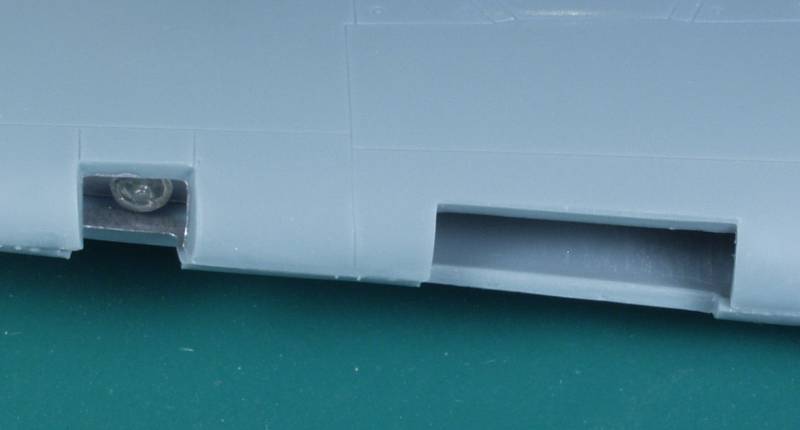
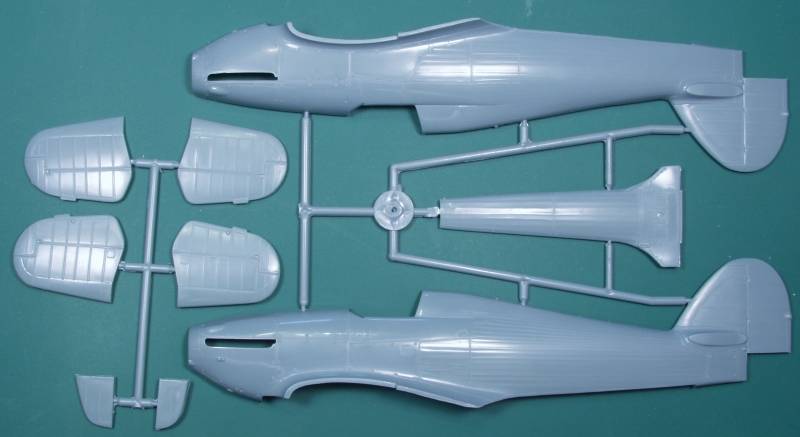
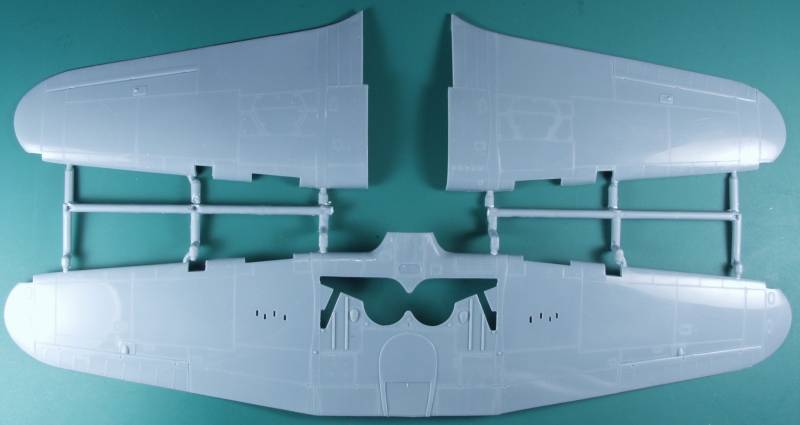
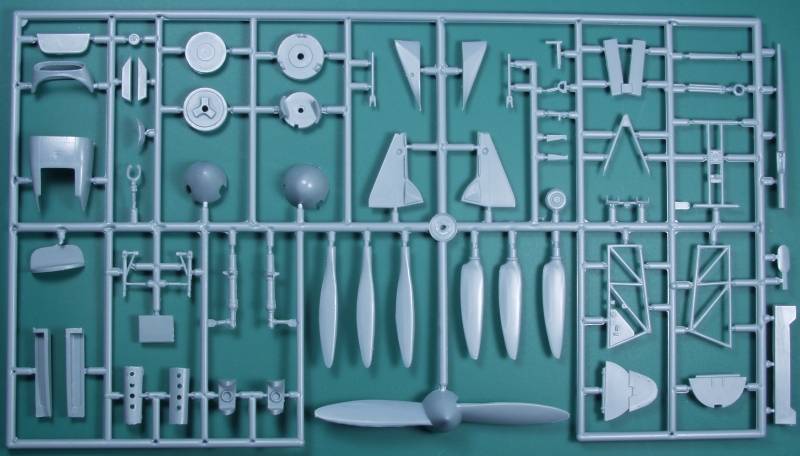
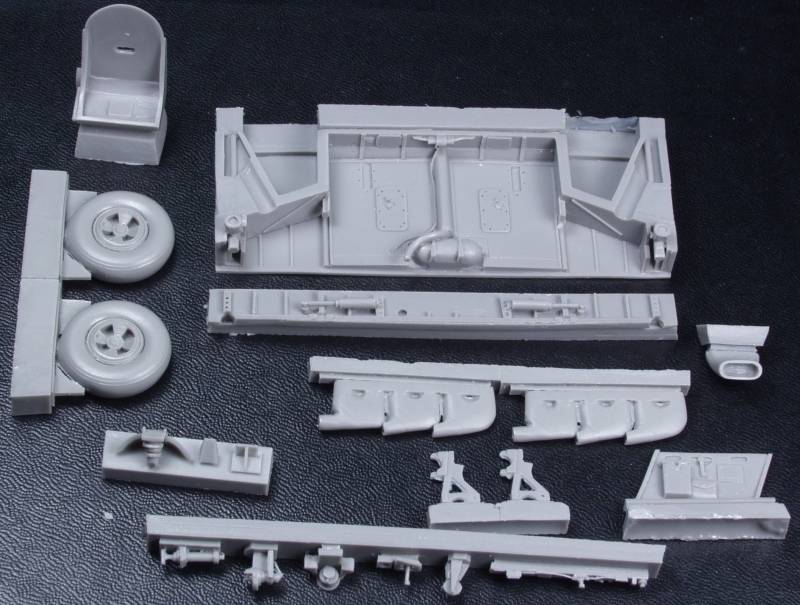
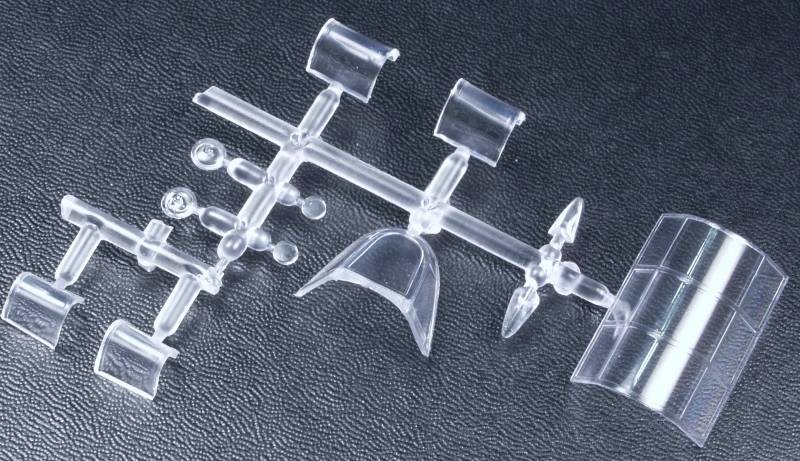
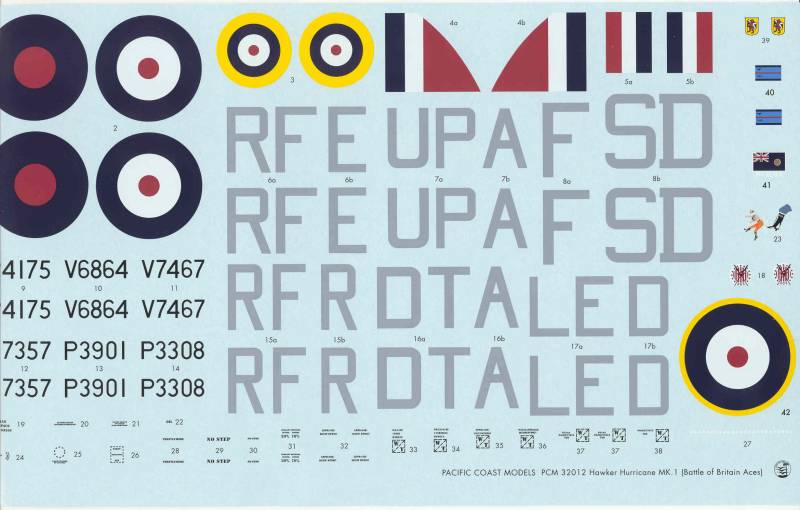
Here's a look at what is in the Pacific Coast kit.

hurricanebox.jpg


hurricane01.jpg


hurricane02.jpg


hurricane03.jpg


hurricane04.jpg


hurricane-clear.jpg


hurricane-pe.jpg


hurricane-decal.jpg


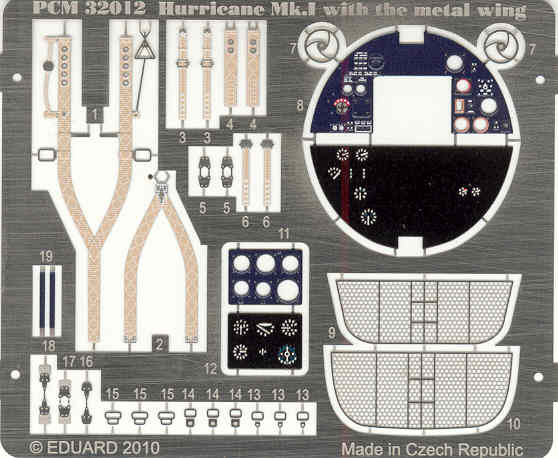
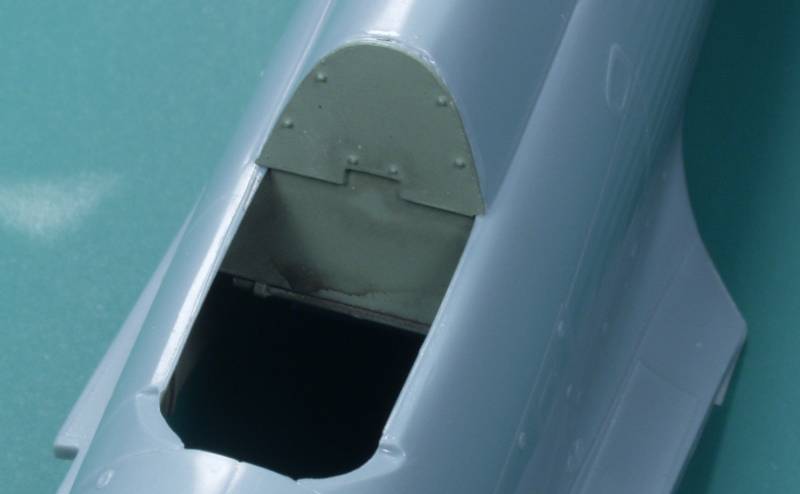
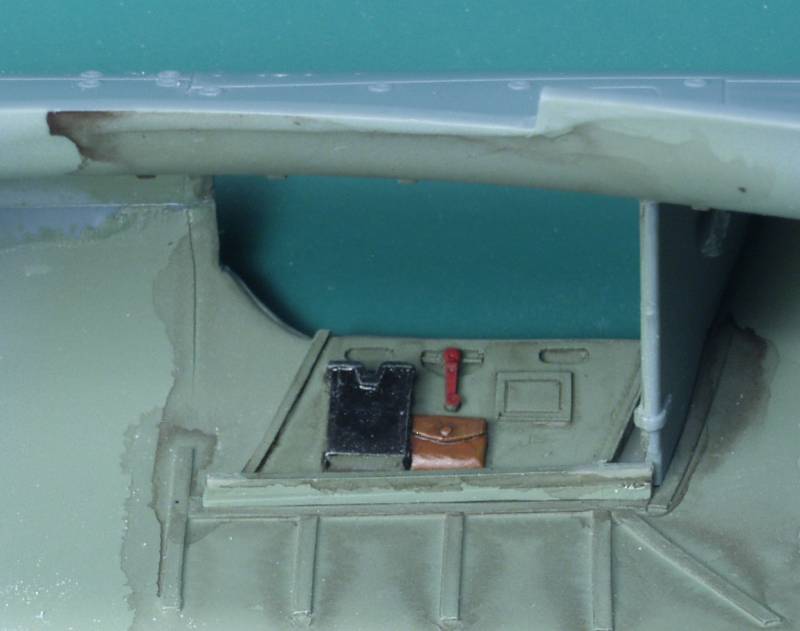
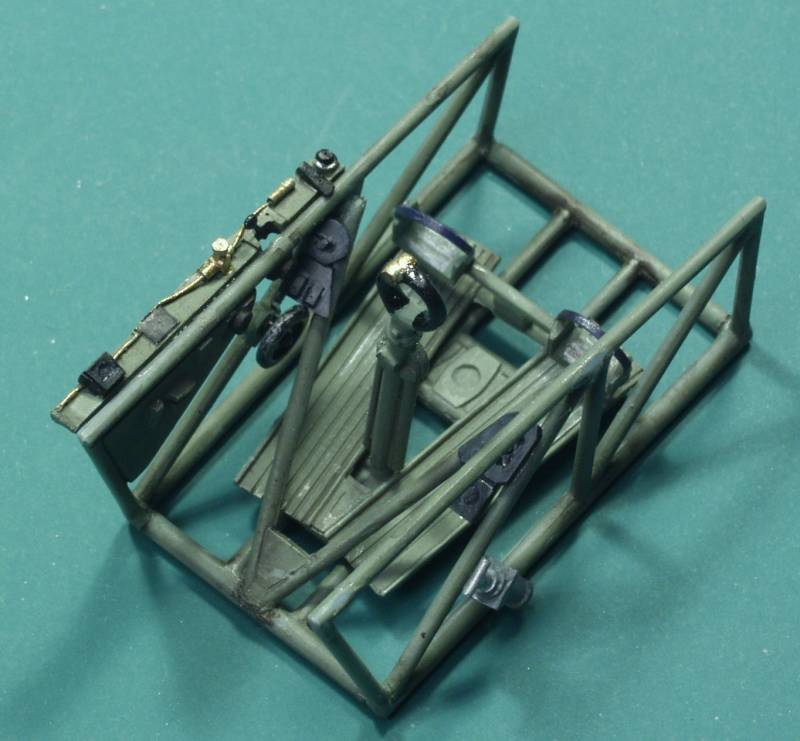
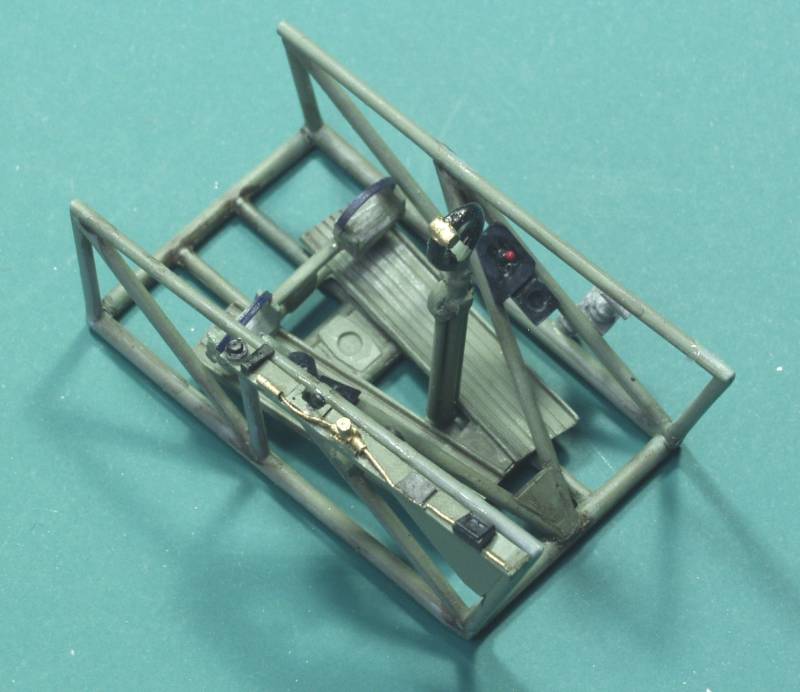
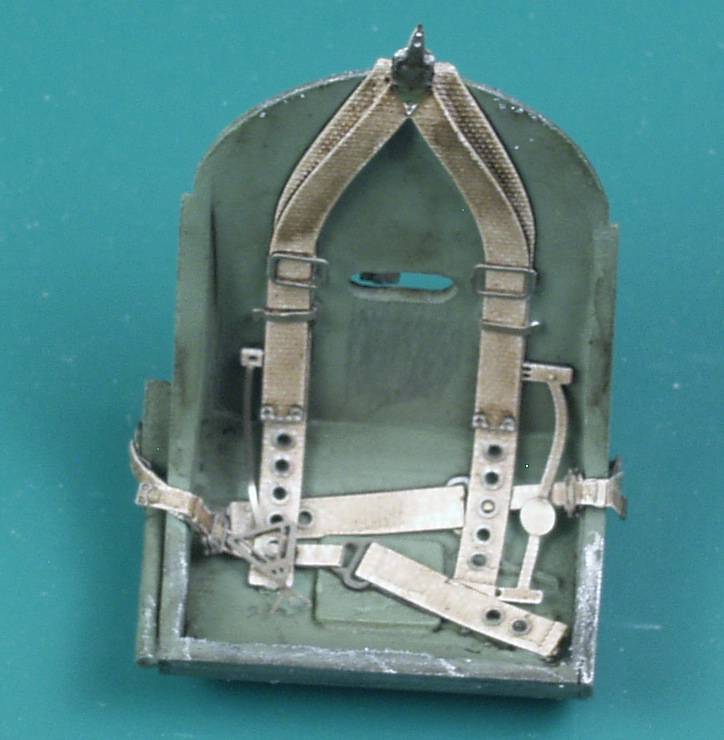
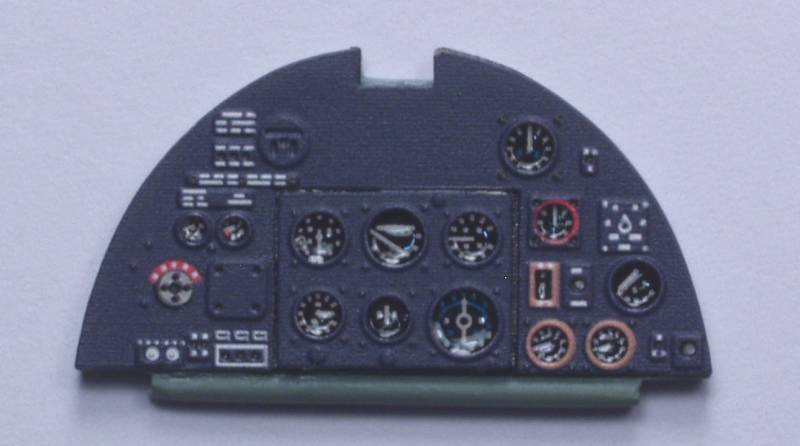
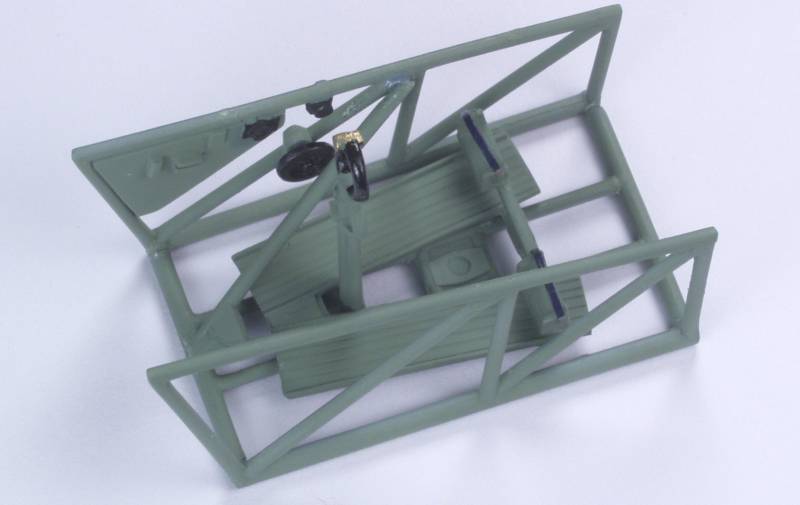
To date all I have done is the IP and the basic cockpit cage which still has a lot to be added to it.

hurricane-b01.jpg


hurricane-b02.jpg
 
Hmm...you may have another join ya on this Buddy Build. :popcorn.

What do you think of that Pacific Coast Model Gary?
 
Gary that looks to be a fine set up you have there. I am hoping to get a 24 scale Trumpy MkIIC soon so I may just have to join ya :geek
 
Well, bear in mind it's a short run kit, think Classic Airframes or Special Hobby and there are not only the usual fit issues but this kit in particular has a wing to fuselage problem that pretty much dictates that the upper wing needs to be attached to the fuselage prior to installing the lower wing or you lose all the nice upper wing detail trying to fix it. The gear bay resin needs to sanded till the top is paper thin if you want the wing halves to fit, other than that, it's a pretty nice kit, just no Tamigawa ! I'll post some pix soon showing the wing problem.
 
Those Hurricane photos are fake! Real aircraft never got that dirty. :silly:

The kit looks good from here. :)


Matrixone
 
Well here we go!! Gary and I put our heads together on this a while back and at the time I said I wanted to do the Italeri boxing. The reality is, budget wise; I had to go with the AIRFIX boxing. An oldie but goodie.

I'm spending some of my model money on a nursery! It seems I'm about to become a grand father for the first time and one of our spare rooms needs some TLC, for when the little guy comes to visit "grumpy gramps" ;)

Like Gary said... anyone can jump in here. This will be a slow one for me too given the spare room project, but I'm going to enjoy working along side Gary.

So here's some pics of the goods in the box.


Picture006.jpg

Picture007.jpg

Picture008.jpg

Picture009.jpg

Picture010.jpg
 
Join in when you're ready Paul. Bob the worst issue with the Hurricane is the wing fuselage join but only if you build the kit the way most do and the way the instructions tell you to do, build the fuselage, then build the wing and then join them. The problem is if you glue the upper wing sections to the lower wing when you go to join them to the fuselage it will look like this

hurricane-b03.jpg


Fortunately the plastic is flexible enough it can be preformed to fit and glued to the fuselage and allowed to cure then mated to the bottom wing at which time any differences can be dealt with in areas less visible. Such things are not really problems if you know about them in advance, it's when they show up too late to do anything about that they are problems.
 
Ii have seen that done before Gary. I think its a grand idea and Ill try that on my other kits.
 
Got a bit done this weekend, first up was the fuselage. After doing a lot of test fitting I decided to put this together without attaching any of the innards. The instructions sort of show it both ways but it turned out to be fiddly enough as it was without needed to deal with the innards. Being a short run kit it has no alignment pins, which I usually don't like anyway but in this case one or two would have been helpful. This is mostly due to the lack of mating surfaces as most of the bottom is open. At this point the seams have been sanded but no filler used yet.

hurricane-b04.jpg


Once the glue had set up I planned to install the lower rear portion of the fuselage to give it more strength when it came to fighting with the wings. The instructions would have you install this later in the process. During fitting I found the fuselage on mine warped inward a bit which would have resulted in more sanding and filling and loss of surface detail so I added a spacer to improve fit.

hurricane-b05.jpg


With the spacer in place the fit of the bottom piece was quite good. I would also recommend that the keyhole shaped piece that the arrow points to be added to one side of the fuselage prior to assembling them. It is also called out in a later step but would be a PITA to install later and it helps keep that opening for that bottom piece spaced correctly.

hurricane-b06.jpg


I also installed the cockpit rear bulkhead. I could have install the IP as well but I want to wait till I test fit the completed pit assembly to check for interference fit before doing that.

hurricane-b07.jpg


Next I need to finish the pit and install it prior to wrestling with the wings.
 
That's looking great Gary!! I'll get something done here shortly. We're hitting the road in the morning to go be with our daughter as she brings our first grand baby into the world.

I'm not slacking..... just got a bigger project in the hanger. :yipee
 
h.jpg

Not much of a start, but at least I did do something. Since so little of the pit will be seen, I'm not going to take a lot of time on it. I am still debating on painting up the pilot figure and sticking him in. It would help disguise so little detail in there, and my lazyness.
 
Now that I'm free of all group build dead lines it's time to bring this one back to the top. First off I needed to finish up the pit and get it installed in the fuselage. The instructions would have you attach the right side wall to the pit framework first but when I did that I found I couldn't get it to lay flat against he fuselage so I attached it to the fuselage first.

hurricane-b08.jpg


The rest of the parts were added to the pit frame

hurricane-b09.jpg


hurricane-b10.jpg


In this scale there is a temptation to go nuts with detail and aircraft cockpits like the Hurricane seem like a plumbers nightmare of cables, wires and pipes but with the small top opening of the cockpit very little would easily be seen so I went with what the kit supplied. Even the seat tends to disappear when dropped in place so I took a shot of it before installation.

hurricane-b11.jpg


Once the pit parts were in place the fun part of dealing with the wing to fuselage join took place. The plastic was soft enough to allow forming by hand and it a few places the plastic actually took on a lighter color where it was bent to correct the curvature. I taped the bottom wing in place to help act as a guide then glued the wing root to the fuselage, taking my time and and aligning as I went. With the bottom wing just taped in place it allowed me to probe inside if necessary to keep the root joint aligned. Once the root was done I did a progressive gluing around the rest of that wing then repeated the process on the other side. The whole process, though a bit tedious, worked quite well.

hurricane-b12.jpg


It produced a nice tight well aligned joint that will require little in the way of clean up.

hurricane-b13.jpg


The downside was it did leave some misalignment with the gun port area and the landing light openings, the worst of these being on the right wing with the left being a bit better. Interestingly enough the wing tips were even which suggest this issue would have prevailed regardless of how this was handled. Fortunately these issue are much easier to deal with than wing root issues.

hurricane-b14.jpg


I still need to attach the tail feathers, lower portion of the rudder and some other bits and bobs then clean up and filling and sanding can begin. Who knows maybe by next weekend we'll get to see some paint drying ! :laugh:
 
(y)

the brass tubing (fuel lines?) really nice, hope they show up well enough when it's all closed up. :popcorn

That seat is just off the hook! :notworthy :notworthy
 
Don't know what the line was Bob, it was cast into the panel, in photos it looks to be copper but I didn't have any copper paint so I used brass instead :D
 
Back
Top