Skinny_Mike
Well-known member
Hey everyone. Well I didn’t get this one done by the end of September as originally intended. :S Hopefully I can get these built in the remaining time frame of the déjà vu build so I can still collect my ribbon.
First off, here is the link to the previous work completed during the Pin Ups Campaign.
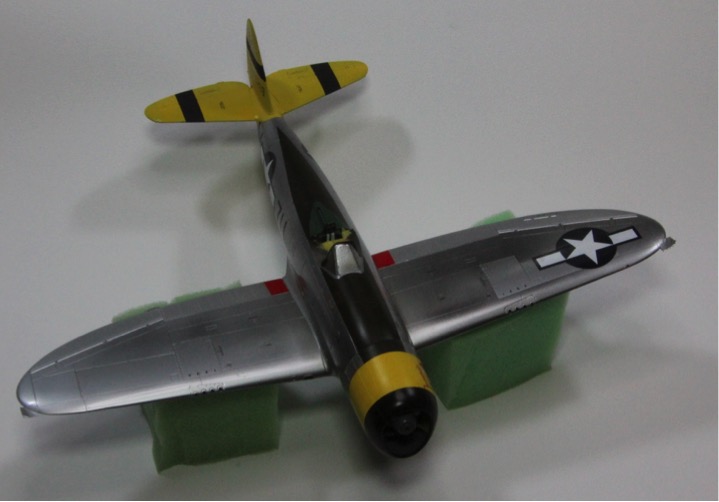
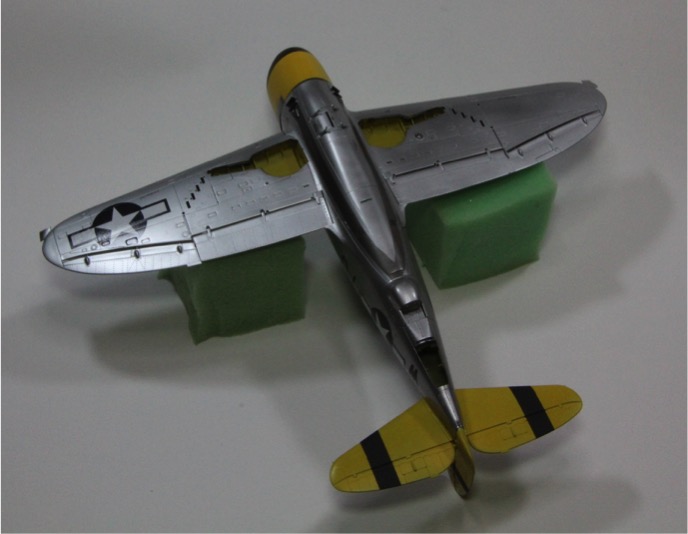
A Great Pair of Jugs
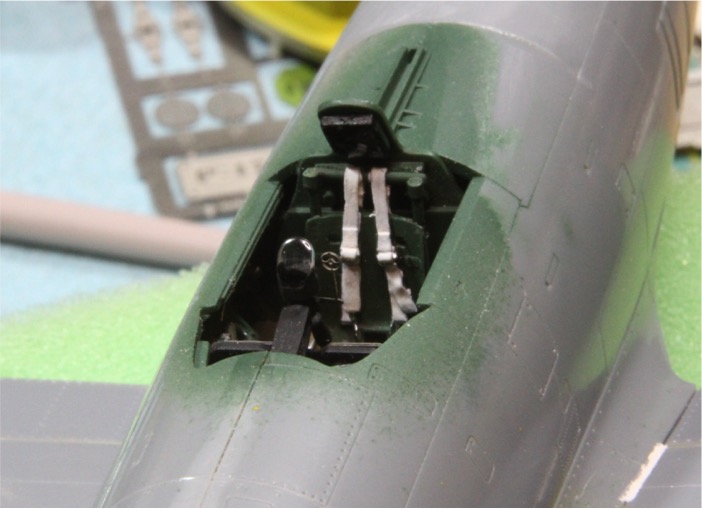
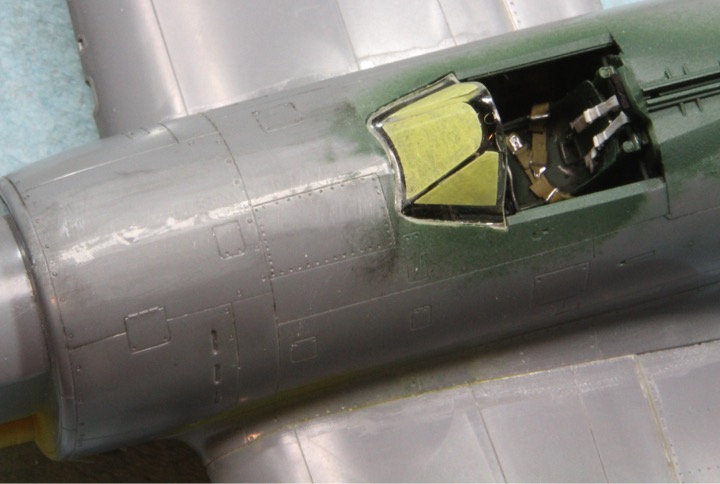
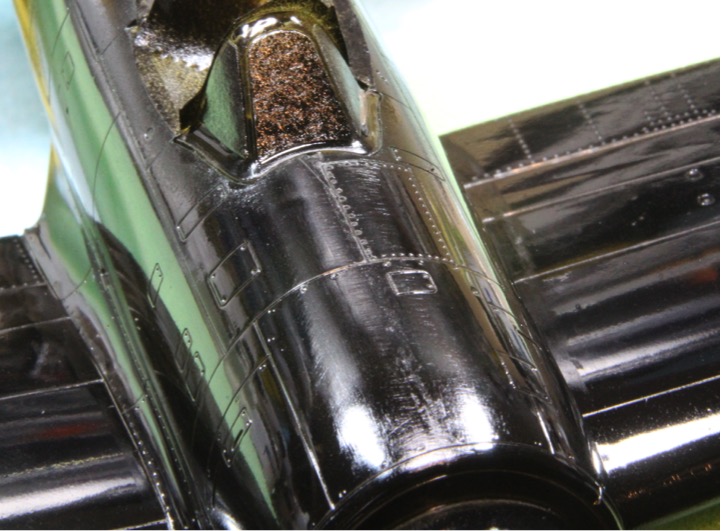
I made some progress on the bubble top this week. Starting where we left off, in the cockpit, I added the kit gun sight which received the backup sight from the Eduard etch set. I also promptly added the windscreen to protect these parts during handling.
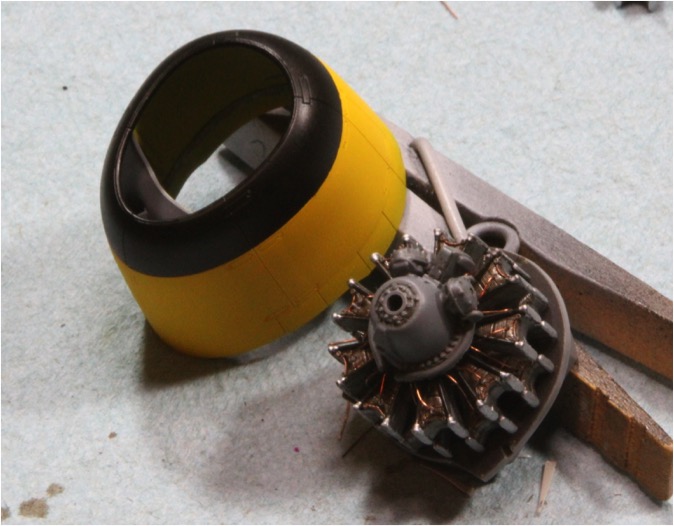
Next up was the engine. I actually built up both engines at the same time. First I drilled out the spark plugs to receive an ignition wire in each cylinder. Then I painted them in Alclad Steel and the gear housing was painted in Tamiya Neutral Gray.
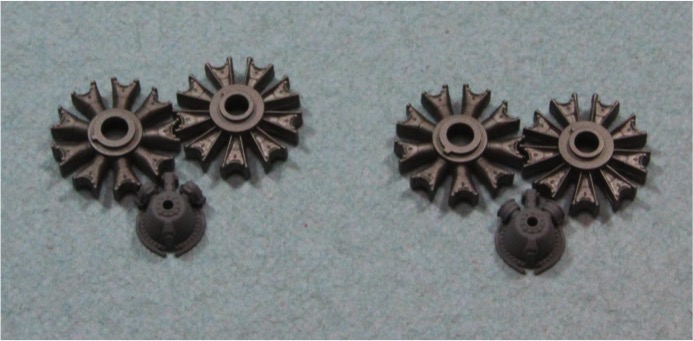
Next I used AK’s Grease and Oil Wash on the metal parts and on the housing. I’m probably not going to use this product for this application again. While it did leave a very affective oily sheen over the metallic parts, it really just made a mess of the gear housings. I ended up repainting them and using MIG dark wash on the housing. The remaining details were picked out on the engine with Tamiya Copper and Semi-Gloss Black and the valve covers were painted with Vallejo Steel. Once the painting was finished I added the ignition wires with some copper wire.
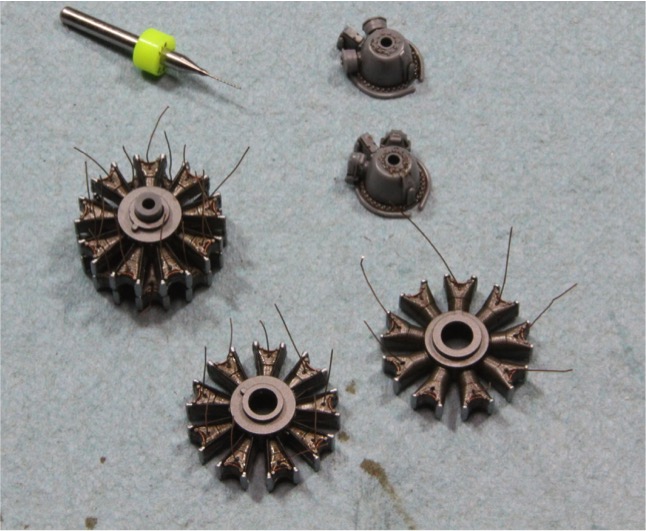
While I was working the engine I decided to assemble the cowling. The instructions clearly state to assemble the engine, insert it into the cowling and then add the cooling flaps. Too bad I forgot to read the instructions. I assembled the cooling flaps and then realized that there is a rigde inside of the cowl now that the firewall will not fit over.
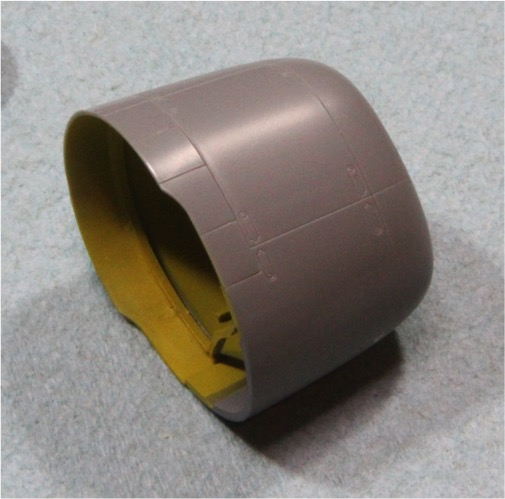
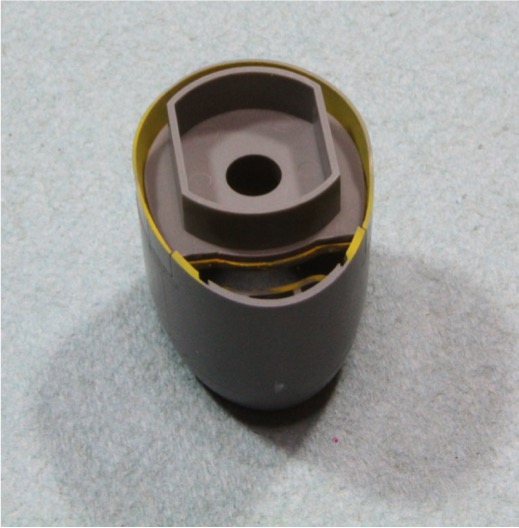
Honestly, this is a result of me rushing to make some progress. Just plain stupid. I set it all aside for a couple of days and then though about a solution. Really all I had to do was scrape out the ridge and everything ended up going together just fine, but that could have been catastrophic!
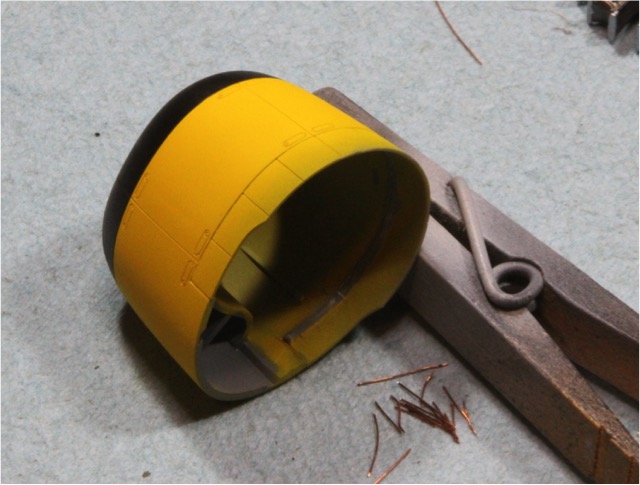
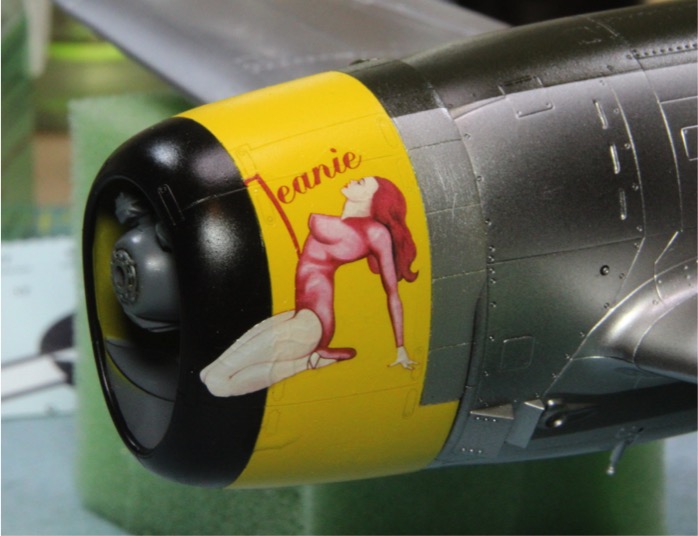
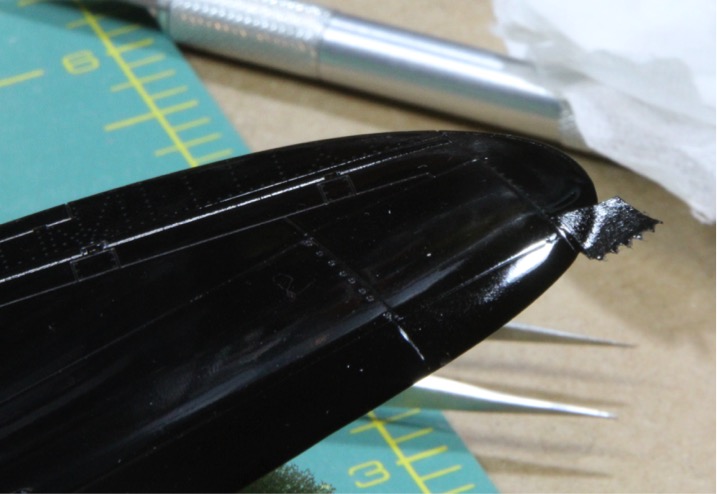
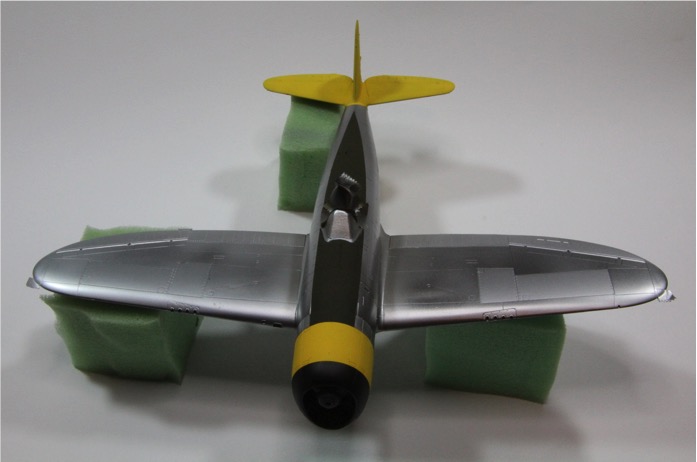
I figured it would probably be easier to mask and paint the cowling before the engine was installed so I did that as well, Tamiya Yellow and Black. The cooling flaps will be in Natural Metal eventually. I am not very good at masking straight lines (I really need Les to show me his secret!) so I tried a new trick. I painted the yellow and then I taped over the front of the cowling. With a new sharp blade I ran the blade through the panel line at the front of the cowling and then removed the tape from the front, and sprayed the black. I was left with a perfectly straight line! In all honesty the black strip is supposed to be wider, but like I said – there is no way I’m going to freehand a straight line, and really who will know?
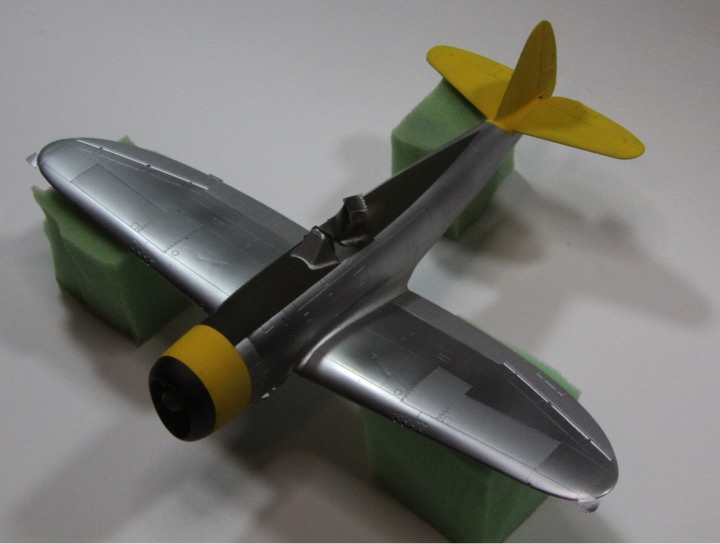
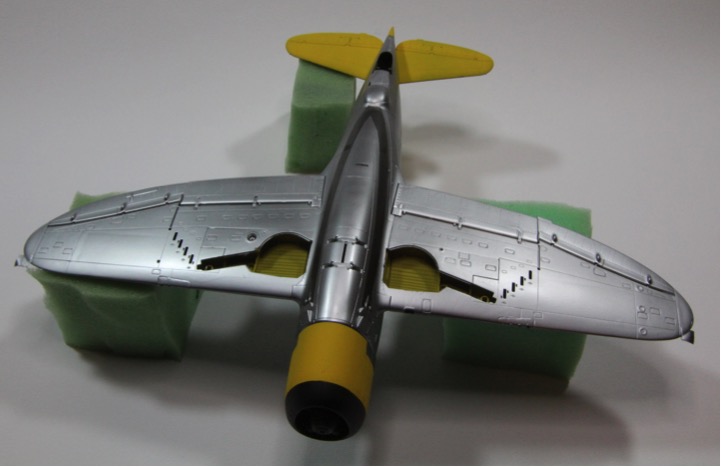
Here is the cowling and the finished motor.
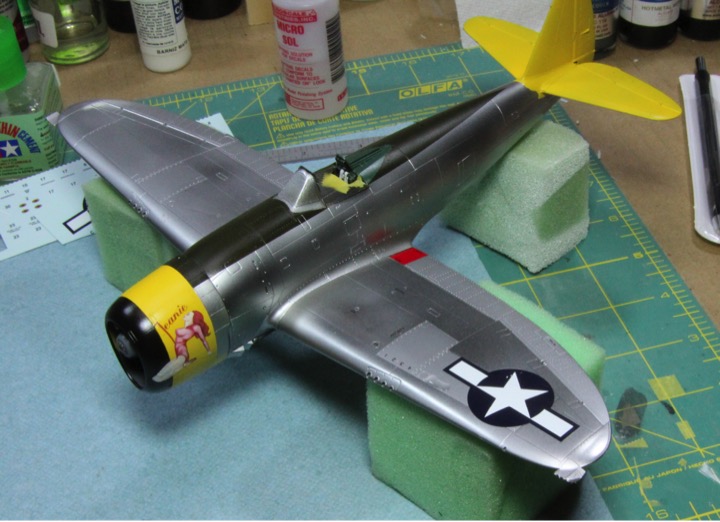
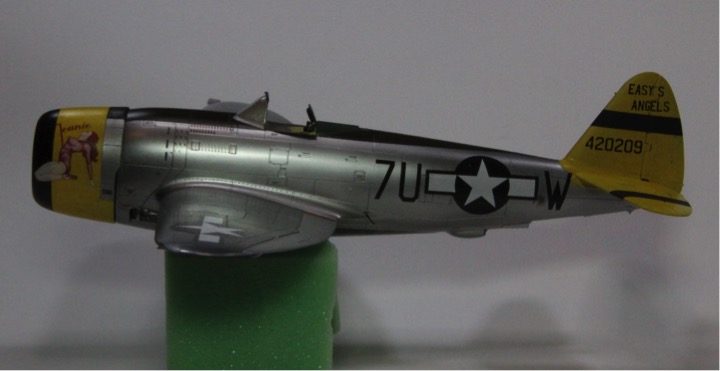
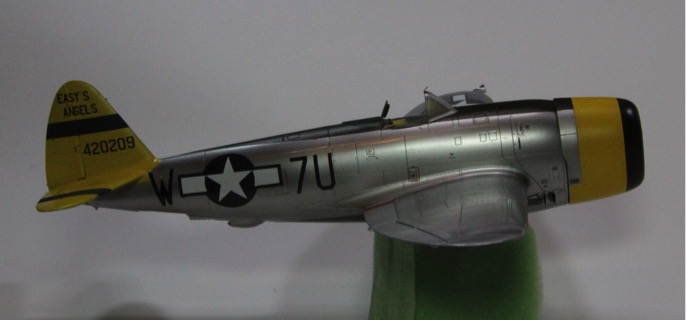
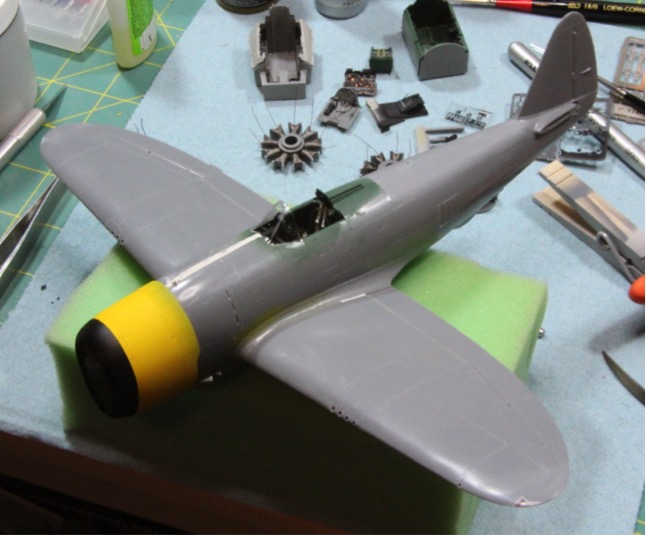
Next step is to clean up some seams, add the horizontal tail and this one is ready for paint. Time to catch up the Razorback.
Thanks for looking folks
Mike
First off, here is the link to the previous work completed during the Pin Ups Campaign.
A Great Pair of Jugs
I made some progress on the bubble top this week. Starting where we left off, in the cockpit, I added the kit gun sight which received the backup sight from the Eduard etch set. I also promptly added the windscreen to protect these parts during handling.

Next up was the engine. I actually built up both engines at the same time. First I drilled out the spark plugs to receive an ignition wire in each cylinder. Then I painted them in Alclad Steel and the gear housing was painted in Tamiya Neutral Gray.

Next I used AK’s Grease and Oil Wash on the metal parts and on the housing. I’m probably not going to use this product for this application again. While it did leave a very affective oily sheen over the metallic parts, it really just made a mess of the gear housings. I ended up repainting them and using MIG dark wash on the housing. The remaining details were picked out on the engine with Tamiya Copper and Semi-Gloss Black and the valve covers were painted with Vallejo Steel. Once the painting was finished I added the ignition wires with some copper wire.

While I was working the engine I decided to assemble the cowling. The instructions clearly state to assemble the engine, insert it into the cowling and then add the cooling flaps. Too bad I forgot to read the instructions.
 I assembled the cooling flaps and then realized that there is a rigde inside of the cowl now that the firewall will not fit over.


Honestly, this is a result of me rushing to make some progress.
 Just plain stupid. I set it all aside for a couple of days and then though about a solution. Really all I had to do was scrape out the ridge and everything ended up going together just fine, but that could have been catastrophic!
I figured it would probably be easier to mask and paint the cowling before the engine was installed so I did that as well, Tamiya Yellow and Black. The cooling flaps will be in Natural Metal eventually. I am not very good at masking straight lines (I really need Les to show me his secret!) so I tried a new trick. I painted the yellow and then I taped over the front of the cowling. With a new sharp blade I ran the blade through the panel line at the front of the cowling and then removed the tape from the front, and sprayed the black. I was left with a perfectly straight line! In all honesty the black strip is supposed to be wider, but like I said – there is no way I’m going to freehand a straight line, and really who will know?
Here is the cowling and the finished motor.

Next step is to clean up some seams, add the horizontal tail and this one is ready for paint. Time to catch up the Razorback.

Thanks for looking folks
Mike


 :dude
:dude