• Modelers Alliance has updated the forum software on our website. We have migrated all post, content and user accounts but we could not migrate the passwords.
    This requires that you manually reset your password.
    Please click here, http://modelersalliance.org/forums/login to go to logon page and use the "Forgot your Password" option.

1/48 Noix Curtiss RC3-1 Racer

sharkman

Master at Arms
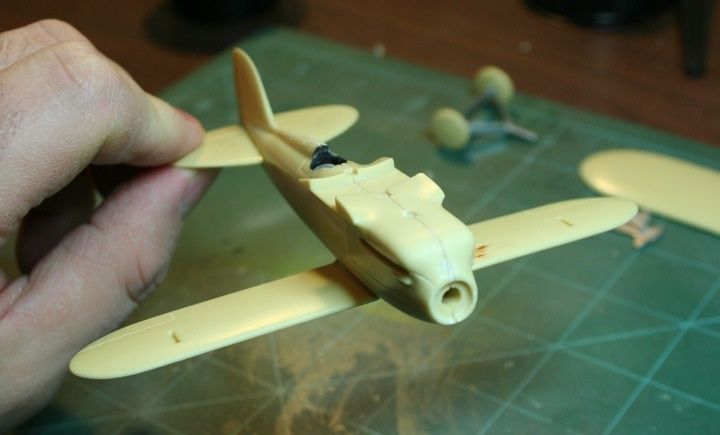
Just briefly started this kit today as a GB on another site.

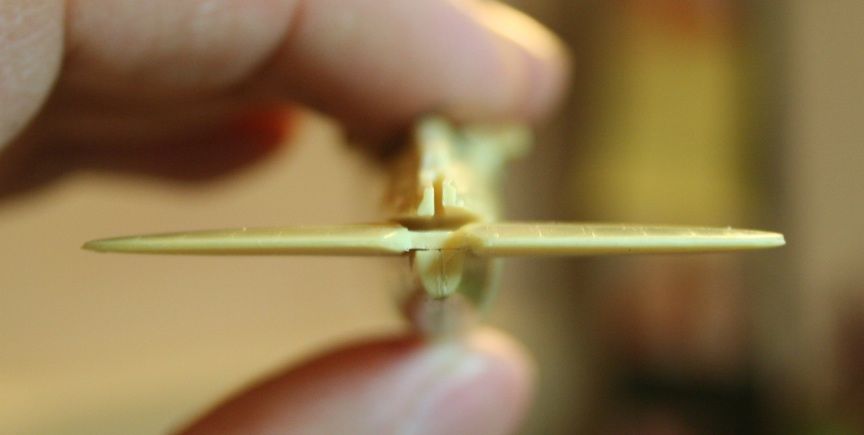
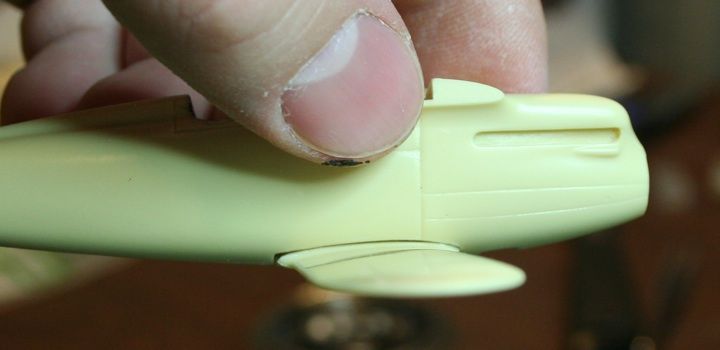
All i did was wash the parts and clean them up a bit.

rc2_zpsf511f402.jpg


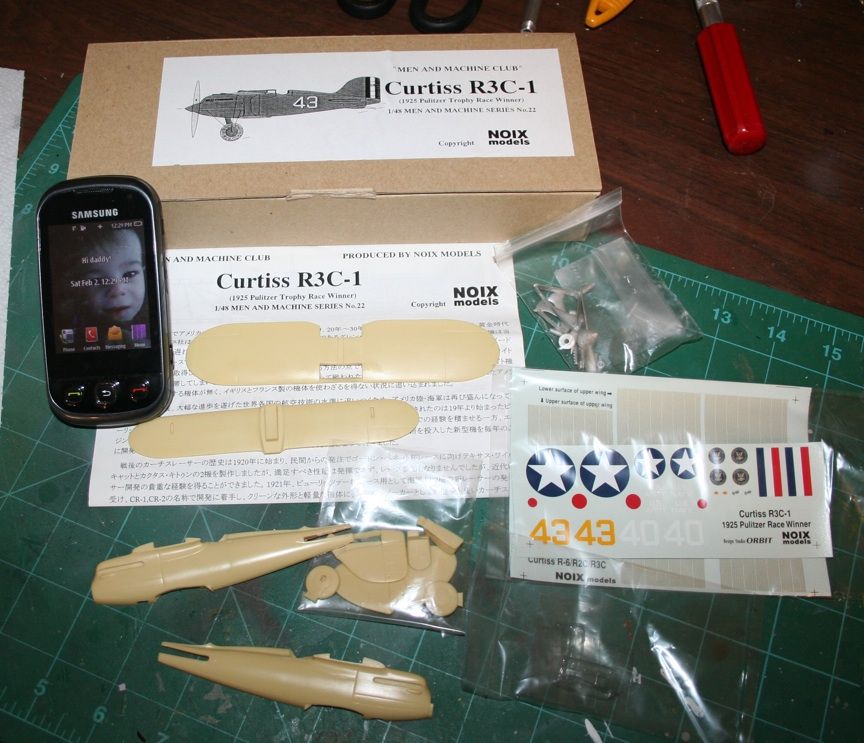
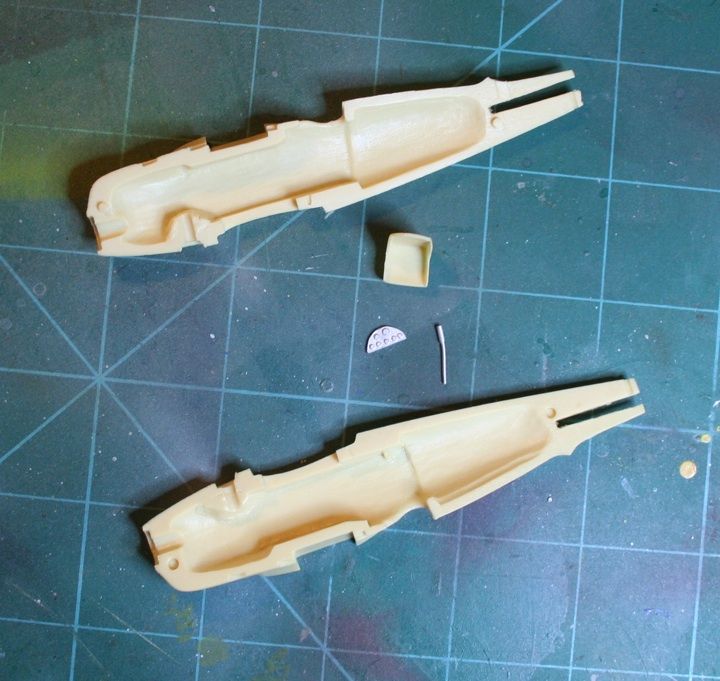
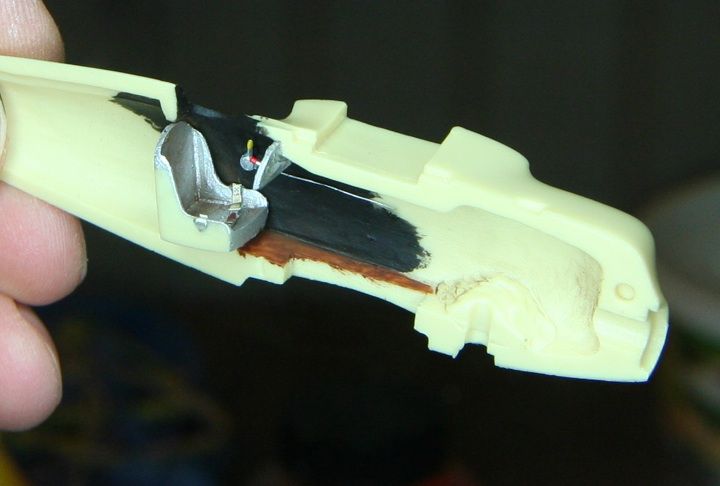
If anyone is not familiar, Noix kits are resin multimedia. The bulk of the parts are resin with some white metal castings, as well as vac canopies and decals. Not much there for the price you pay, 10 resin parts, 2 vac canopies and 15 metal parts.

rc3_zps5ae66f3f.jpg


The directions are pretty simple too! First, all in Japanese, and only 2 steps.

rc4_zpsc0ca2e35.jpg


Should be fun! I may make a few mods (nothing exists in the after market that I know of) but it will basically be OOB.
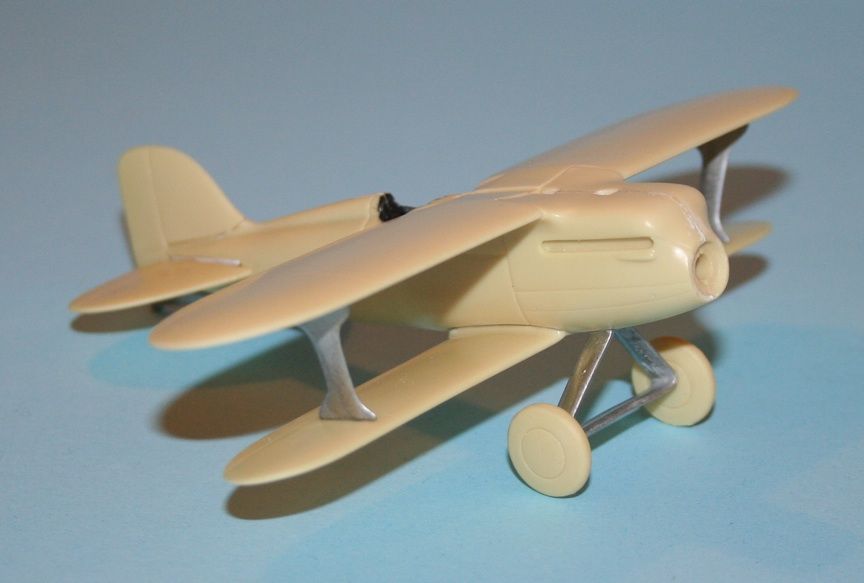
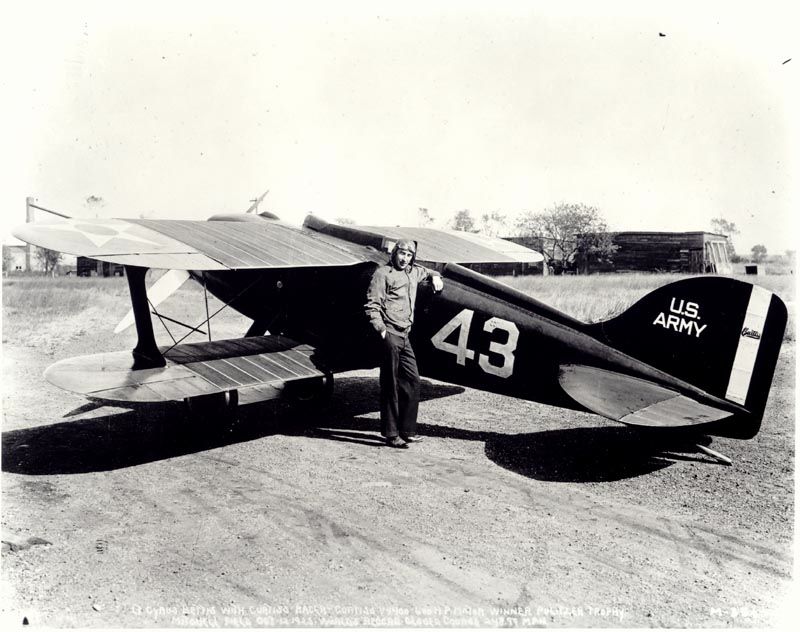


Here's the plane!

r3c_1_zpsa4000589.jpg
 
Pretty! I bet it set you back a Pretty (there goes that word again!) Penny.

Regards,
 
Ok,  so I broke some ground on this one today

Here's the 3 pieces for the cockpit... seat, IP and stick.

rc6_zps474e3765.jpg


Had to use the old boiling water trick to get the bend out of the fuse pieces.

before:
rc5_zpsb0c9c3e9.jpg


after:
rc7_zps49406d86.jpg


I don't have any references for the cockpit, so I winged it. Left the IP metal colour, added some Mike Grant decals and a small switch.

rc8_zps71c57924.jpg


I added a small throttle lever, some wire, Eduard belts and painted the interior flat black with a wood like floor

rc9_zps42c29c17.jpg


The starboard side received the same painting, and I just added a small fuse/switch plate again with a Mike Grant decal.

rc10_zps62a3e346.jpg


rc11_zps78e8fc02.jpg
 
A little more work this morning! Had to do a little cutting and sanding on the tail to make it fit properly

rc12_zps5afcb20b.jpg


Once that was done, I noticed the tail of the body was still a little warped. The problem (one of them) with resin kits! So, a little of the boiling water trick and....

rc13_zps1d76974e.jpg


better!

rc14_zps91ae83ee.jpg


Then I still had to make a small spacer out of sheet styrene

rc15_zps826e0ecf.jpg


everything is snug now but I'll still have to fill a little

rc16_zpscf104c8e.jpg


painted the top part of the lower wing which is actually the cockpit floor before installing

rc19_zpsb9648503.jpg


slowly starting to look like a plane

rc20_zps7a395f38.jpg


a quick check of alignment

rc17_zps91e369f3.jpg


rc18_zps9a22bd15.jpg


Not bad, but I might have to use some boiling water to straighten the tail once the CA dries

And again some filing and sanding by the wing roots

rc21_zps3d6869c3.jpg


rc22_zps45b6633a.jpg


Couldn't resist a little test mock up! Cute little bugger isn't it?

rc23_zpsc817cebb.jpg


These Noix kits are nice and rather simple. You can practically assemble the whole plane right out of the box just to get a look at it. They really did manufacture them nicely. Too bad they're OOP!
 
Very quick update with this one, did a little filling tonight and added a few of the metal parts.

I drilled out the exhausts on each side

 
Back
Top