
Paulw
Well-known member
I started this a couple of weeks ago and while I was going strong I goofed up a wing panel with a hair dryer... :facepalm Yeah, I know. So I searched on how to get another wing panel but MPC didn't have any replacement and I couldn't come up with anything other than getting another kit. After the new kit arrived I found that guy on Ebay that sells kits by the sprue and he just so happened to have the correct sprue that I required.
Ok so now I wait for the sprue to arrive this week but I went head on and grabbed the part from one kit to finish the other. Here is the result.
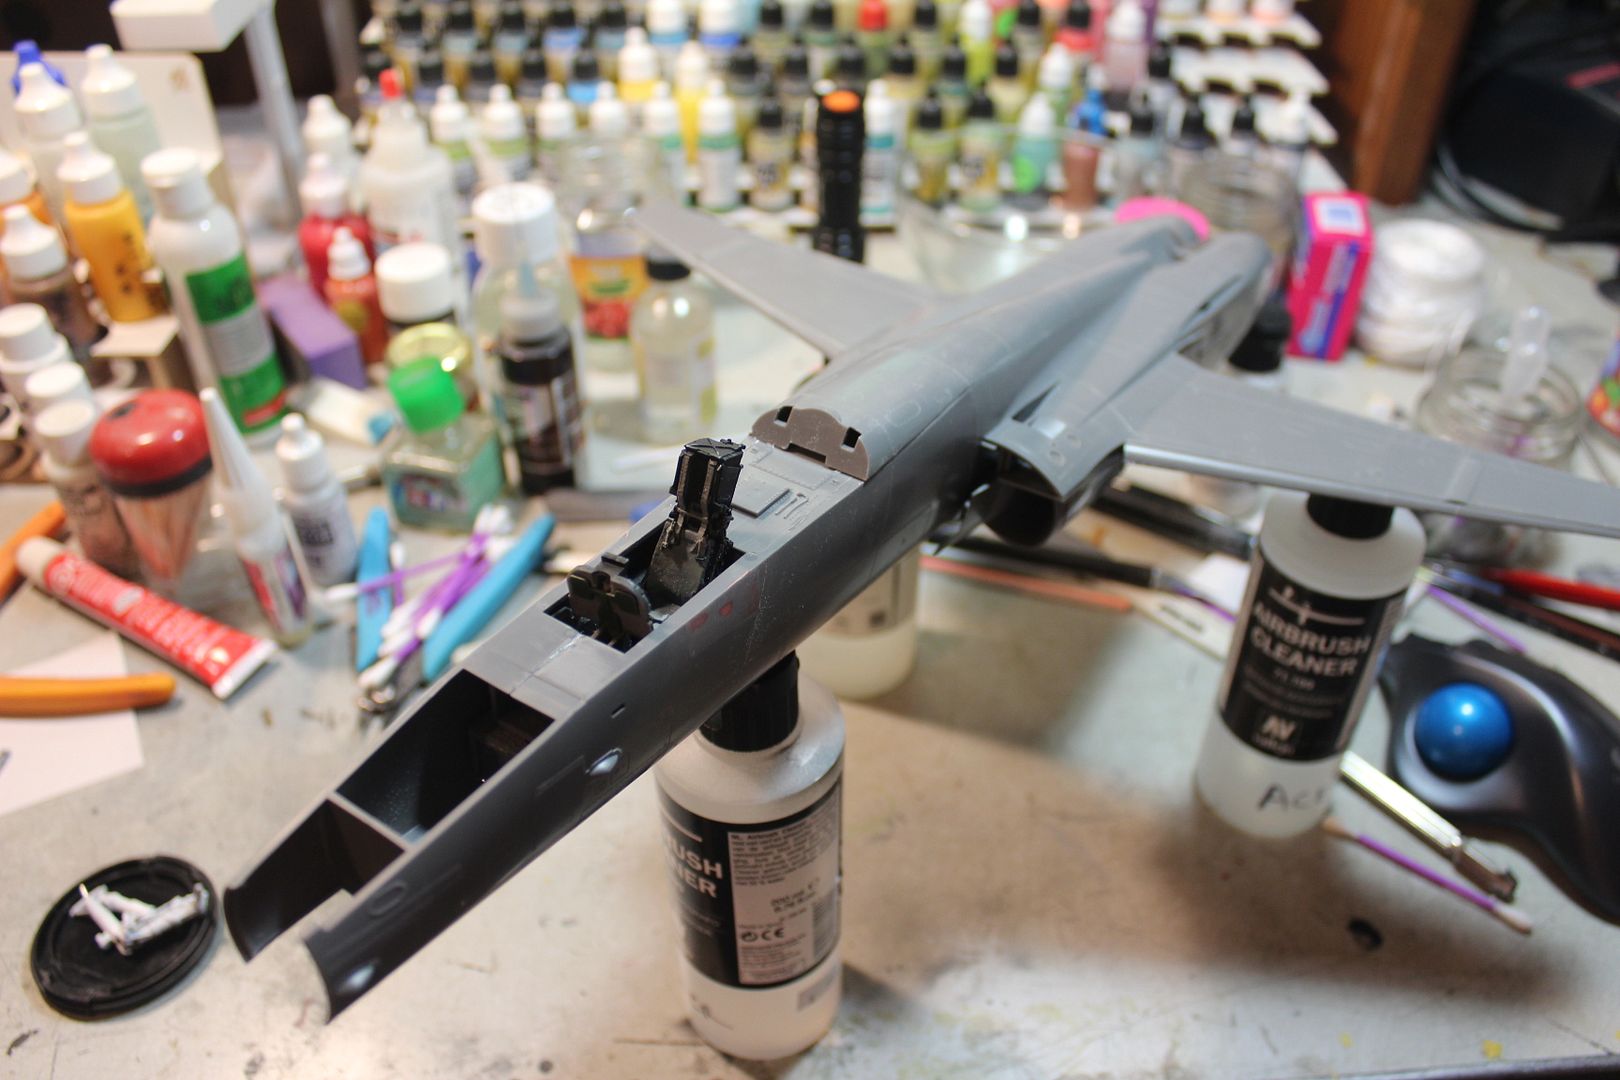
I did manage to get the pit and fuselage together but I think I need to have the Eduard interior for it. The other kit already had that started when I got it.
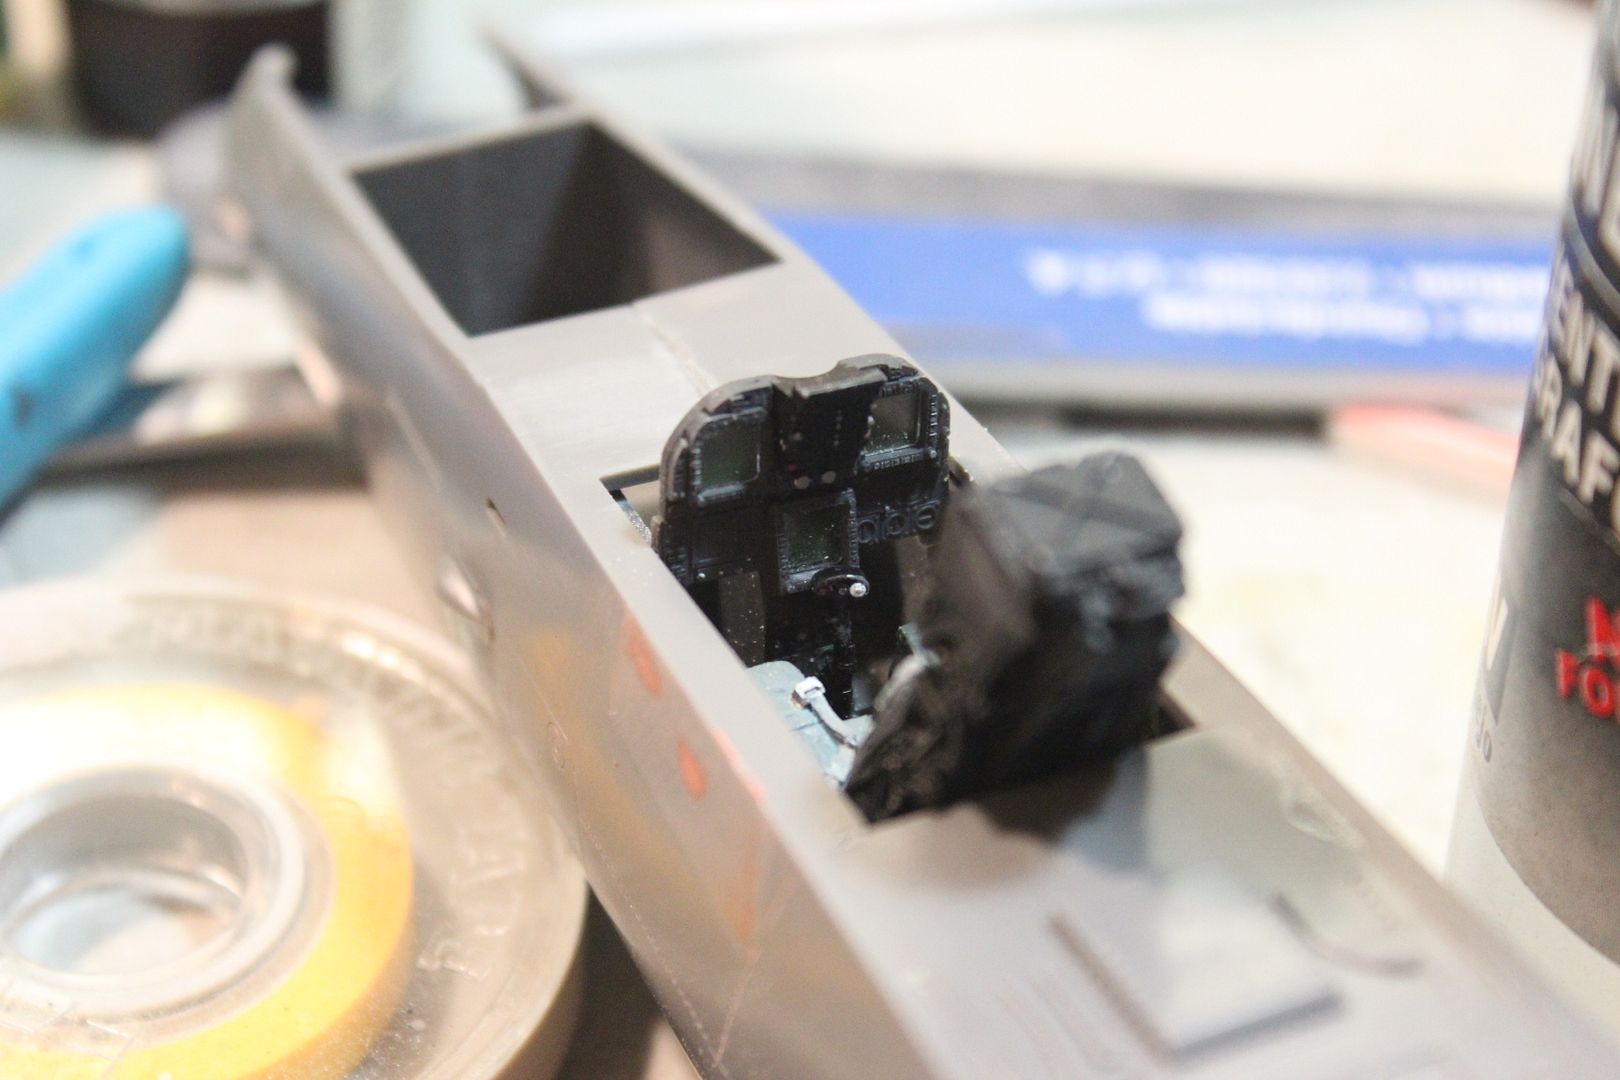
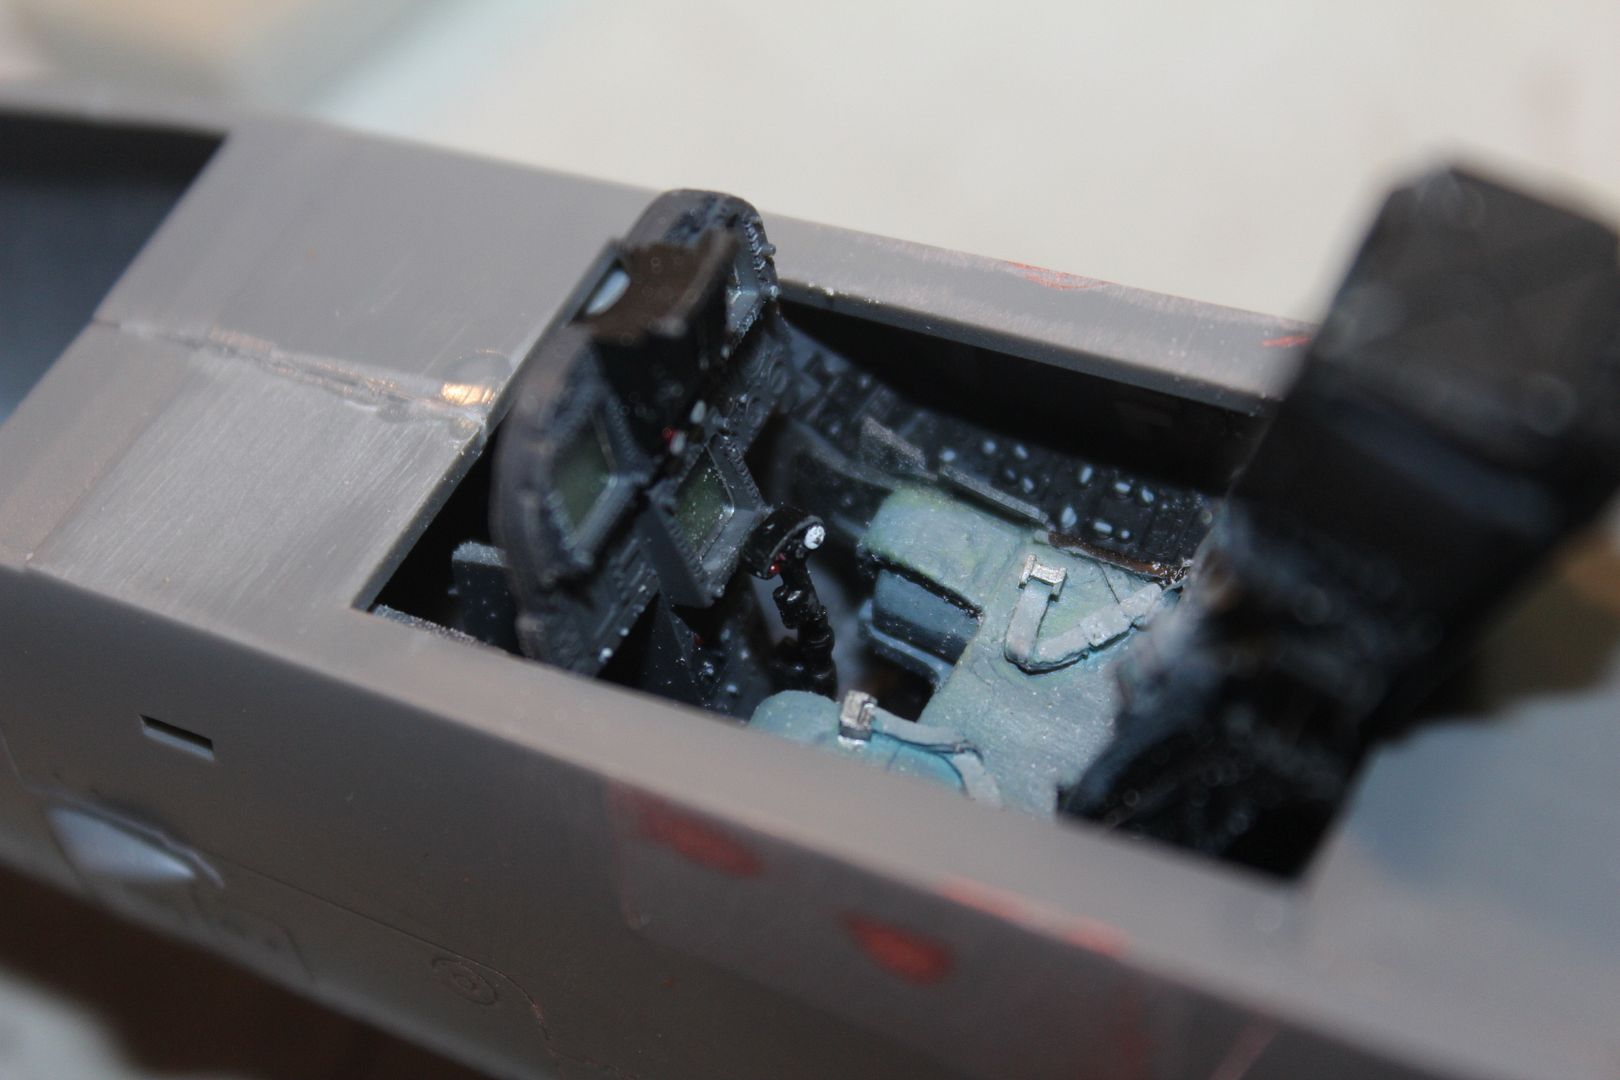
I think that this is one of my worst pits ever, Oh well, what's done is done.
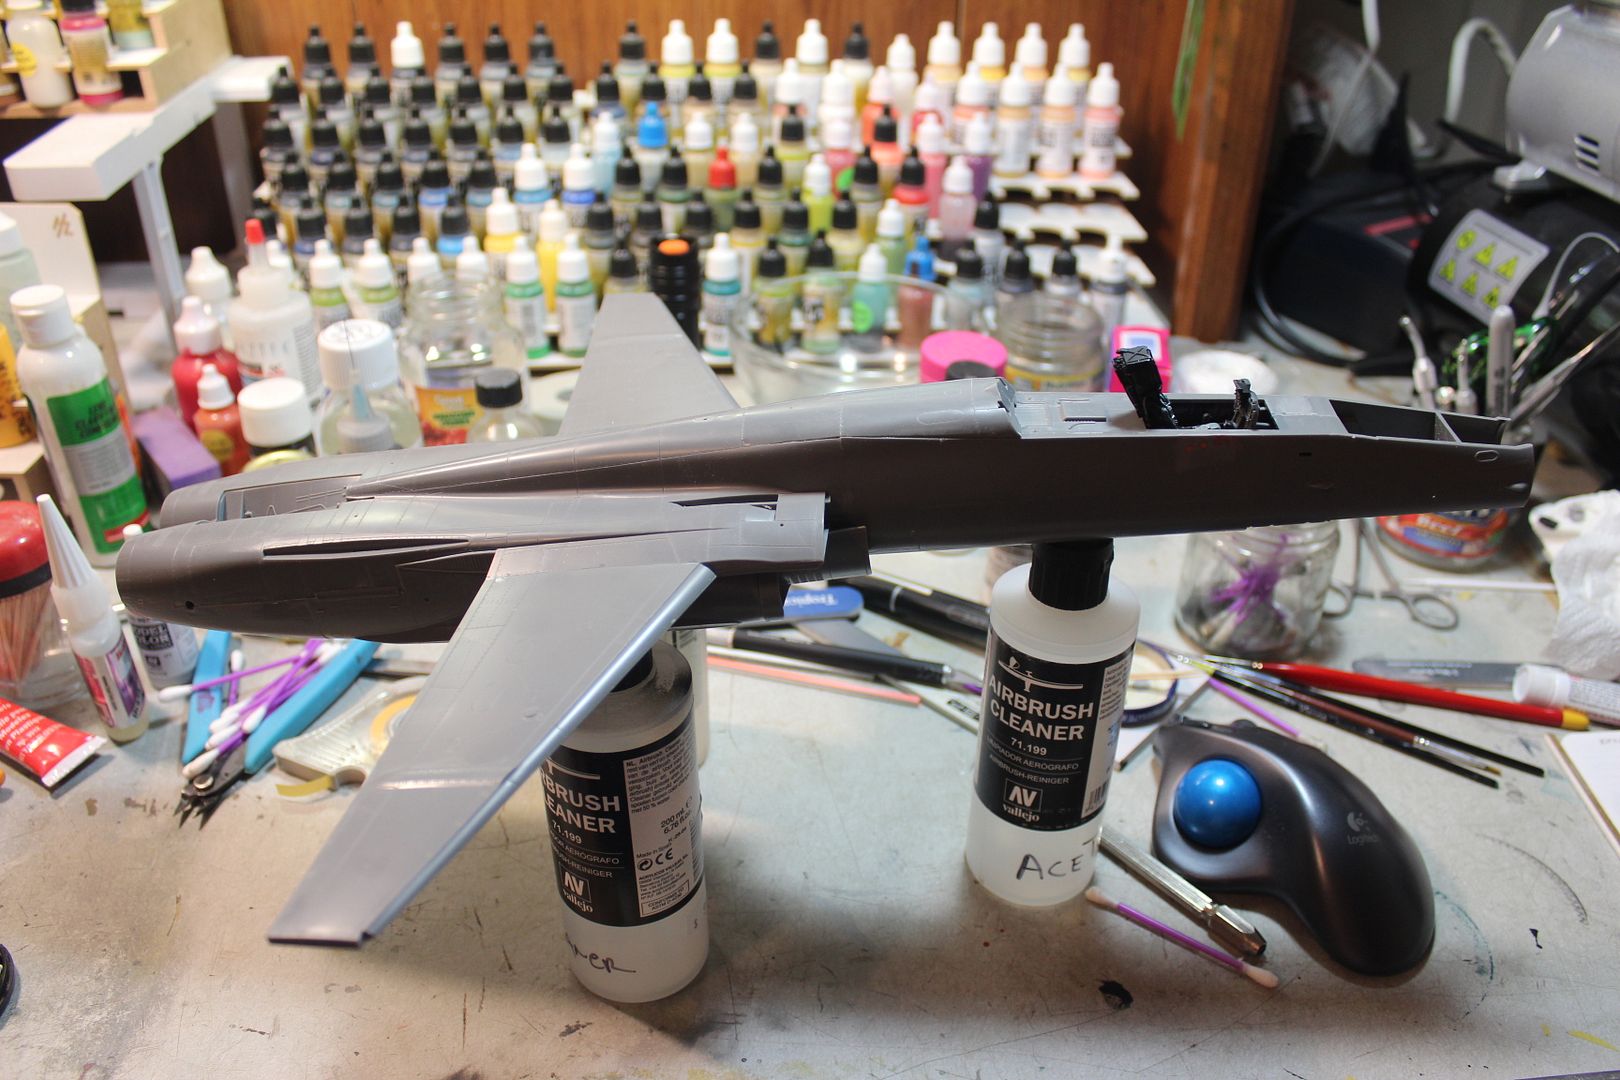
This is a pretty big bug and it does assemble well. I cant wait to finish it except all the odd stencils.
 __
__
Ok so now I wait for the sprue to arrive this week but I went head on and grabbed the part from one kit to finish the other. Here is the result.
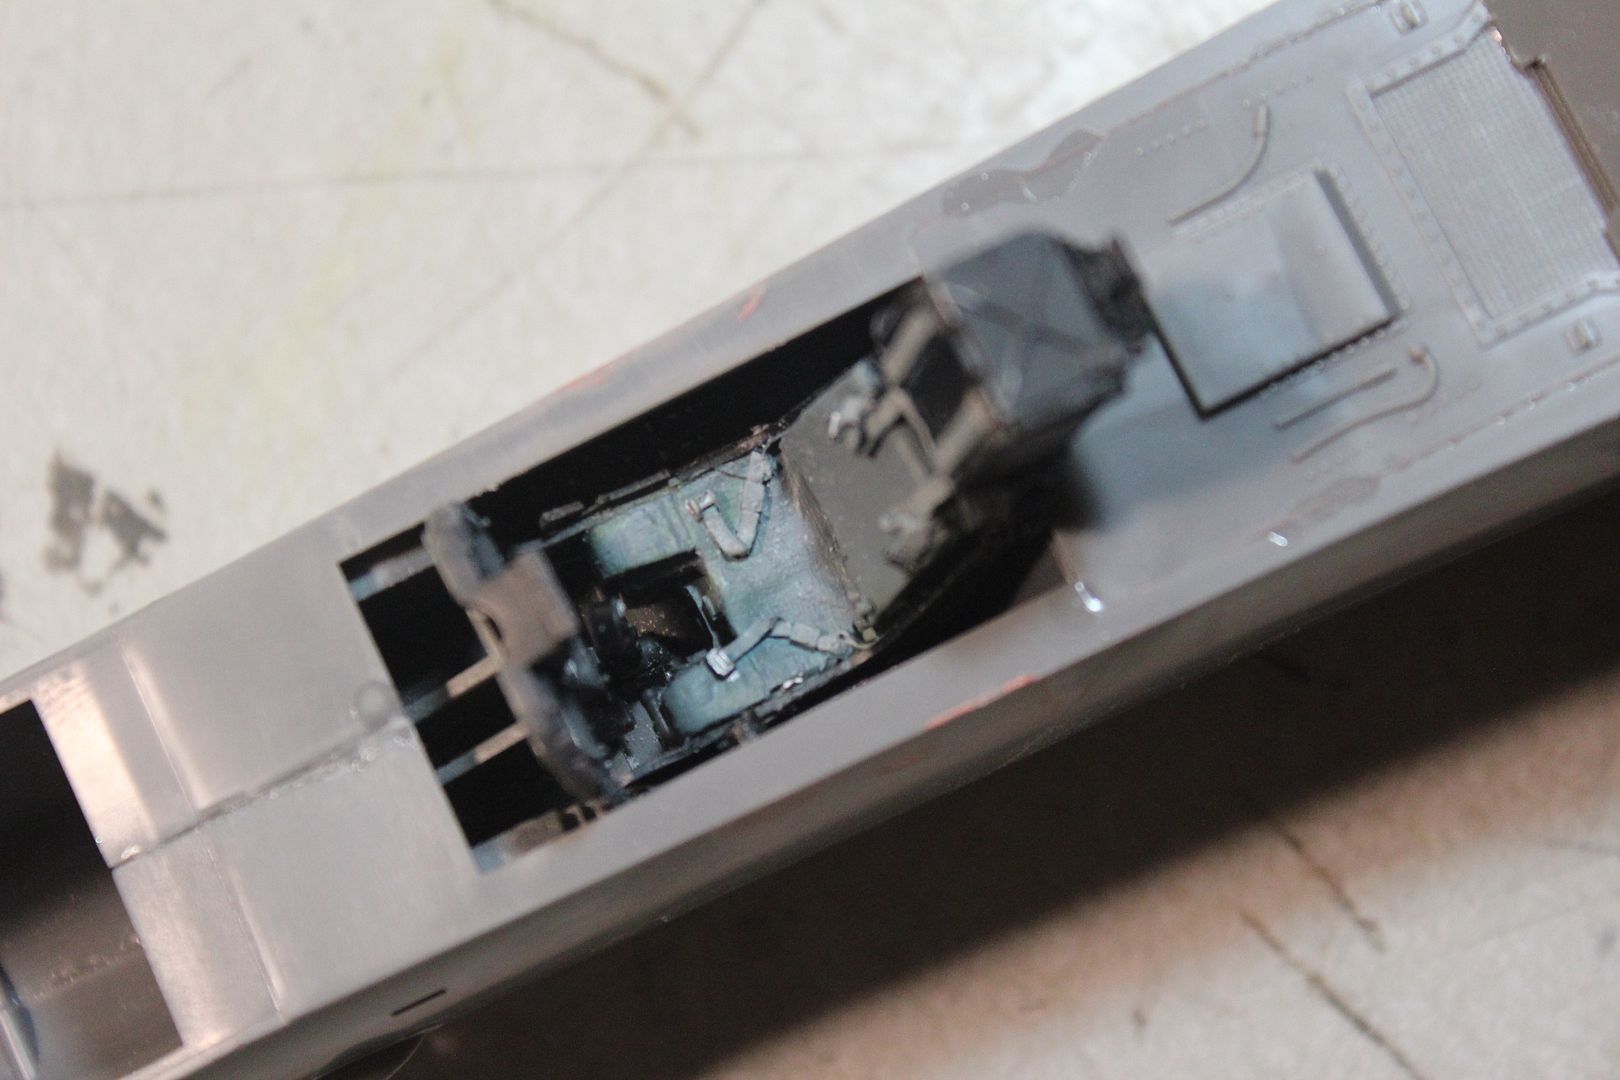
I did manage to get the pit and fuselage together but I think I need to have the Eduard interior for it. The other kit already had that started when I got it.


I think that this is one of my worst pits ever, Oh well, what's done is done.
This is a pretty big bug and it does assemble well. I cant wait to finish it except all the odd stencils.

 __
__


