• Modelers Alliance has updated the forum software on our website. We have migrated all post, content and user accounts but we could not migrate the passwords.
    This requires that you manually reset your password.
    Please click here, http://modelersalliance.org/forums/login to go to logon page and use the "Forgot your Password" option.

German (Insert Long German word here) - Truck

White_Wolf

Master at Arms
Hi everyone,

This is what I am doing at the moment - a German Schwere Wehrmachtschlepper (told you, long word :blink ), with a twist :silly:

I have decided to do a repair truck as it would have been back then. The only problem is the lack of German Repair Truck gear from ww2. To circumnavigate past this "minor" issue I got the idea of pretending this truck had been captured by the Americans (kit came with US Army decals) and recaptured by a few brave german soldiers - pushing it a bit here but who's to say it couldn't have happened :gogo

This I intend to do a small dio with, I have an idea that will again raise question about my mental sanity :woohoo:

Please BE AS CRITICAL AS YOU CAN, however, there is a whole heap of stuff to do, filing, filling, painting, weathering and all that, this is just where this little baby is at the moment:


h3b4f2c1.jpg


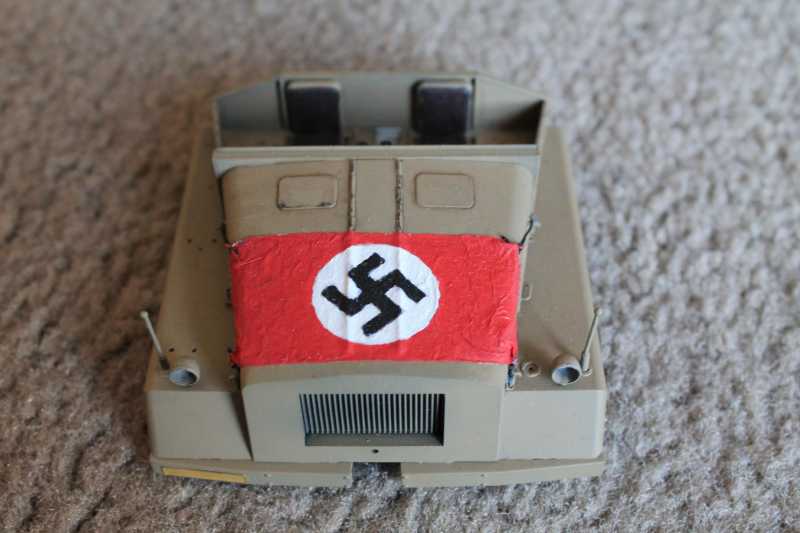
Flag is custom made, painted and tied to the bonnet with some string.


hfc1d772.jpg


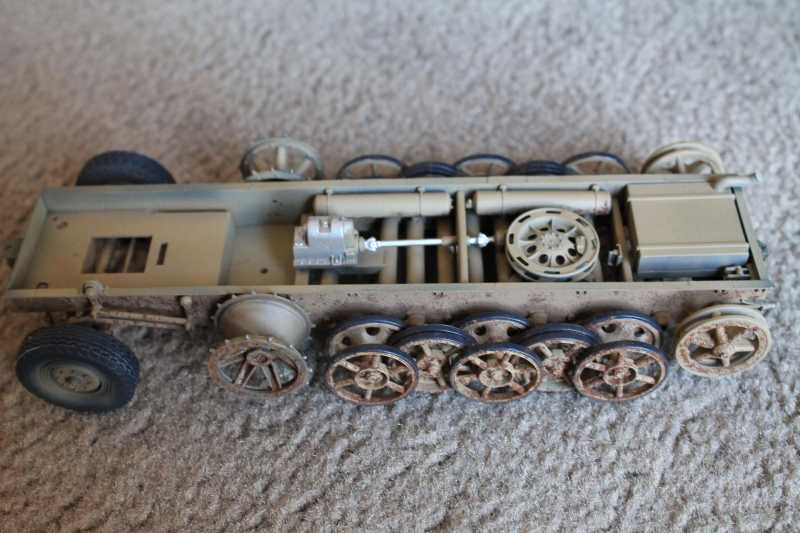
Body with bit of painting and some very minor application of pigments


hb625478.jpg


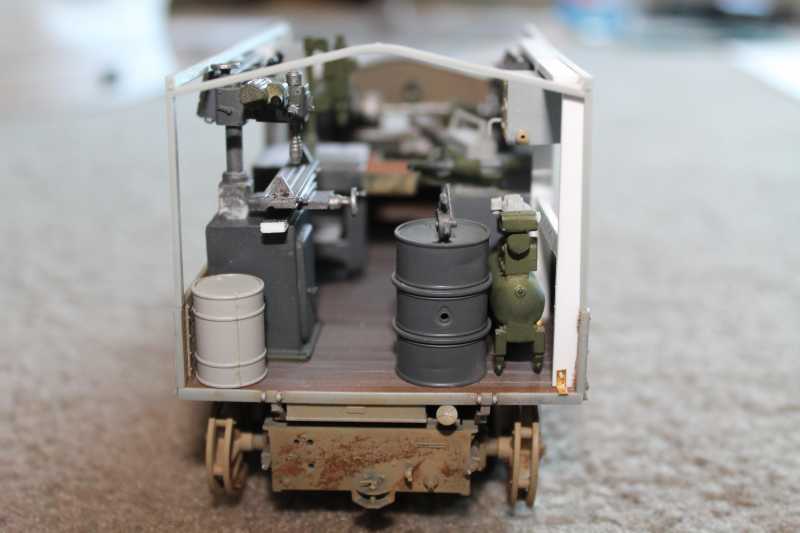
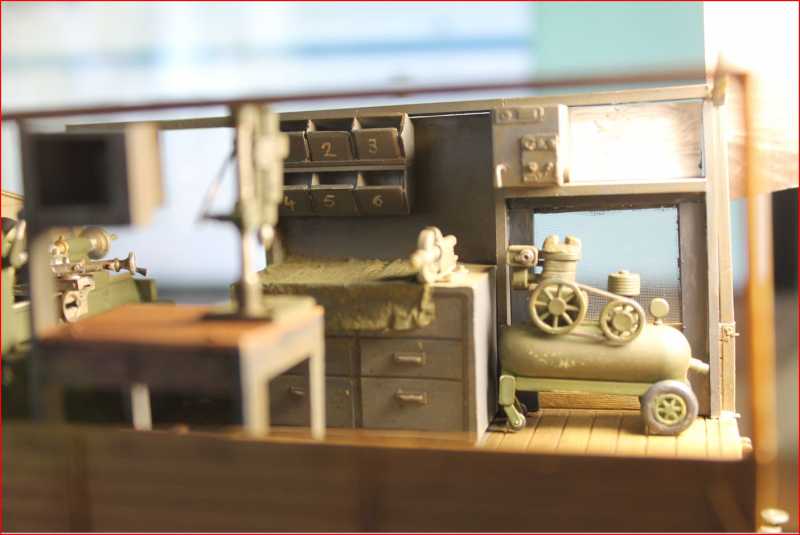
View of the workshop area from the rear - can see some of the gear. The machinery is Verlinden, barrel is Tamiya, air compressor is Italeri, everything else is scratch built


hb9ea593.jpg


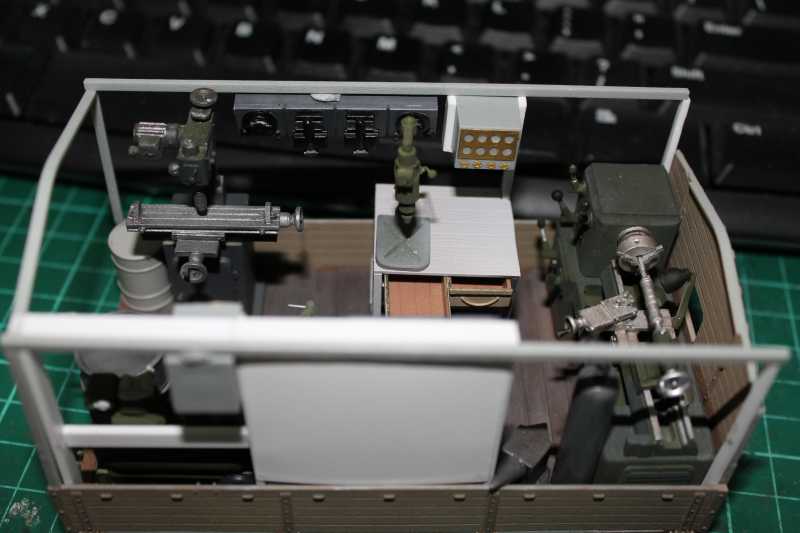
View of the workshop area from the right


h1d419b8.jpg


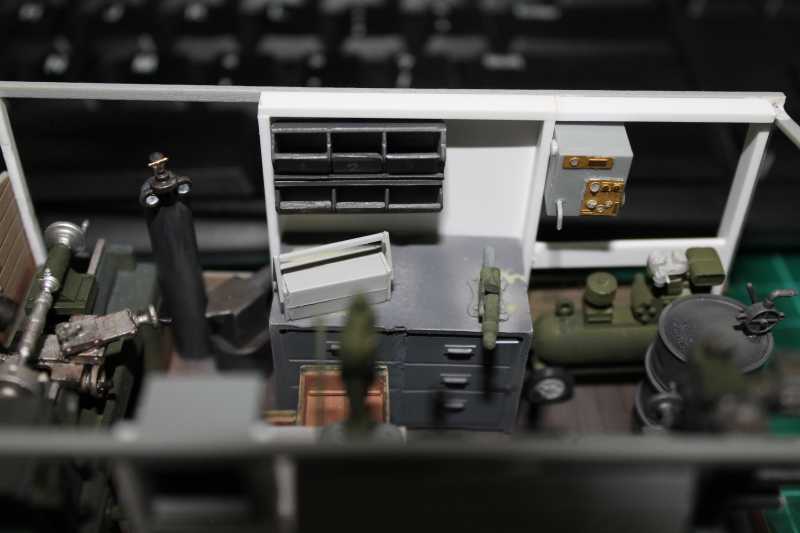
And another one from the left

There will be lots of cables, wires, hand tools etc added to it.

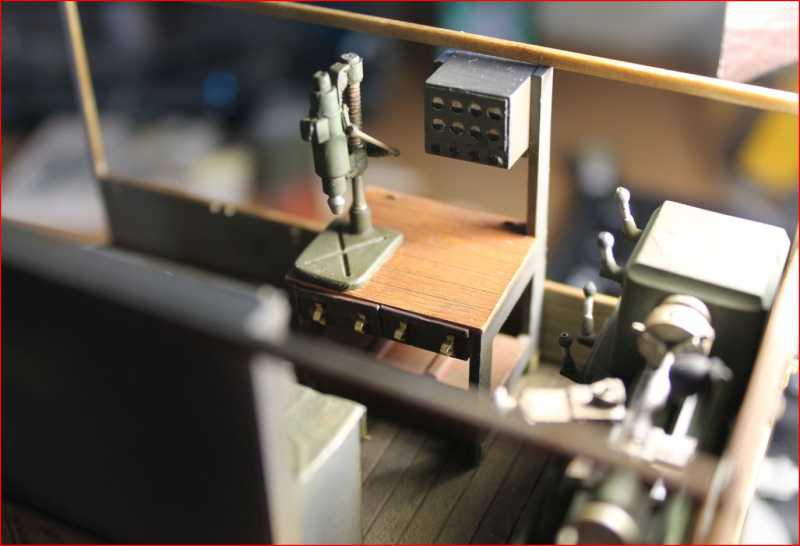
The workbench underneath the electrical pannels is entirely scratch built except for the drawers (Tamiya kit). They are working drawers too :evil:


Any suggestions, opinions, ideas, criticism - most welcome :fencing
 
Hello White_Wolf

A great project ! I love it. (y) (y)
Just like me you have the idea that it's a pity to build this vehicle with just some barrels or crates on it.

I did something similar, scratched it into an mobile field surgery car (I call it SKS = Schwere Kranken Schlepper).
It was my first larger scratchjob ever so its nearly not as good as yours.

See topic:
https://www.modelersalliance.com/forum/just-like-the-real-thing/114603-a-quiet-day-in-the-forest?limitstart=0&start=12

Im gonna follow your post and hope to learn for future projects.

Success, willem
 
I love it, think about all that stuff being tied down some how though. The compressor is on wheels, I bet it would either be mounted or tied down. It would have been a dirty mess also.

Love the idea of this. (y)
 
I love the idea! The small barrel has some seam lines to remove. What kit is this? Is it from Great Wall?

Terry :popcorn
 
What a cool idea. I would say dirty up the workbenches and barrels. Add some dust to everything as well. I know when I worked in construction and we had a tool trailer no matter what you did that thing was always dirty inside. The compressor area was always the worst. Mostly due to the rusty water that was drained from the tank. We also had some wood chocks fixed to the floor so it wouldn't roll around. (y)
 
I love it, think about all that stuff being tied down some how though. The compressor is on wheels, I bet it would either be mounted or tied down. It would have been a dirty mess also.

Love the idea of this. (y)

Thank you, will make sure everything is tied down. Not sure about the compressor yet ... flirting with the idea of removing the wheels altogether and putting it on some sort of a stand. If left on wheels, it will be strapped / tied to the side of the truck B)

I love the idea! The small barrel has some seam lines to remove. What kit is this? Is it from Great Wall?

Terry

Yes sir, it is GreatWall. The little barrel has seam lines indeed and it's going to receive the royal treatment. I am thinking of turning it into an oil barrel with a twist :silly:

What a cool idea. I would say dirty up the workbenches and barrels. Add some dust to everything as well. I know when I worked in construction and we had a tool trailer no matter what you did that thing was always dirty inside. The compressor area was always the worst. Mostly due to the rusty water that was drained from the tank. We also had some wood chocks fixed to the floor so it wouldn't roll around.

It will be dirty and dusty with specks of rust here and there. I also have a Tiger that had previously been totally slaughtered :sick: that will receive a total makeover and be part of this little concoction, along side with a donkey from Tamiya that is still firmly and lovingly attached to the sprues.

THanks for the comments, much appreciated, keep'em coming
 
Cheers Ron, appreciate it.

Hope to get a bit more done on this one soon. Also working on a Rolls Royce Armoured Car the WW1 flavour and intend to make a start on those antique planes too. :soldier
 
Nice work! Bronco is rereleasing this kit with new parts under their brand.

Some things, if it isn't too late. By the time this vehicle was at the front air superiority was lost so the flag on the bonnet would be out of place unless part of a story (guys reminiscing).

The seam on the drums should be there on one side if you make it look like a weld seam. I discussed this, with photos, within my photo review of AFV Club's recent German Fuel 20L & 200L Fuel Drums set.

I look forward to what you have planned.

Regards,

Thanks Saul, appreciate the feedback.

I have been thinking about the flag myself, it is a bit of hit and miss I must admit. One reason to have it there would be that the first models rolled out in 1943 when the airspace over Europe was still disputed. 1944 is another story especially after June. The other reason is that I have totally butchered the front of the bonnet where it meets the radiator. Juvenile mistake, really and I had to find a way to conceal it, the flag seemed the best option :blush:

As for the drum, that is a great finding with the welding seam and stuff. Come to think about it, there had to be welding involved. Great tip :notworthy
 
Right ...been a while since I touched this truck, managed to get few more bits done.


h8100ce4.JPG


Still not 100% with the compressor, in the meantime it got some paint and weathering, more to be done of course if it stays. The mesh behind is from a tea bag, namely Earl Grey - smells nice, tastes nice and it makes a great mesh too :D

h4bc8850.JPG

This table is almost done too - bit more weathering on the electric box and drawers mainly, some finishing touches on the desk are needed. The drawers are working, will have handles, for now it's just the PE parts in place.

More to come (hopefully) :blush:
 
Thank you Ron, I must admit though a bit of effort goes into operating the said drawers due to the fact that it is a pretty tight fit in there. Once the paint dries completely it should be easier :D
I am thinking of having them a bit open with some stuff inside them, for added madness :blink :silly:
 
Looking good! I like where you're headed! I've got a copy of Repairing The Panzers, just chock full of pix of recovery and repair vehicles. I'll get a few scanned if you want. (y) :drinks
 
Back
Top