• Modelers Alliance has updated the forum software on our website. We have migrated all post, content and user accounts but we could not migrate the passwords.
    This requires that you manually reset your password.
    Please click here, http://modelersalliance.org/forums/login to go to logon page and use the "Forgot your Password" option.

ZIS 5 Italieri. 1/35

Le2

Member
But building a bit in recent days. Not much just to give a push and open the table.

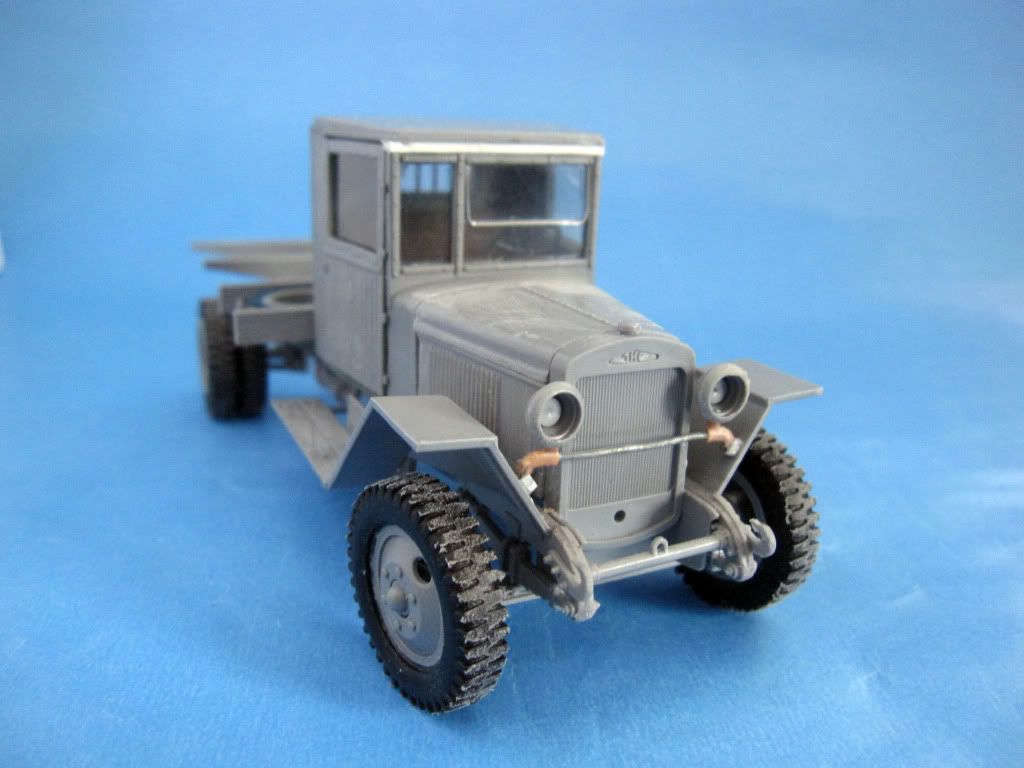
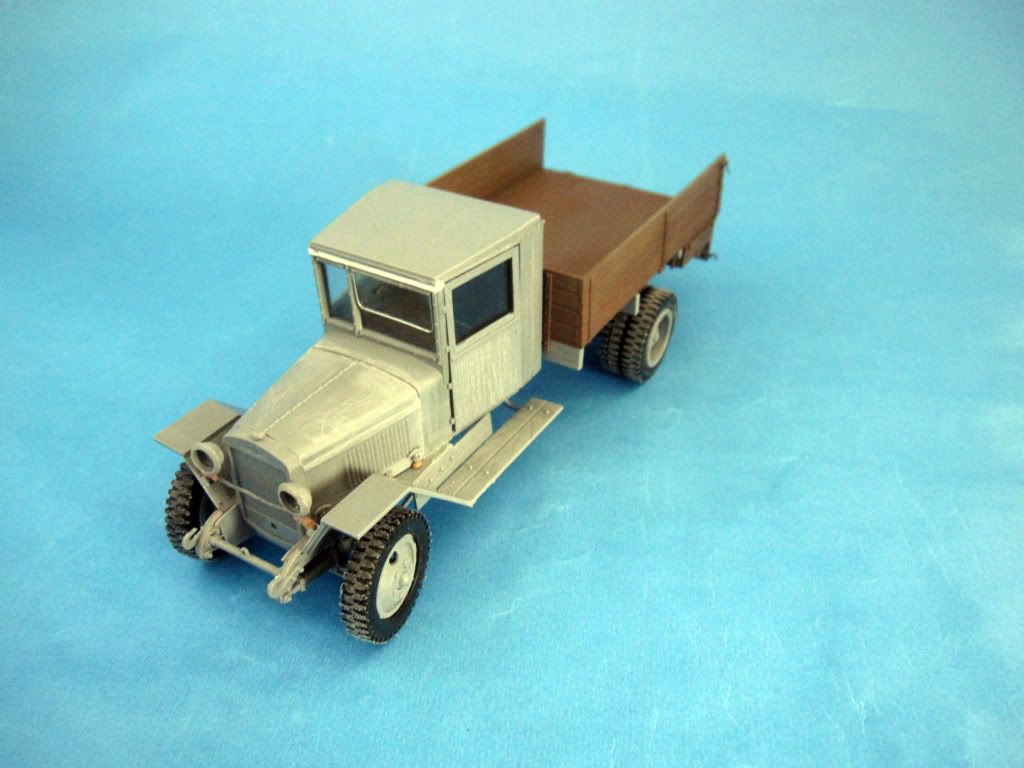
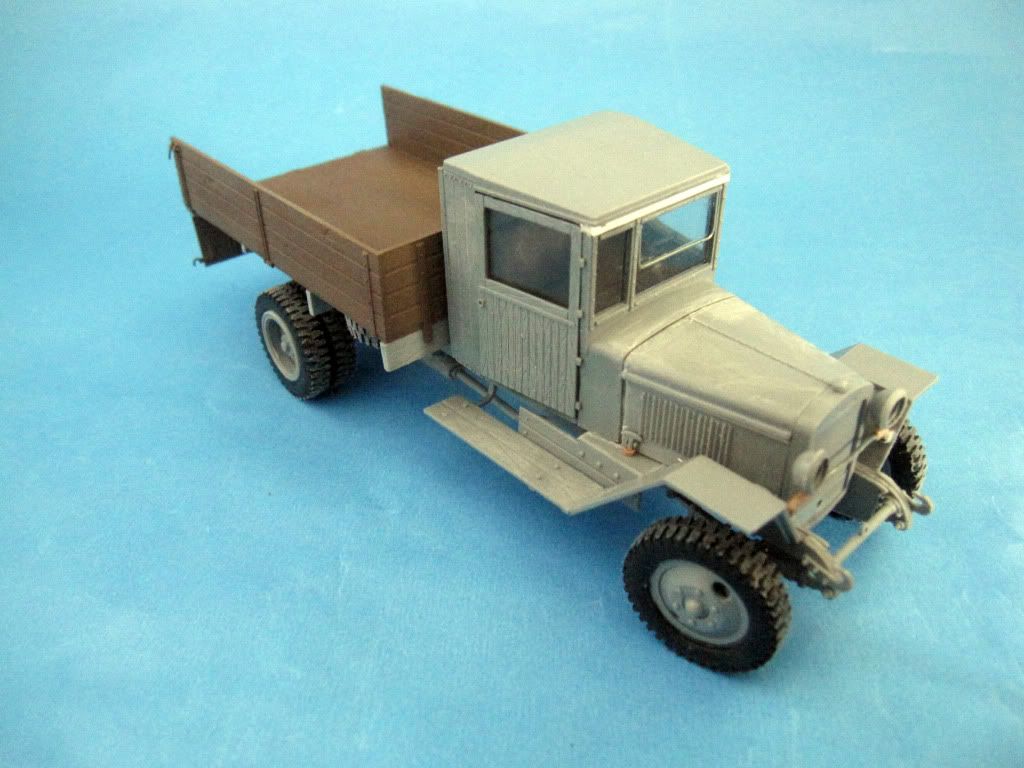
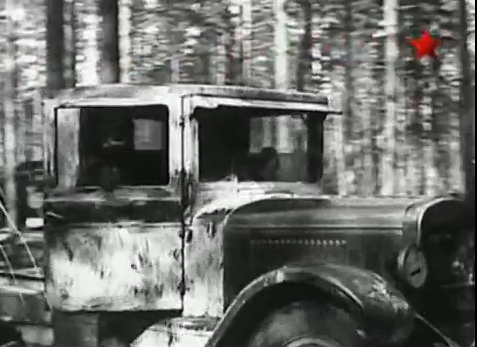
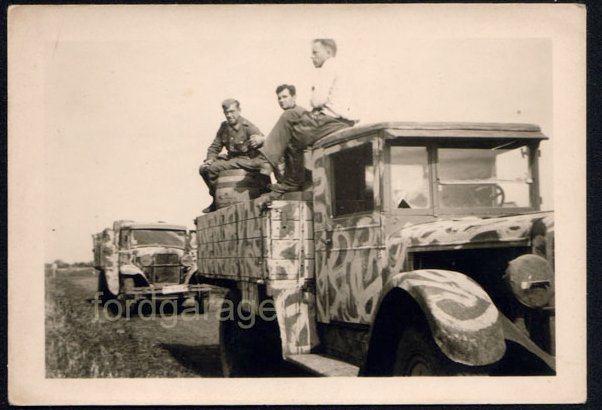
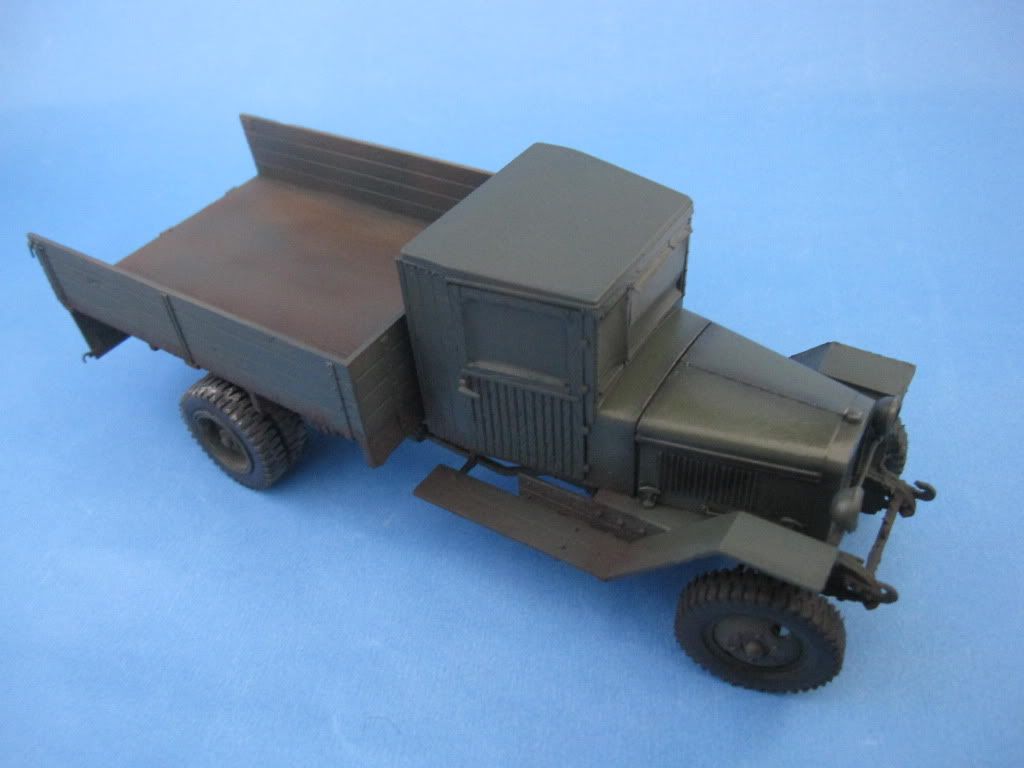
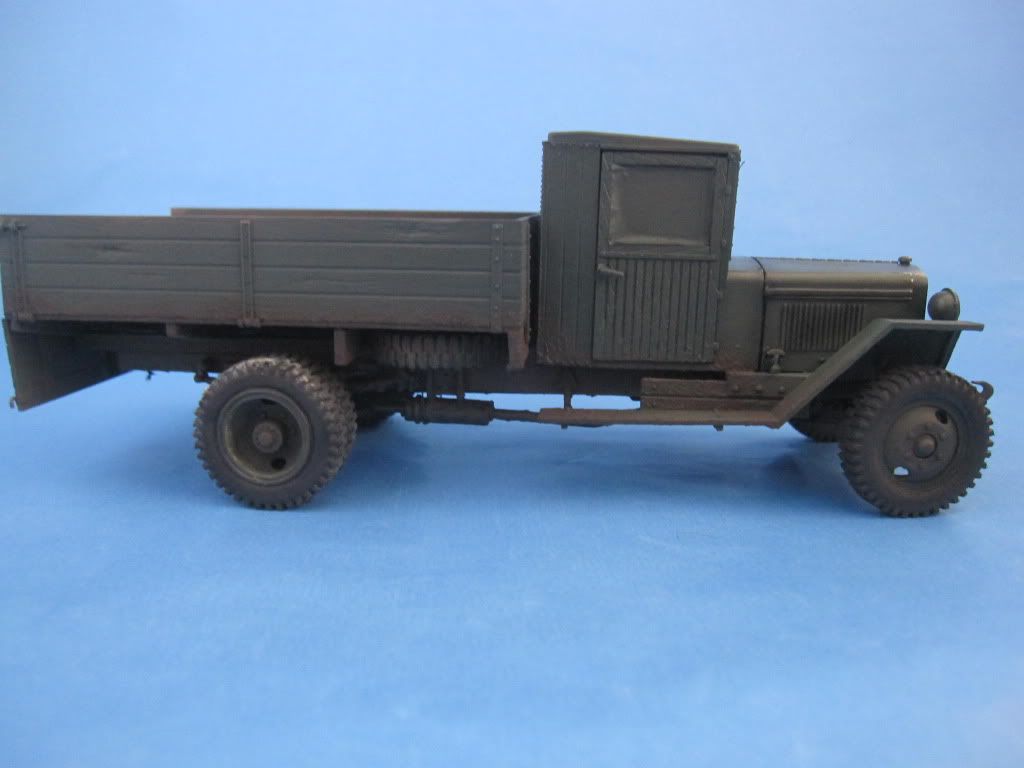
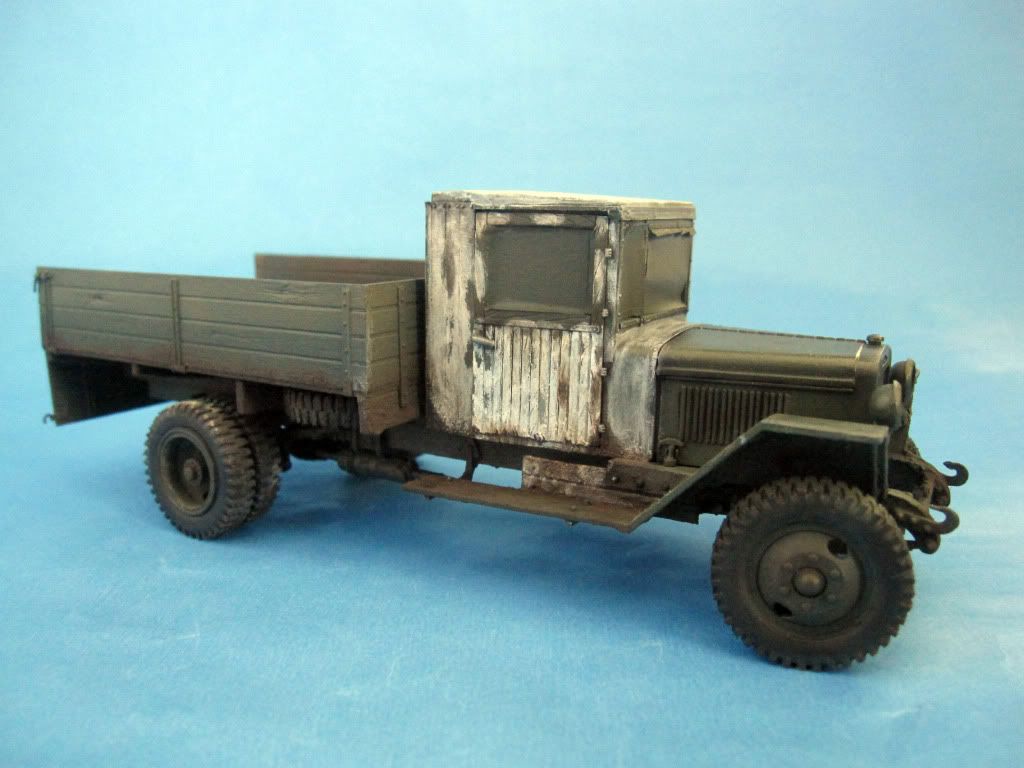
This will be the vehicle that will use the next diorama. Smile for Motherland.


img0521fi.jpg


From what I've read and downloaded info on this set and some references Euromodel is a good kit but you have to take care of the joints. I see that I will work.

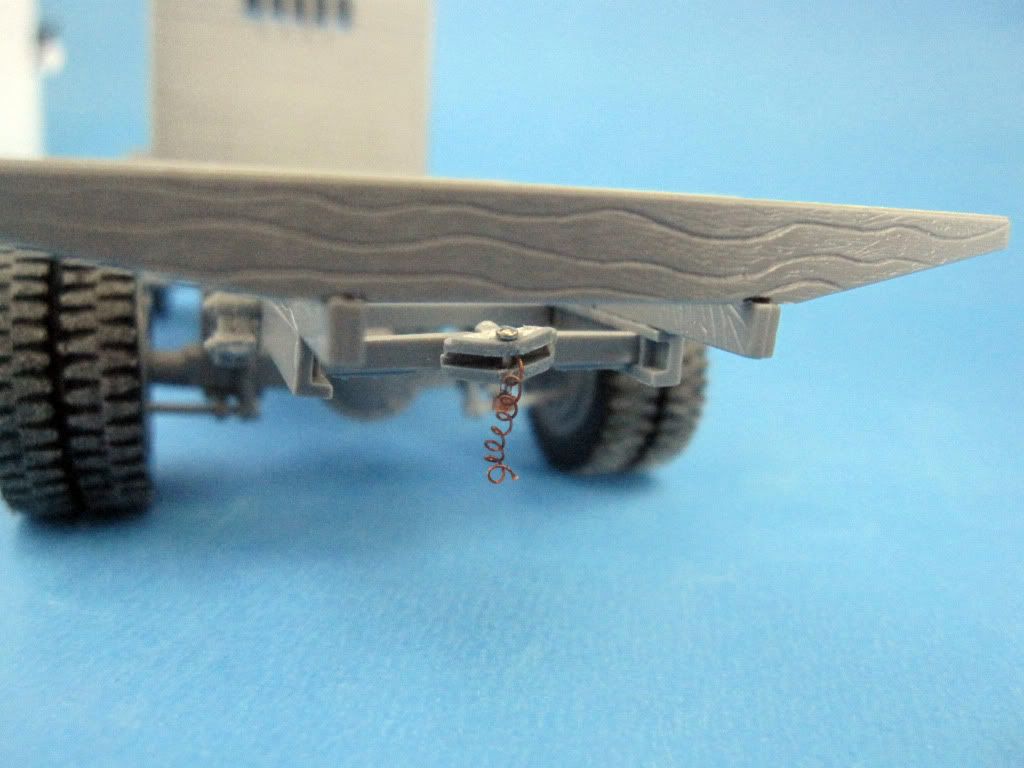
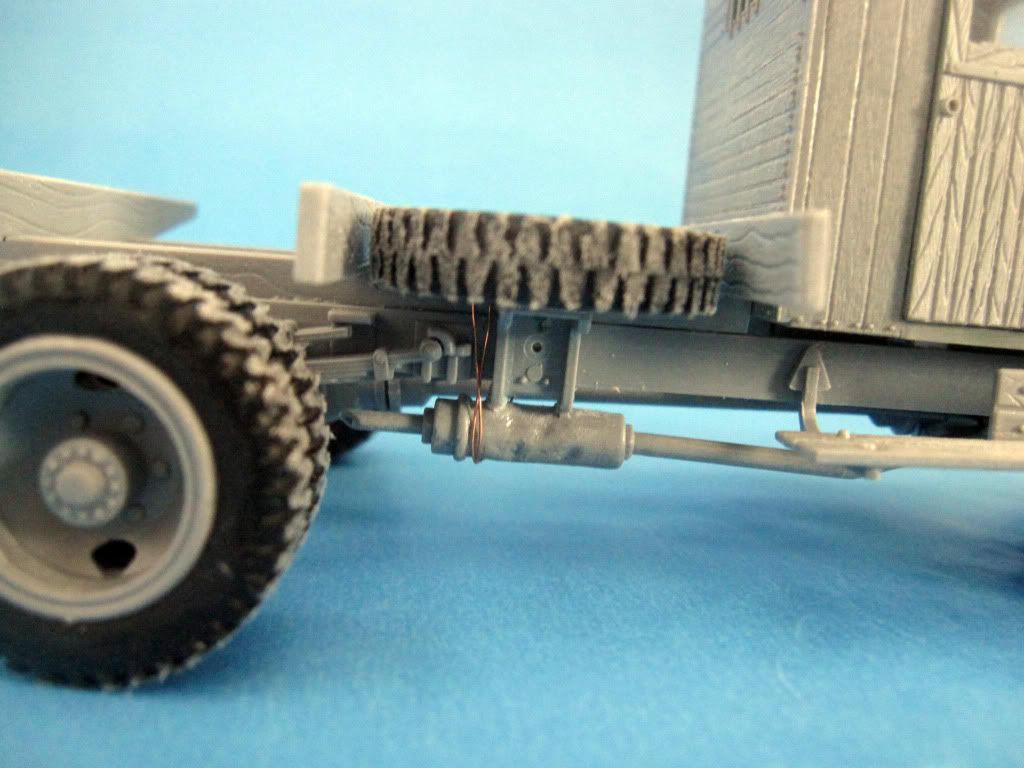
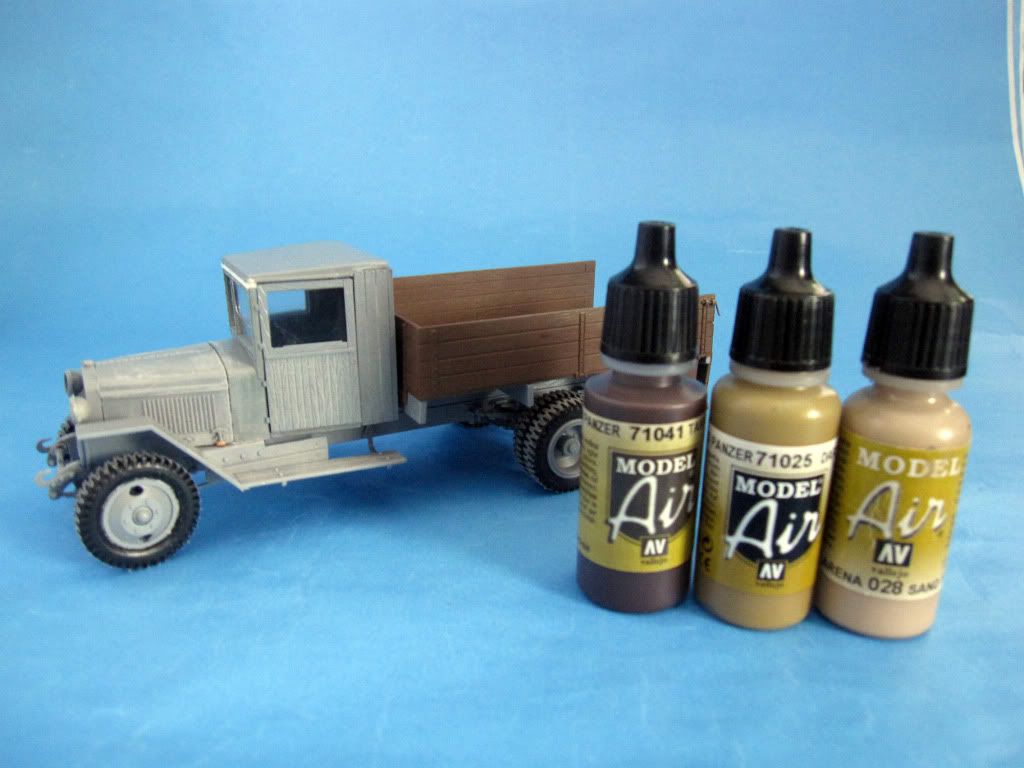
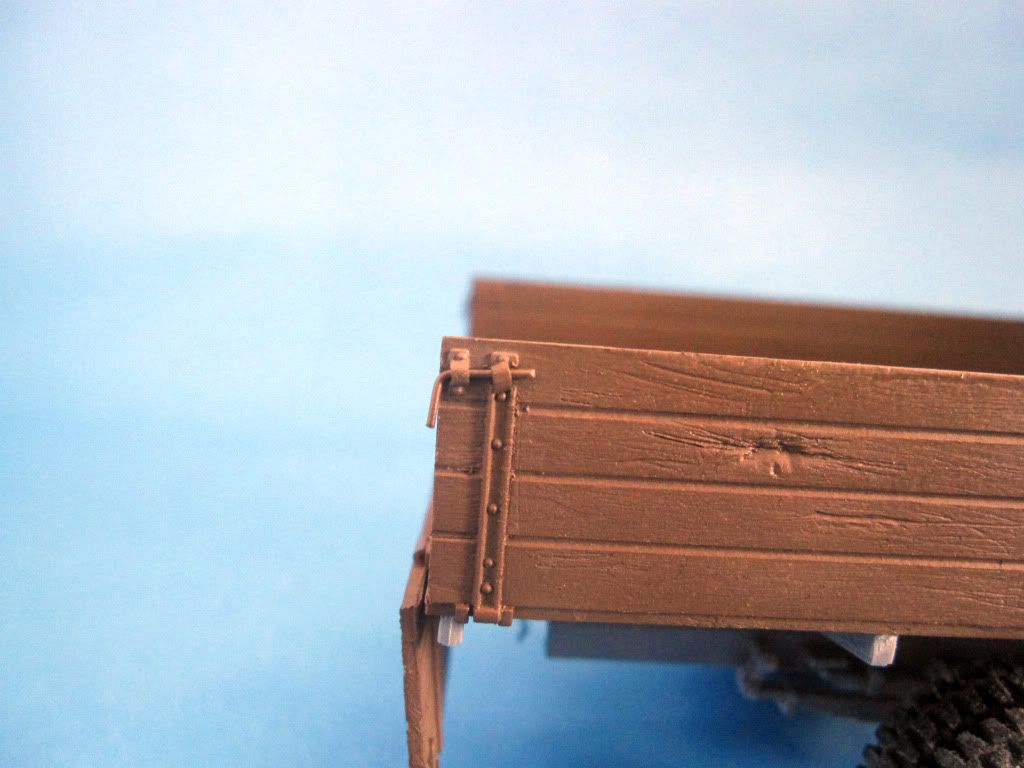
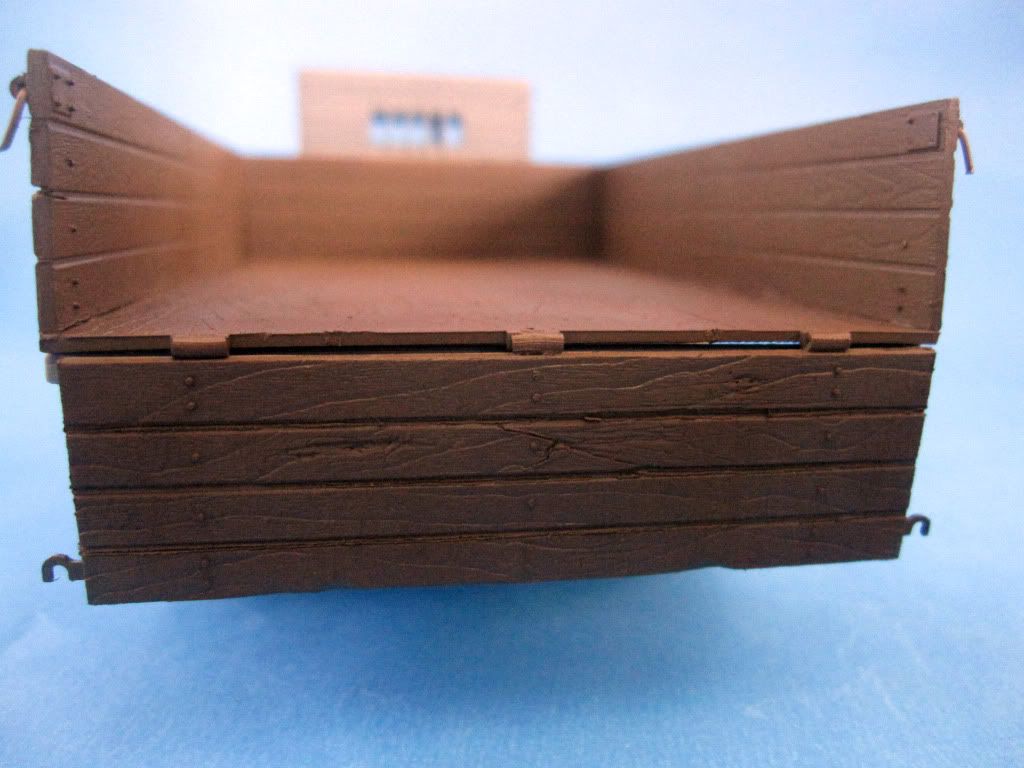
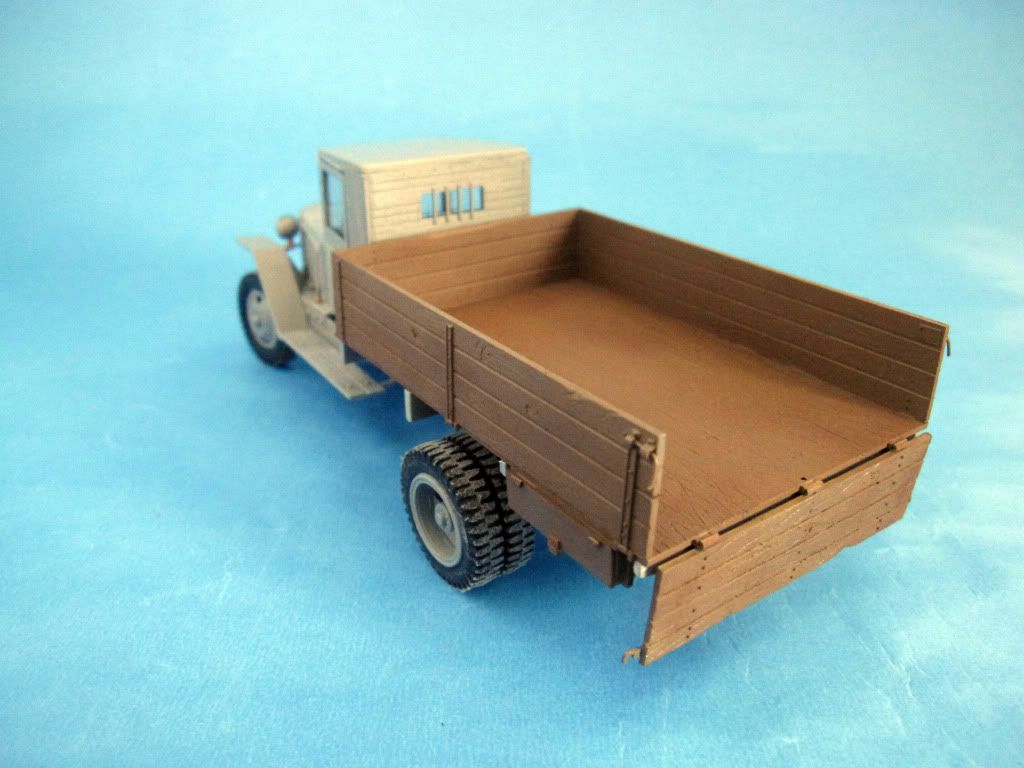
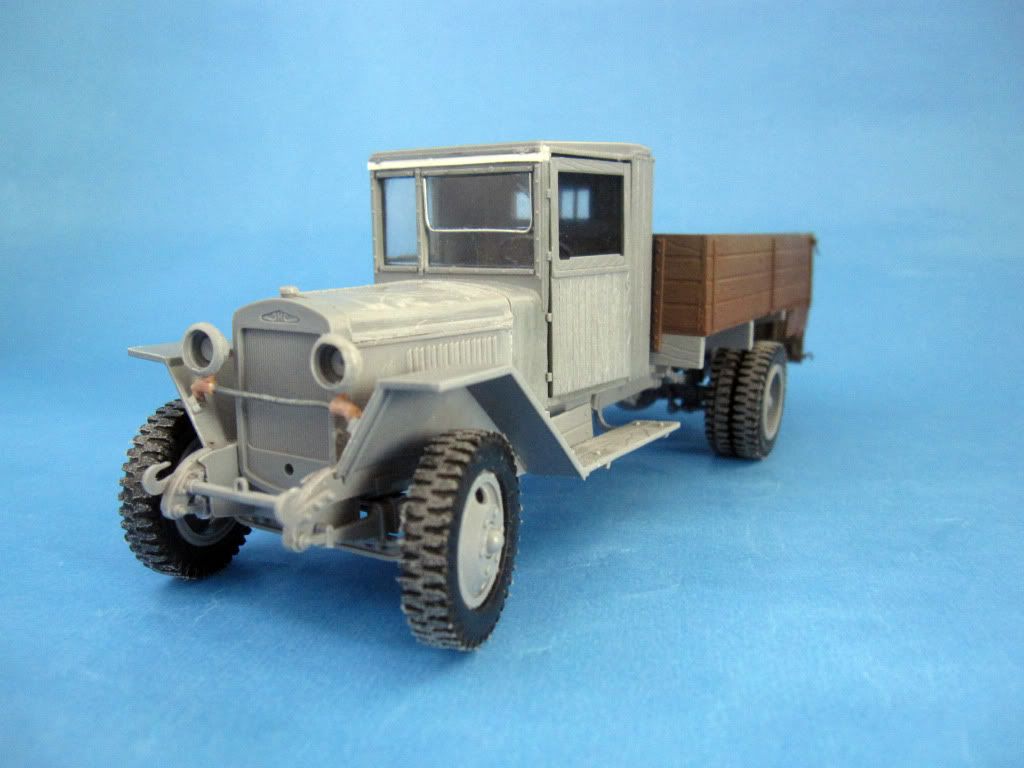
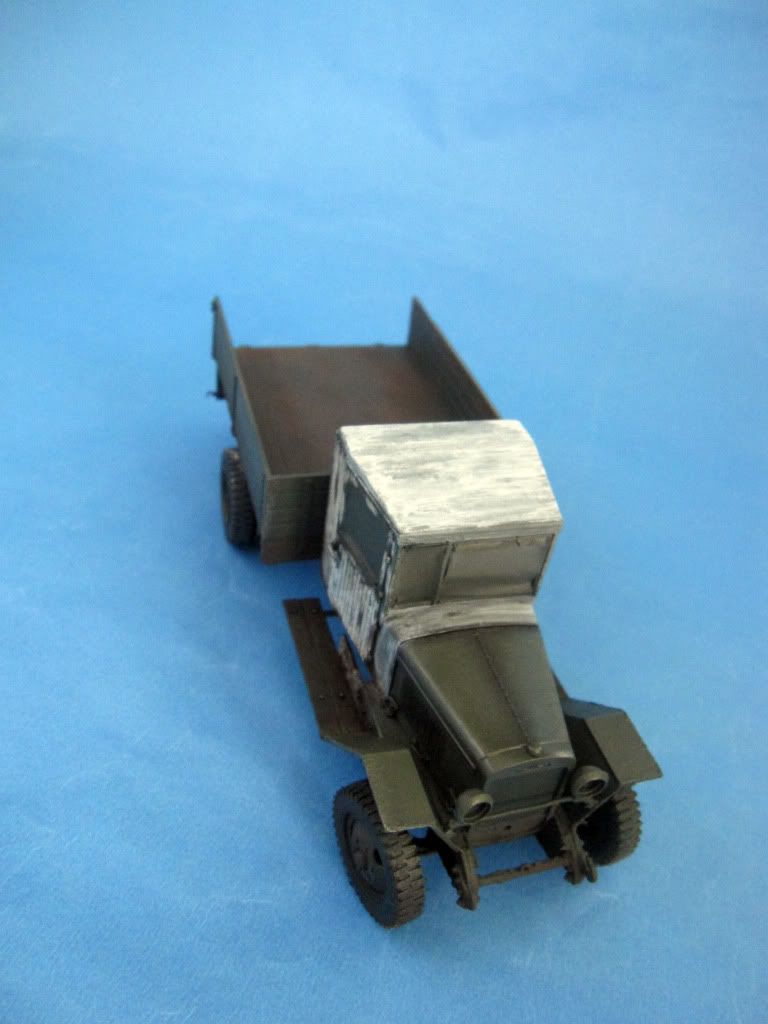
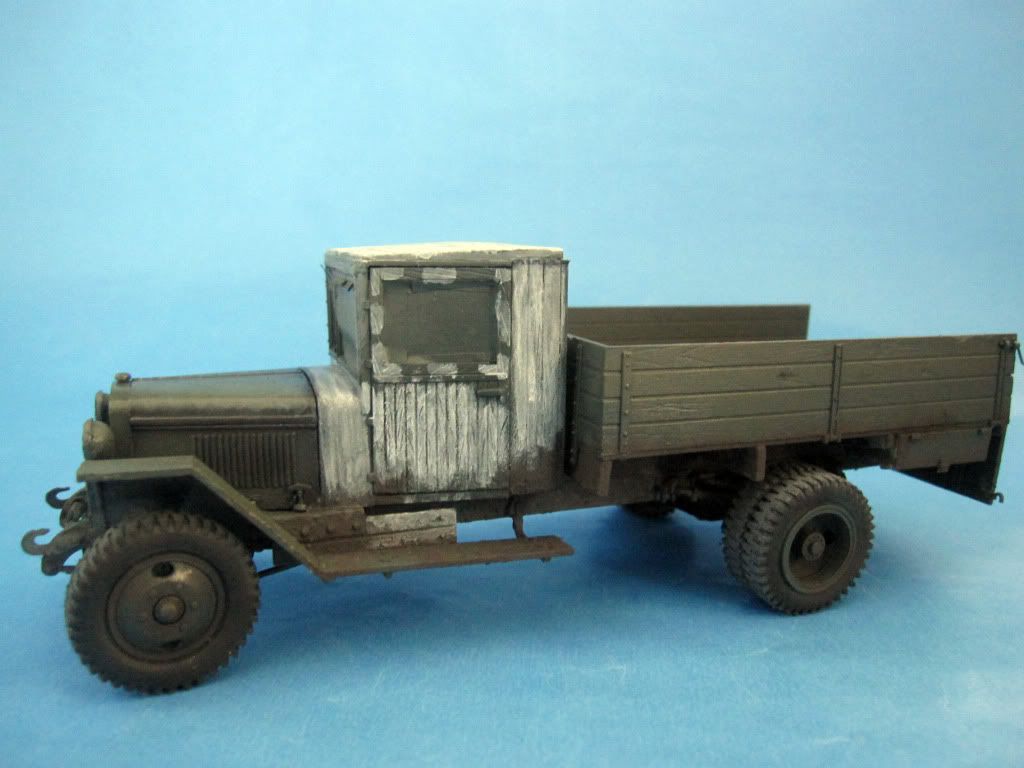
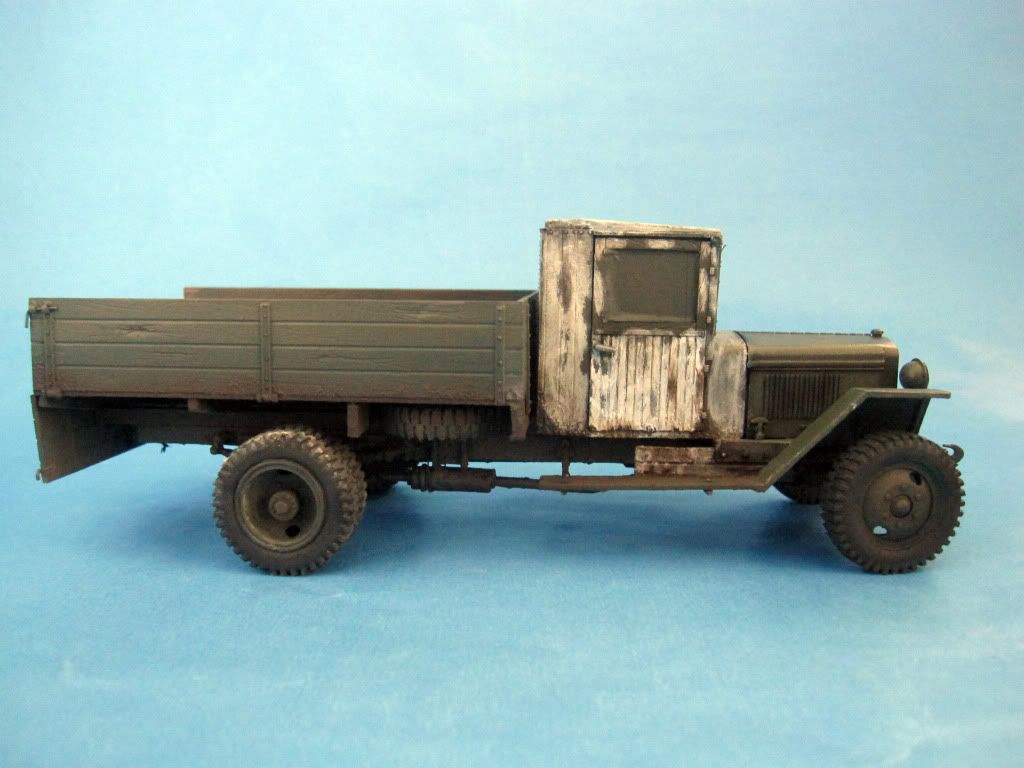
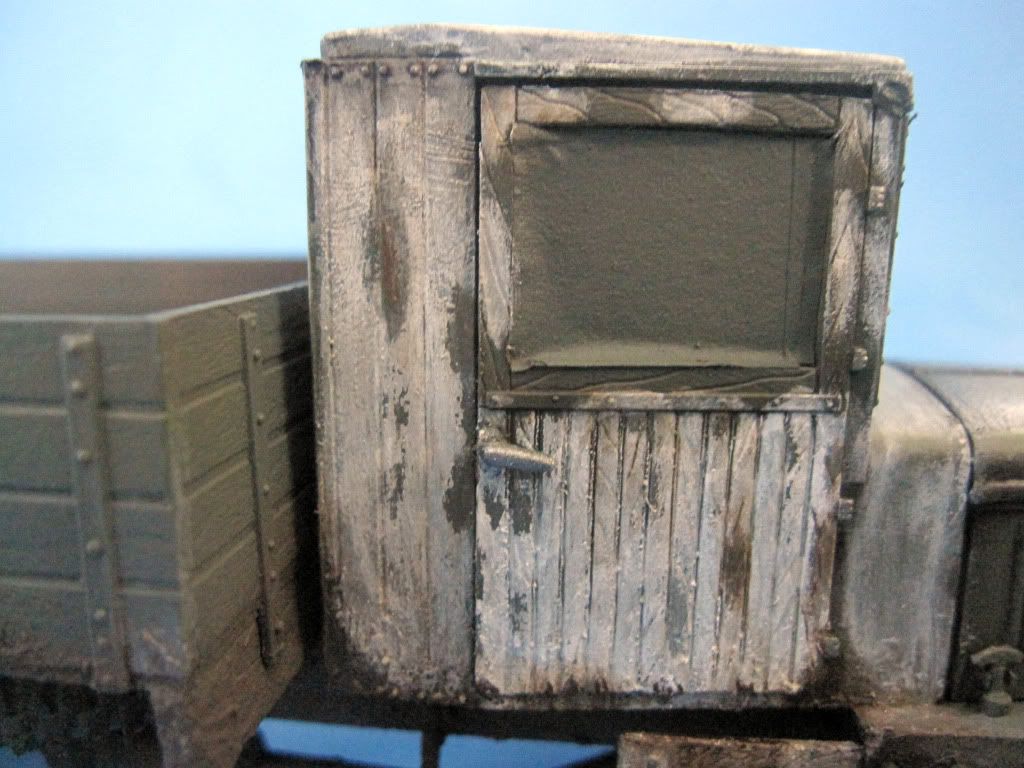
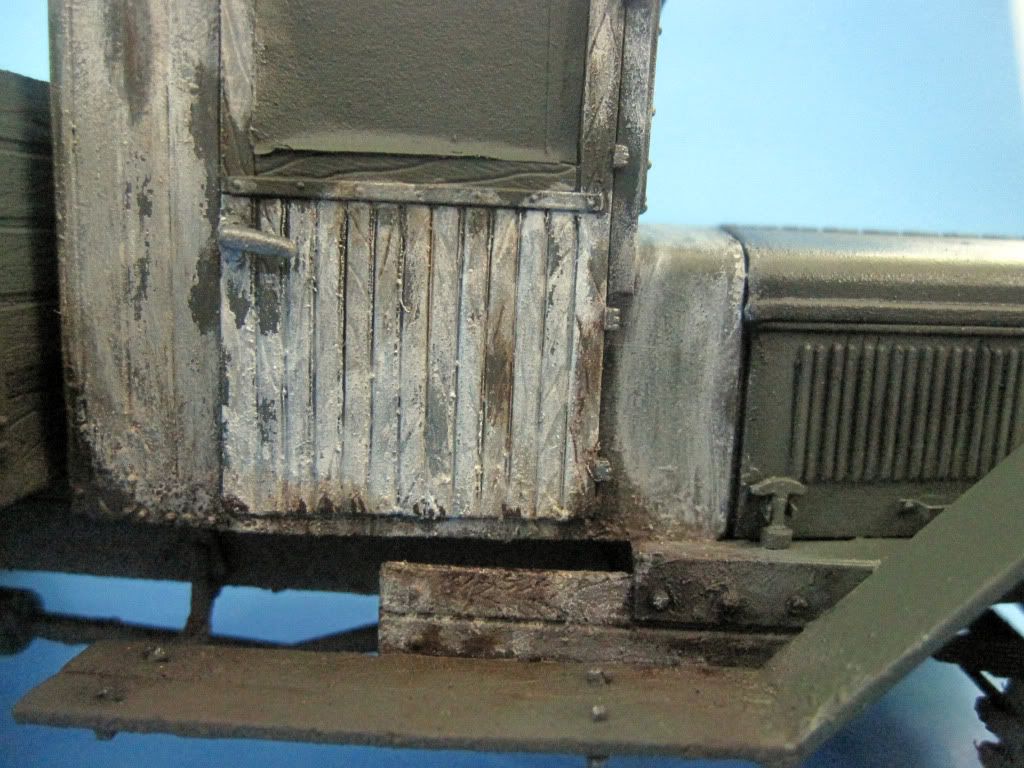
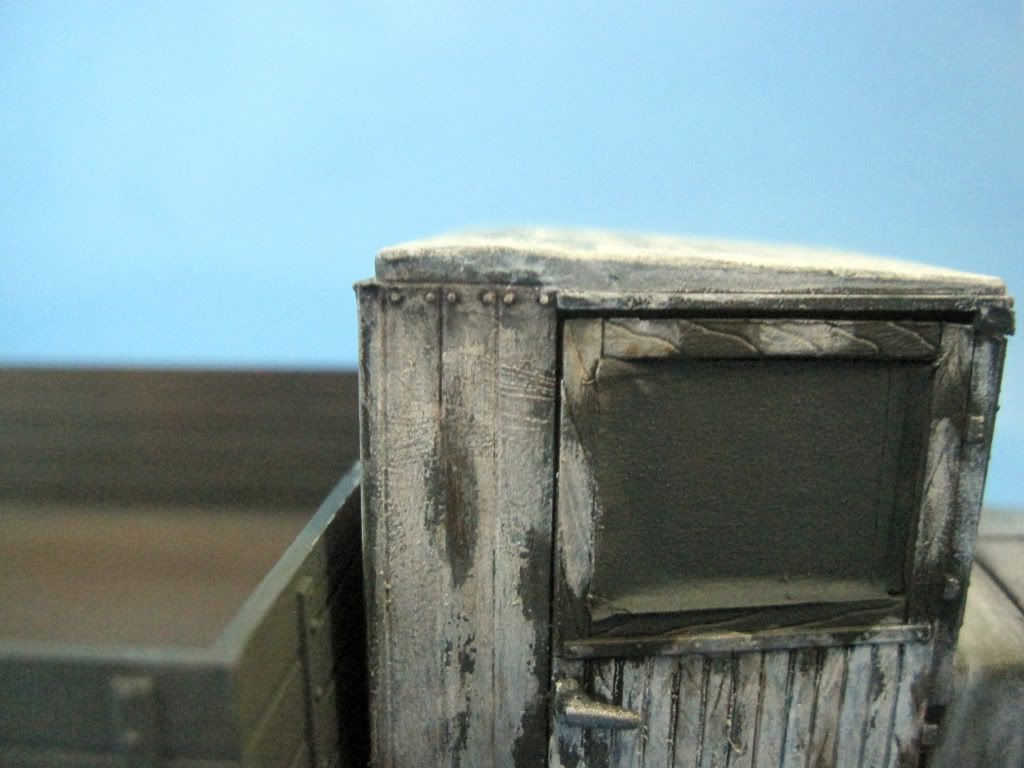
I will try to improve my process as well as in vehicles is quite poor in general, is to achieve a neat finish before the painting stage. We'll see if we succeed.I have ridden the low case and state texturing the box and cab to see how they see it.

img0523i.jpg

img0527pa.jpg


img0529xu.jpg

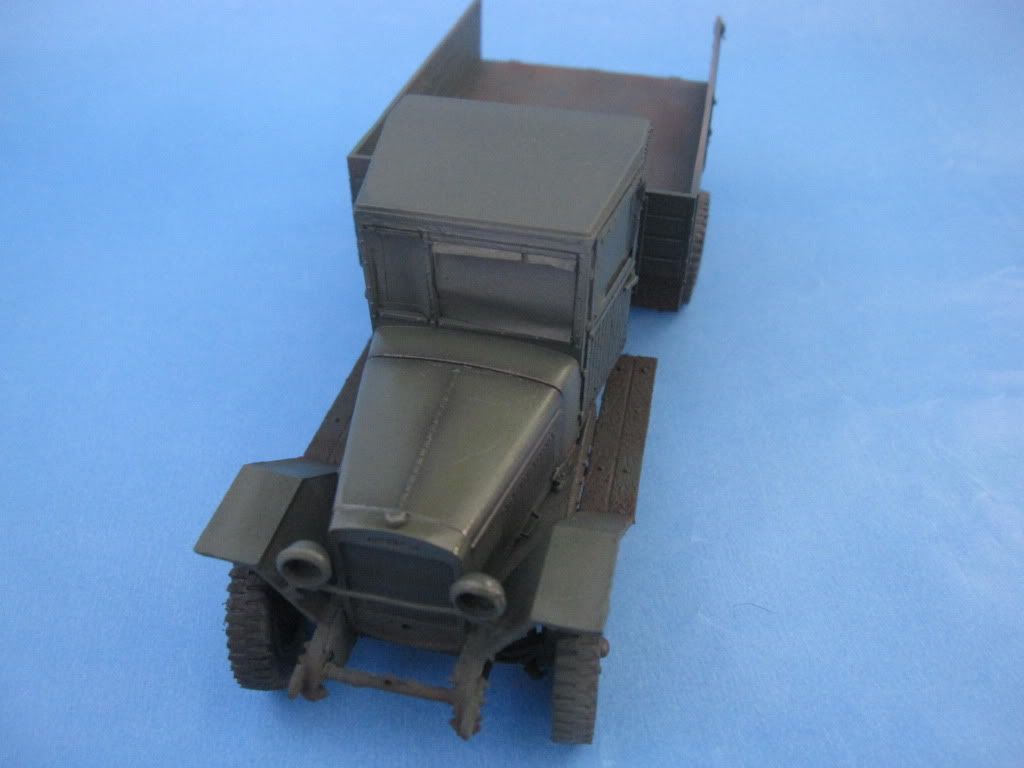
Here there is much putty to sand but it is the bottom facing the cabin and not see much of anything.

img0530l.jpg

Cab paneling only presented for the set.

img0532j.jpg


img0534h.jpg


img0535n.jpg


img0536rt.jpg


img0537lr.jpg


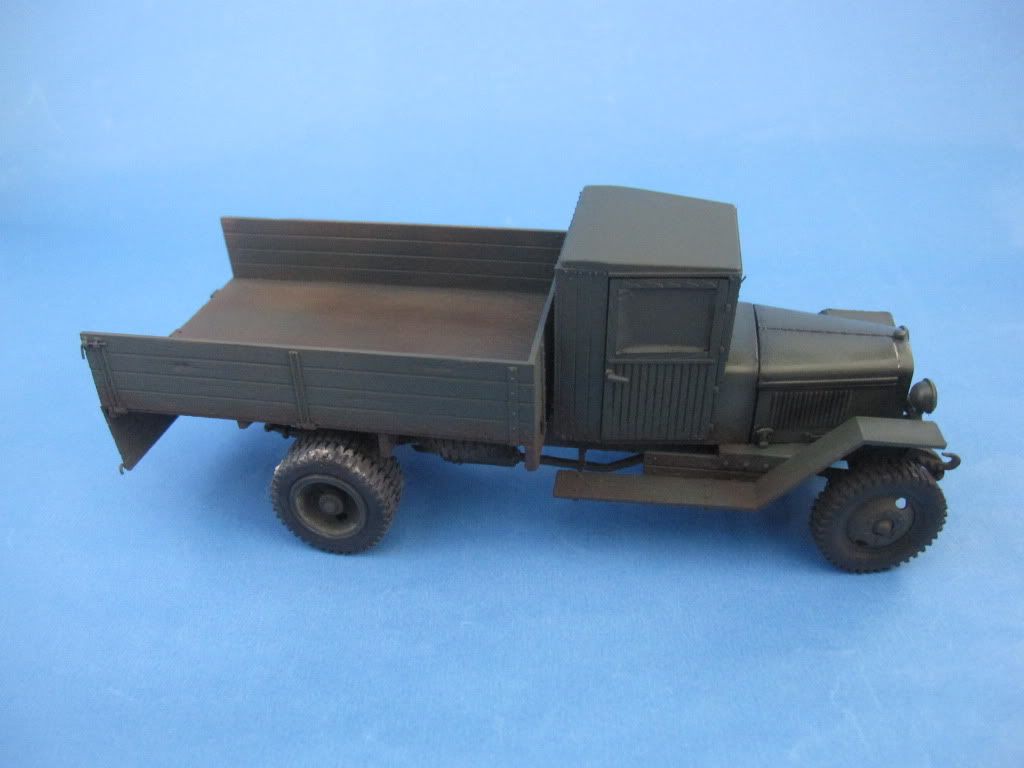
And this is well up within a month. Tomorrow I start my deserved holidays!! Well Greetings and see you in 30 days.
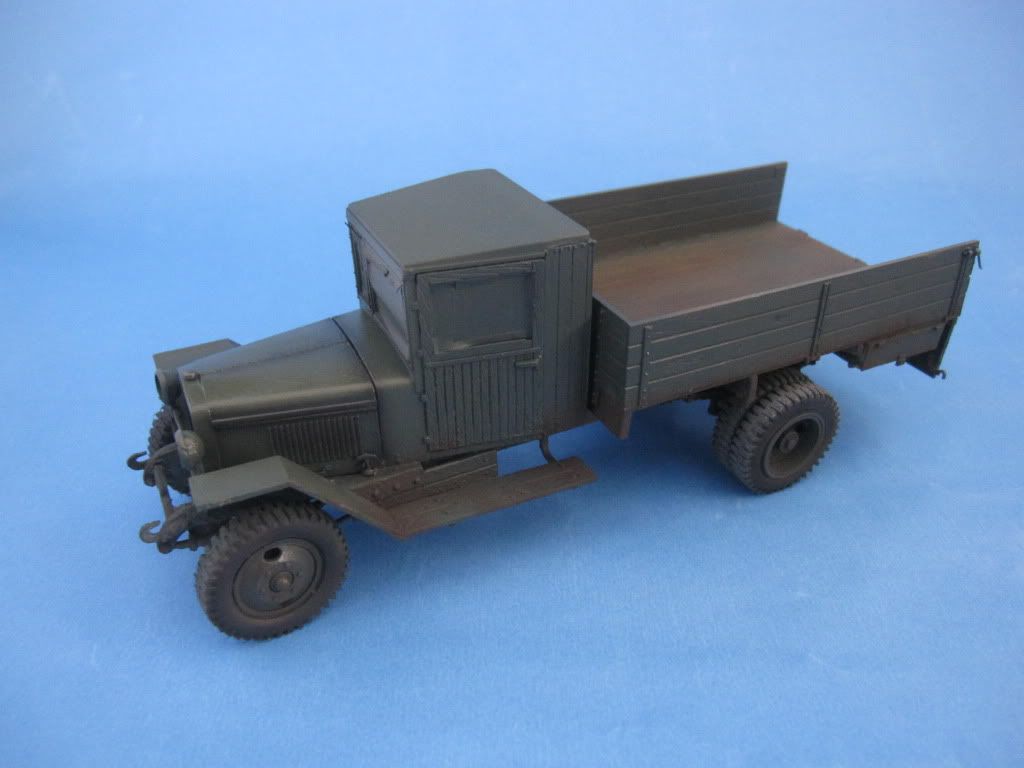
 
Looking good so far. What color are you planning on using?

30 day holiday? Sounds to me like much deserved and uninterrupted cave time (y) Enjoy your time off.

Joe
 
Thanks for your feedback. While some advances in the truck.

I painted the inside of the cab just because it will be closed.

img1037q.jpg


img1040jp.jpg


img1041kn.jpg


With a small wire I added this in the windshield.

img1043tm.jpg


I have also amended the hood handles x lo who brought the kit was very poor.

img1045ww.jpg


img1047u.jpg


img1054dy.jpg


Joints and fittings in this kit are a pain in the ass. As you can see the hood and gave me some problems.

img1048p.jpg


With the roof and the box provided.

img1050mx.jpg


img1051sc.jpg


img1052q.jpg


Well that's all for now thanks for spending and contributions.
 
Good friends are not convinced me x but that this strip of putty sanded so chooses x something more radical and worthy of the Russian steppes.: whistle:

I show just to see how the poor suffered zis.

1. With patience separated the cockpit. To eat those brands that make anchoring and win these millimeters that separate me from the hood.
img1060ip.jpg


2. Clean with a blade everything puty and others from joining the cabinet and take the opportunity to crack a bit on the side and has been suffering a little more.

img1066uz.jpg


img1068i.jpg


img1063v.jpg

4 After doing the same with the top and smooth out the anchors put a strip of evergreen to compensate for the height.

img1073q.jpg


Result.

img1075iv.jpg


img1074h.jpg


img1076nb.jpg


img1077z.jpg

Como lo ven....
He had wanted a neat assembly process but has not been possible, but certainly not convinced me anything to close the hood and would not leave like that.

My justification to the state of the truck in the given is that the effort represents a bit of Russian troops

The imagination can justify everything ....: lol:

Greetings and thanks for following me on this journey ... I'll take a soothing ....
 
Andy thanks for the support. Well take advantage of the shove I pushed a little forward.

I mounted the cabin. That gave some work and had to settle with a thin strip of plastic card. I have also replaced the headlight bracket kit part because I was not convinced at all.

img1096j.jpg


img1098rd.jpg


img1099q.jpg


img1101ww.jpg


img1095r.jpg


Seeing this last photo still need to adjust a little ...... well ..... We support moving forward ...

Greetings and thanks for spending and contributions.
 
Shalom.

I shall check my Dragon Zis (not the wood variant) and see if it needs this treatment. It is a shelf-queen but I forget why.

Thanks for the advice and images of how to fix it.

Good luck getting the rest of the kit finished.

Cheers from Peter
 
Muy buen trabajo con una maqueta un poco difícil. ;)

Very good work with a difficult kit. ;)

Regards,
 
Friends thanks for the encouragement. Well these days I got a good shove to zis


IMG_1135.jpg


Details on who will hitch a chain instead that hangs but to have an idea of how to be (although I have to go through the jewelry store to see there.)

IMG_1136-3.jpg


I veered slightly to the front wheels is not as straight.


IMG_1137-1.jpg


I have worked on the exhaust pipe and buoyed a bit to have an even more rustic with a thin copper wire I have simulated a
bond on the same will not be nearly sure, but there it is.

IMG_1139-2.jpg


He also created support for the spare wheel a small butterfly but I forget fotearla: oops:.

I had a hand colored wood the whole case and then work with the technique of spray (I think I'll do it in the sectors of wood of the cab).

IMG_1147.jpg


Box Details

Replace the seals that did not convince me x these made in home. .

IMG_1142-1.jpg


IMG_1141.jpg


As I opened the box to have worked in the visgras so there is no square.


IMG_1144.jpg


Generals view.

IMG_1148.jpg


IMG_1148.jpg


IMG_1149.jpg


IMG_1150.jpg


IMG_1151-1.jpg


IMG_1155.jpg


Well although I need to add some details and texturing low. As for what i was seeing in terms of schemes.

I think shooting for this side

Reference images in the forum. The dark green maybe I like.


ZIS_5_pic2.jpg


ZIS_5_pic4.jpg


I found this by searching zis documentary on youtube and I liked it.

A kind of white camo pretty sloppy. Until you notice the brush strokes.


Picture4.png


My idea is green outline and then spray again and the white one in the cabin. I imagine the green box ....

Picture6.png


although this picture has a full schedule this being a captured vehicle.


Well thanks for stopping by and see what course it takes.

Thanks for watch.
 
I tell you what I'm doing nowadays. While all the wooden parts have been painted in that shade and all have a layer of spray. I textured in two runs low but not as much as my reference for this work>

Joaquin Garcia Euromodel Gazques Winter Camouflage.
[/ B]

Since mine will be on a street.

Following the color box of the reference and modified slightly with other shades I made the base color.

The hood has 2 increases light and shade. And a slight color in the lower ground and then it will work x Mig Products sectors, all sectors Green aplicare cabin where white has a layer of spray.
Still much much ...
Photos.

IMG_1172.jpg


IMG_1162.jpg


IMG_1163.jpg


IMG_1165.jpg


IMG_1166.jpg


IMG_1168.jpg


IMG_1169.jpg


I keep seeing schemes for the vehicle and they told me that according to super can be varied.


For now the options are handling.


Rare. Allow me to have a scheme but not so heavy as to be able to see wear on the wood that is something I want.

Reference image.

HPIM0455-721799.JPG


The blog where I saw, is priceless and is highly recommended to see ...

http://gulumik.blogspot.com/

Doodles.


Picture6.png


White cab green hood. Cascade green box to stop seeing the wood. This for some reason I also like. .


Picture4.png


Circles. Super interesting too.


IMG_0321.jpg


As the toy are undecided now: P
Thanks.
 
Im really enjoying this build and by that last pictures it shows to have unlimited paint schemes to add ! :)

Be careful with the circles though as may be hard to represent in real life without making your model look toy-ish

A :)
 
This is coming along really nicely. Love the work you've done to make it look so good. And those ref pics are very interesting. (y) (y)
James
 
Thanks for the support friends.
Good progress with the truck finally figured more in the scene and opt for a more sober scheme does not take everyone's attention.

For now I have it only worked on one side and partly because much remains.
As will opt for the scheme of white cabin in reference to the intentions of playing with chips and other plants. I tried that
brochasos look sloppy strokes in part and the way that the paint would come up there.


IMG_1236.jpg


IMG_1237.jpg


Worked the other side has not only white


IMG_1244.jpg


IMG_1241.jpg


IMG_1240.jpg


IMG_1242.jpg


IMG_1235.jpg


Well i move foward thanks for watch!
 
Back
Top