
Duke Maddog
Well-known member
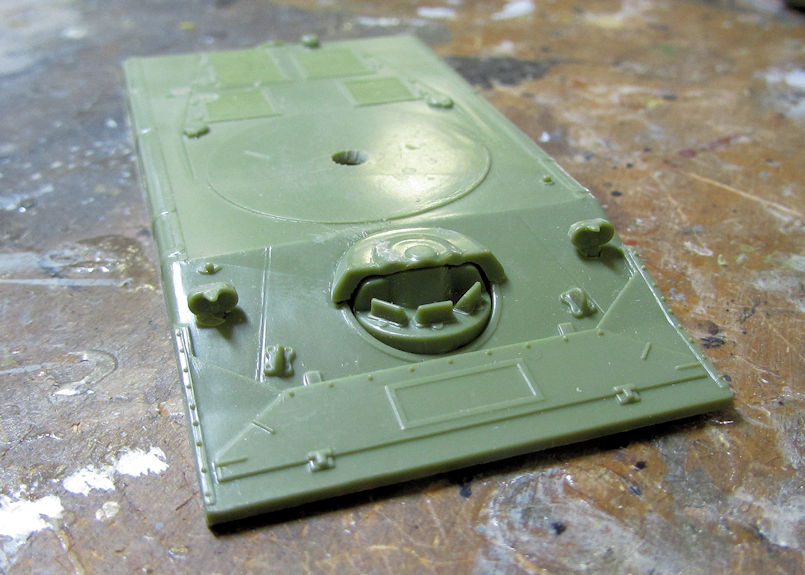
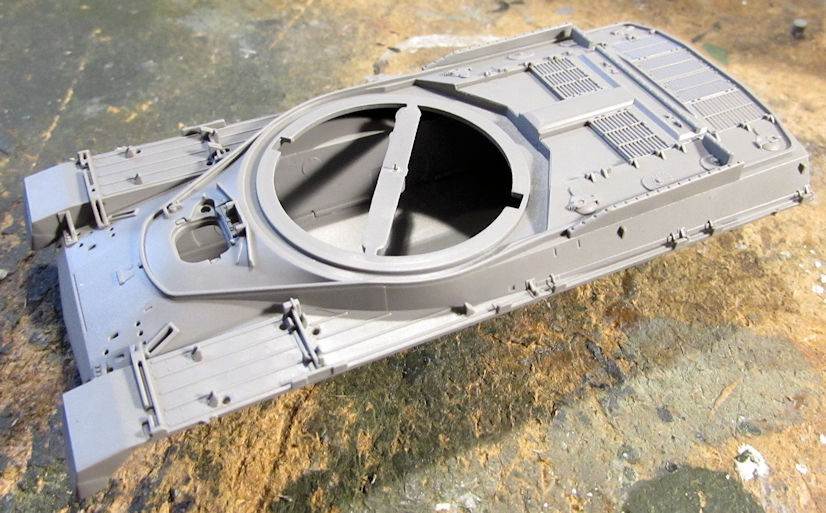
Continuing with the Shelf Queen theme, I pulled out another one of them to work on. This is the very old Sheridan tank I started in the far distant past. I had lost the driver's periscope piece and so this had been sitting on my shelf for years; maybe a decade by now. I then noticed I had a second unopened Sheridan in the pile so I opened it up and continued on with this, first adding that missing piece:
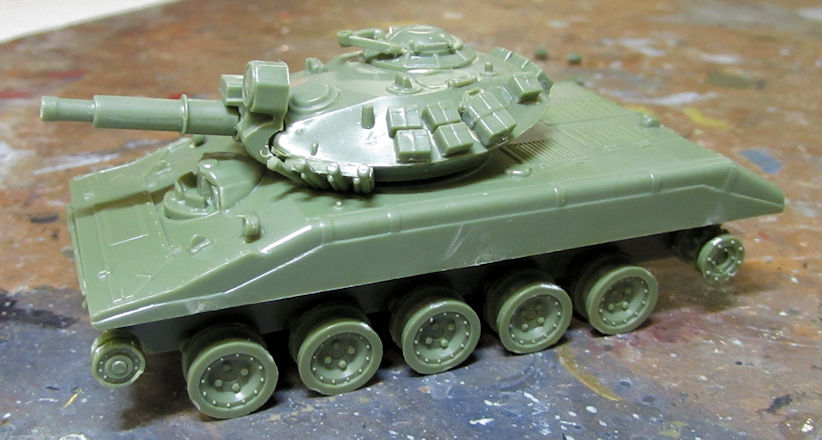
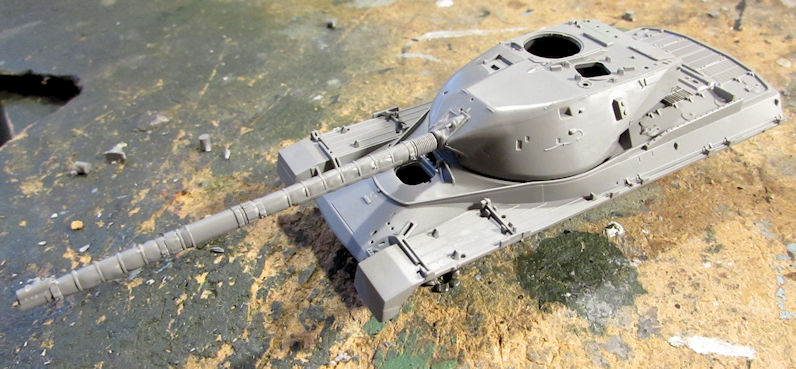
Later I added the turret to this and any other additional parts it needed. This is now pretty much ready for paint:
Next up were a couple 'quick builds' from S-Model, starting with the M-5 Stuart. There are two kits of this tank in the box so one will be a US Army one and the other will be a French tank. Basic assembly was quite fast:
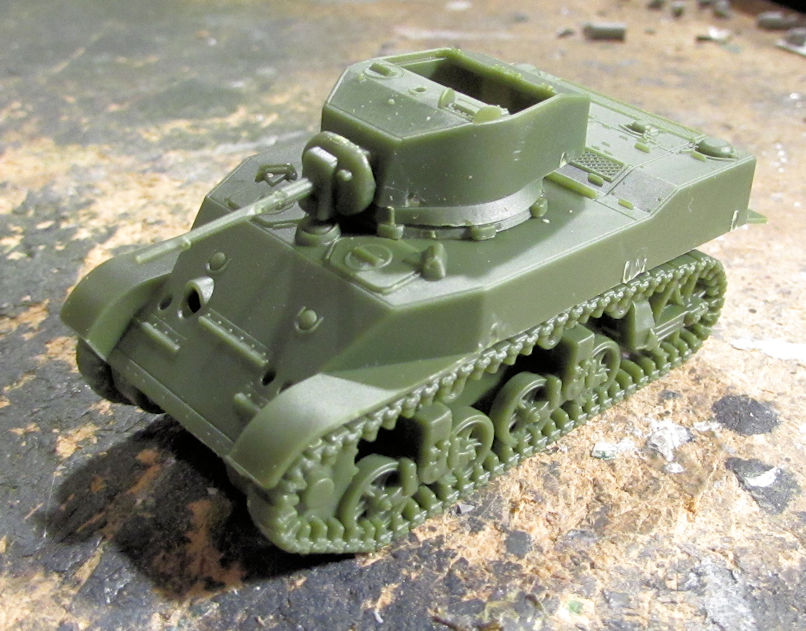
Then I added all the extra bits and bobs to bring this up to the paint stage:

Now I just have to do the second one. Should be fairly fast.
Another S-Model 'quick build' vehicle I started was this turreted M-113. Basic assembly once again was quite fast:
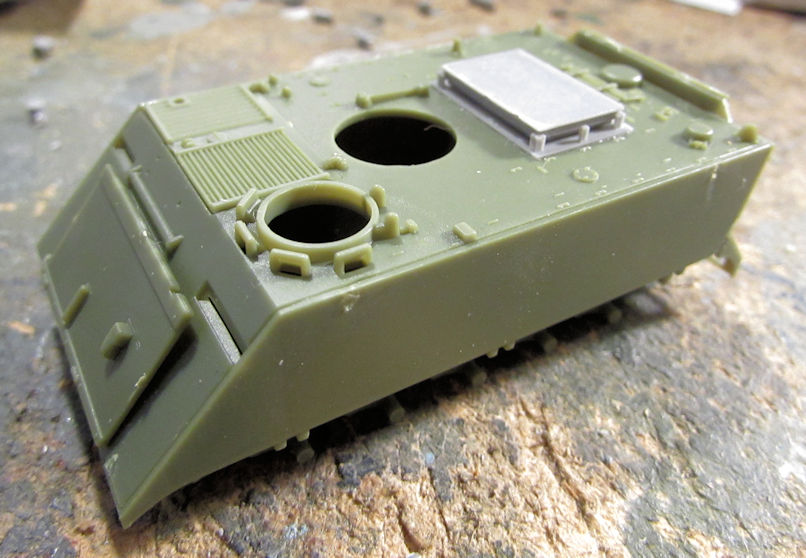
That is a resin hatch included in this kit that this version uses. The turret was also a resin set that I had to build:
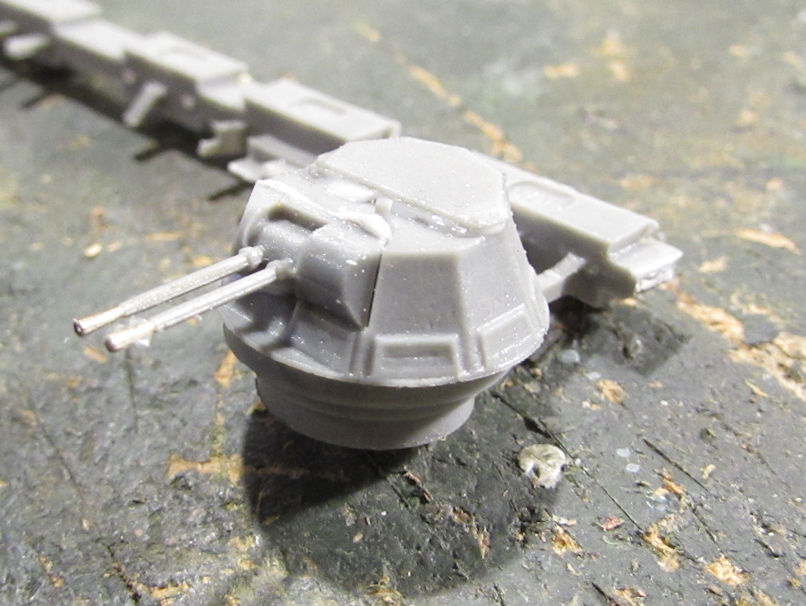
A few more detail parts and this will be ready for paint as well:

Moving on, I started the two Chieftain tanks in the Mk.10/Mk.11 box. I only assembled the lower hull tubs. I also cemented all the pairs of wheels and sprockets together so I can install them all at once, but I didn't shoot pics of them:
Since I'd started the Chieftain Mk. 10 and Mk.11; it was only right that I do the Chieftain Mk. 5 too. So, I assembled the lower hull tub and all the wheels for this:
Looks the same. That's because it is.
So, to try and keep better track of which goes to what, I added the upper hull to the Chieftain Mk.5:
Yes, I removed that sprue inside because I assembled the basic turret with the gun and dry-fit that onto this tank:
Wow, these look so much better than the ancient Airfix 1/76 scale kit!
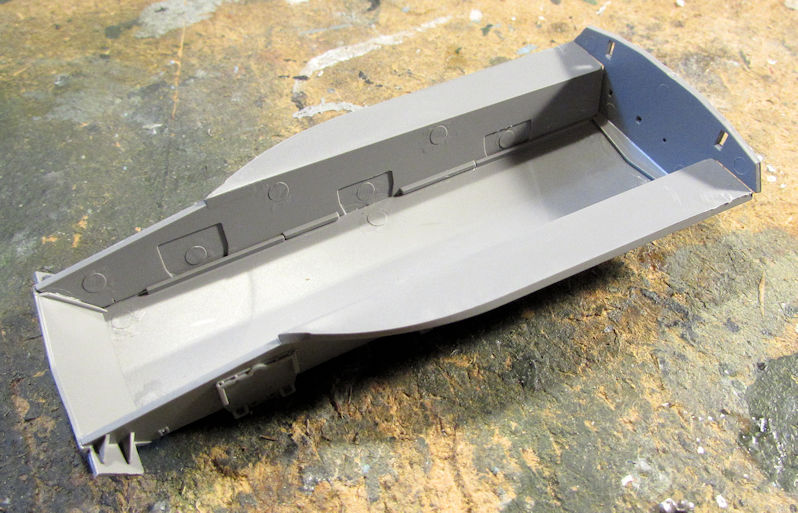
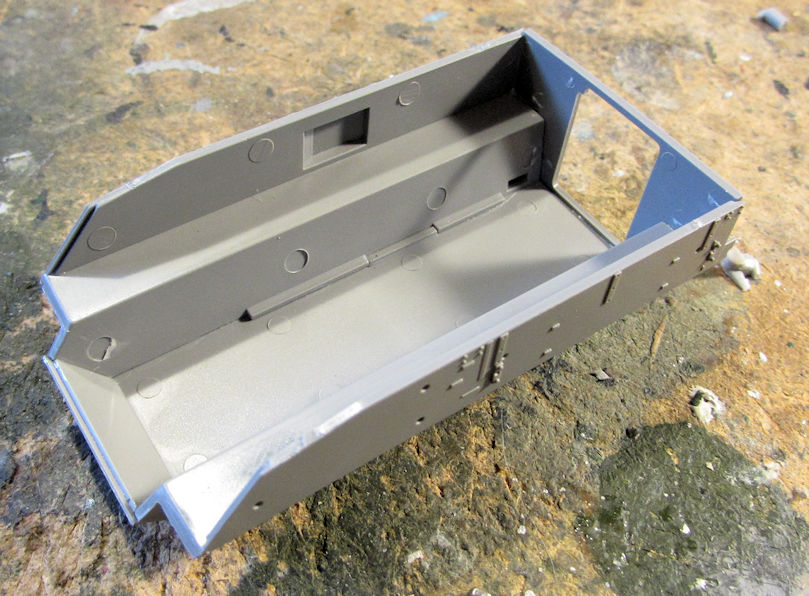
Now, the Chieftain Mk.5 also came with the FV-432 APC, so I had to start that as well. Again, lower hull tub first:
I later added the three upper hull parts to this:
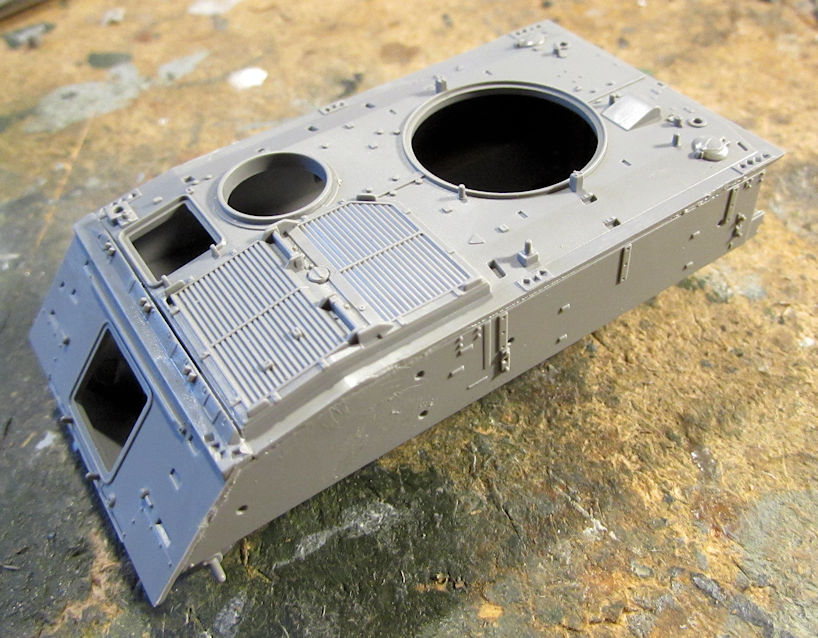
Yeah, these are looking great!
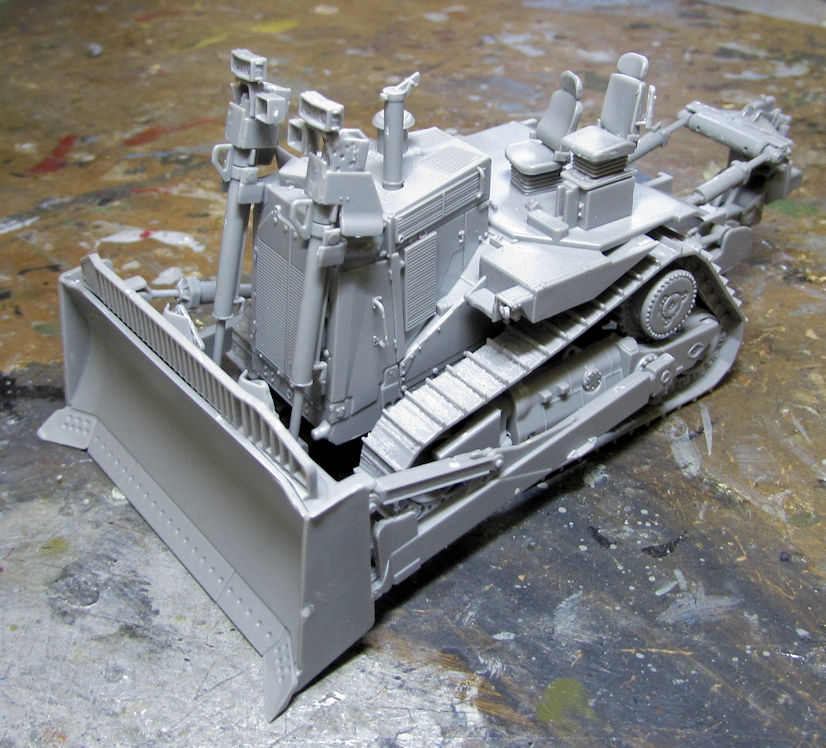
Finally, at least in my armor; I brought my D-9 Dozer forward a bit more. First I assembled the rear assembly and installed it on the main body of this:
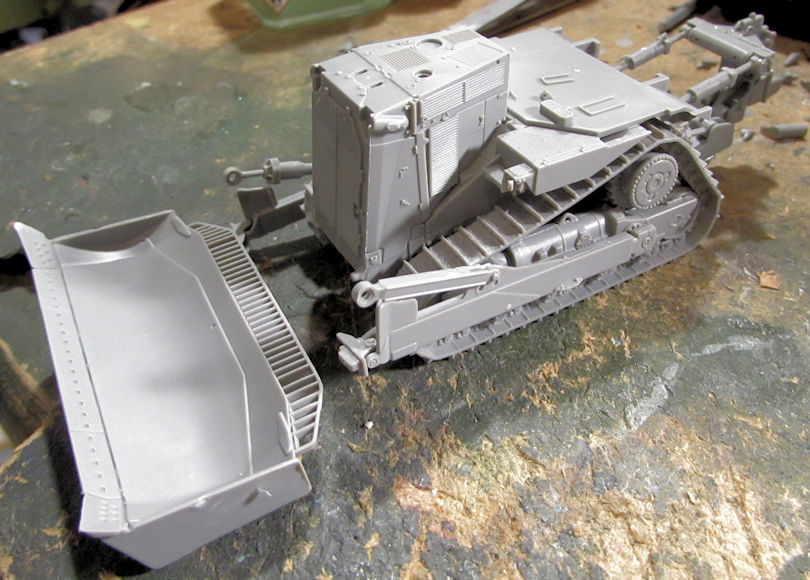
You can see the assembled dozer blade in front of this too. Next, I added the mounting arms and linkages for the blade and got it installed. I also started the interior with the driver and co-driver seat as well as some other detail parts:
Here's a better shot of the rear assembly on this:
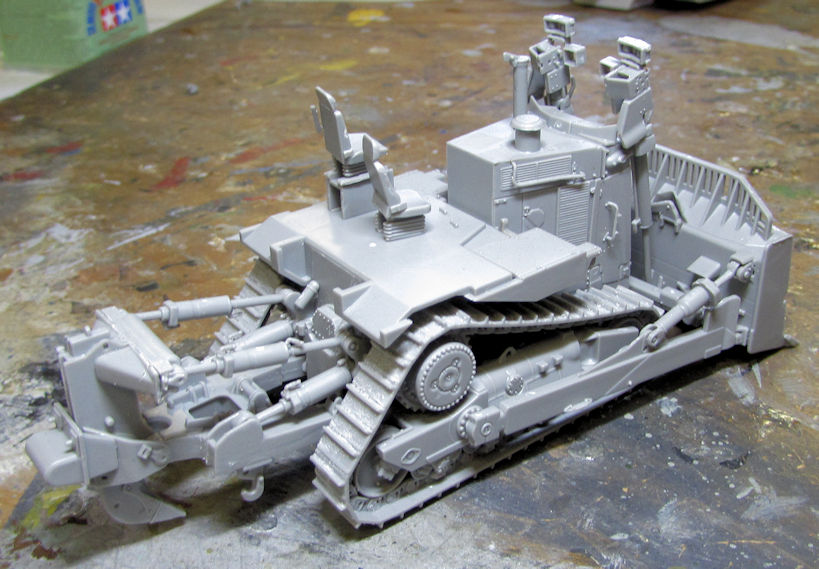
Looks like a trench digger. I don't know though.
And finally, getting back to Shelf Queens, I decided it was time to finish this one. For those who forgot that I also build ships, here is the 1/700 scale JMSDF Izumo carrier that I started some many many months ago. What stopped me for all this time was that I was at the P/E stage and didn't want to deal with it. Well, I took this to our mini-Hobby Day and buckled down to get this done.
First I did the main mast and added the P/E rails to the island:
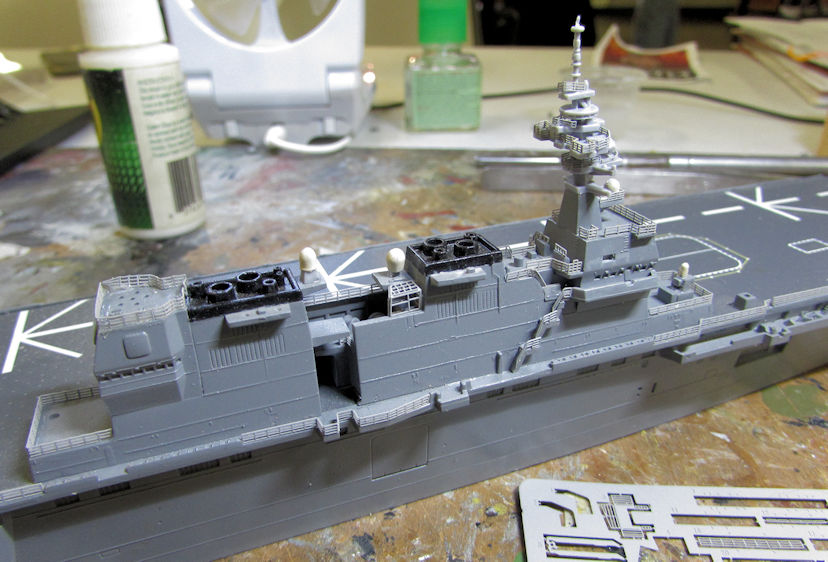
That's gonna take some doing painting that mast. I also figure I'll have to semi-drybrush the rails to bring them closer to the grey of the rest of the ship.
I then got started on the surrounding rail of the sponsons and deck edge. I only got one side mostly done before it was time to pack up and leave:
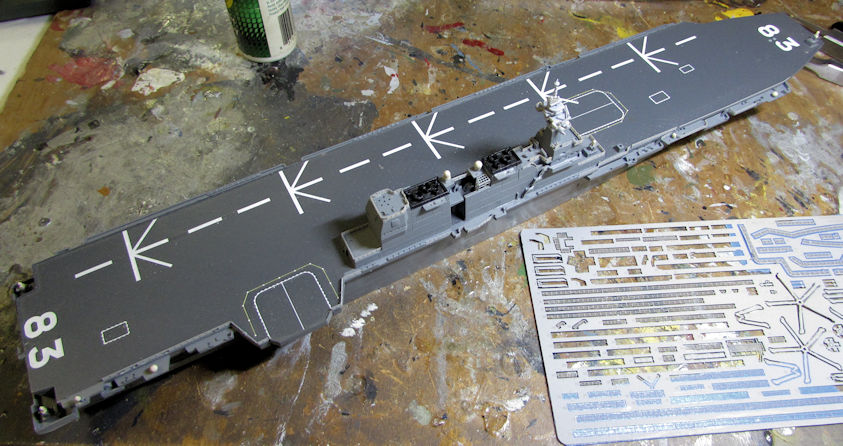
Yeah, they are a bit hard to see in that pic. Trust me, they are there. You'll also notice that I have blue tape underneath the P/E sprue. That is because the attachment points for these parts are so delicate that some of them are falling off the sprue before I can get to them. So, I added the tape to one side and taped them back in place until I need them.
I do hope to do more on this ship soon. I want it done. Until then, take care and thanks for looking in. Comments are always welcome.
Later I added the turret to this and any other additional parts it needed. This is now pretty much ready for paint:
Next up were a couple 'quick builds' from S-Model, starting with the M-5 Stuart. There are two kits of this tank in the box so one will be a US Army one and the other will be a French tank. Basic assembly was quite fast:
Then I added all the extra bits and bobs to bring this up to the paint stage:
Now I just have to do the second one. Should be fairly fast.
Another S-Model 'quick build' vehicle I started was this turreted M-113. Basic assembly once again was quite fast:
That is a resin hatch included in this kit that this version uses. The turret was also a resin set that I had to build:
A few more detail parts and this will be ready for paint as well:
Moving on, I started the two Chieftain tanks in the Mk.10/Mk.11 box. I only assembled the lower hull tubs. I also cemented all the pairs of wheels and sprockets together so I can install them all at once, but I didn't shoot pics of them:
Since I'd started the Chieftain Mk. 10 and Mk.11; it was only right that I do the Chieftain Mk. 5 too. So, I assembled the lower hull tub and all the wheels for this:
Looks the same. That's because it is.
So, to try and keep better track of which goes to what, I added the upper hull to the Chieftain Mk.5:
Yes, I removed that sprue inside because I assembled the basic turret with the gun and dry-fit that onto this tank:
Wow, these look so much better than the ancient Airfix 1/76 scale kit!
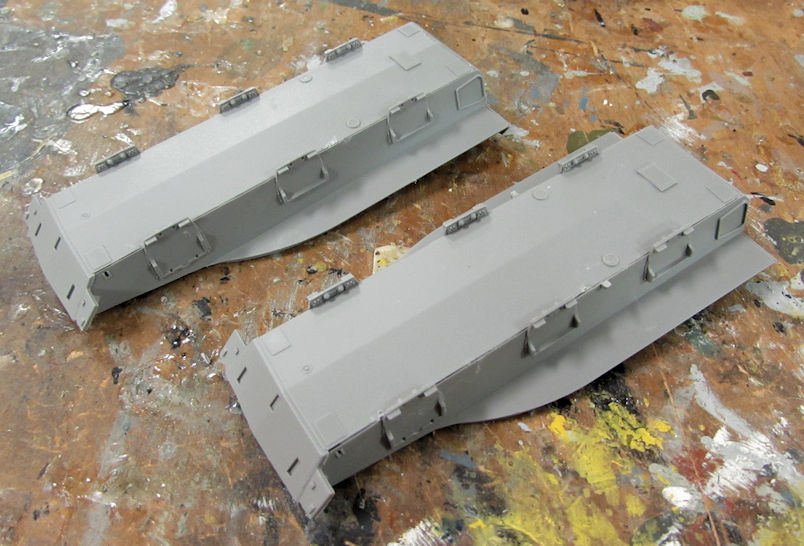
Now, the Chieftain Mk.5 also came with the FV-432 APC, so I had to start that as well. Again, lower hull tub first:
I later added the three upper hull parts to this:
Yeah, these are looking great!
Finally, at least in my armor; I brought my D-9 Dozer forward a bit more. First I assembled the rear assembly and installed it on the main body of this:
You can see the assembled dozer blade in front of this too. Next, I added the mounting arms and linkages for the blade and got it installed. I also started the interior with the driver and co-driver seat as well as some other detail parts:
Here's a better shot of the rear assembly on this:
Looks like a trench digger. I don't know though.
And finally, getting back to Shelf Queens, I decided it was time to finish this one. For those who forgot that I also build ships, here is the 1/700 scale JMSDF Izumo carrier that I started some many many months ago. What stopped me for all this time was that I was at the P/E stage and didn't want to deal with it. Well, I took this to our mini-Hobby Day and buckled down to get this done.
First I did the main mast and added the P/E rails to the island:
That's gonna take some doing painting that mast. I also figure I'll have to semi-drybrush the rails to bring them closer to the grey of the rest of the ship.
I then got started on the surrounding rail of the sponsons and deck edge. I only got one side mostly done before it was time to pack up and leave:
Yeah, they are a bit hard to see in that pic. Trust me, they are there. You'll also notice that I have blue tape underneath the P/E sprue. That is because the attachment points for these parts are so delicate that some of them are falling off the sprue before I can get to them. So, I added the tape to one side and taped them back in place until I need them.
I do hope to do more on this ship soon. I want it done. Until then, take care and thanks for looking in. Comments are always welcome.

