• Modelers Alliance has updated the forum software on our website. We have migrated all post, content and user accounts but we could not migrate the passwords.
    This requires that you manually reset your password.
    Please click here, http://modelersalliance.org/forums/login to go to logon page and use the "Forgot your Password" option.

Whirly Bird by a Squirly Bird!

Hello Everyone :v

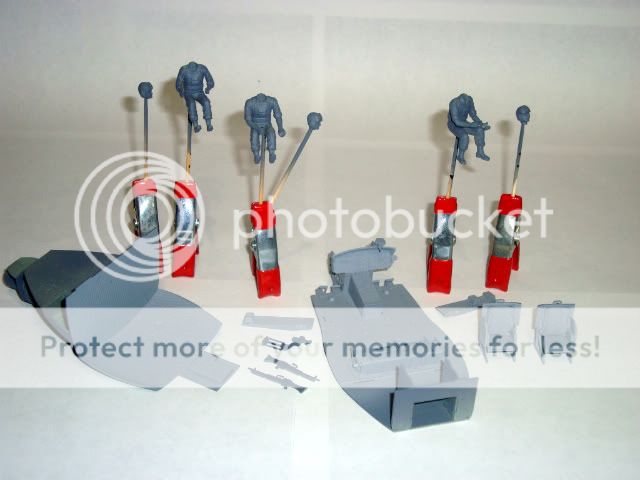
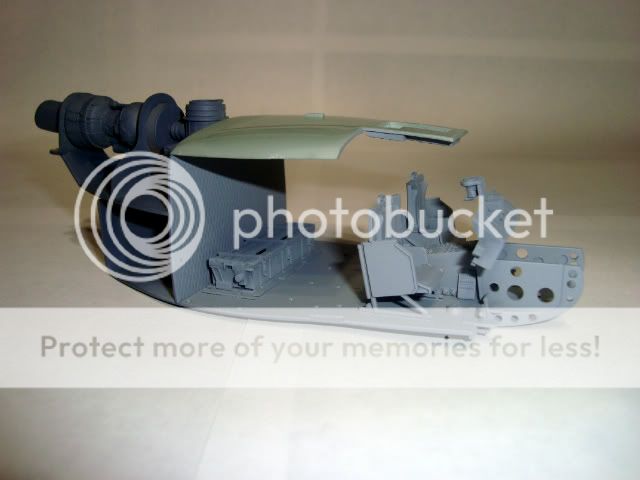
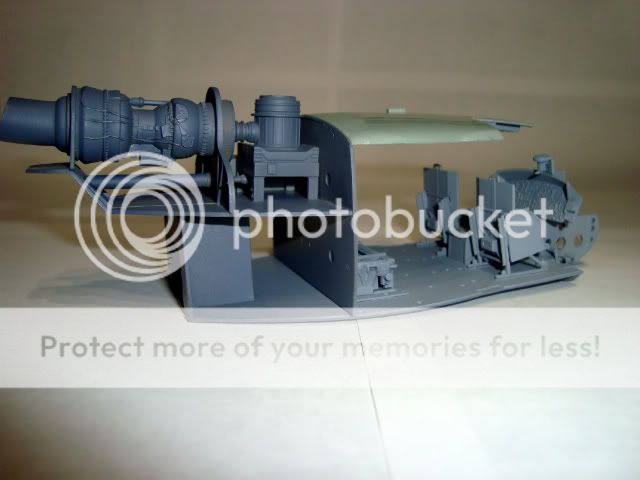
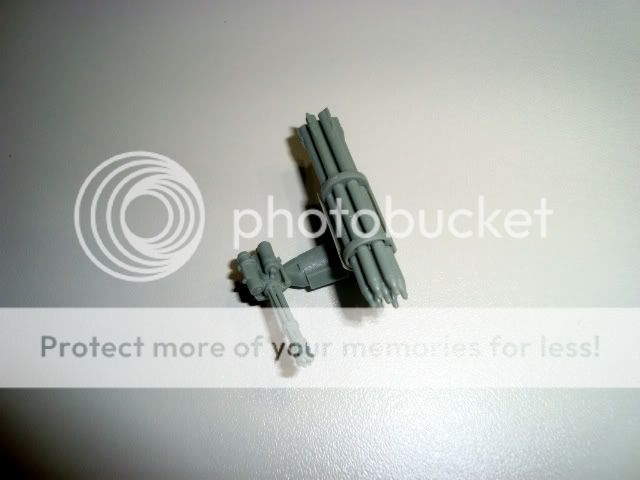
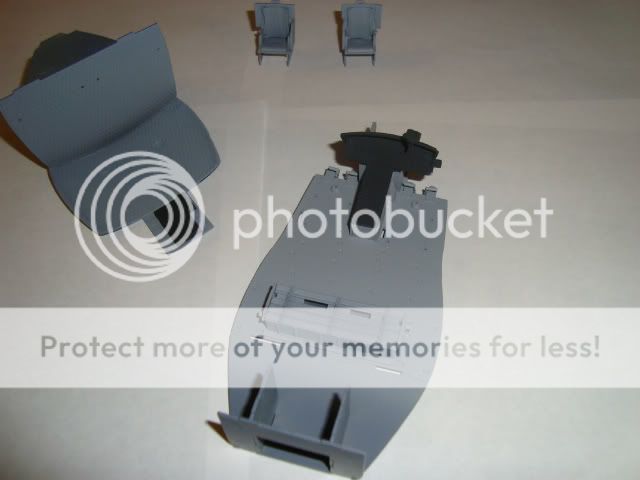
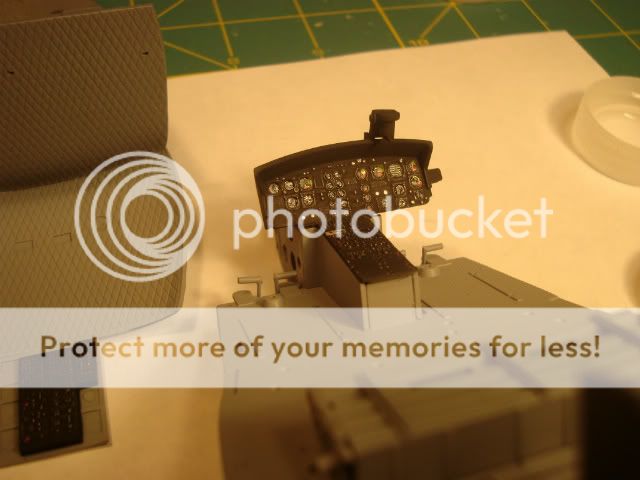
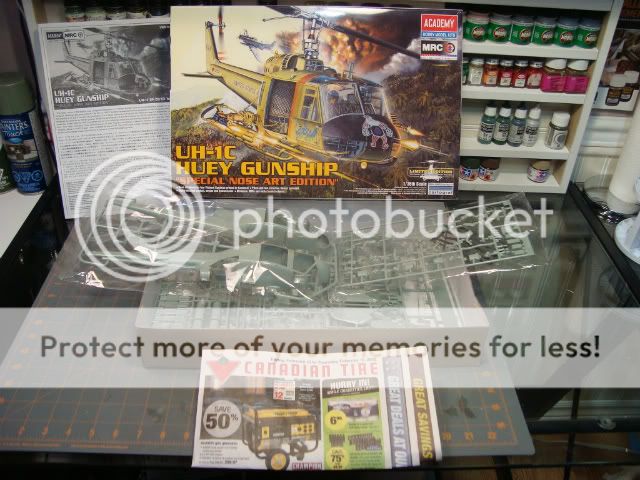
I'm relatively new here, so I figure what better way to get aquainted than join in a campaign! I'll be doing the MRC/Academy 1/35 Huey Gunship (special noseart editon). This one has been on the shelf for a while and I've been itching to build it! Looking forward to seeing the other builds in this campaign as well!! (y)
DSC02804-1.jpg
DSC02806-1.jpg


Thanks for checkin' it and thanks for having me along :D
 
Welcome to the build!

I look forward to seeing how your project progresses. I've always wanted to build a
helicopter model, but never got one completed. Perhaps I'll learn something new
as you are building this and perhaps actually finish one that I have started.

Cheers,
James
 
Thanks very much for the warm welcome folks!!

Well after cracking the bags on this kit yesterday morning, I spent most of the day (and evening) in the hobby room. The kit looks pretty good with some decent detailing. I think it should make a fun little project. So, lets get down to it.

After some clumsy sanding on a poorly located sprue gate I ended up with a bald spot where there should be texture
DSC02739.jpg


I used some PE that was originally intended for a 1/25 race car seat harness to replace the damage
DSC02745.jpg


Moving forward with engine assembly
DSC02748.jpg


And the basic engine/inner fuselage top, assembly
DSC02760.jpg


Also managed to get these three guys cleaned up and put together
DSC02756.jpg


Thanks for checkin' it folks! Should be more soon (y)

Jeff.
 
Great start!! Are you going to have engine panels open?

Terry B)
 
Thanks very much for the warm welcome folks!!

Well after cracking the bags on this kit yesterday morning, I spent most of the day (and evening) in the hobby room. The kit looks pretty good with some decent detailing. I think it should make a fun little project. So, lets get down to it.

After some clumsy sanding on a poorly located sprue gate I ended up with a bald spot where there should be texture
DSC02739.jpg


I used some PE that was originally intended for a 1/25 race car seat harness to replace the damage
DSC02745.jpg


Moving forward with engine assembly
DSC02748.jpg


And the basic engine/inner fuselage top, assembly
DSC02760.jpg


Also managed to get these three guys cleaned up and put together
DSC02756.jpg


Thanks for checkin' it folks! Should be more soon (y)

Jeff.

Dude, you put PE on the engine, you can't hide it now!! :soldier
 
Thanks kindly Folks!

A little more progress here.

A little primer
DSC02767.jpg
DSC02769.jpg


A little dryfitting
DSC02770.jpg
DSC02771.jpg


And a tricky part. Instructions were a little unclear on the minigun. I used some reference pics of a 1/1 minigun and got close!
DSC02779.jpg


Thanks for checkin' it folks!!
 
You're not wasting time Jeff! Looking fine, like your painting style with the subassemblies and all. :popcorn
 
Thanks PUP! Yeah, I'm in between contracts right now so time is on my side!

Here are some better pics of the minigun and 7 shot. My photography skills and equipment aren't the best :blush:
DSC02811.jpg
DSC02812.jpg
DSC02813.jpg
 
Thank You PuP :v

Ernest: I am no expert and learning as I go, but here's how I went about it. These particular IP's have very good raised details. After the flat (NATO) black, the panels were drybrushed with enamel aluminum to bring up the raised detail. I find it works best to use a 1/4" flat brush. The paint is wiped off on a piece of paper until no paint is visibly coming off the brush. Very, very drybrush! Then, quick back and forth "fanning" type motion with just the very tip of the brush. It takes a few trips over to get the level of definition required. Best to build up slowly. After that some various colours are added to the gauges and some buttons and switches. I modified a brush to have literally 5-6 bristles on it. I use this to apply the dots of colour and move them around a bit if necessary, for example the green and red inside the gauges. The sharp end of a round toothpick is also good to lay in "dots". What really makes the gauges pop is a droplet of clear gloss layed inside where the glass would be found. Hope that helps!
 
Back
Top