• Modelers Alliance has updated the forum software on our website. We have migrated all post, content and user accounts but we could not migrate the passwords.
    This requires that you manually reset your password.
    Please click here, http://modelersalliance.org/forums/login to go to logon page and use the "Forgot your Password" option.

Time for Confession-- here is my Priest!

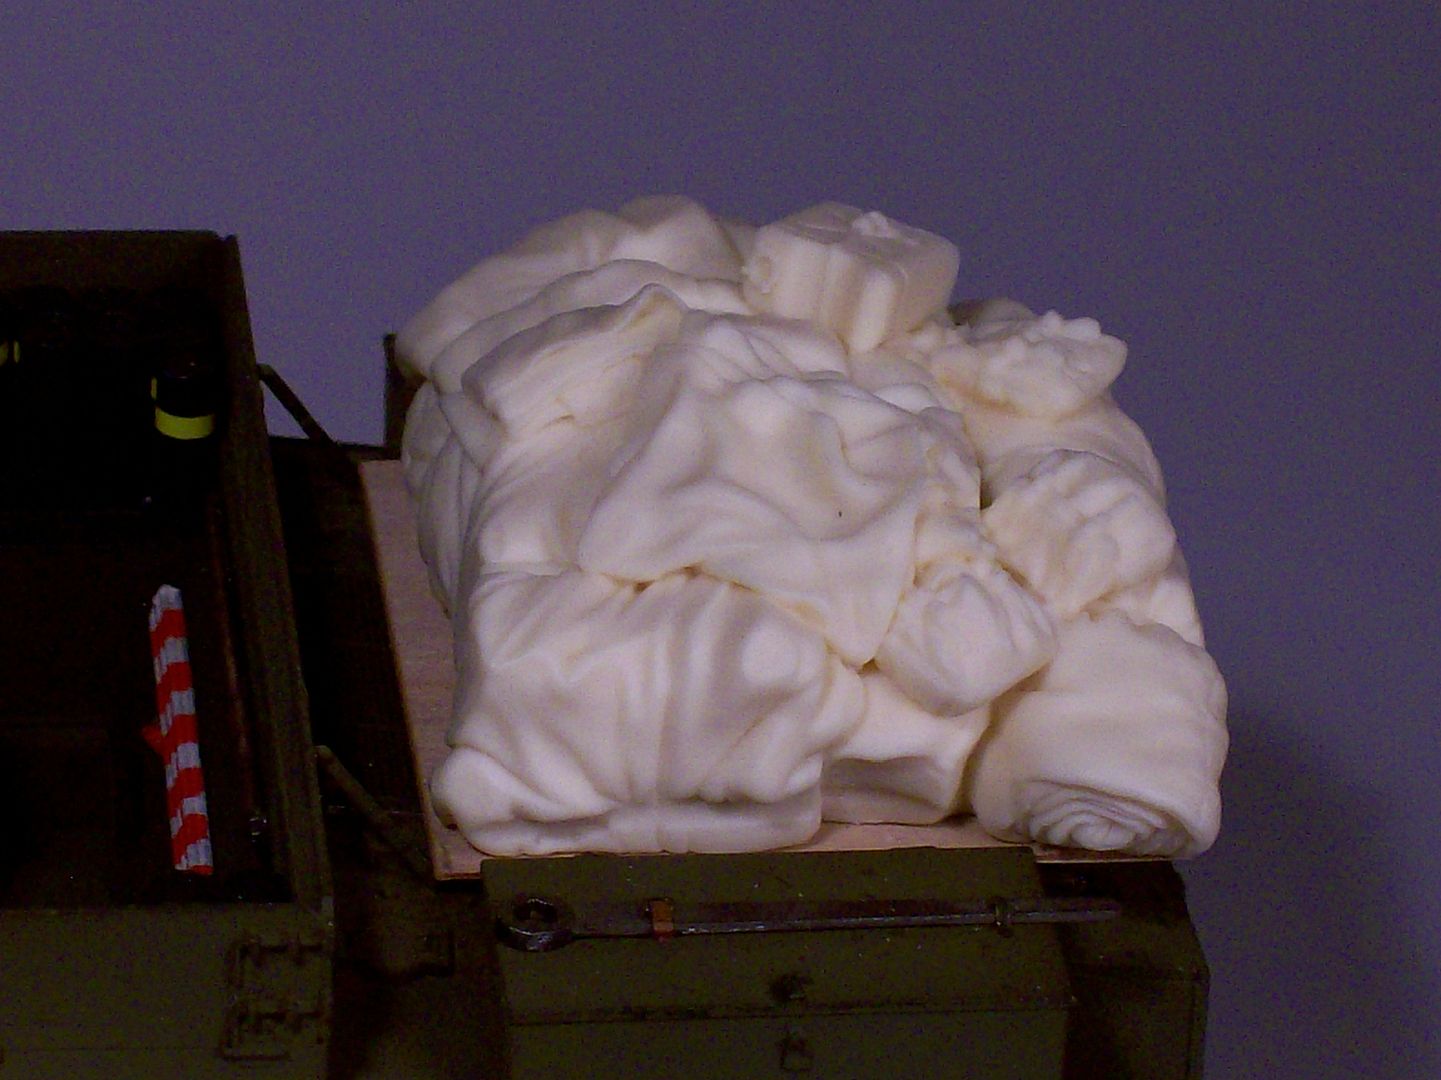
Well-- decided to go with them stowed just for a bit of color. I won't have this one in action with gunners anyways...maybe just reloading ammo from an outside source. This kit is way out there in detail...to a fault. I am assembling the machine gun mount-- 6-8 pieces alone...cripes!
6-7-11_054.jpg

6-7-11_056.jpg
 
Its looking great so far Mike apart from the fitting problems and the foggy instructions how are you enjoying the kit ?
 
Thanks Andy!

It is a well detailed kit to be sure...and with the open top it allows for some great extra detailing which is my favorite thing to do. The fit issues aren't really issues if you take your time, plan, and dry fit EVERYTHING! ;)
 
Thanks James-- my apology for the delay in replying to you but it has been a crazy July! Settling in to be a good August of modeling though-- nearly to the decal and weathering stages here on this baby. John Steinman was right about this kit-- Dragon kits are a real bear to build...with all the errors in the instructions and fiddly bits here and there (and my amateur armor building)-- it has been a long road!
Models_003.jpg

Models_002.jpg


So as I said, I have to decal, then add some of the Black Dog stowage I picked up at AMPS..amd then weathering the whole shebang!
 
Got most of the stowage on and dull coat to boot...am pretty happy with how this side came out...
Models_012.jpg


This sides is also not bad...gonna have to really dirty up those logs though...still too shiny!
Models_011.jpg


Here's my problem side...either the gear on this Priest is long overdue some washing due to it standing up on it's own (mom was right!!) or these boys have mastered levitation with the Force!! Gotta figure out how to fix this...
Models_010.jpg


This side seems nekkid...not sure if I want to use more stowage or save the rest for the Matilda...gotta do something here though...this might end up being the side they load ammo onto?
Models_009.jpg


Thanks for looking!!
 
Hi,Mike

Like all those colours used on your stowage!That really pops out! (y)

Maybe you could the backside stowage stuffed up,underneath it?
[don't know if it can be done]

By the way;are you still not using an airbrush?....if so, (y) ,I really would think,
it's done by airbrush!!!

Greetings,Ron.
 
Woww! they have cleaned out the whole storage of blankets and personel equipment! :woohoo:
I love the look of it and all the different shades, on the back there, maybe you can try and squese a rolled up blanket underneath the levitating stowage :huh:
//Mats
 
Thanks guys!

Ron...I actually did paint with airbrush but had done touch ups by hand. Once I do all the weathering I am planning, you shouldn't be able to see any difference I am hoping!

Mats, I was thinking the same thing...maybe something homemade that I can stuff in there...

Yeah...I figured with using the Black Dog that I had to find a way to make it stand out so it didn't look like everyone else. Considering olive drab had so many color variations, I went with different shades of drab from Vallejo, Tamiya, Polly Scale, and Modelmaster...
 
Lookin good! I like all the stowage and I think that you can never have too much. My Hummer during Desert Storm had so much crap on it that my guys called my vehicle the "Sanford and Son" truck.
Of course,I was the Platoon Sergeant and had the platoon cargo truck and if you are modeling a fighting vehicle you have to make sure the stowage makes sense. You have to be able to fight with the thing after all. When I was in charge of a anti tank vehicle my guys would hate me but I always made sure all of the personal gear was stowed properly and severly tied down so as not to interfear with ops.
A Priest would not be in the front line but the stuff would have to be out of the way for firing the cannon and you are OK in this regard in your pice here. Sorry,got long winded.
J
 
Jerry...I'm with Bob...you can be as long winded as you like! One of the reasons I love posting is being able to receive feedback from those more knowledgable than myself...especially being able to hear it directly from those who were in the field...so don't be shy ;)

I hope to have this one depicted getting reloaded with a couple Verlinden loaders and some of the awesome ammo set that I got from Saul...gotta come back to it though. Bob...kind of like the frame on the front stowage? Might be able to scratch something up...still debating...
 
When arranging the gear on mine I saw a picture of a M-7 with what looked like a wood platform to hold the stuff up as not to block the vents.
100_0736.jpg


Love the look of yours
Tony lee
 
There we go Tony...easy fix...I'll carve up some appropriate balsa or basswood and place it there...thanks!!
 
Luckily, that is just one big awesome lump of resin...unluckily, it's attached with Gator Grip glue, so hopefully I can get it off without ripping up the whole back deck ;)
 
hello Jeeves looking really good there

Ive been looking at the M7 for ages now and they used to weld a support beam across across the rear deck from the stowerage box to stowerage box, however I dont know if that would interfere with those raised vent covers

The 2nd Armored Div were famous for adding huge stowerage boxes of the back of their vehicles which jutted out beyond the end of the engine deck
 
Back
Top