
-
Modelers Alliance has updated the forum software on our website. We have migrated all post, content and user accounts but we could not migrate the passwords.
This requires that you manually reset your password.
Please click here, http://modelersalliance.org/forums/login to go to logon page and use the "Forgot your Password" option.
- Home
- Forums
- Current Campaigns
- Past Campaigns
- Finished Campaigns
- 2011 Campaigns
- Have Gun, Will Travel
You are using an out of date browser. It may not display this or other websites correctly.
You should upgrade or use an alternative browser.
You should upgrade or use an alternative browser.
Time for Confession-- here is my Priest!
- Thread starter Jeeves
- Start date

HA! Great use of the phone and website. Maybe oneday we'll have the site more tuned to that type of display.
Brokeneagle
Master at Arms
This should be good!
Ken Abrams
Well-known member
Cool!

Sherman 18
Master at Arms
Can't wait to see this!
AndyFettes
Master at Arms
The M7 must be one of my most favouritist of all vehicles, so I am looking on intently ")
panzerace007
Active member
Great Collection of gear !! I'm lookin' forward to seein' this one !! And this comin' from a German Armor Nutt
Jeeves
Well-known member
My thanks to you all...pressure is on now, isn't it!
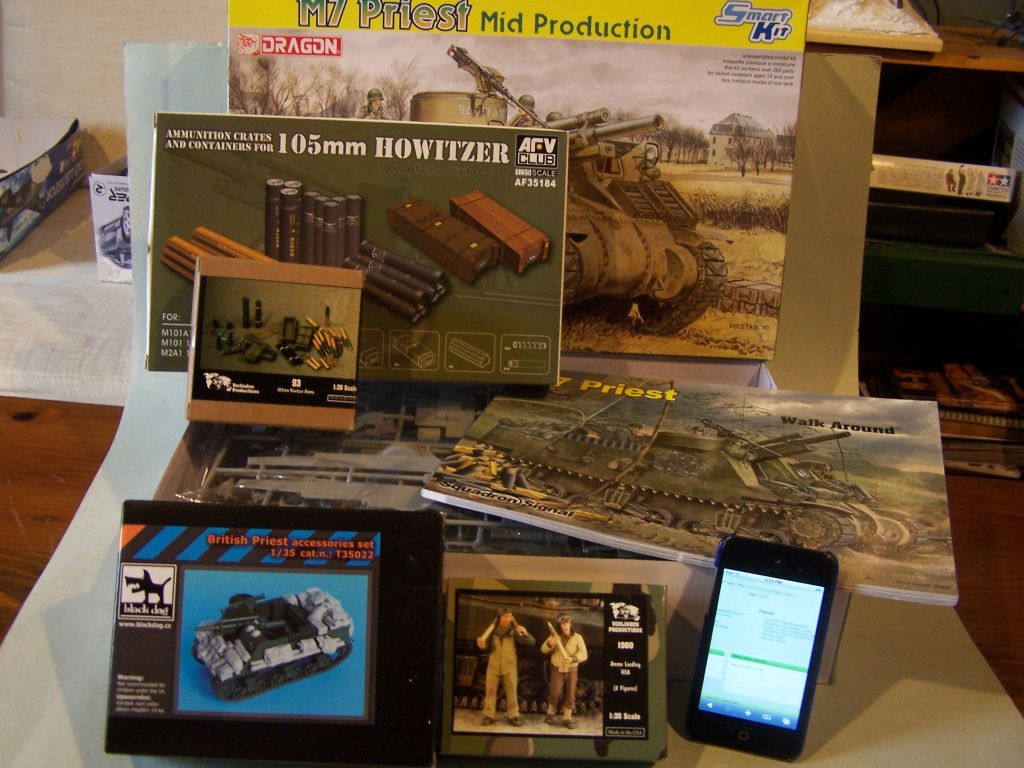
Well-- hopefully I won't disappoint. Having done some research on the kit using the last couple Tamiya Model Military International issues, they list all the errors in the instructions...this is my first Dragon armor kit and it pays to go slow to be sure. Lots of mis-marked part numbers and the like...but slow and steady wins the race. Have some areas to sand down a bit- but as you can see, there are plenty of sub assemblies to keep one busy while another is curing...
First of is the transmission which is a small kit unto itself...can't wait to paint it up and see all that detail in crisp detail...

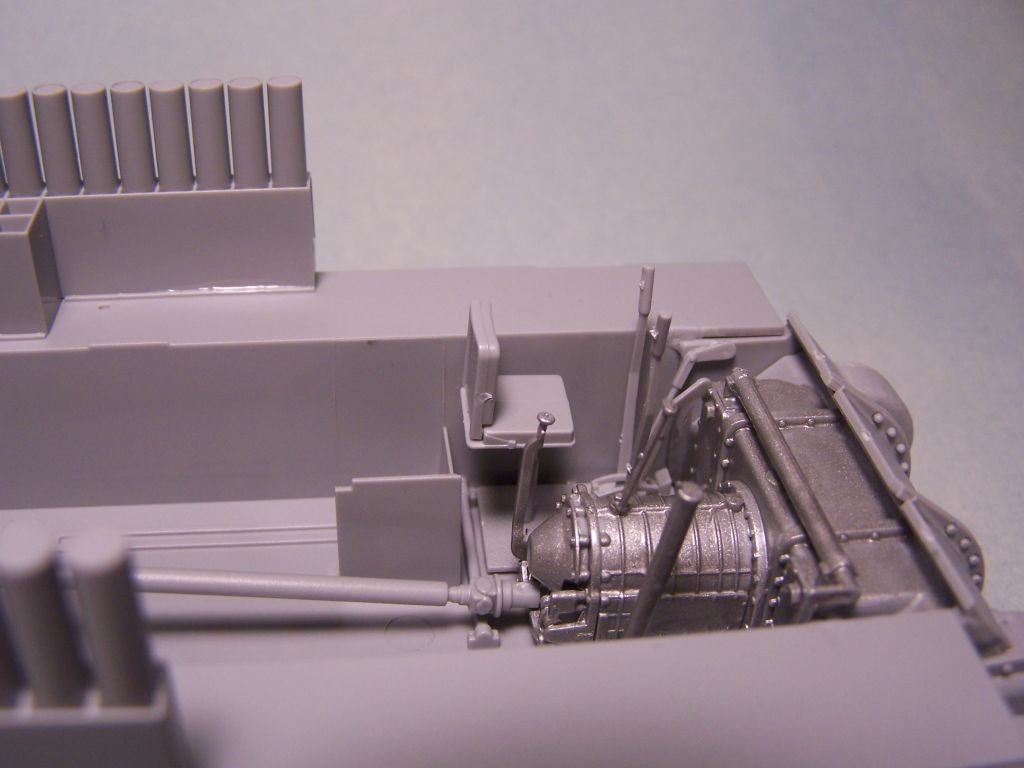
Now to the hull front with the transmission housing...Dragon did a nice job of roughening the texture here and with the casting marks...

The gun is a real crazy contraption...some parts are precise fits...and the positions of others are at best a guess for placement...this part was easy...but the rest of the gun bears slow slow work...

Here is the rear of the fighting compartment using one of the nice PE grills...

And the rear side of the hull...the exhaust pipes on top there didn't have a discernible attachment point so I did my best to guesstimate...tunred out straight so who am I to complain

That's it for now...got some cleaning up here to do and then it is back to the rest of that gun!
Well-- hopefully I won't disappoint. Having done some research on the kit using the last couple Tamiya Model Military International issues, they list all the errors in the instructions...this is my first Dragon armor kit and it pays to go slow to be sure. Lots of mis-marked part numbers and the like...but slow and steady wins the race. Have some areas to sand down a bit- but as you can see, there are plenty of sub assemblies to keep one busy while another is curing...
First of is the transmission which is a small kit unto itself...can't wait to paint it up and see all that detail in crisp detail...
Now to the hull front with the transmission housing...Dragon did a nice job of roughening the texture here and with the casting marks...
The gun is a real crazy contraption...some parts are precise fits...and the positions of others are at best a guess for placement...this part was easy...but the rest of the gun bears slow slow work...
Here is the rear of the fighting compartment using one of the nice PE grills...
And the rear side of the hull...the exhaust pipes on top there didn't have a discernible attachment point so I did my best to guesstimate...tunred out straight so who am I to complain
That's it for now...got some cleaning up here to do and then it is back to the rest of that gun!
Jeeves
Well-known member
Well if that didn't suit you, maybe these will Started on the interior...those shells are gonna be a nightmare to mask...

Speaking of nightmares...I have to take a break here and there working on this gun...still have some fiddly bits to add (although the instructions really stink at giving you placement for them!)

More of the rear compartment is done-- you can see radiator bits peeking through...

And the front side with the grouser boxes in place...

Kind of dreading putting all this together in one piece...the old adage with a new twist-- test fit twice, glue once!
Started on the interior...those shells are gonna be a nightmare to mask...
Speaking of nightmares...I have to take a break here and there working on this gun...still have some fiddly bits to add (although the instructions really stink at giving you placement for them!)
More of the rear compartment is done-- you can see radiator bits peeking through...
And the front side with the grouser boxes in place...
Kind of dreading putting all this together in one piece...the old adage with a new twist-- test fit twice, glue once!
Mike,
The exhausts look fine. Well done considering the instructions in the kit.
There is lots of filling to do as the item in the photo is supposed to be one cast item:
The size of the gaps concerns me as the differential bumps may be too high on the armor. See if the sides fit OK. If they do, use epoxy putty to fill those gaps and the cast effect is part of the process. Put a 'worm' of the epoxy putty in the gap then smooth with a moist cotton swab. If you recall Taesung Harmms' figure conversion presentation, he used baby oil instead of water to prevent the milky residue.
Regards,
Good work Mike, I'm running into the same guestimation issue with the Sdk7 or whatever it is. Boy I got spoiled on those Tamiya kits.
Jeeves
Well-known member
I have run into a spot I need to stop until I get some primer...being able to grab a can isn't easy around here...wish I had gotten it at AMPS.
Here is the suspension and road wheels and such all on...

And I have been able to install the front interior...I figured after this coat of steel, I would try a little hairspray...and then after spraying the interior color, wear some of it away to show the bare metal...
Here is the suspension and road wheels and such all on...
And I have been able to install the front interior...I figured after this coat of steel, I would try a little hairspray...and then after spraying the interior color, wear some of it away to show the bare metal...
Looking good man! Bring er on! I might suggest,having just gone through this with my dio. As I see that you have a pile of resin ammo,I assume that you will have this thing in firing position? If so,you should take out the aiming stakes. The kit has them mounted on the wall underneath the cleaning rods. There are 2 cleaning rods on top and 3 aiming stakes below. The stakes would be in the ground probably behind the vehicle to prevent muzzle blast from knocking them down. I was informed about this in great detail by 2 different ex-gunners. I'm just sayin"
J
J