• Modelers Alliance has updated the forum software on our website. We have migrated all post, content and user accounts but we could not migrate the passwords.
    This requires that you manually reset your password.
    Please click here, http://modelersalliance.org/forums/login to go to logon page and use the "Forgot your Password" option.

The latest Something I 've been doing.........MENG WW1 A7V and MKV Male - OCT 13th

Brokeneagle

Master at Arms
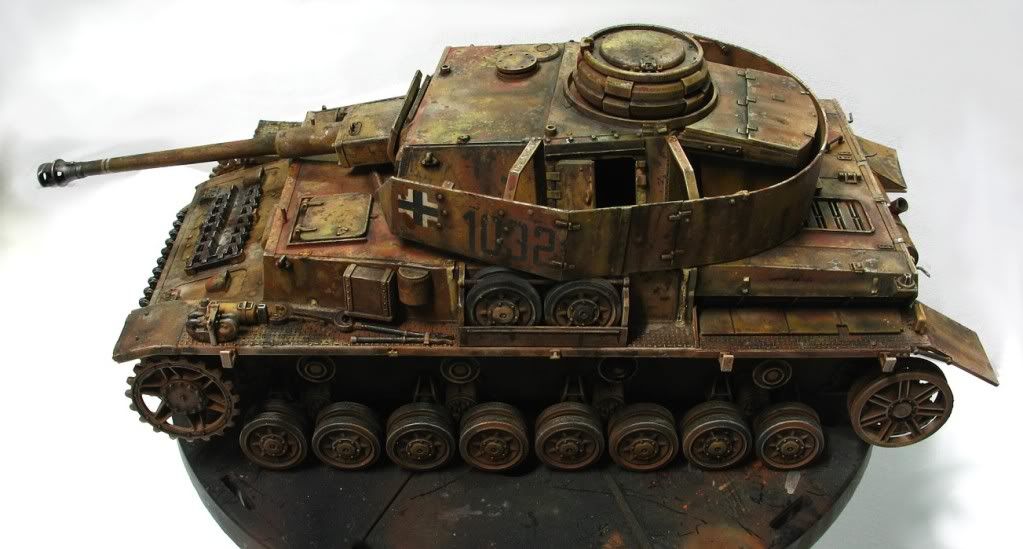
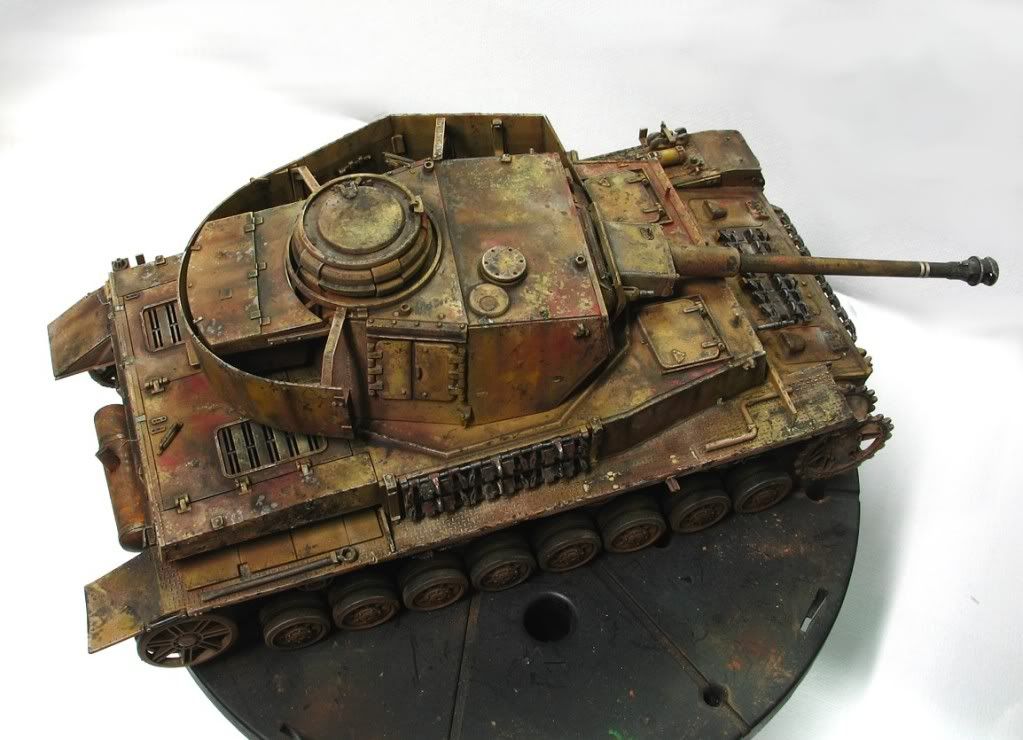
I built and painted this Tamiya mk4 J (early) some 17 years ago. I have broken bits off, stored the pieces and recently put it back together to be used as a wreck on a flat bed. It is bsically OOTB except for a few minor 'add-ons' and still needs some fixes here and there plus a touch of PE, so IT IS ONLY 70% AND REQUIRES MORE CLEANUP.
Basically I felt like fooling around with some weathering as I find it very relaxing.
The guards have been thinned and I will replace the missing turret armour with damaged PE. The paint remains unchanged in Acrylics (chips and cammo), I only added the darker burns staining and the primer comming through in places.
I kept this wreck because the paint job and chips has always pleased me and so I kept it on the shelf as a red brown and yellow cammo reference all these years.It willnow get a new lease of life on a train.
Hope you find it interesting.........

PLEASE CLICK TO THE RIGHT OF THE THUMBNAILS TO LOAD THEM NOT ON THE IMAGE.
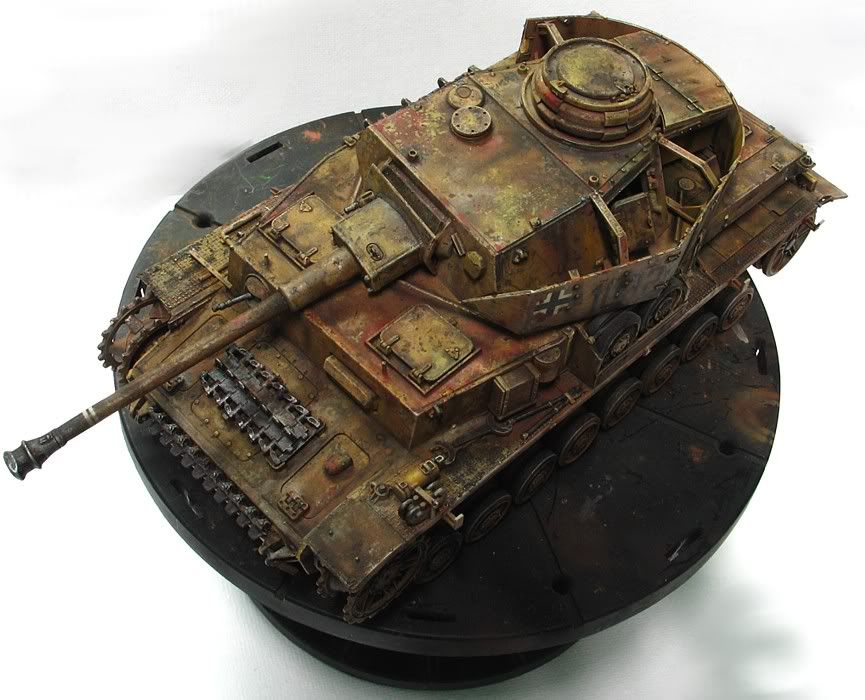
IMG_9149.jpg

IMG_9151.jpg


IMG_9154.jpg


This one shows the tank before the red primer effects were put on.I had only progressed with the shadows, dirt and slightly burnt look. The Primer was done with oils then finished with primer pigment from MIG. The effect was achieved by using a brush with nearly all the oil paint taken off and the area worked over and over for about 30 mins.
 
Last edited:
works like this helped me with my pz3k where i played around a little bit with your way of painting!

that's so brilliantly looking already!

ian sensei! :notworthy
 
Kreighshoer wrote:
works like this helped me with my pz3k where i played around a little bit with your way of painting!

Laura, thats really great that you gave my crazy way a go. B)
I must go and see the post as I did not realise it was finished.

Thank you John, Jose, Dioramix, Matt and Jenny for the positive feedback.
Dioramix- Panzer just means tank - it's a mk4, just not an M4.
Matt - yeah it was a while ago.
Jenny- you always know the what really matters to me. ;)


Ian.
 
Just read this thread.......It might have answered my question from your Stug build.

Just love seeing your older stuff. It must have been so radical back then.

Pete
 
Ian,
Looks great, I mean beat up, I mean Great :blink ??? :silly: :eek:hmy: ;)
Keep up the great work... Looks really beat up, and I don't just
mean all broken up over the years...
Thanks for posting it.
Shawn
 
Something I 've been fooling around with update

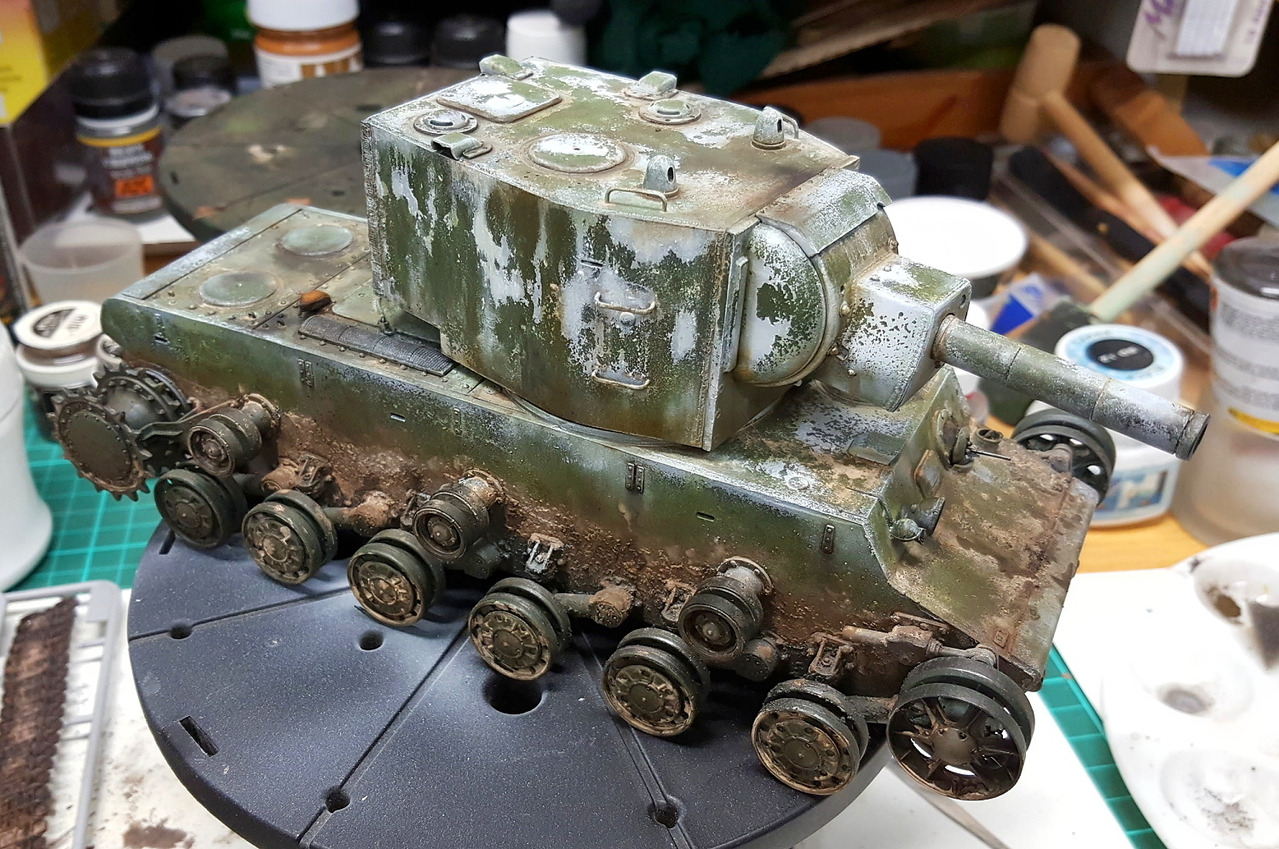
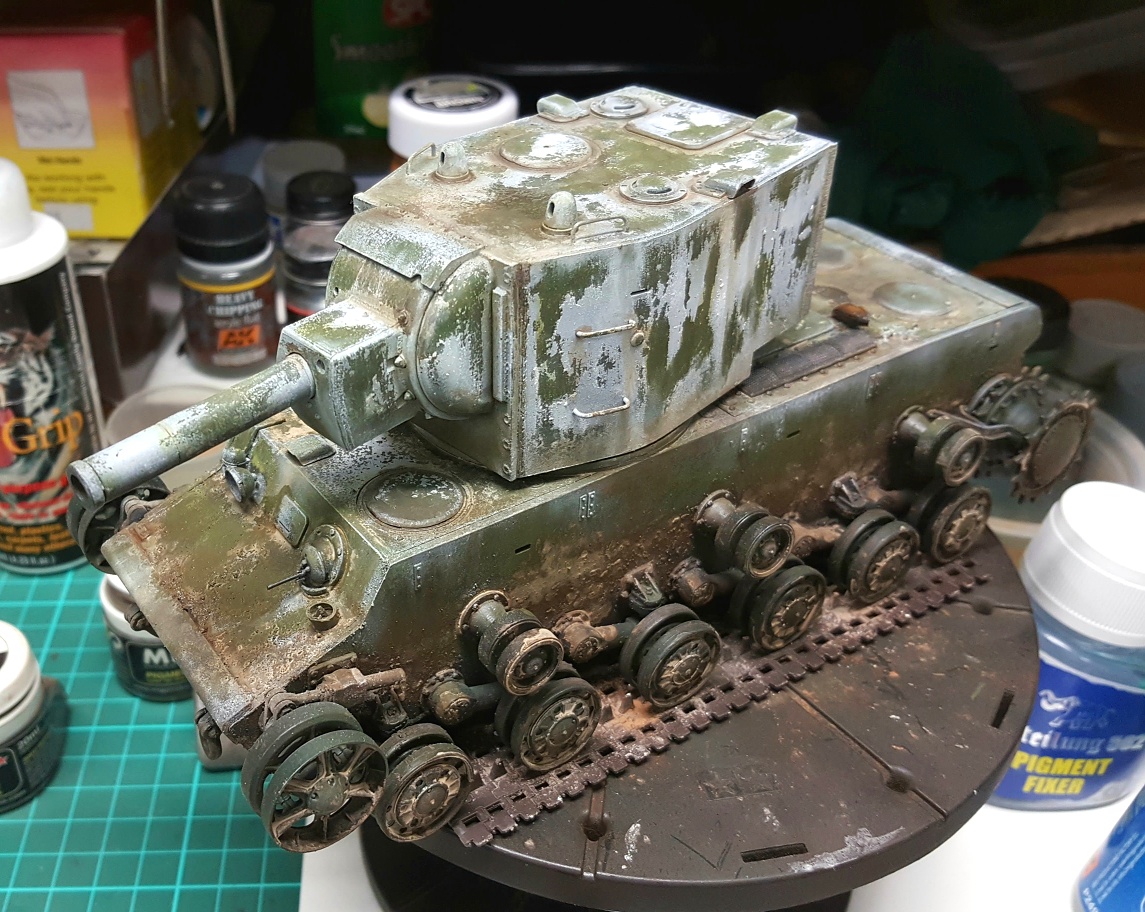
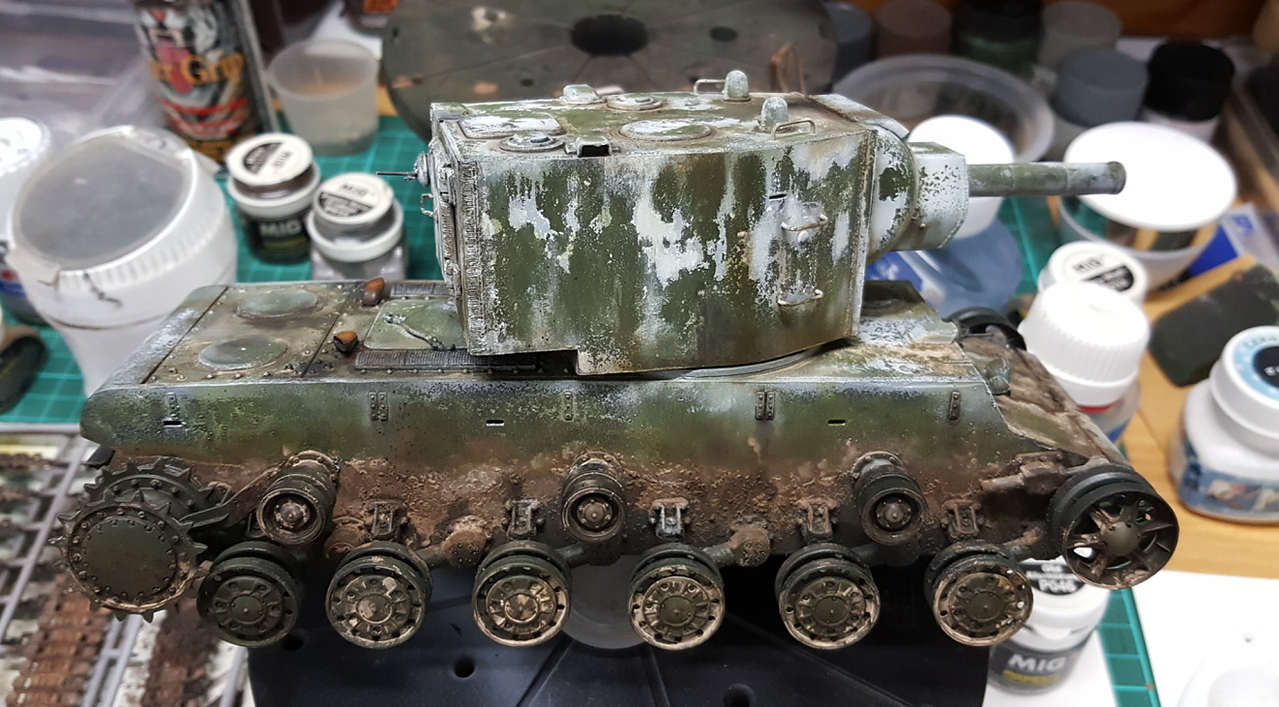
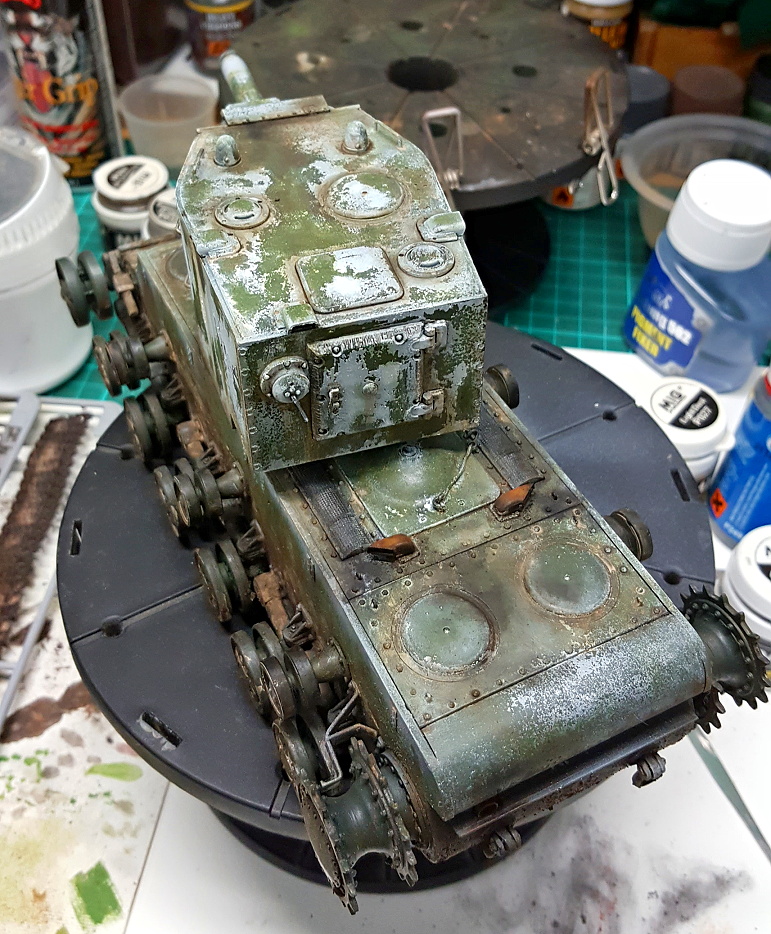
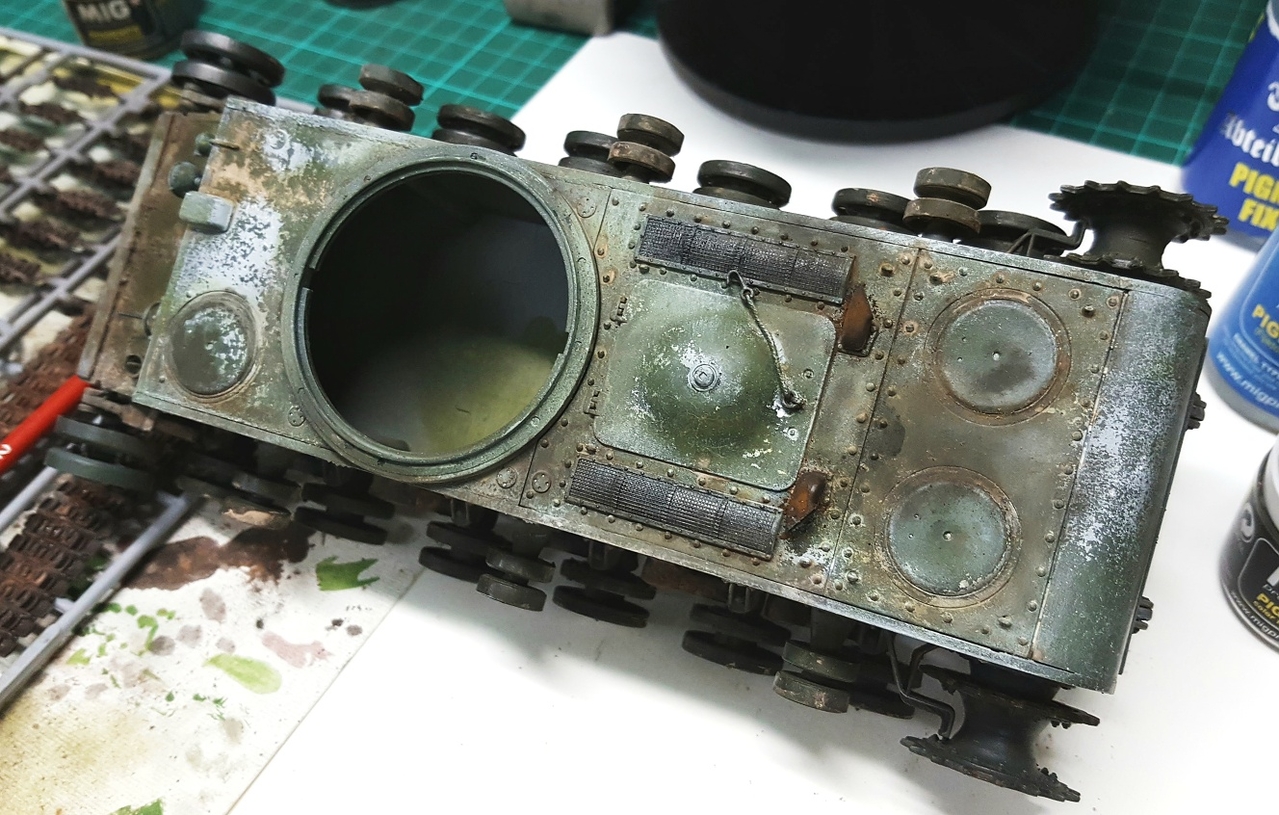
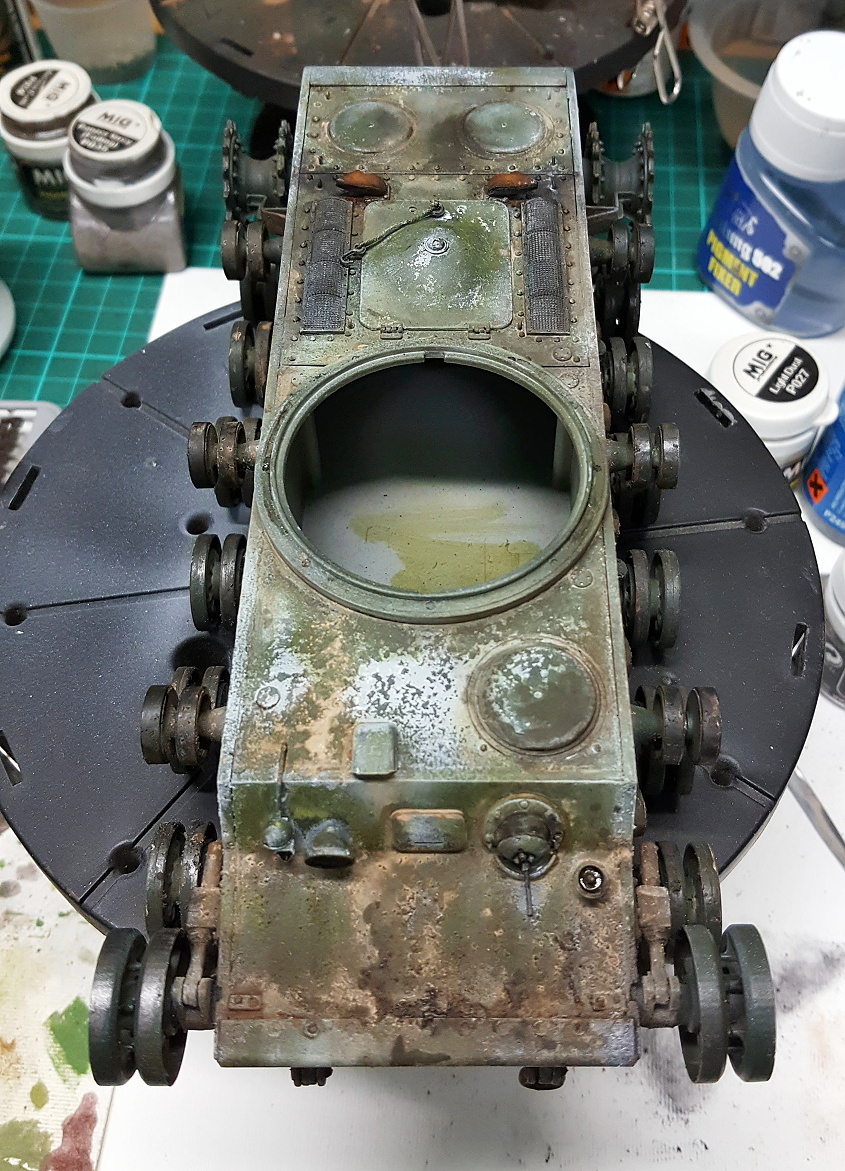
;) G'day MA, during my quiet spell I have been fooling around with an OOTB KV2 from Trumpeter as part of a job I am doing teaching a customer how to weather and build models.
This one is a WIP but will be completed very soon as we build together over a Skype call.
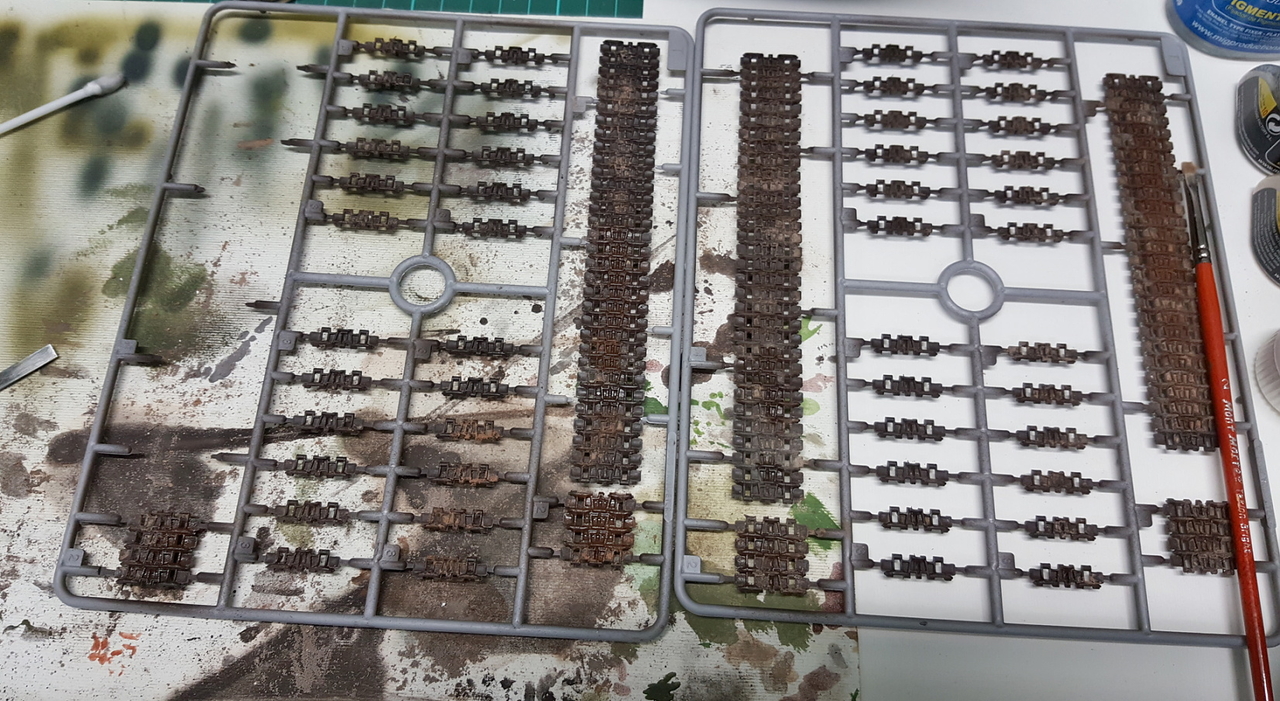
I am up to putting on the tracks and weathering them and the Trumpter kit gives you indiviual link.
They are OK but they have plenty of punch marks underneath that need to be sanded thoroughly before you get anywhere near painting.
20190501_110501.jpg

The winter cammo is Vallejo white acrylic with AK Heavy chipping effects sprayed on underneath (on top of the green).
The green base coat was done virtually the same as the KV1 post so you can see what I did there for that stage.
This is the first time I have tried the AK Heavy Chipping and would recommend caution on a smaller model as it comes off very easily. This suited me for the large KV2 panels but I dont think it would work well with say a MK3 panzer. I would go with the lighter chipping solution for a smaller subject with smaller panels.
20190502_202552.jpg

20190501_163232.jpg

20190502_202816.jpg

20190502_202542.jpg

20190501_162936.jpg

20190502_202640.jpg

I think that the heavy solution though would go very well on the larger 1/16 tanks as you can get a broader response more quickly.
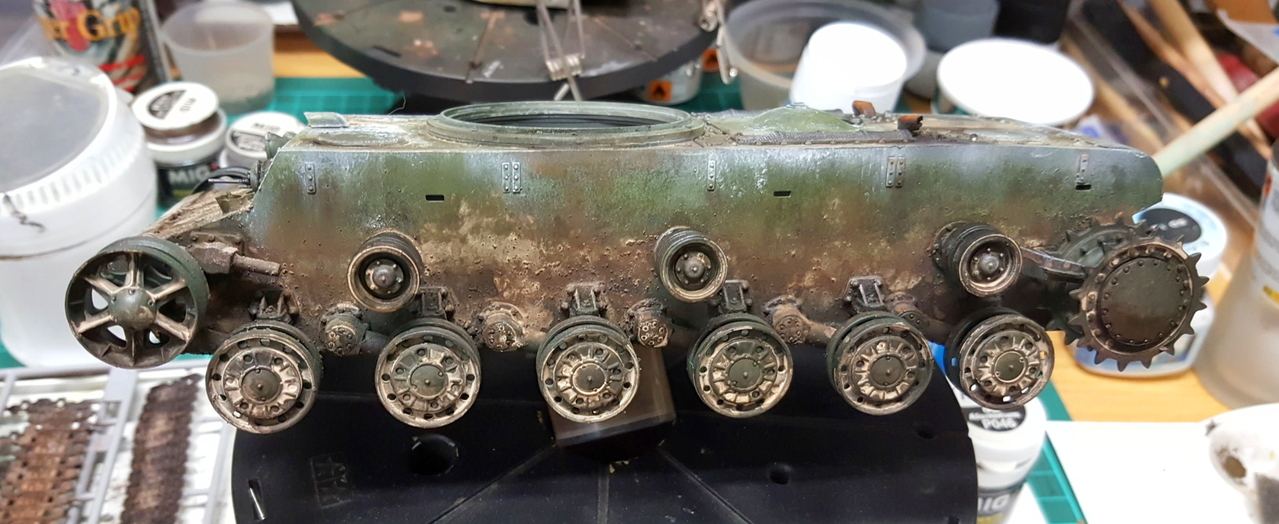
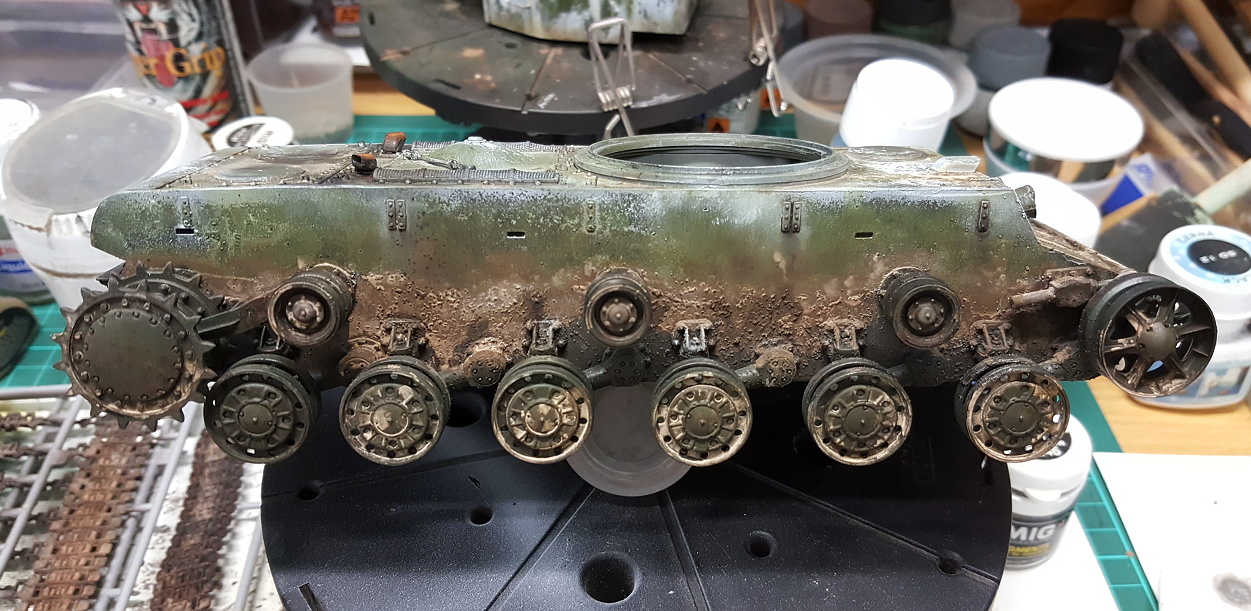
The white was then weathered further with light and dark brown pigments and finished with dry oil applications using a short , stiff but soft brush, allowing plenty of control.
I then workrked on the sides before putting on the guards so I could get to everything easily....still in progress on the various stages of wet and dry mud.
20190502_202705.jpg

20190502_202737.jpg

Thats all for the moment but I will be back to show the finished product..
 
:drool I said it before and i'll say it again ,your my favorite weatherer (is this an English word ?)
Ever since i saw your FW 190 and Dragon Wagon
Wished i had half your skills :notworthy
 
Back
Top