• Modelers Alliance has updated the forum software on our website. We have migrated all post, content and user accounts but we could not migrate the passwords.
    This requires that you manually reset your password.
    Please click here, http://modelersalliance.org/forums/login to go to logon page and use the "Forgot your Password" option.

"Shopping in Long Thanh" remake first vignette COMPLETED

JamesOLeary

Master at Arms
Back in 1999 when I was stationed in Alaska I built a diorama of Soldiers from the 9th Infantry Division shopping in the town of Long Thanh which was located near Camp Bearcat. I was fairly limited in regards to items I could use to detail the diorama by what was on the market at the time and also by what my modeling skills were at the time. The original diorama was relatively large and difficult to transport due to its size. When I moved back to the lower 48, the diorama suffered some damage but I salvaged the pieces. I gave some away to fellow modelers but I did keep a few items. I don't quite remember where they are, though. Anyway, I wanted to do a remake of that diorama idea now that my modeling skills have improved and due to new products on the market that can help enhance the scene. Being that I have learned a thing or two about transporting dioramas over the years, I decided to make this one smaller.

After figuring out a basic layout, I started building structures and selecting figures for conversion. When Paracel Miniatures came out with some Vietnamese children, I knew I would want some of them in this scene, too. They should be arriving on Monday. I have held off on further posing and conversions until I have all of the Vietnamese civilians so I can adjust all poses and positions so the figures interact realistically.

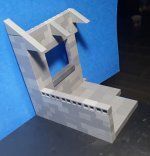
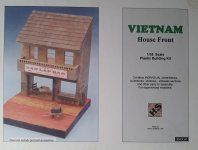
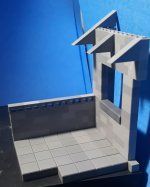
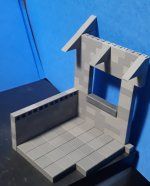
For structures, I am using a bus stop made by Reality in Scale as a vendor stall and parts from a Vietnam City House by Hansa Systems as a permanent home that was also used as a site to sell goods. The Hansa System is kind of like Legos as it consists of various sized and shaped blocks. Since I want this scene to fit in a certain space, I made the permanent structure as a partial facade.
20220723_211814.jpg20220723_211845.jpg20220723_211915.jpg
 
This is the kit from which I took the blocks from for this structure.
20220724_162756.jpg

Once the glue dried, I needed to texture the walls to replicate the stucco that was common on old colonial houses. I used Vallejo Industrial Mud texture material rather than wait for a purpose made stucco product for models. I spread a thin layer and once dry I sanded it down a bit.
20220724_162124.jpg

Then I took a piece of sheet styrene, painted some of it black for the interior of the house, glued it on the back, and waited for the glue to dry.

20220726_204536.jpg
 
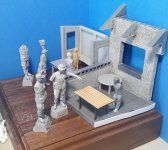
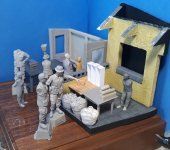
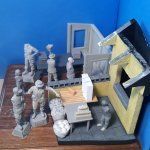
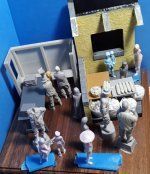
Yesterday I painted everything black, then used light grey primer last night. Today I painted the stucco walls a yellow color that was one of the few colors used to paint houses in Vietnam. I also painted the concrete, cinder blocks, and tile floor. I still need to weather it and add the roof. These photos show how it turned out and a rough layout of figures. Most of the figures will be changed out, but this gave me an idea of spacing, etc.

20220730_155758.jpg20220730_155824.jpg20220730_155850.jpg20220730_155913.jpg20220730_160141.jpg
 
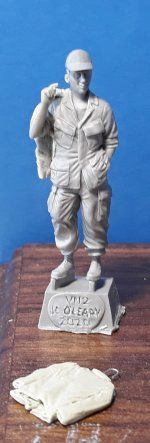
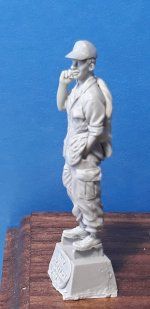
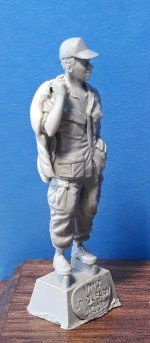
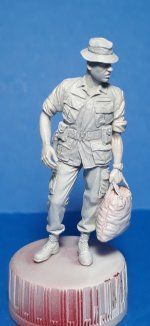
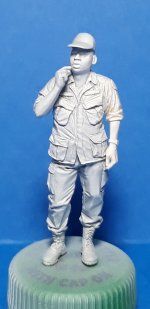
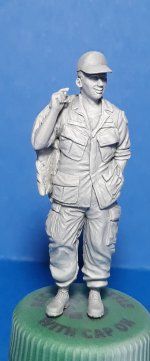
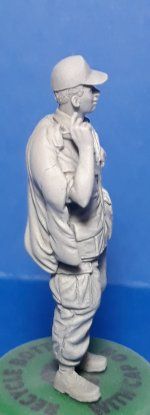
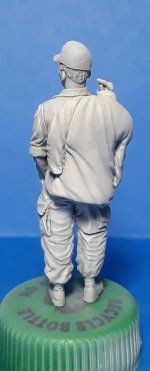
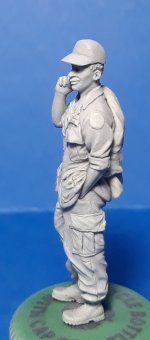
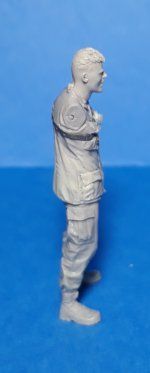
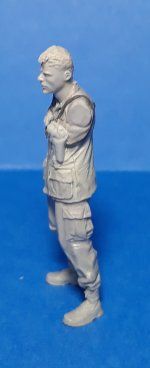
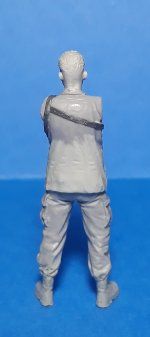
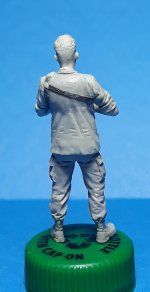
While I am waiting for my package containing kits of Vietnamese civilians, I worked on one of the GIs. The base figure is a casting of the figure I sculpted of a guy holding a beer (the one standing in the doorway of the bunker in my "Not Happy About Getting a Haircut" diorama) with a right arm from Hobby Fan. In the hand I glued some pieces of thin wire to replicate a coat hanger. I then mixed up some Magic Sculpt putty, flattened it, cut a rough shape of a tour jacket, placed that on the right shoulder and back of the figure then finished it out by sculpting in folds, etc. I also placed a cap on the guy's head. Later I will add name and US ARMY tapes and patches to his uniform. It may be hard to visualize now, but the tour jacket will be painted black, the wording across the top will be replicated, the map will be painted, and then dry transfers will be used to write Vietnam 1967 across the bottom of the jacket.

20220802_121823.jpg20220802_121841.jpg20220802_121859.jpg20220802_121915.jpg20220802_121929.jpg20220802_121929.jpg20220802_121945.jpg20220802_121743.jpg20220802_121758.jpg
 
Thanks, Guys.

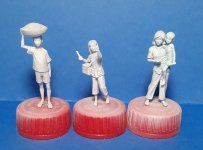
My package from Paracel Miniatures arrived yesterday containing kits of Vietnamese children and two women on a boat on a river. There was also a bonus of some accessories from the owner of Paracel Miniatures that will be helpful for stocking up the two shops.

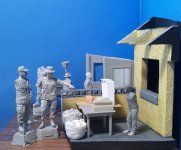
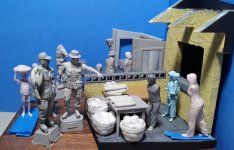
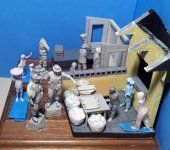
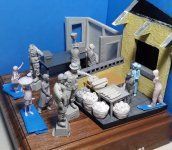
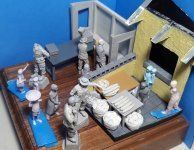
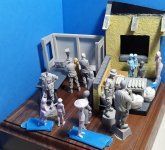
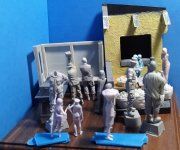
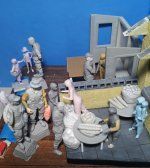
The figures are well animated and are appropriately sized and proportioned. This evening I was playing around with figure placement and interactions. I still need to do more playing around with positioning and posing, but these photos will give an idea of how this diorama may turn out. It is starting to get pretty crowded, but that is intentional because the markets were crowded.

20220804_214350.jpg20220804_214418.jpg20220804_214520.jpg20220804_214552.jpg20220804_214615.jpg20220804_214652.jpg20220804_214726.jpg
 
I like it! I wonder where the "hoards" of young ones are begging for chocolates! LOL! :bigrin:

Excellent posing so far. I do love that you've captured the bustle of a busy street marketplace.
 
Thanks, guys.

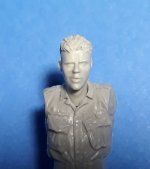
Since my last posting I have changed a few things. I am now including a figure of then 1LT Brice Barnes who I know for sure bought some baguettes from one of the bakeries in Long Thanh when he received a package from father that contained some dried venison sausage. Fortunately one of the new heads from Hornet looks quite a bit like him and one of the Bravo 6 figures is sculpted with a similar body build. I am also still playing with the positioning of some of the Vietnamese civilians.

20220814_212111.jpg20220814_212134.jpg
 
Last night I primed some of the figures of Vietnamese children and three of the American Soldiers. The Vietnamese children are now ready to paint. The good thing about priming is that you can see any deficiencies and flaws before painting so they can be fixed. I will be fixing those flaws tonight.

20220823_204544.jpg20220823_205813.jpg20220823_205846.jpg20220823_205906.jpg20220823_205925.jpg20220823_205954.jpg20220823_210016.jpg20220823_210101.jpg20220823_204114.jpg20220823_204524.jpg20220823_204459.jpg20220823_204436.jpg20220823_204416.jpg20220823_204355.jpg20220823_204332.jpg
 
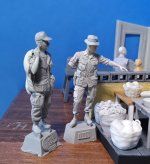
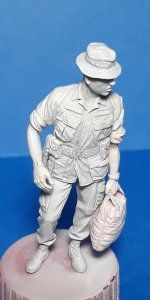
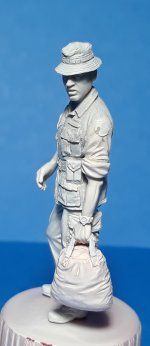
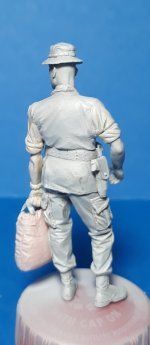
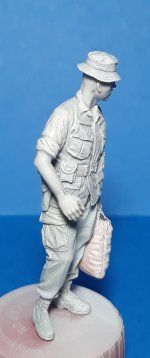
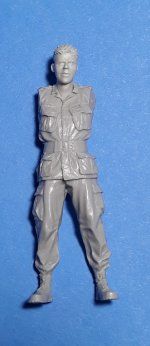
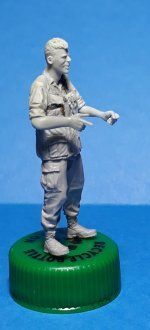
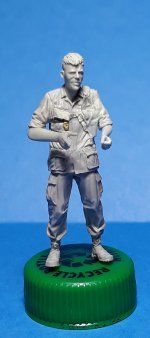
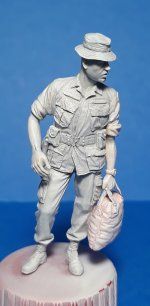
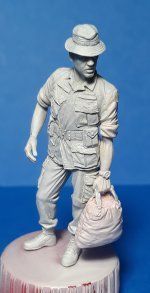
The work I have done so far on the 1LT Barnes figure is replacing the kit head with a Hornet head that looks quite a bit like him, scraped away the epaulets and web belt, used putty to fill in the belt area, added a shoulder holster along with lead wire straps, added a watch that he used to loop through a button hole, and touched up the pockets. I still have to add his arms and finish detailing the shoulder holster and straps.

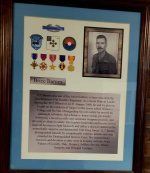
Here is a photo of 1LT Brice Barnes that is located at 2d BN 47th IN headquarters at Fort Benning, GA

img_2_1649097085908.jpg

Here is how the figure started off.

20220814_212155.jpg20220814_212230.jpg

Here is what it looks like now. Still got some work to do but he is coming along nicely.

20220823_203944.jpg
20220823_203921.jpg20220823_203851.jpg20220823_203831.jpg
 
This evening I completed to putty work on the 1LT Barnes figure. Once the putty cures I will clean up the putty debris and scrape and sand where needed before priming and further refining cleanup before painting. His right hand is pointing at the baguettes he wants to buy and the left will be holding either piasters or military payment certificates. I guess I need to find out which he may have used.

20220825_212343.jpg20220825_212324.jpg20220825_212246.jpg20220825_212229.jpg20220825_212210.jpg20220825_212149.jpg
 
Back
Top