• Modelers Alliance has updated the forum software on our website. We have migrated all post, content and user accounts but we could not migrate the passwords.
    This requires that you manually reset your password.
    Please click here, http://modelersalliance.org/forums/login to go to logon page and use the "Forgot your Password" option.

Seahawk - Crashed on approach.

Seahawk - and we're back.

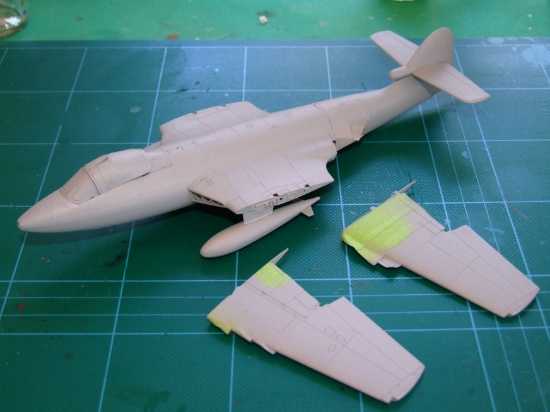
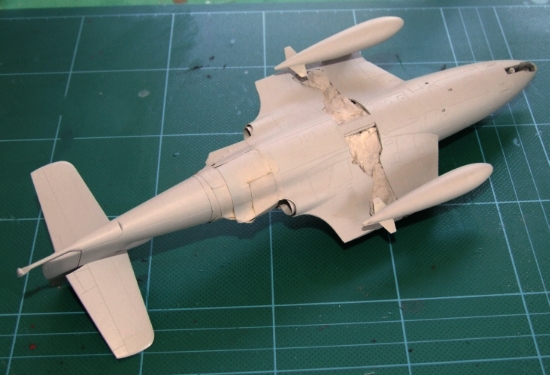
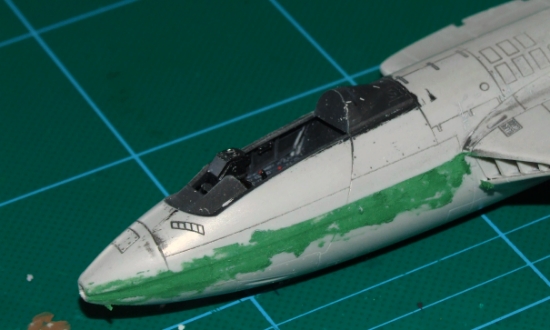
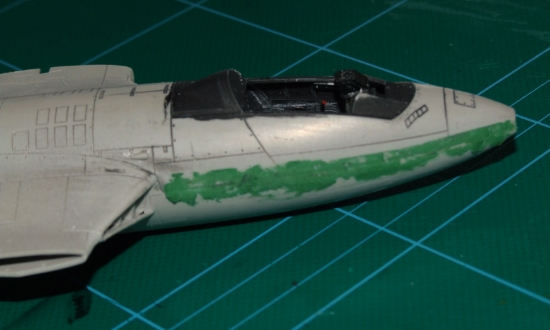
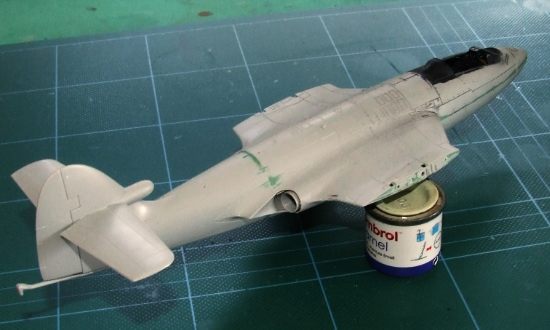
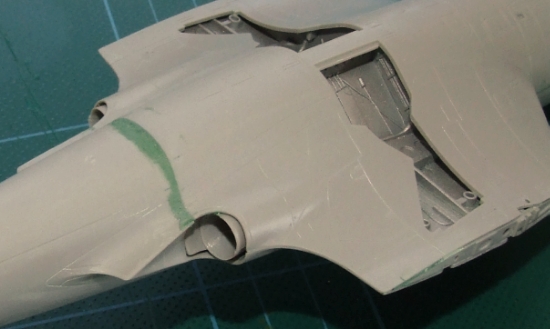
I'll do my best, Saul, but after all the 'surgery' to make it fit, there's a lot of re-painting and a nasty repair to sort before I can let you see it. Suffice to say, (in my opinion), this is easily one of Pavla's best seats (MB Mk.2H), and I've used quite a few.

Ian
 
Seahawk - and we're back.

Fairly slow progress on this one. Here's some highlights from the last couple of weeks:

Considerable nose-weight is needed to avoid the dreaded 'tail-sitter'. I made a couple of 'pasties' of small hex-nuts surrounded by 'Blu-Tack' and wedged them in to place, then stuffed the surrounds with lead shot and sealed it all with even more 'Blu-Tack'.


h64373f7.JPG


hf7f513c.JPG


The fuselage halves reminded me a lot of the truly awful mismatch some of encountered with the early releases Airfix 1:48 Buccaneer from a few years back. The curvature of the upper and lower halves simply don't match (or at least they don't on my kit). so a lot of hacking away at the front firewall and removing of the location pegs ensued - none of which can be seen. Eventually by gluing a couple of centimetres at-a-time and a LOT of clamping, I got them (sort of) together, Some filler was required at this point !!

h8bf09f8.JPG


hfbd66e0.JPG


Next the rear fuselage was joined. No filler whatsoever needed on this sub-assembly, a perfect fit.... Until, that is, you offer it up to the forward fuselage and discover they are completely different circumferences :eek:hmy: ....

:bang head For f*ck's sake, how much more difficult is it to measure and translate the thing correctly. C'mon Trumpeter, get your heads in the game !!


h74008c9.JPG


ha8bf642.jpg


h66d5e3a.jpg


OK, rant over, more next week.

Ian
 
Seahawk - and we're back.

Looking forward to it Ian, really can't tell you had so much trouble, other than all the green putty..:popcorn
 
Seahawk - and we're back.

Looking forward to this . :good: 
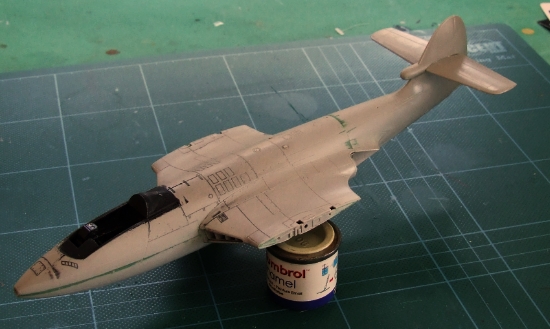
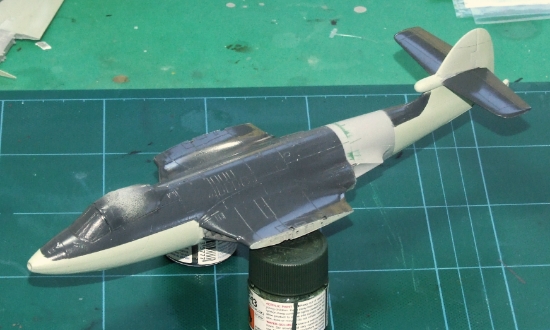
This has always been one of my favorite early jets .

Cheers, Christian B)
 
AW Seahawk

Yep this one is still 'ticking-over' in the background behind the Hurri and the Corsair. I'll post more pics during the weekend, but for now, would anyone like to guess what the next round of filling'n sanding had to deal with ??

hed6c18c.jpg


...yep, bl**dy great divits on all the main gear doors... Great :pinch:

More soon.

Ian
 
AW Seahawk

Just like the '68 Dart, the Seahawk has been assaulted with Tamiya grey primer too.

hbb96af3.JPG


hb973f47.JPG


Ian
 
When I started this project it was in a frame of mind that I should build this rather than I want to. so just now, I'm not too upset :whistle:

Since last update, the Seahawk has been, painted and decalled.


hd901de2.JPG


h6862050.JPG


Unfortunately when I came to apply the oil wash last night, even after the decals had been sealed with two coats of Kleer/Future the paint began to 'bubble' and lift almost immediately, followed by the decals... in short it turned to poo right before my eyes. I didn't hesitate, I binned it without regret - I hadn't 'bonded' with this project at all, don't know why, just one of those things.

h429e78f.JPG


:hmmm , now what can I replace it with...

Ian
 
I for one would trade a replacement for an explanation as to what happened to the paint job :hmmm

Might help to keep me from experiencing a similar disaster :sick:

Cheers,Christian B)
 
...and that's the point, Chris, I honestly have no idea. There isn't one good reason why this happened. I used my Xtracolour enamels as I do for 70% of my models, the same bottle of Kleer/Future that I've been using for two years... it simply doesn't make any sense.

Ian
 
What did you think the oils with? Had to be something to penetrate the Acrylic and enamel finishes. (at risk of stating the obvious)
 
Well, for my $.25 worth of explanation, I use mostly acrylic most of the time and never think twice about using enamel or oils on top or underneath one another.

Even the The Tamiya primer is different , being lacquer . Never had any problems .

The only unknown here is your version of the clear. I have no idea if the chemistry is any different but I wouldn't think so.

The only thing I might do that might be different is I always shoot a coat of Future between different paint . Biggest reason for that is that it gives a buffer if your last coat of paint gets a bit wild .

Anyhow, I always like to hear what happened to avoid any possible problems.

Mike has told me before that if the paint is not fully cured it could cause problems . ( IE if you can still smel it )

Anyhow, hope my luck with that holds up. I seem to have enough problems with decals alone.

Pity about the Seahawk > I was looking forward to it's completion.

Cheers, Christian B)
 
Back
Top