• Modelers Alliance has updated the forum software on our website. We have migrated all post, content and user accounts but we could not migrate the passwords.
    This requires that you manually reset your password.
    Please click here, http://modelersalliance.org/forums/login to go to logon page and use the "Forgot your Password" option.

Ruben's DML Jagdtiger

Ruben Lopez

Active member
Hi fellow modelers. It is time to start the build!

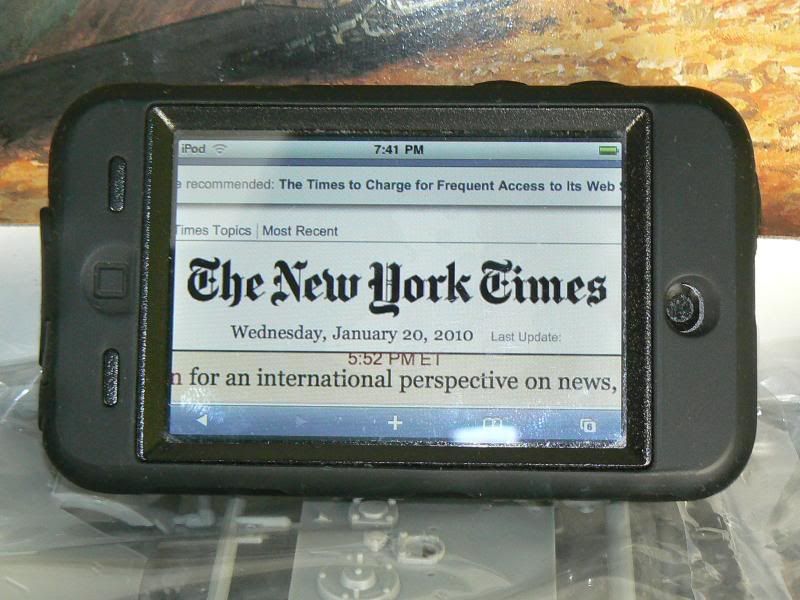
And to start, the requisite date-stamped photo.
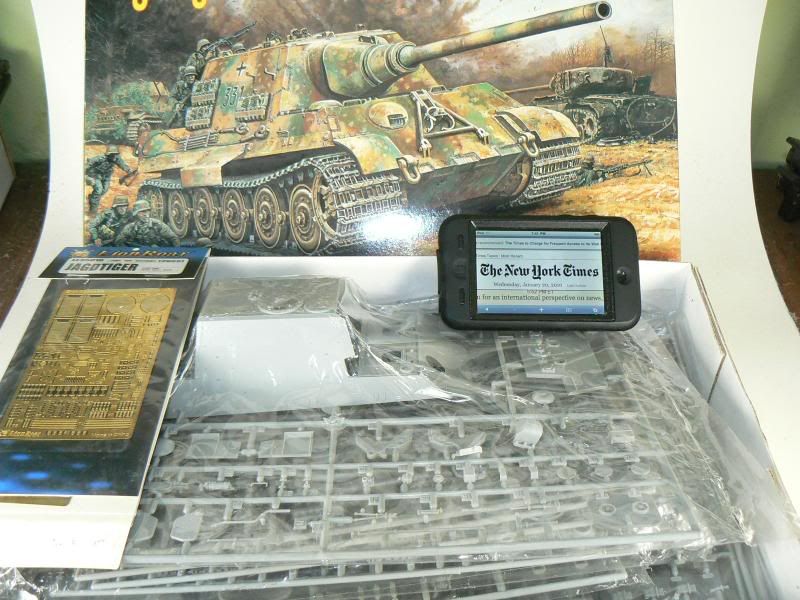
P1020332.jpg


A close up of the date.
P1020333.jpg


As always the first step is the most tedious so it's the one that should be done quickly. Here are all the wheels, sprockets and idlers cleaned and ready. Also the suspension arms and final drives have been glued in place.
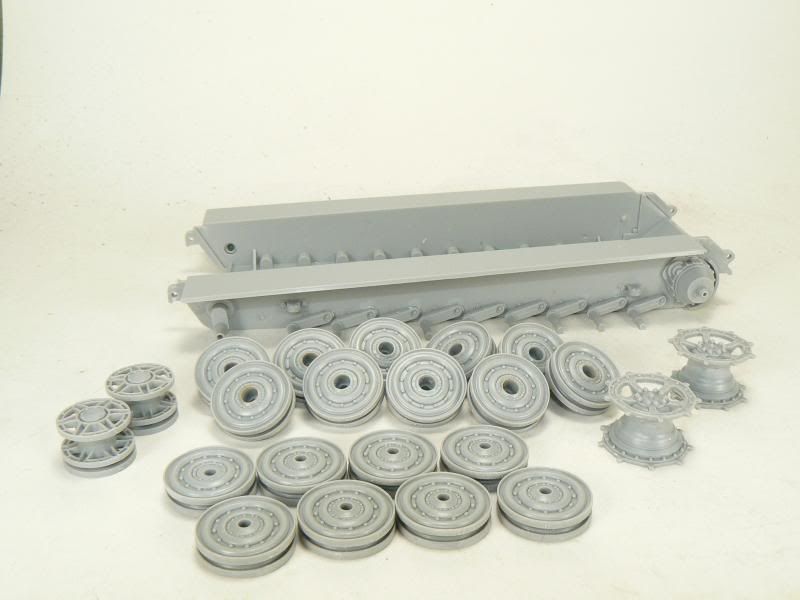
P1020335.jpg


Now I'm going to work in the rear of the hull but that involves some plastic removal and bending and soldering PE so I'll see you later with more.

See you,
Ruben
 
Thanks Raiderfan, it is the old Dragon Jagdtiger with Henchel suspension. I think it is the first one that Dragon released but I don't remember the catalog number right now.

Ruben
 
Hey Ruben! Welcome to the party! I'll be following your build, have one in the closet wanting to get out! :laugh:
 
Well friends, here is a small update.

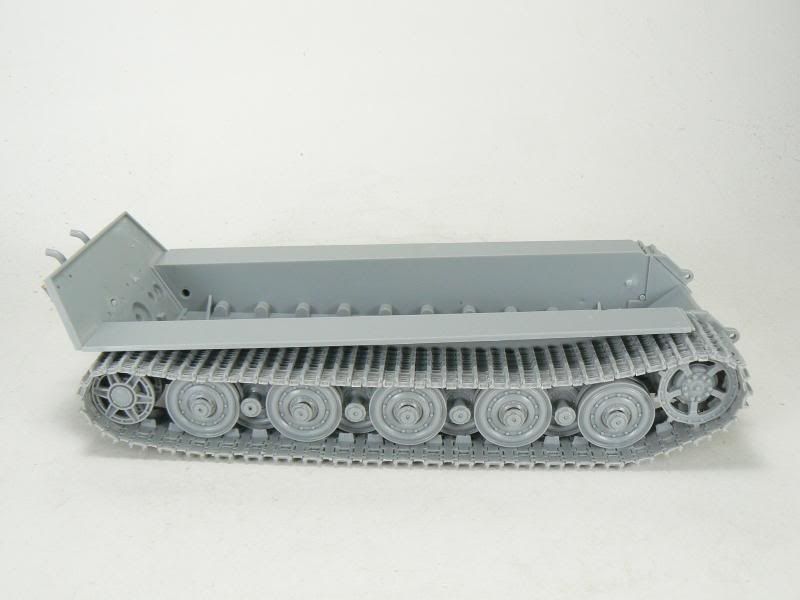
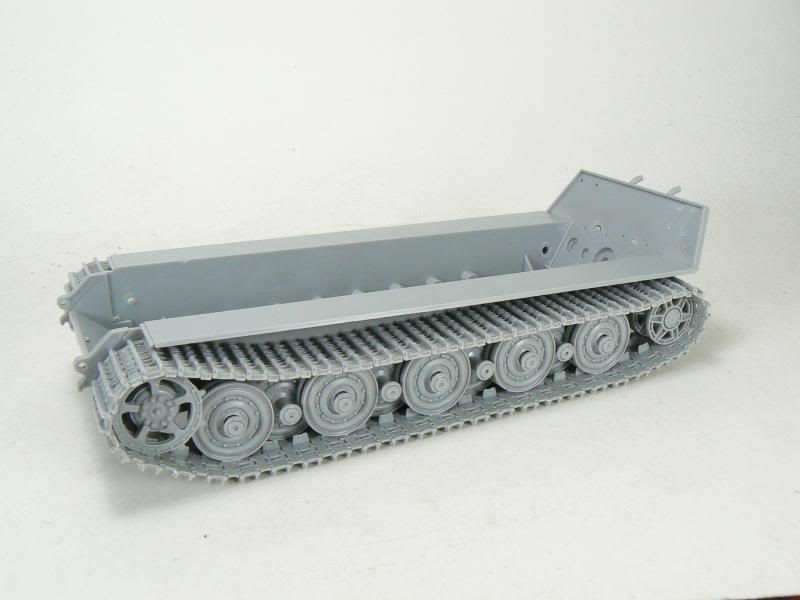
I glued the road wheels, sprockets, idlers and tracks and let the tracks set for a while. Then I glued the tracks to the wheels to give them their final form.

P1020341.jpg


P1020342.jpg


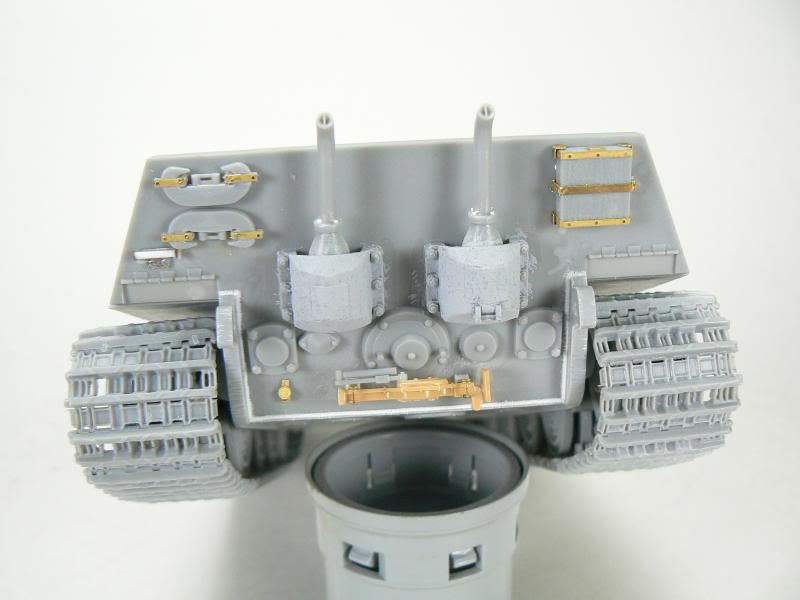
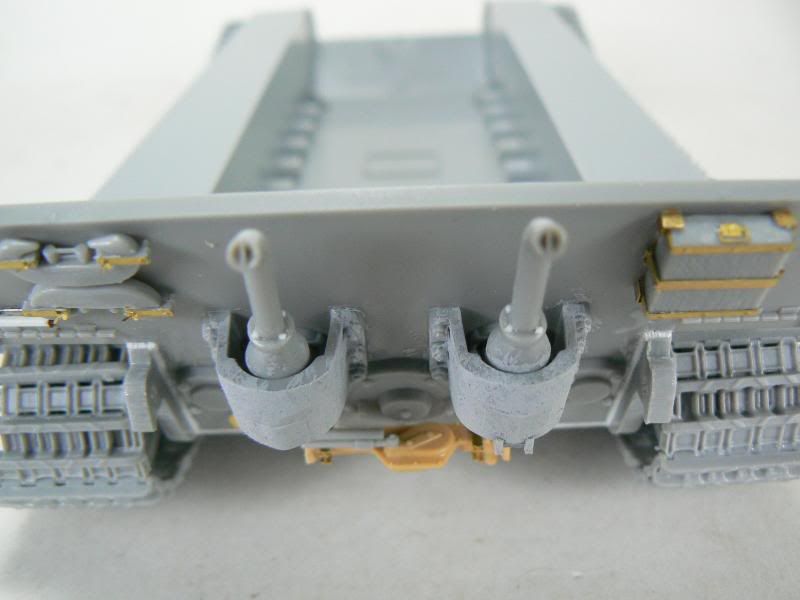
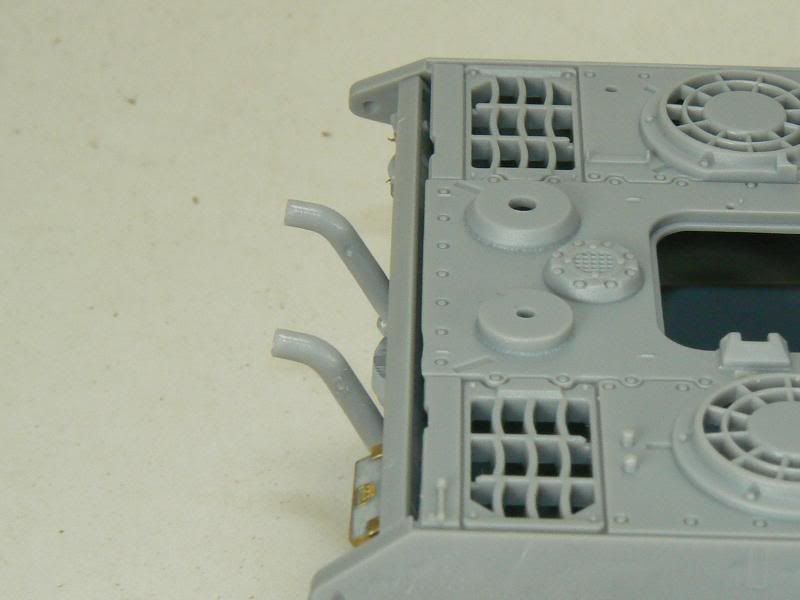
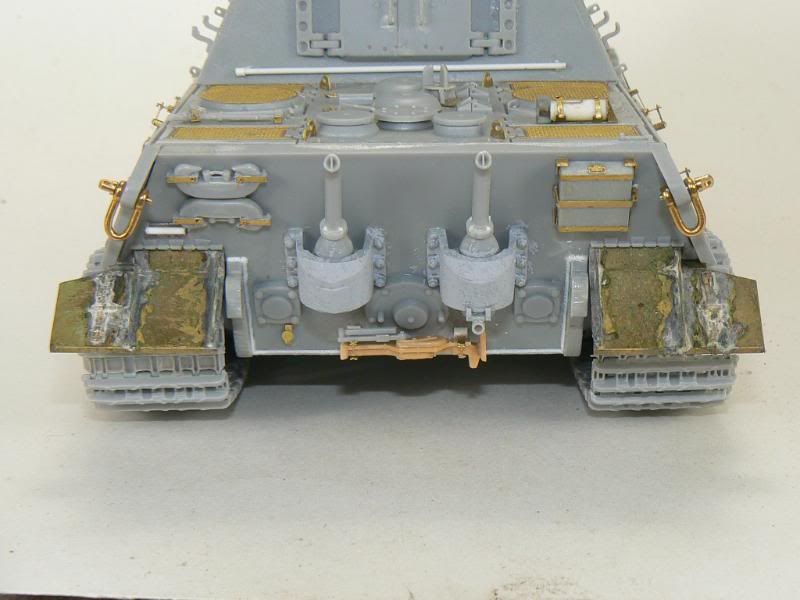
The back received some extra treatment. I did the welds and decorated the jack block and the "C" hooks with some PE. The jack itself was a mess so I used one from Tamiya. I also roughed up the edges of the plates and applied some Mr. Surfacer to the muffler covers to give them some texture.

P1020344.jpg


Another thing was to add the bolts that hold the top part of the mufflers in place since Dragon forgot to put them there.

P1020347.jpg


Next, the top of the hull.
See you soon
Ruben
 
Hi Ruben.

Now that the wheels are done, the real fun stuff can start. And the rear hull looks real good so far. I was wondering though if the tracks and wheels are already permanently glued on the hull.

Gary B)
 
Thanks Moon Puppy and Gary.

Gary, the tracks and road wheels and everything else is permanently glued. The fit of the parts is so loose that I had to glue everything or take the risk of ending up with misaligned tracks.

Ruben
 
Hi Ruben,

The lower half of Jagd is coming along nicely.

I was going to use this kit but was swayed away with the new Tamiya variant.

I'm looking on with interest ,keep it coming

Thanks
Michael
 
Hello my friends, long time no see!

Thanks for your replies, they are most welcome.
Dave, no, I still don't have a paint scheme for it.
Now lets continue....

Following the exterior of the hull I decided to do the interior.
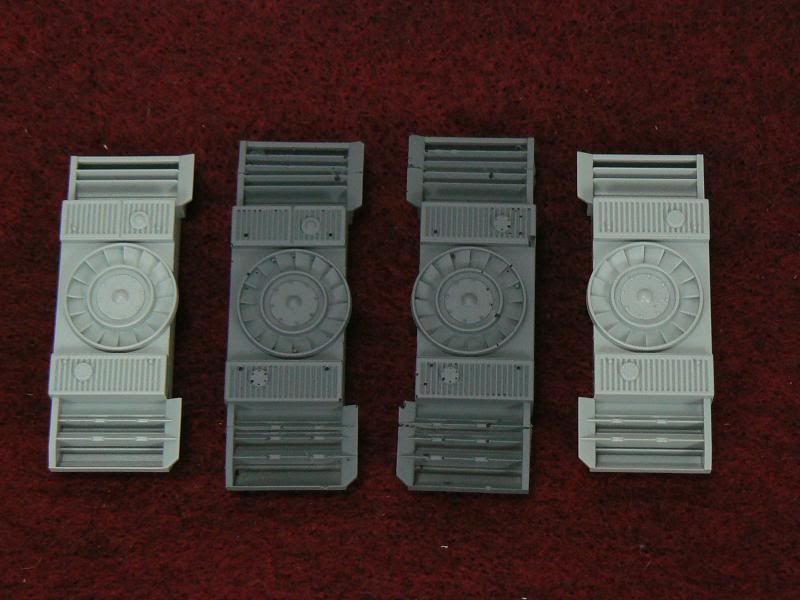
One thing I noticed is that there's nothing beneath the grilles in the engine deck so I decided to put something there.

I used the radiators from the Jagdpanther and made some copies in resin. Then using two of them I made a longer piece that fitted under the grilles and cover the area perfectly. Here they are:
P1020427.jpg

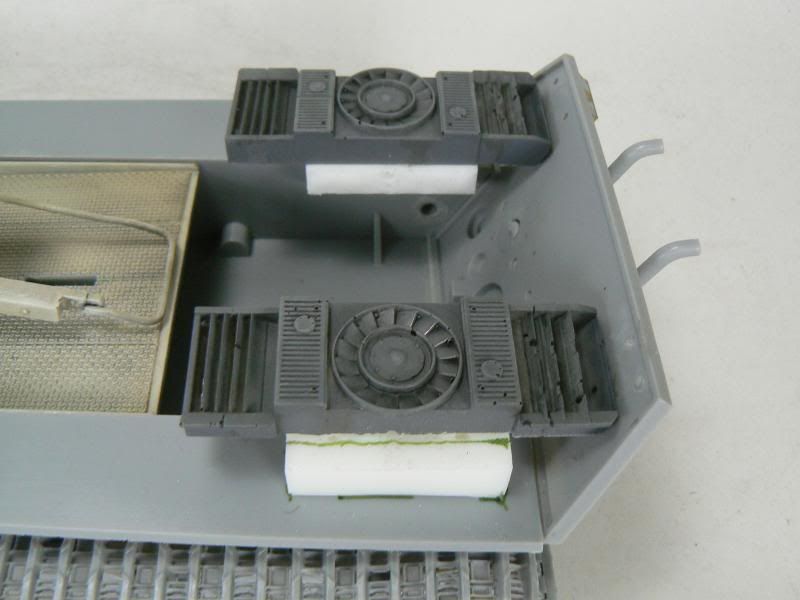
The ones in the outside are the originals and the others are the elongated ones. Not perfect but they won't be visible and serve the purpose of covering the holes.

Here you can see them in position.
P1020437.jpg


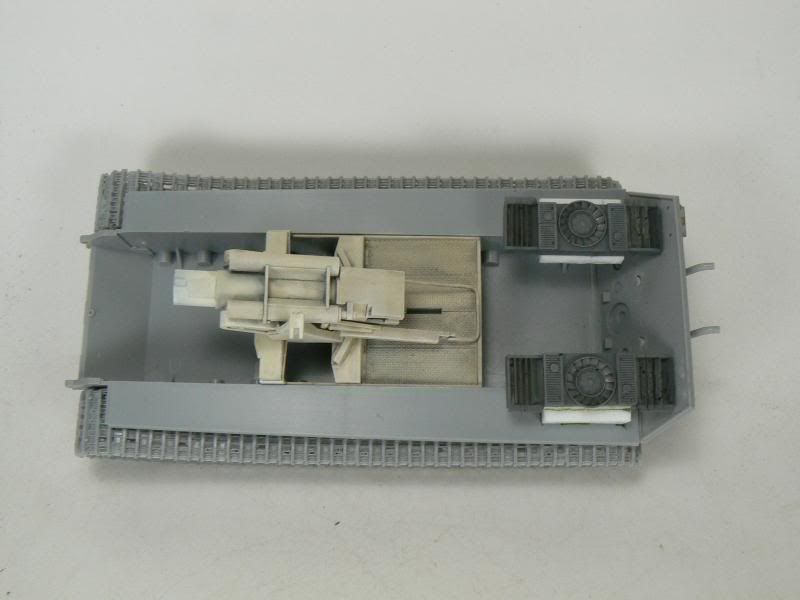
Here's another view with the interior in place. Since it won't e seen much I simply painted with an off white color and gave it a brown wash and a little dry brush.
P1020436.jpg


After the lower hull was done it was tie to start the upper hull so, avoiding the instructions sequence, I glued the front of the fighting compartment. The joint is almost satisfactory so I added some plastic rod to fill the gaps.
P1020373.jpg


I also added the roof at this time and that really needed some filing and sanding and some coercion to make it fit as it should. Luckily, it didn't need putty.
P1020375.jpg


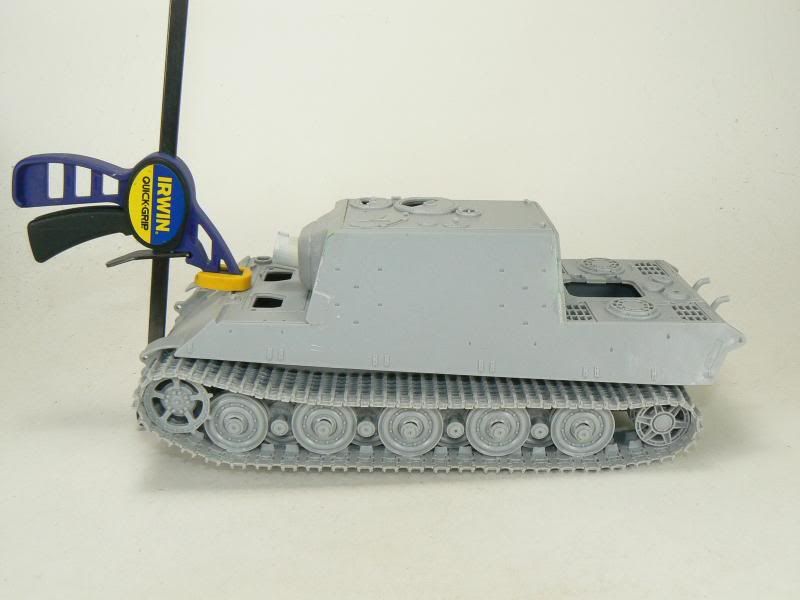
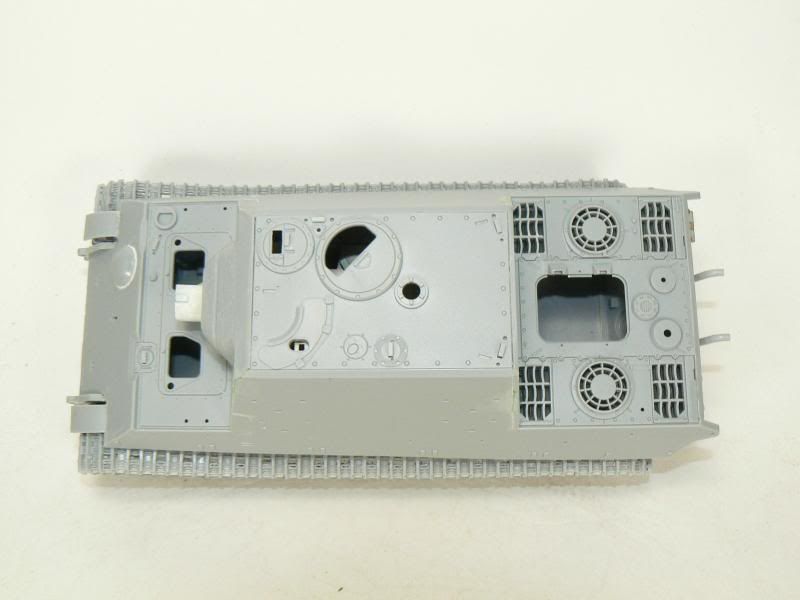
Then it was time to mate the upper and the lower hulls together and I found mself with this little gap in the rear deck.
P1020379.jpg


So, to correct the situation I glued the rear of the hull first and then aligned and glued the front part. This needed some help to maintain the position of course!
P1020439.jpg


And here's the result.
P1020440.jpg


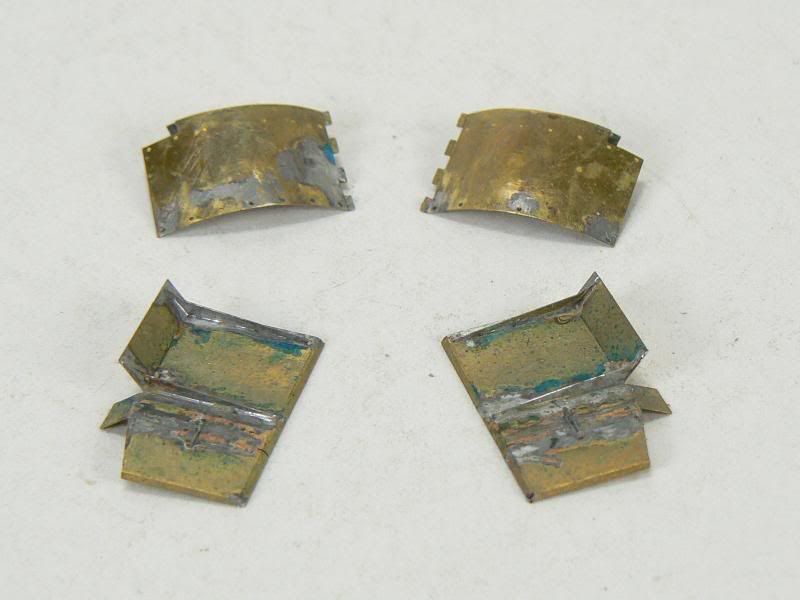
While the hulls were in traction I started to work on the fenders.
P1020405.jpg


After that I glued the hull machine gun mount to the hull and made the weld seam with plastic rod. I also cut the original fenders but not completely. I left a portion of them so the PE has a good place to stick to.
P1020441.jpg


And that is all for now, see you soon and as always; comments are most welcome.
Ruben
 
I am really interested in this build, Ruben, you always make it look so easy! Glad to have you back to work!!
 
Thanks guys, glad you are enjoying the trip!

And continuing with the subject…I decided to concentrate in the engine deck .

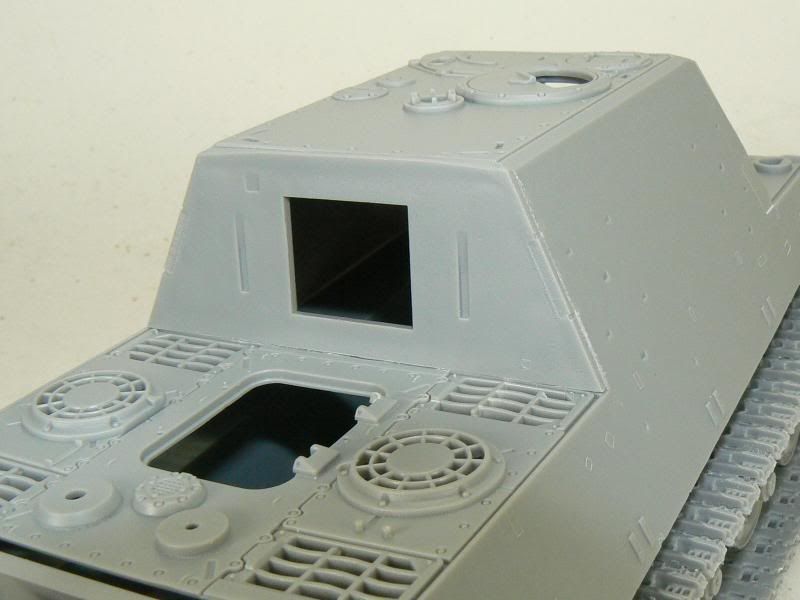
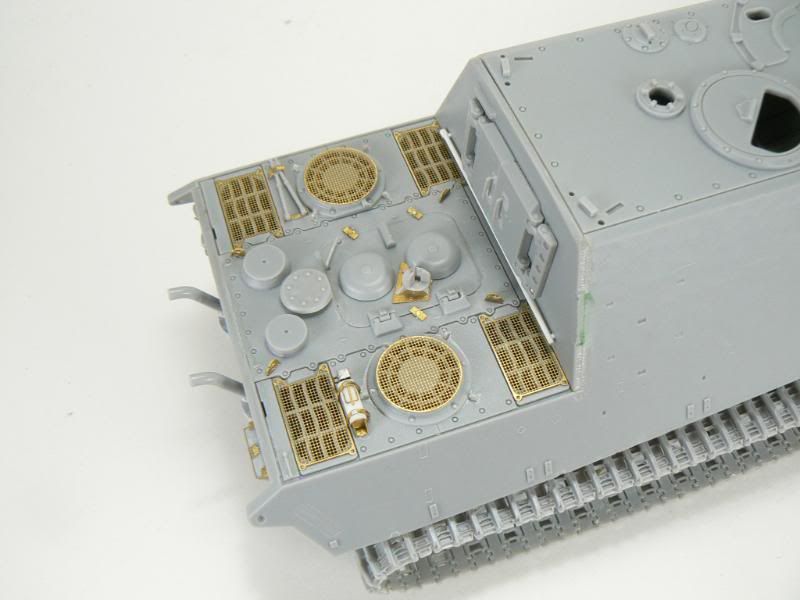
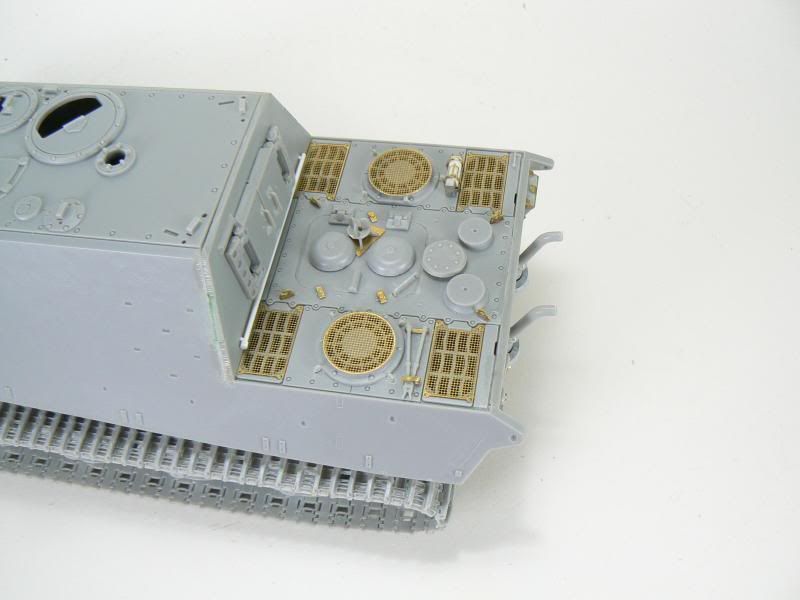
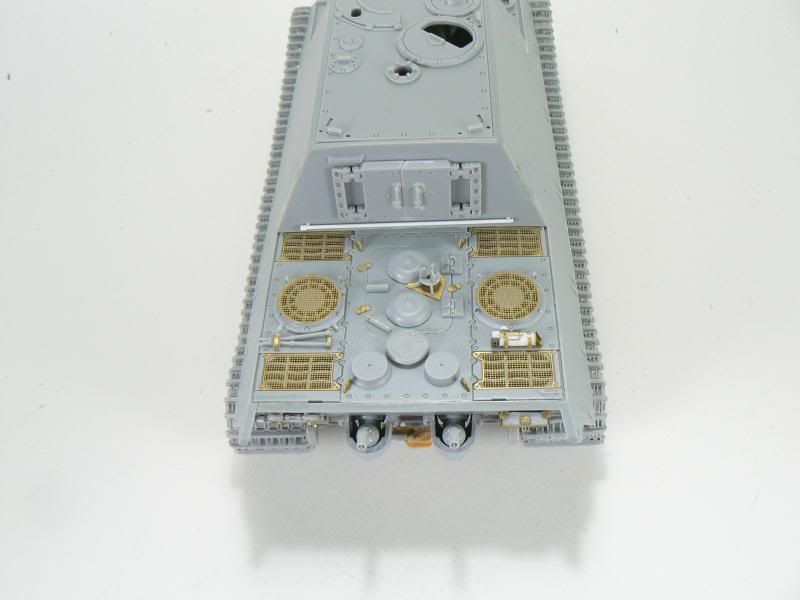
I glued the engine hatch, the armored covers, the wire cutters and lots of PE parts like the clamps for the tools, the base plate for the antiaircraft MG, the fasteners for the engine hatch, the hooks for the engine cover and the grills for the radiators. I also made a new fire extinguisher as it was easier that cleaning the original one.
P1020511.jpg


From the left side.
P1020513.jpg


I also glued in place the rear door for the fighting compartment and made what I think is the tube for storing the antenna from a piece of styrene rod as the original one was warped.
P1020512.jpg


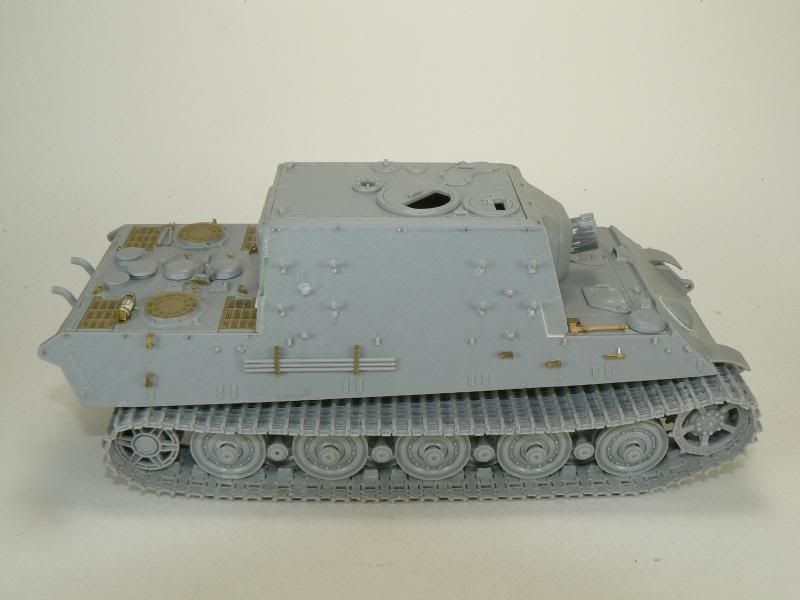
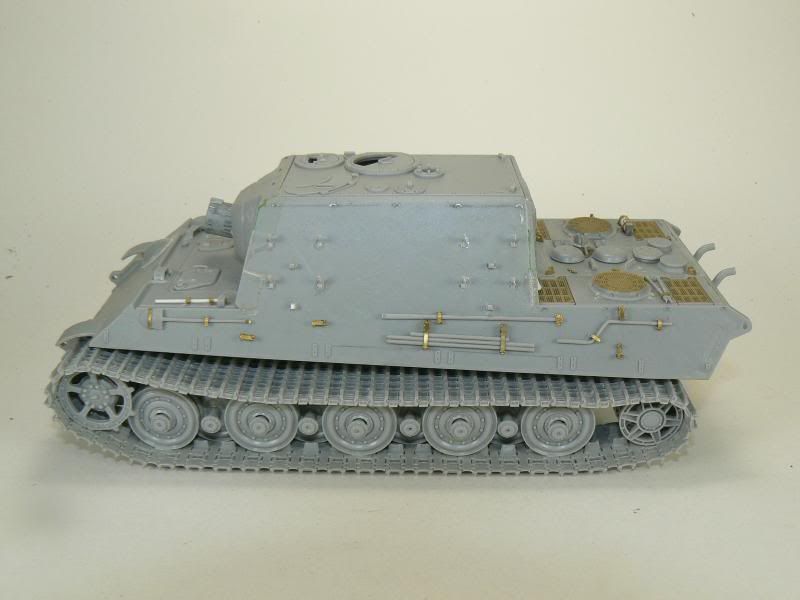
Next it was the time for the sides of the Jagd. Here’s the right one; not much to substitute on it.
P1020574.jpg


Here’s the left side; lots of things to replace here which equals to many hours spent! Let me tell you, the tool clamps from Lion Roar aren’t the best around. They are a real pain in the b*tt to assemble. Anyway, here it is.
P1020575.jpg


Next, the front and the roof of the Jagd.

See you
Ruben
 
raiderfan2779 wrote:
Welcome to the build Ruben,looks good so far,what kit is that ?

It may be #9036?: http://www.rollmodels.net/nreviews/armor/jagdtiger/jadgpanzer.htm


Nice job Rubén!! I'm always interested in panzerjägers :cheer:

Waiting for updates

Darío
 
Hi guys!
I’m back with more but first let me say thanks to all of you who took the time to watch and comment.

Dario, you are right about the number.
Terry, Stay tuned there is more brass on the way.
Raiderfan, you are right, those clamps are a real pain in the b…!
Miochael, thank you very much.

Now lets go back to the build.
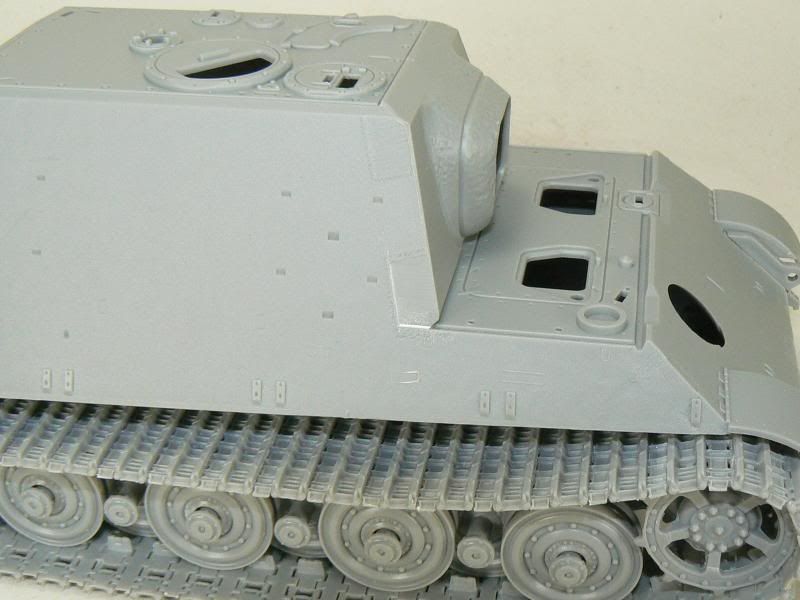
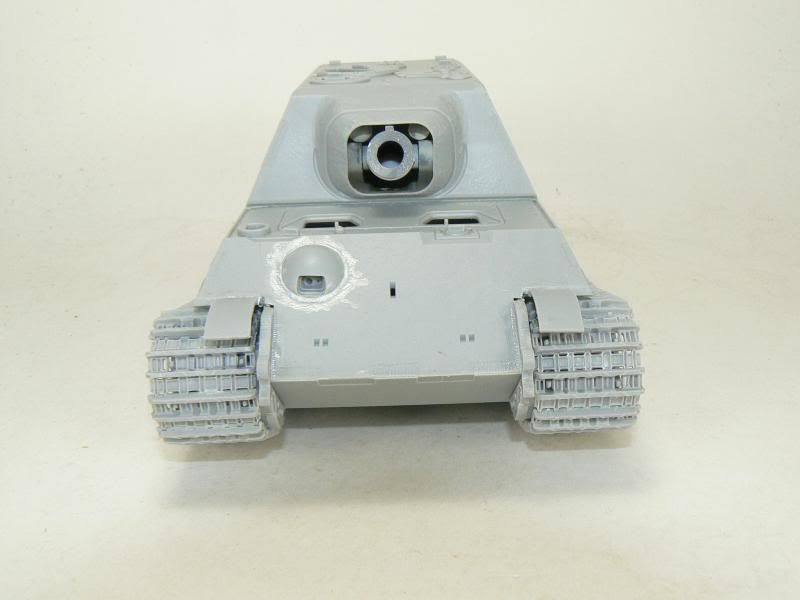
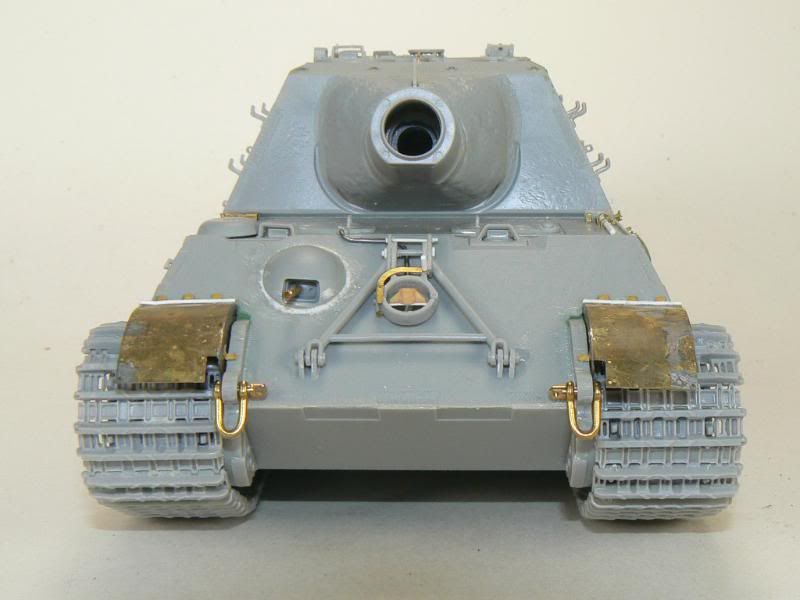
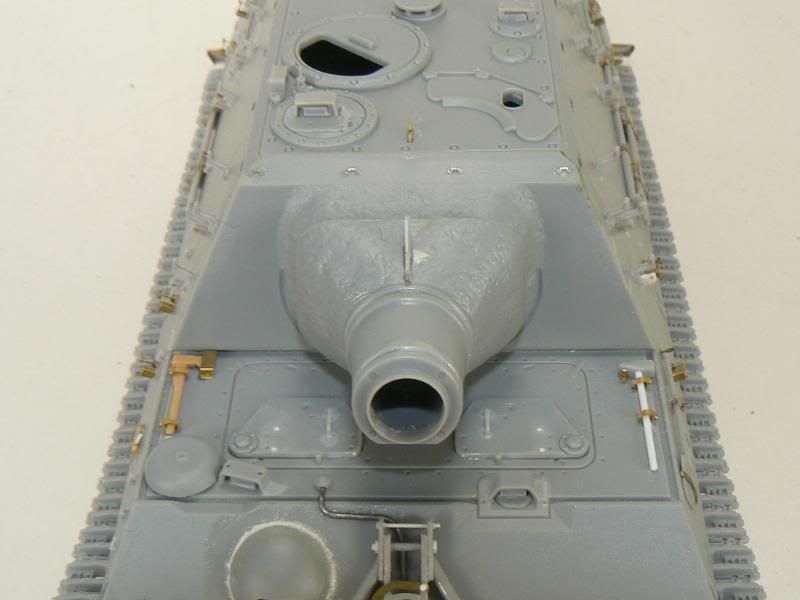
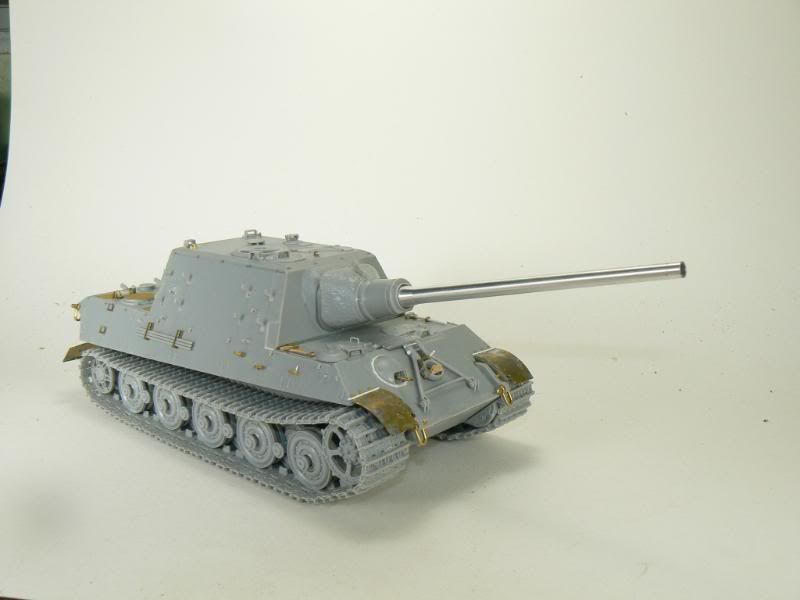
Here is the front of the Jagd. The front fenders were glued in place and a simulation of the hinges was done with pieces of plastic half round. To the left you can see the axe and to the right the sledgehammer. I replaced the handle with a piece of rod for a better appearance. The four white points that you can see in the hatches are pieces of rod; the hatches have the indentations for the second handle used in the very late models but since this is not one of these… J

I also reworked the travel lock because Dragon did it wrong. I cut, rearranged and substituted parts to give it the correct appearance. The machinegun barrel is from Adler’s Nest and the tow Shackles are from RB Models.
P1020604.jpg


Here is a better view of the hatches.
P1020605.jpg


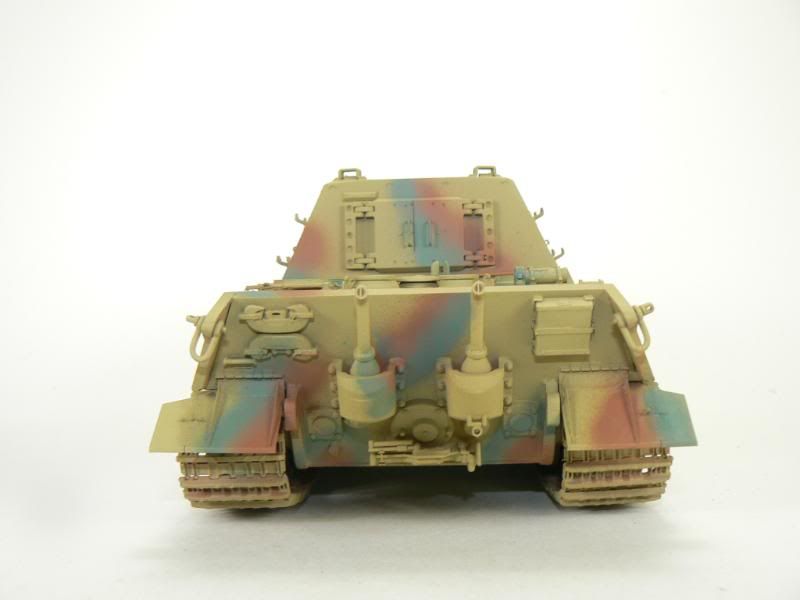
The rear fenders in place.
P1020608.jpg


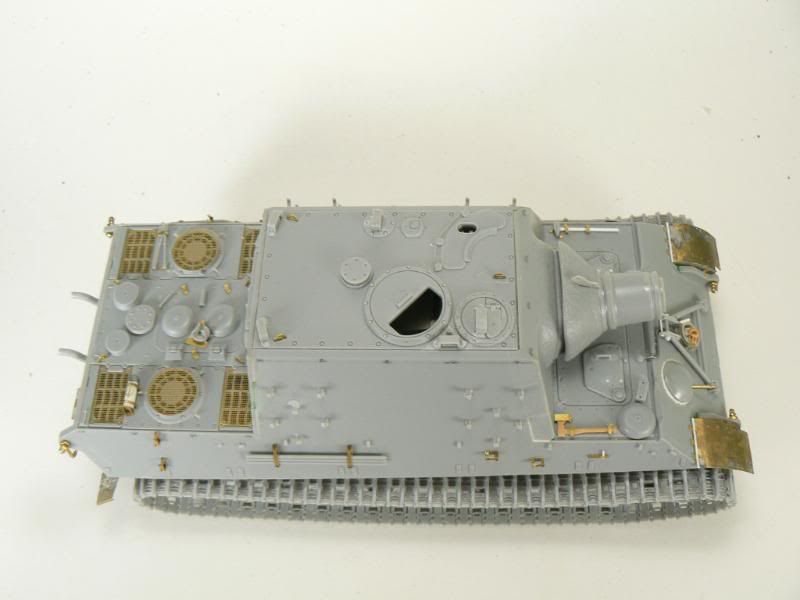
A top view.
P1020610.jpg


Here’s an overall view of it with the barrel in place. The barrel is from RB Models and its very well done. It also has the riffling inside!
P1020611.jpg


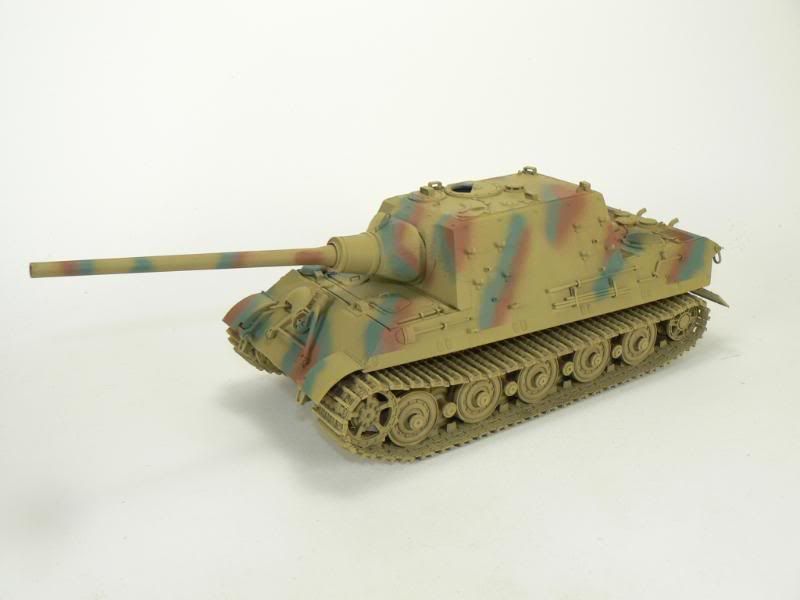
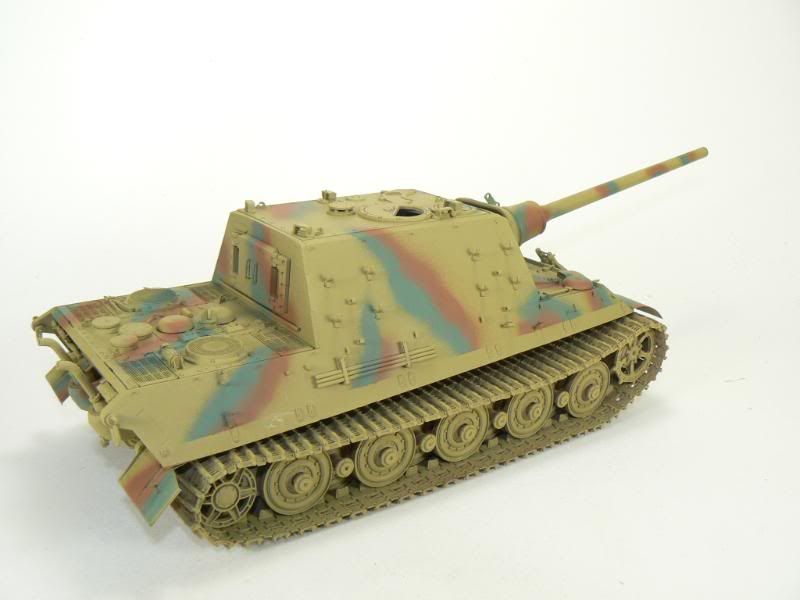
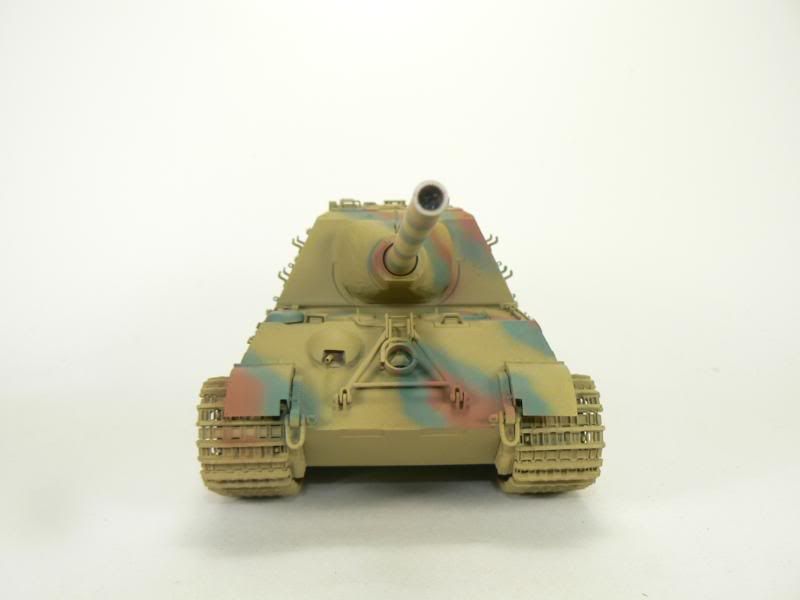
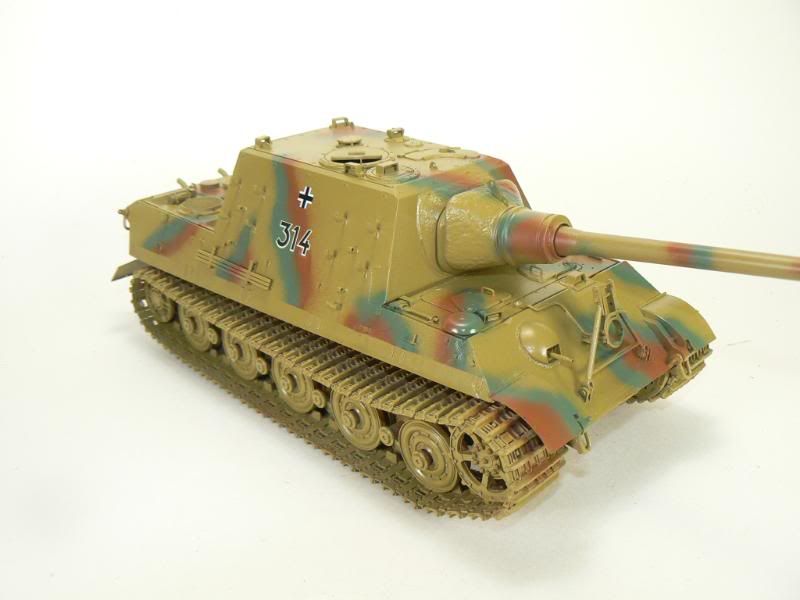
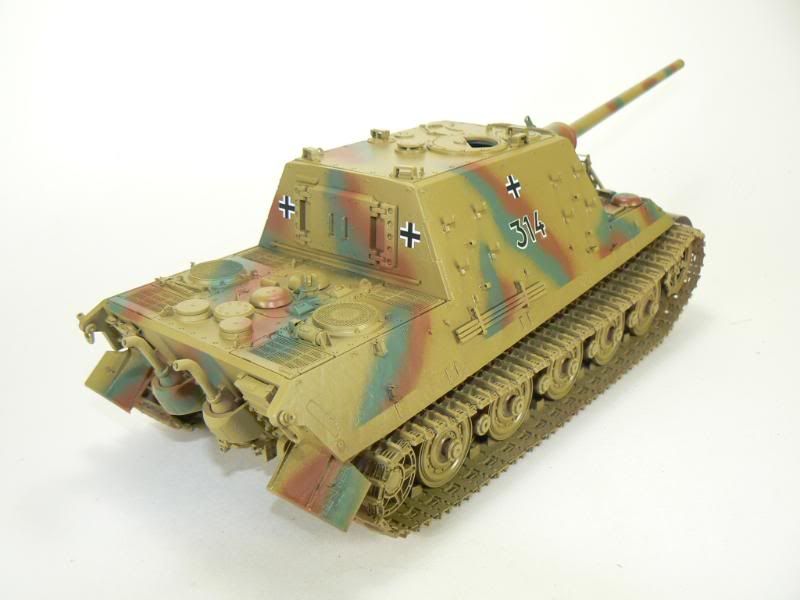
Then, after some primer, the paint was applied. First the yellow and then the green and red-brown for the cammo. I used a piece of tamiya tape to mask the area of the fenders so it will look as if the fenders were lost after the cammo was applied.
P1020612.jpg


Here are additional views.
P1020613.jpg


P1020614.jpg


P1020615.jpg


Then it was time for the markings, so I gave a area a little coat of gloss varnish and placed the numbers from the decal set that came with the Jagd, the crosses are dry transfers from Archer.
After the markings were in place I gave it a coat of varnish to seal it for the next step, he oils.
P1020618.jpg


P1020619.jpg


That’s all for now. See you soon.
Ruben
 
NICE! first image that popped up was the head on shot down the barrel, scared me for a moment...

Is this another one of those builds where you paint the tracks on the tank?
 
Back
Top