
ij001
Well-known member
Many years ago, I saw a Koku-fan photo feature on the 1981 'Photo Finish' competition, which featured some very colourful RF-4C's just after they were painted in the wraparound SEA camo scheme. At the beginning of last year I was lucky enough to win a copy of that magazine (March 1982) and a Hasegawa RF-4B, which has all the parts you need to make an RF-4C except the stabilizers which I had anyway... and before anybody says I was lucky... I wasn't, I've been planning this for years !!
With the kit safely stowed, I bit-the-bullet and ordered:
Aires replacement jet exhausts.
Eduard etch 'Zoom' set.
Eduard masks.
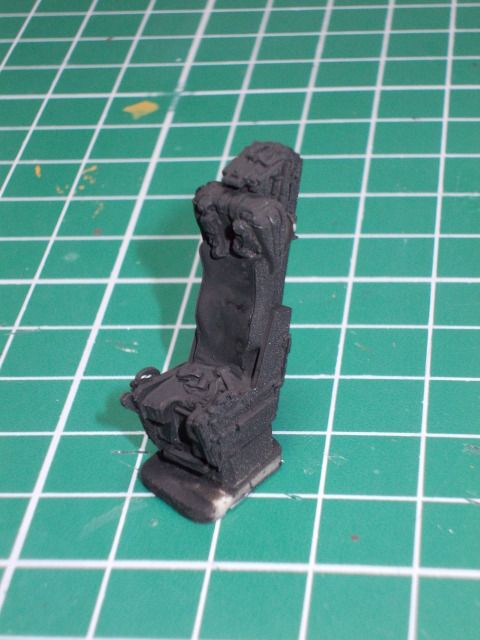
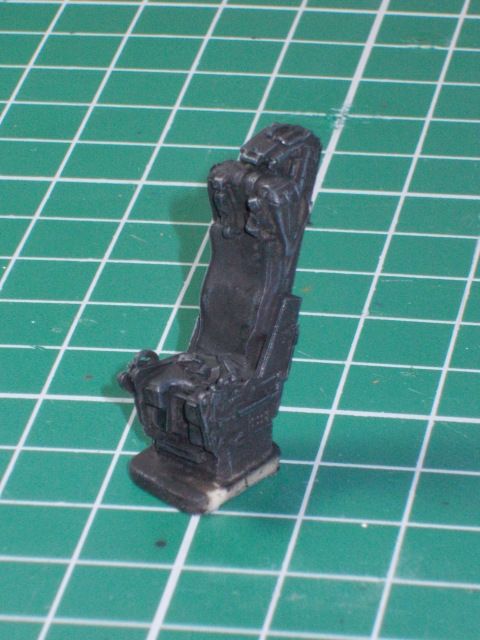
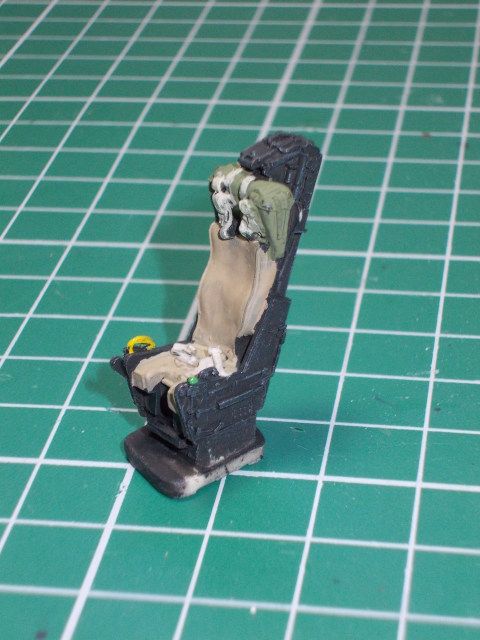
True Details resin seats.
Quickboost intake covers.
Detail & Scale RF-4 special (cheap from Amazon).
Everything in place, all I had to do was decide which machine from one of the three Microscale sheets with a total of seven aircraft I was going to build !! – I still haven’t made-up my mind.
So without anymore words here’s some pics:
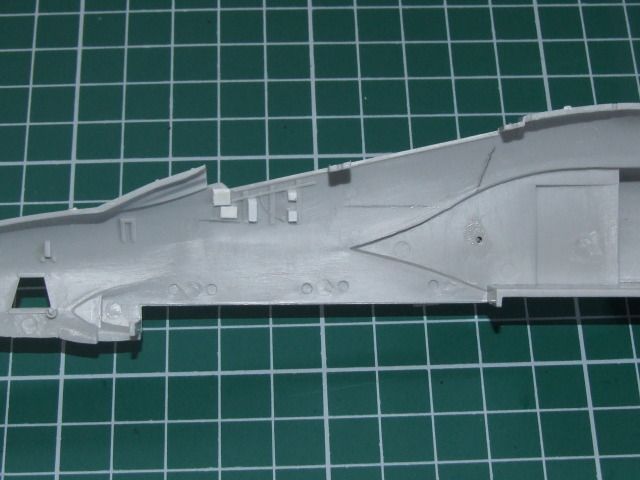
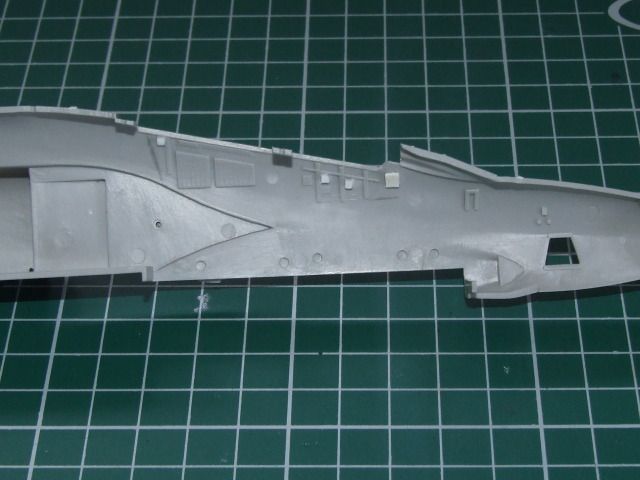
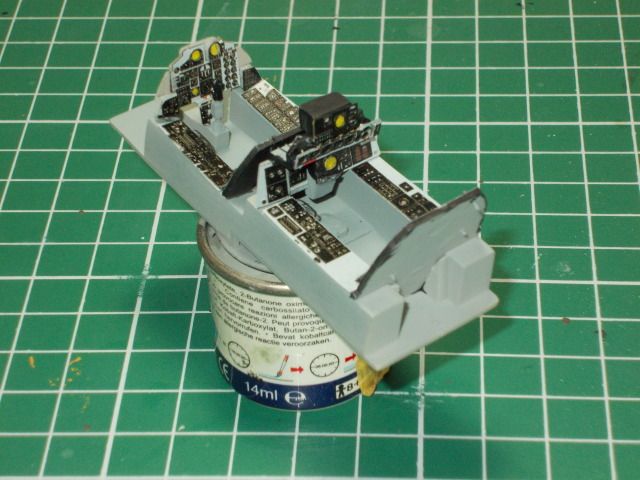
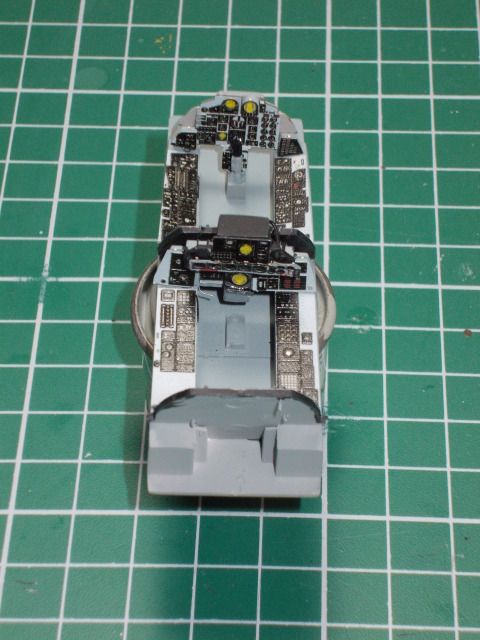
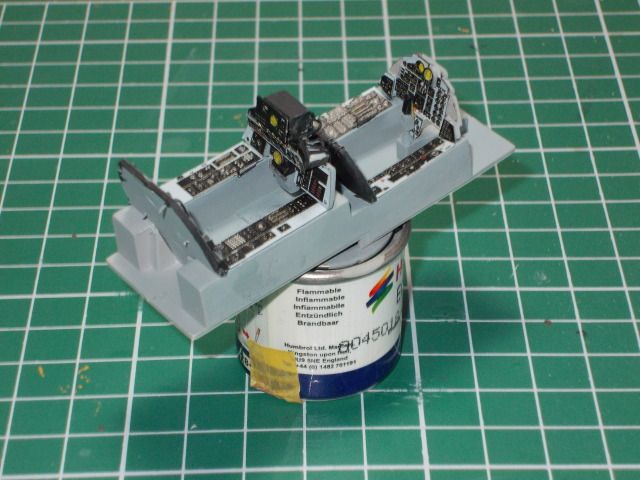
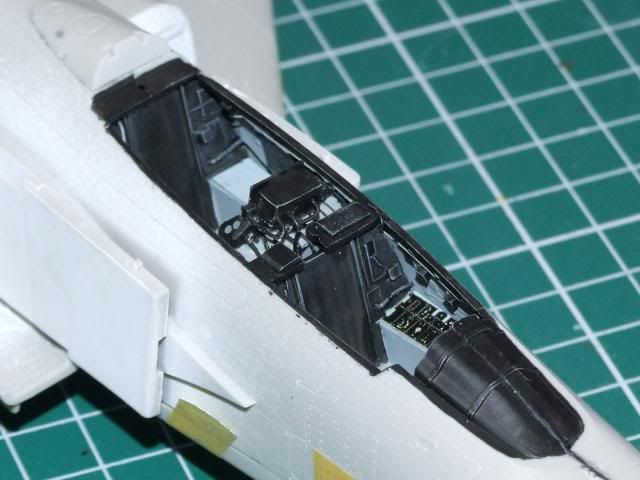
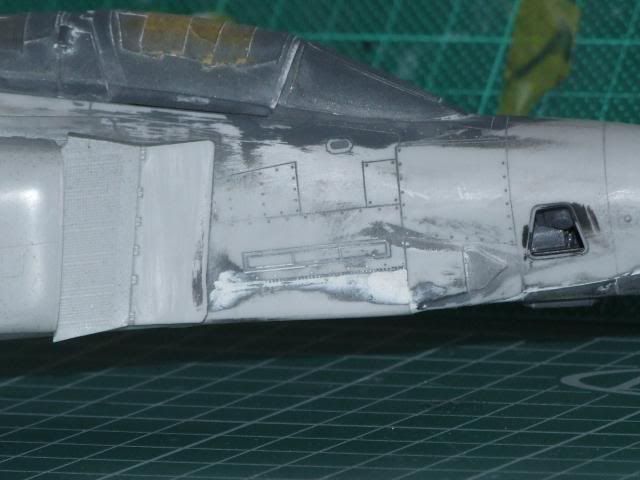
Some 'old school' plastic card boxes and bits to each cockpit side.
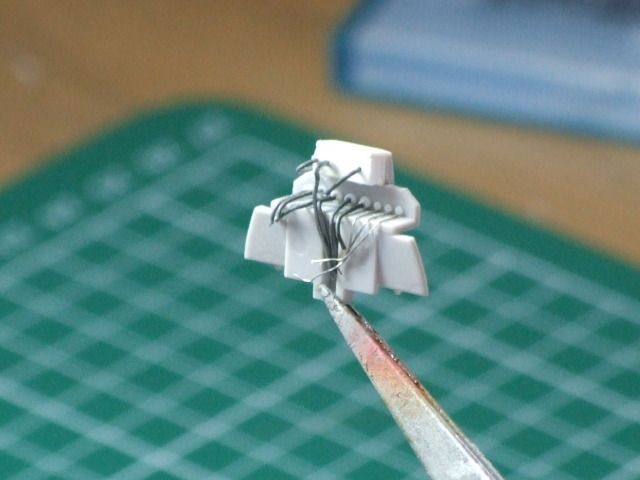
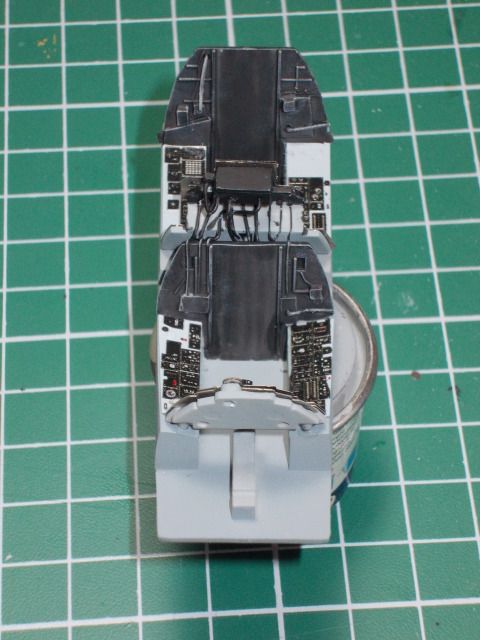
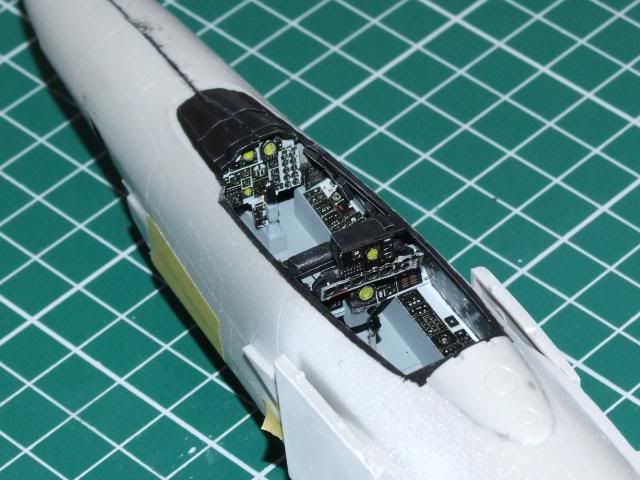
IP details sanded off, ready for the Eduard etch set. Also added the wiring from the rear of the back-seaters IP. Nothing smart here, just 5amp fuse wire and florists wire, some CA glue, a watch-makers drill and a little of patience. All done in one 90min session.
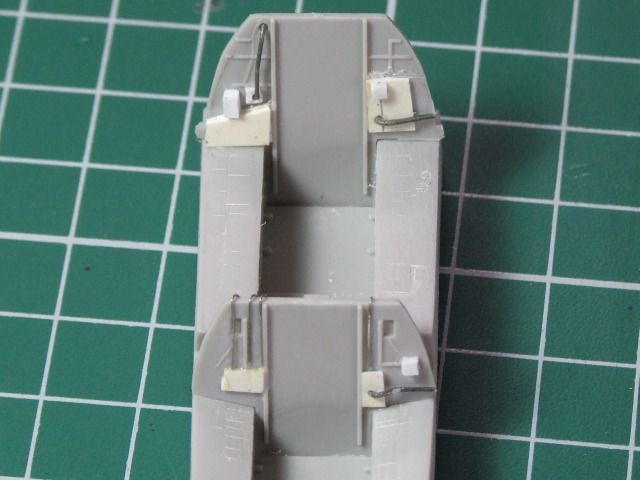
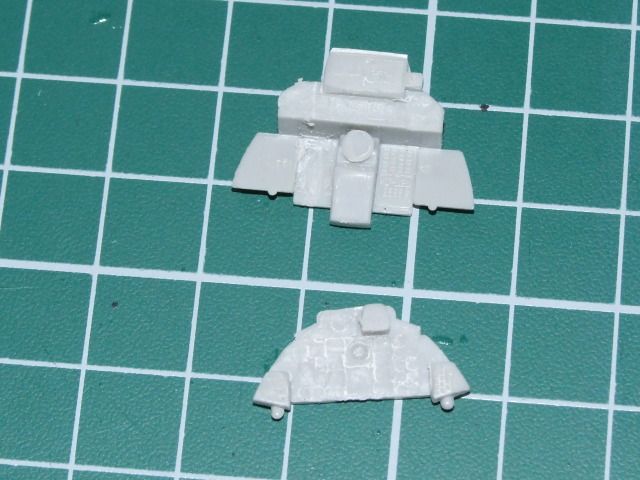
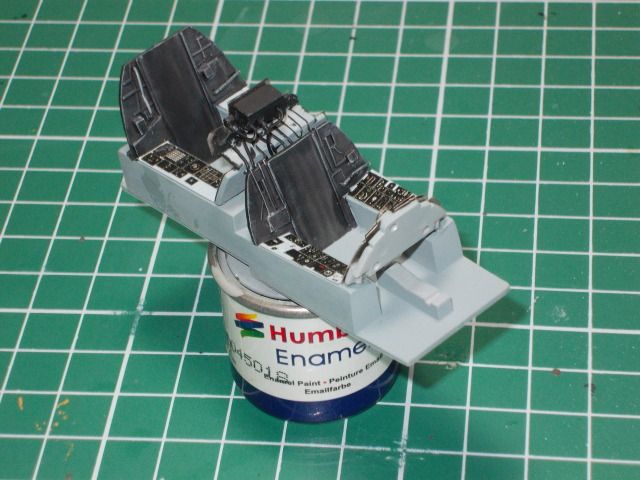
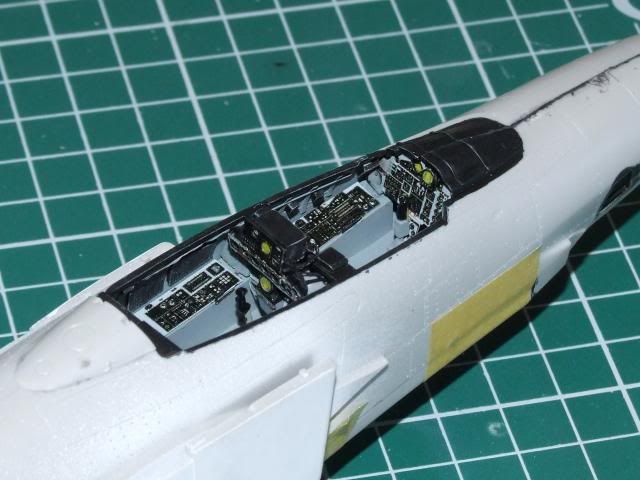
Same for the cockpit 'bath'.
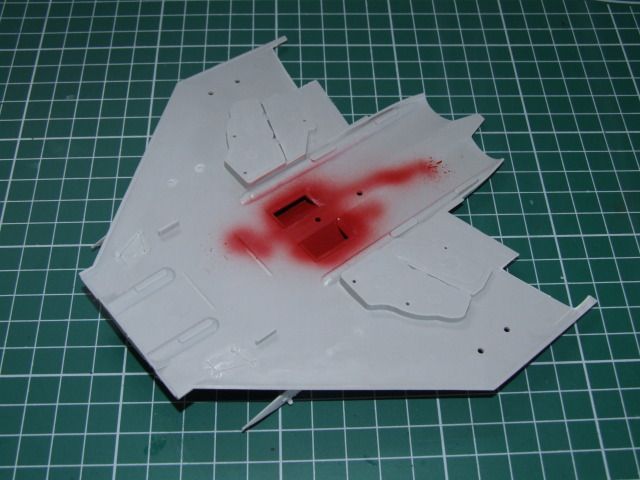
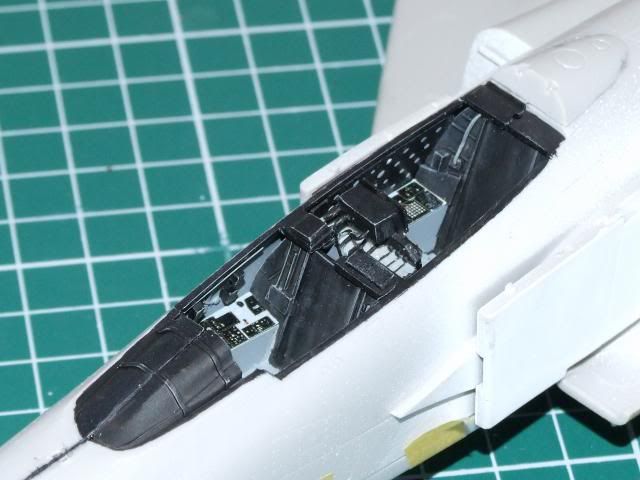
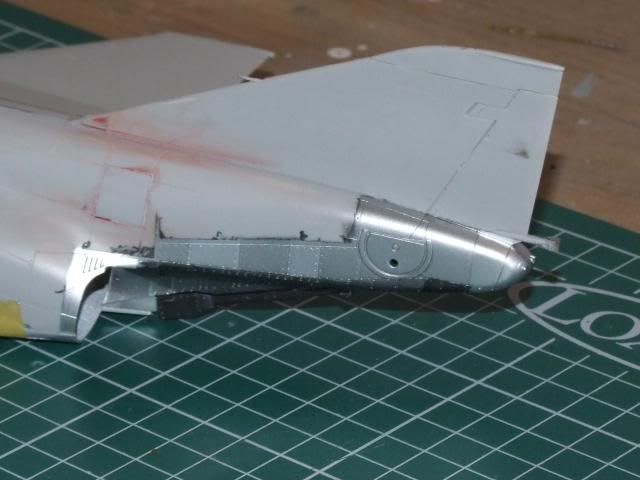
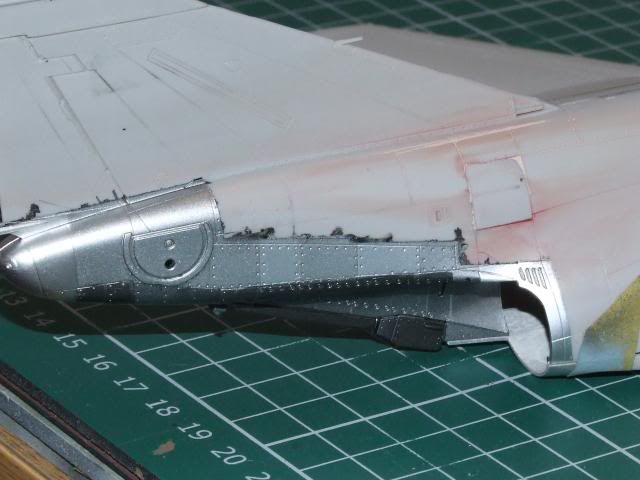
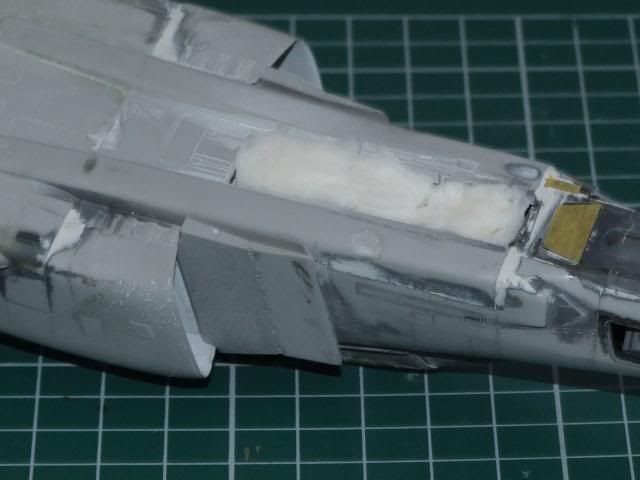
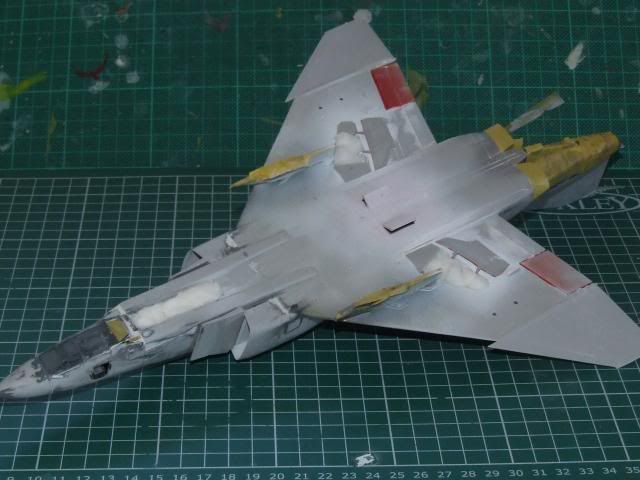
No I didn't have a nose-bleed, just sprayed the inside of the auxiliary doors a dull red. Same as the photo-flash bays and inside of the speed brakes.
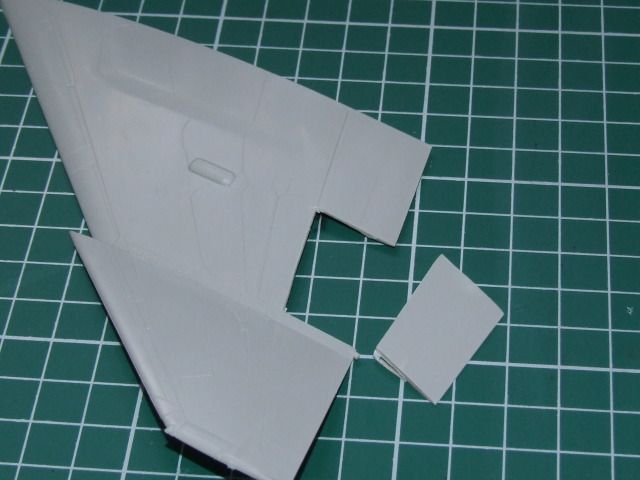
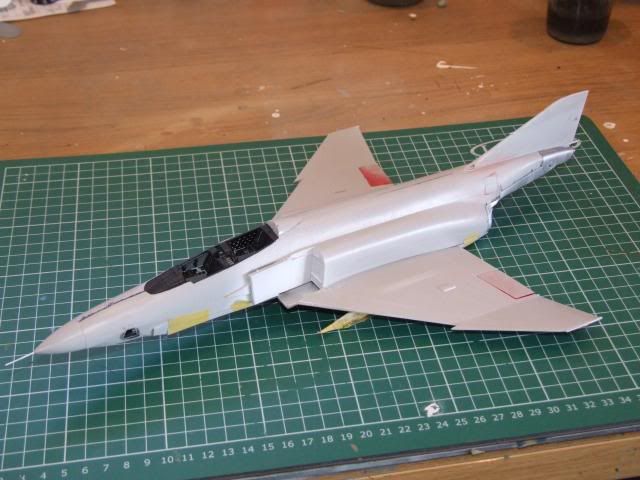
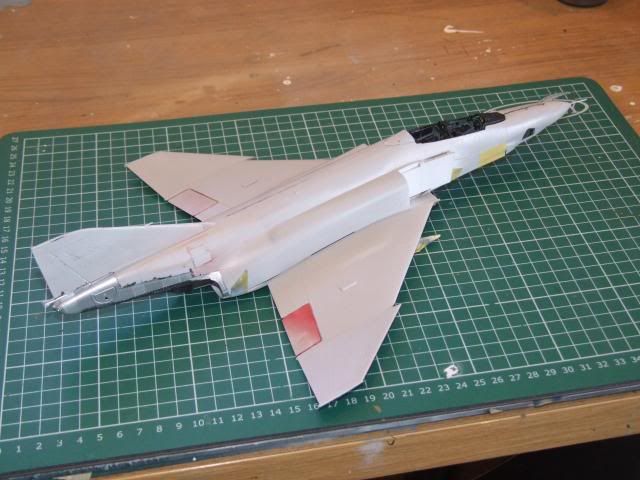
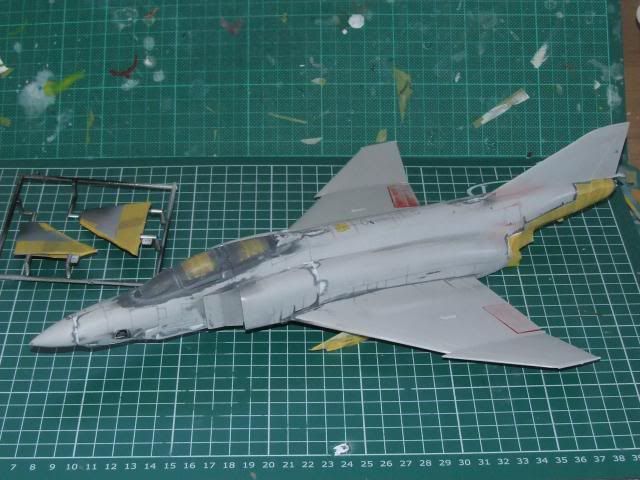
Didn't intend this at the outset, but I found myself hacking through the wings to separate the flaps. Adds a little more interest to the completed model later.
So to sum-up. This will be a long-term project, will probably take a year off-and-on, and my first Phantom build in over 15 years. Strangely, as this is written, I'm also building my (rare ?) original issue Fujimi F-4B/N alongside this project for no other reason than I really fancied a quick 'holiday build' just for the h*ll of it !! - you'll see this one only when it's finished.
As ever thanks for taking the time to look and/or comment.
More soon. HNY.
Ian
With the kit safely stowed, I bit-the-bullet and ordered:
Aires replacement jet exhausts.
Eduard etch 'Zoom' set.
Eduard masks.
True Details resin seats.
Quickboost intake covers.
Detail & Scale RF-4 special (cheap from Amazon).
Everything in place, all I had to do was decide which machine from one of the three Microscale sheets with a total of seven aircraft I was going to build !! – I still haven’t made-up my mind.
So without anymore words here’s some pics:
Some 'old school' plastic card boxes and bits to each cockpit side.
IP details sanded off, ready for the Eduard etch set. Also added the wiring from the rear of the back-seaters IP. Nothing smart here, just 5amp fuse wire and florists wire, some CA glue, a watch-makers drill and a little of patience. All done in one 90min session.
Same for the cockpit 'bath'.
No I didn't have a nose-bleed, just sprayed the inside of the auxiliary doors a dull red. Same as the photo-flash bays and inside of the speed brakes.
Didn't intend this at the outset, but I found myself hacking through the wings to separate the flaps. Adds a little more interest to the completed model later.
So to sum-up. This will be a long-term project, will probably take a year off-and-on, and my first Phantom build in over 15 years. Strangely, as this is written, I'm also building my (rare ?) original issue Fujimi F-4B/N alongside this project for no other reason than I really fancied a quick 'holiday build' just for the h*ll of it !! - you'll see this one only when it's finished.
As ever thanks for taking the time to look and/or comment.
More soon. HNY.
Ian


 :
: