Hello Everyone!
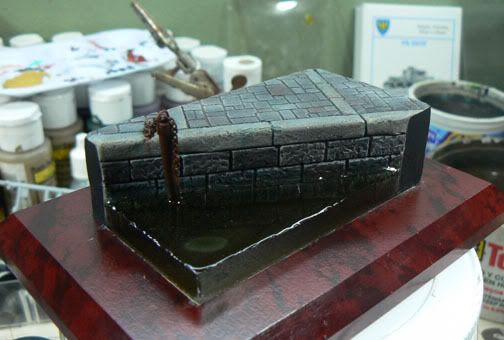
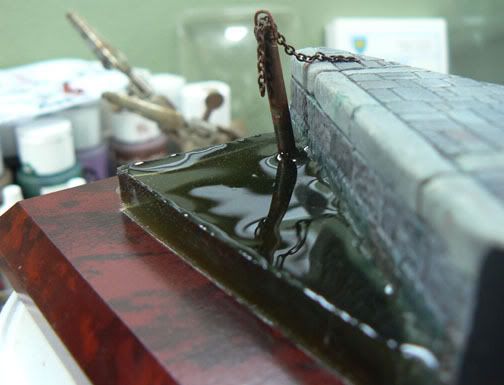
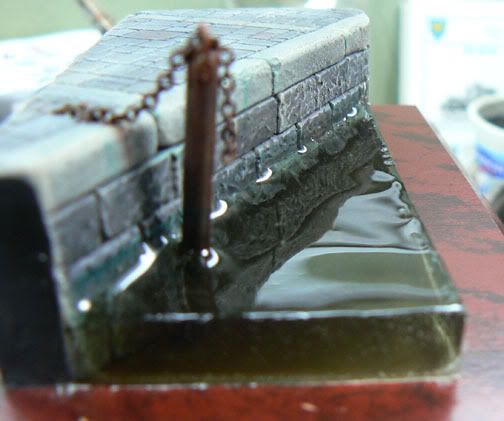
In this article I will describe a technique I use to create water on my dioramas.
Dave's Trick # 3
Making Water (Part I)
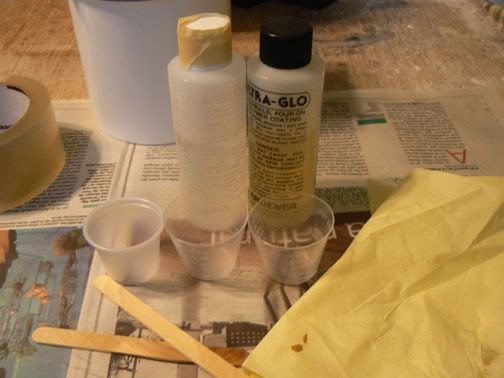
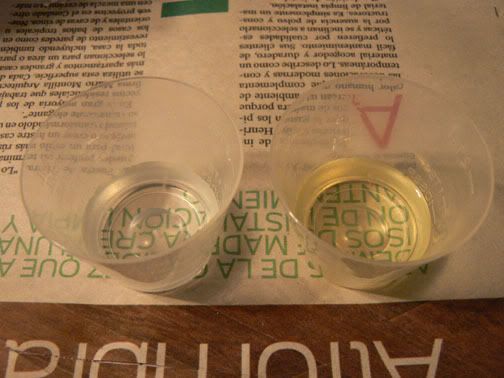
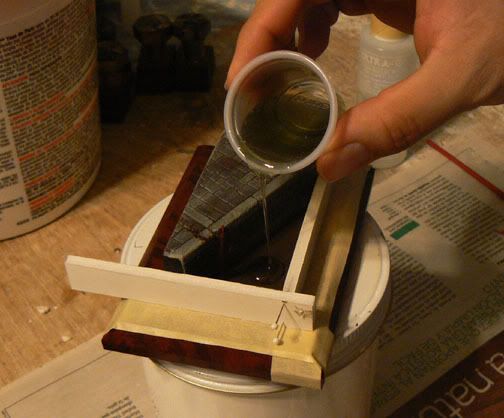
Water is one of the hardest effect to recreate accurately and over the years I have experimented with different materials and techniques. Most of were good but they lack of something. The best product I have found is called “Enviro-Tech light” or “Ultra Glow”. This is a resin used for giving wooden furniture that thick and glossy finish.
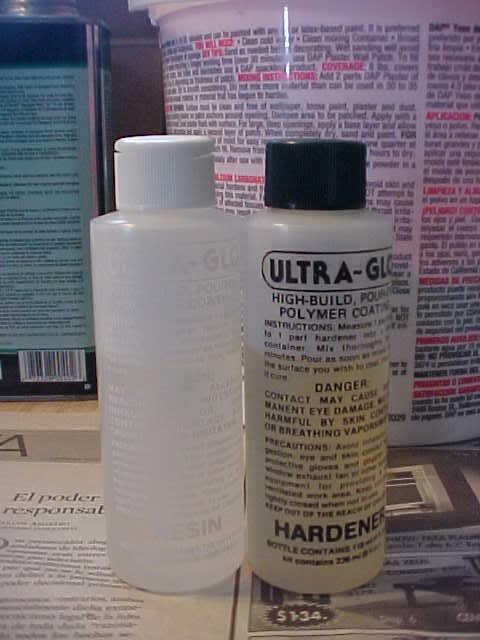
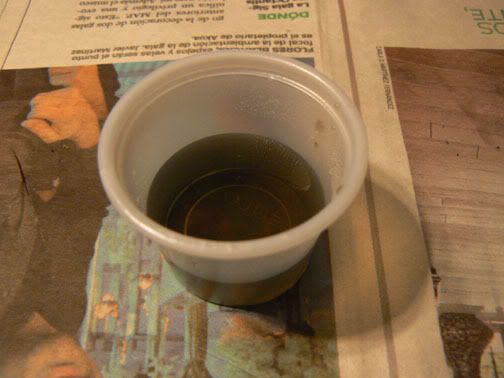
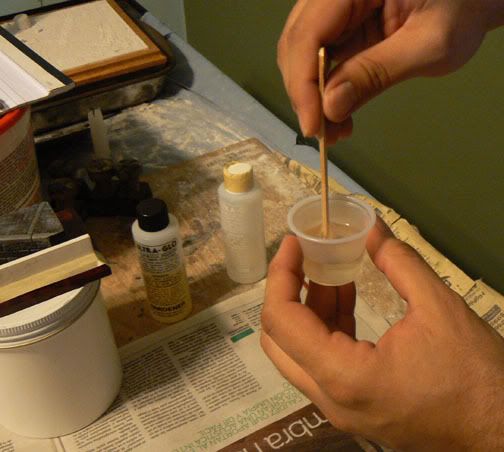
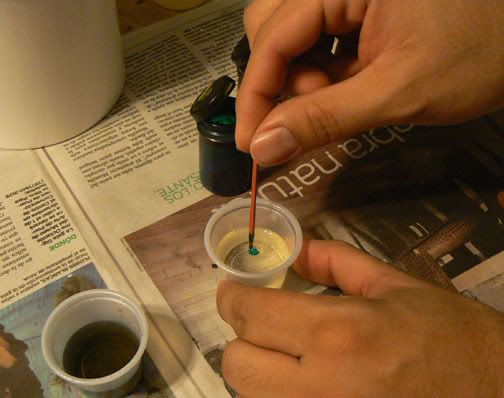
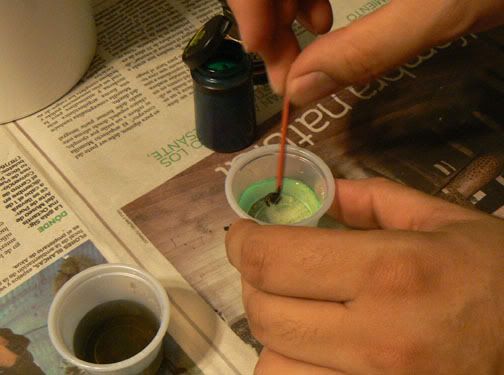
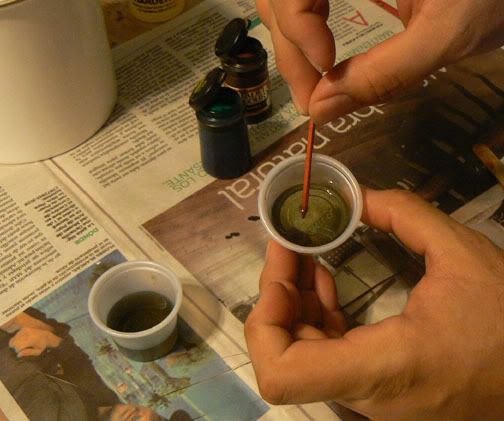
The advantages of Enviro-Tech are, it is easy to mix as it mixes in equal parts, it is non reactive to most modeling materials and paints and it can be colored by adding water based inks.
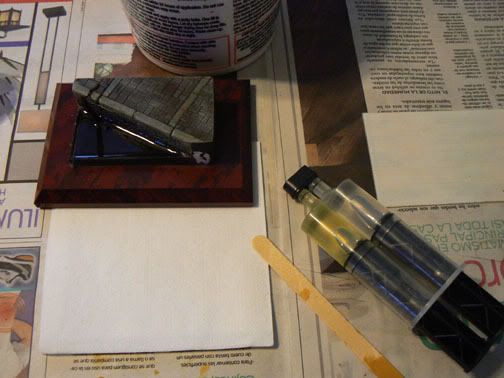
The materials needed for making water using this technique are:
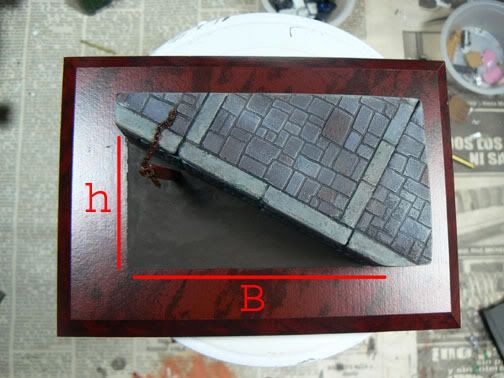
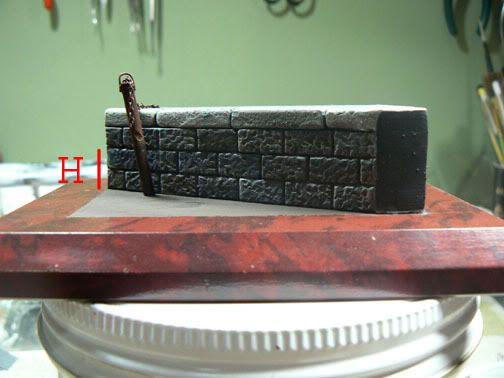
1. A base were you want to simulate water.
2. Clear packing tape.
3. Thick Cardboard to make a frame
4. White glue
5. Regular masking tape
6. Enviro-Tech light resin
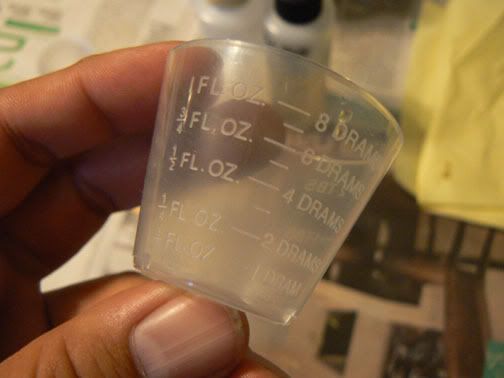
7. Small measuring cups
8. Mixing cups
9. 5 minute dry time Clear Epoxy
10. Mixing sticks
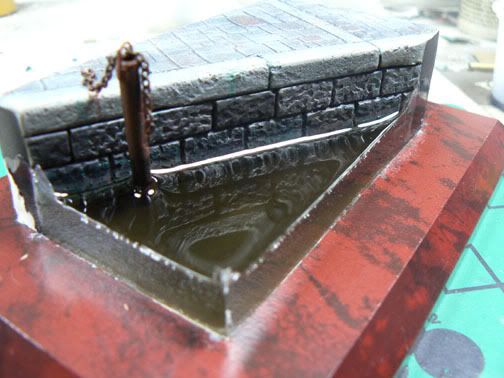
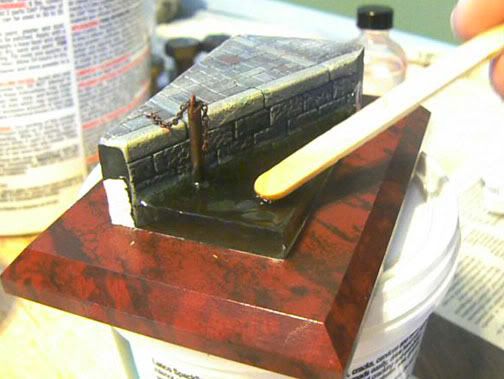
Ok, so first we start with a base where we want to put the water. For this example I will use a canal type base. This type of base is the simplest to work with since all its corners are straight. When making natural features like lakes and rivers, it’s a little harder sealing it, but the process is the same.
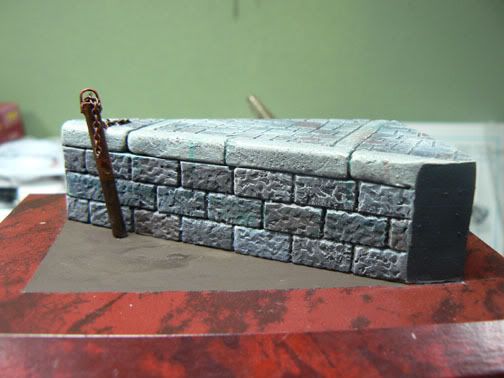
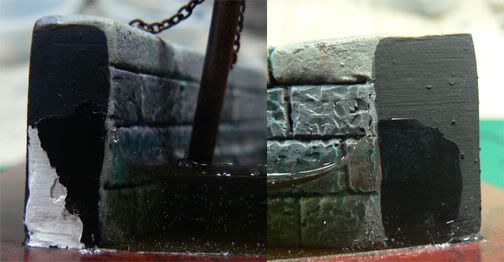
We will go ahead and use masking tape to cover the base so it won’t get damage.

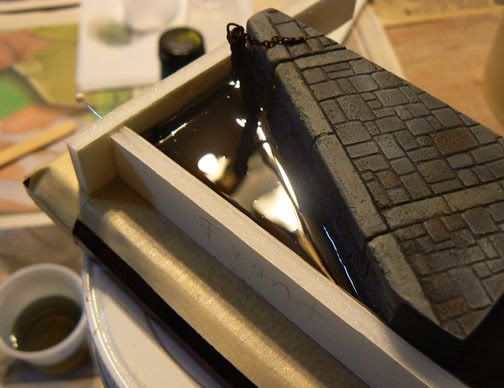
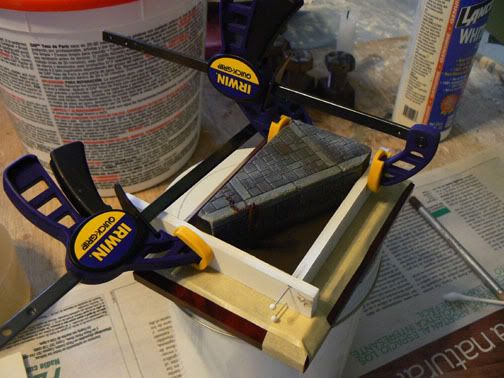
We will then cut some strips of cardboard to make a frame for pouring the water. For this one I used foam board which is a sheet of foam sandwiched between two sheets of cardboard. I then covered the cardboard with clear packing tape. The side of the tape will face the inside. This is needed to prevent the Enviro-Tech to stick to the frame.
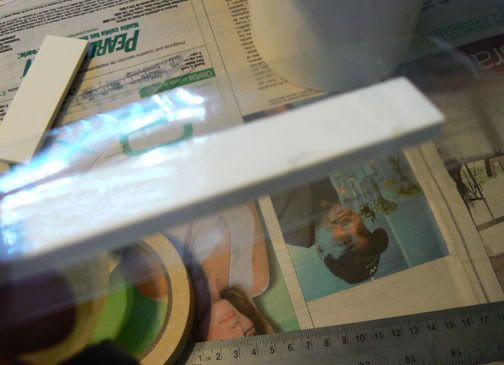
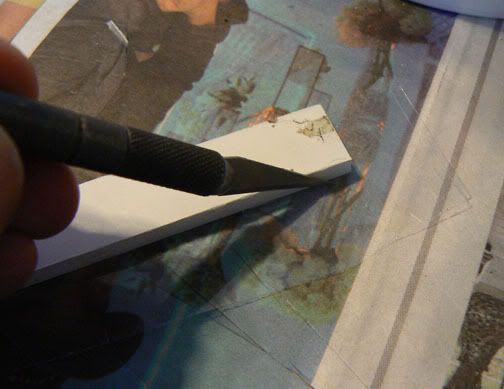
After that I glued the frame on top of the masking tape using white glue and let it fully dry.
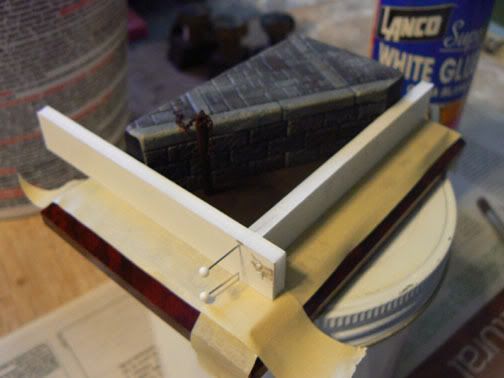
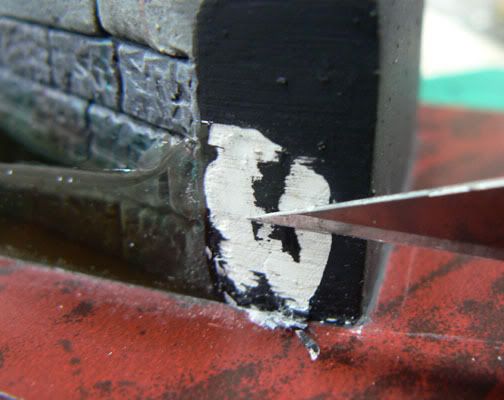
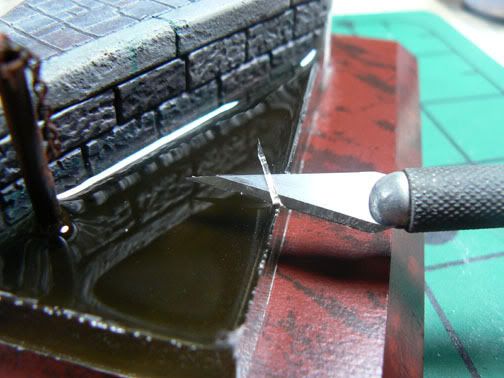
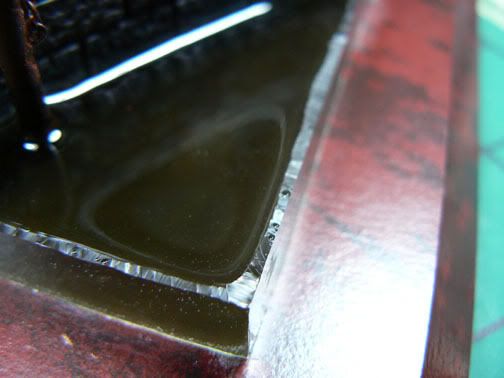
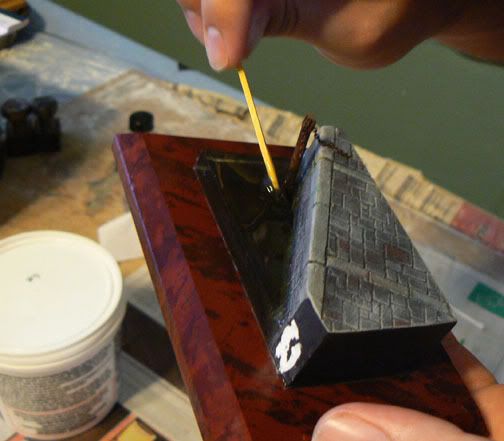
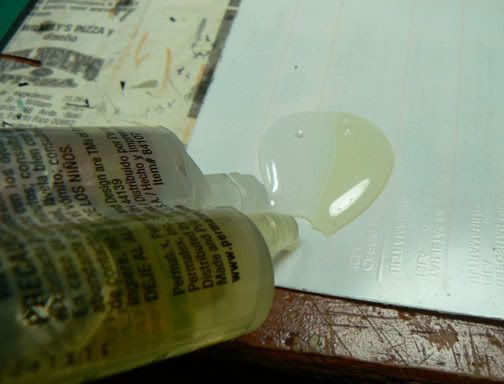
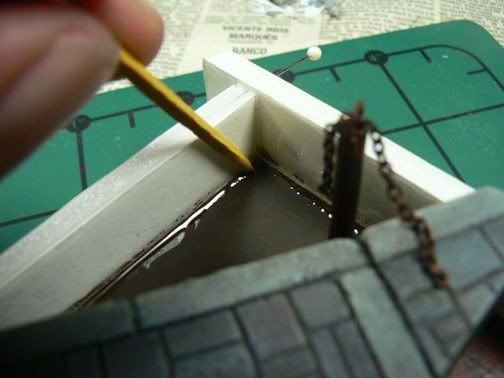
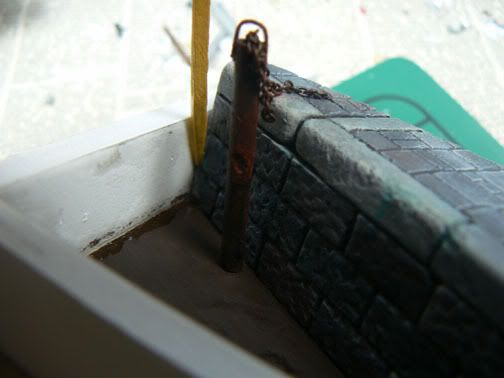
Once the frame has been glued go ahead and mixed some 5 min Epoxy glue. This is used to seal the edges of the fame in order to prevent leaking of the resin. Don’t be stingy since the Epoxy will be absorbed by the Resin and it will not be noticed once you are finished. Make sure all edges and corners are seal.
After that let it fully dry.
In this article I will describe a technique I use to create water on my dioramas.
Dave's Trick # 3
Making Water (Part I)
Water is one of the hardest effect to recreate accurately and over the years I have experimented with different materials and techniques. Most of were good but they lack of something. The best product I have found is called “Enviro-Tech light” or “Ultra Glow”. This is a resin used for giving wooden furniture that thick and glossy finish.

The advantages of Enviro-Tech are, it is easy to mix as it mixes in equal parts, it is non reactive to most modeling materials and paints and it can be colored by adding water based inks.
The materials needed for making water using this technique are:
1. A base were you want to simulate water.
2. Clear packing tape.
3. Thick Cardboard to make a frame
4. White glue
5. Regular masking tape
6. Enviro-Tech light resin
7. Small measuring cups
8. Mixing cups
9. 5 minute dry time Clear Epoxy
10. Mixing sticks
Ok, so first we start with a base where we want to put the water. For this example I will use a canal type base. This type of base is the simplest to work with since all its corners are straight. When making natural features like lakes and rivers, it’s a little harder sealing it, but the process is the same.

We will go ahead and use masking tape to cover the base so it won’t get damage.

We will then cut some strips of cardboard to make a frame for pouring the water. For this one I used foam board which is a sheet of foam sandwiched between two sheets of cardboard. I then covered the cardboard with clear packing tape. The side of the tape will face the inside. This is needed to prevent the Enviro-Tech to stick to the frame.


After that I glued the frame on top of the masking tape using white glue and let it fully dry.

Once the frame has been glued go ahead and mixed some 5 min Epoxy glue. This is used to seal the edges of the fame in order to prevent leaking of the resin. Don’t be stingy since the Epoxy will be absorbed by the Resin and it will not be noticed once you are finished. Make sure all edges and corners are seal.


After that let it fully dry.


