
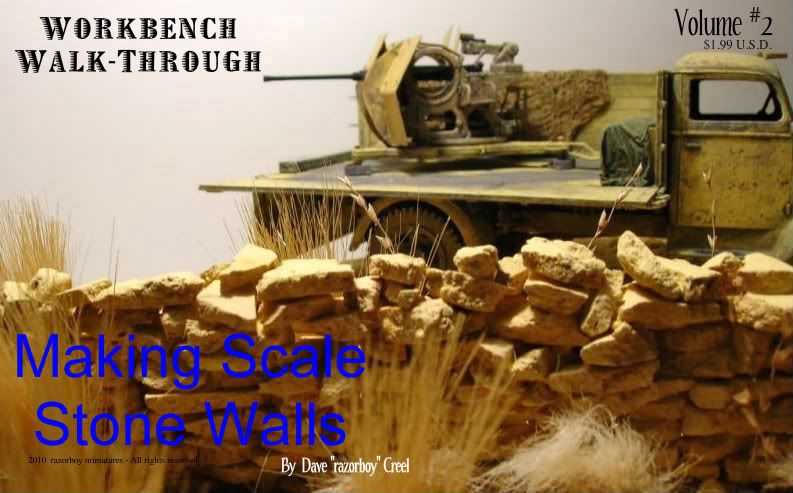
With just a few very affordable and easily obtained supplies, anyone can reproduce realistic stone walls suitable for use in any modeling scale.
You Will Need:
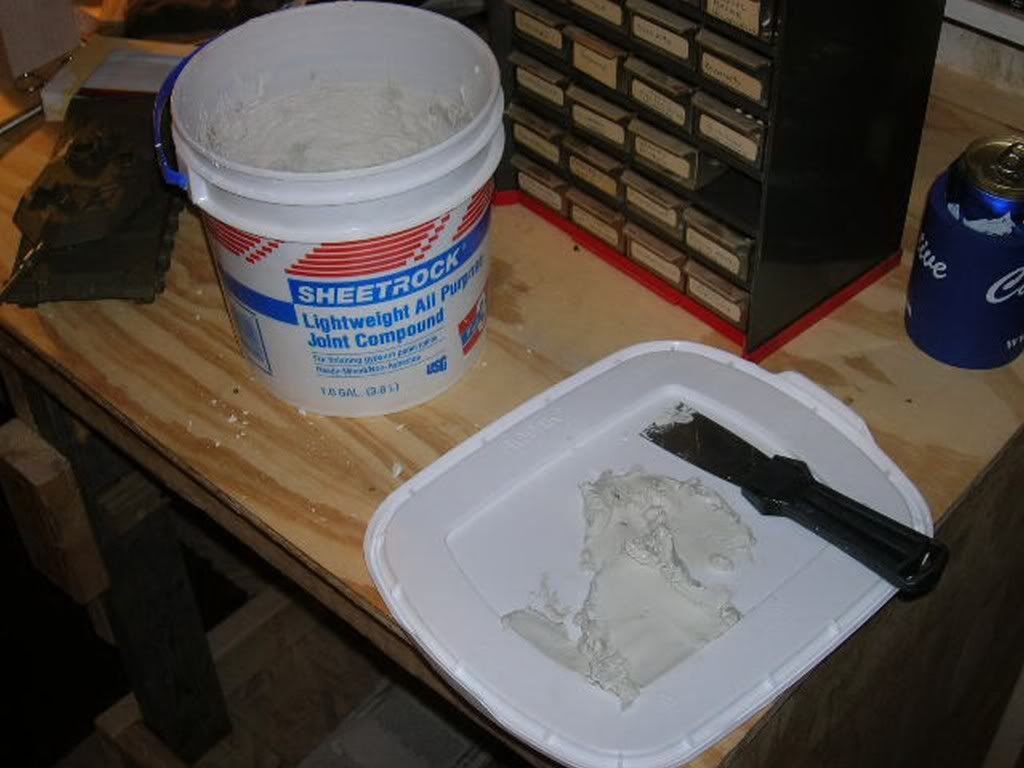
* A small container of Pre-Mixed Drywall Paste / Joint Compound
* A 1” to 2” wide putty knife
* Water Soluble Acrylic paint - your choice of colors (not shown)
* A shallow plastic tray for the mold - I prefer the top from a cat litter pail
Getting Started:
* Using the putty knife, add the desired amount of plaster mix into your mold - remembering that the thickness of the “Stones” will be determined by the thickness of the plaster layer.
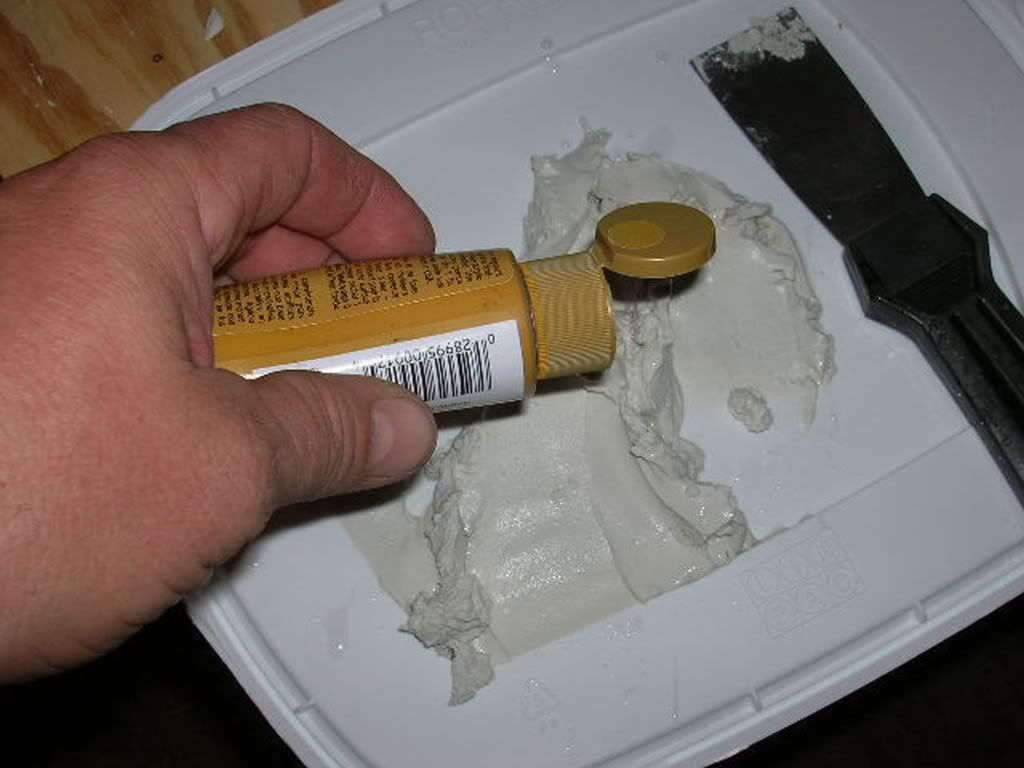
* Using the water base paint(s), introduce the color(s) that you wish the stone to be. Add the paint slowly while stirring it into the plaster mix, going a touch darker in your tinting as the dried product is almost always 1 - 2 shades lighter than while it is wet.
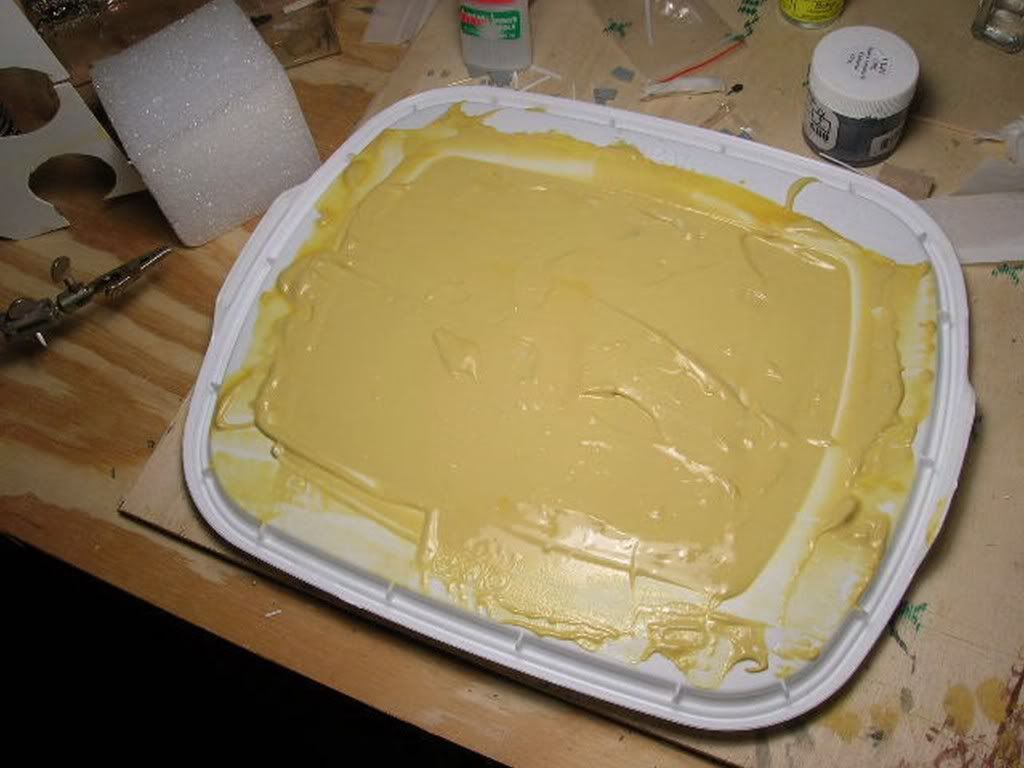
* Once you are satisfied that the paint is thoroughly incorporated, spread the mix out level (once again, remembering that the depth of the mix in the mold will directly determine the thickness of the scale stone) and set aside to dry overnight - or perhaps longer if a thicker layer of mix is used.
“Breakin’ Big Ones into Little Ones”
* Once you are certain that your stone mix has cured, you can then commence “Sizing” your rock. As you can see in this picture, there has been a small amount of shrinkage, this is to be expected and should be taken into account when adding the wet mix to the mold if a specific thickness of finished stone is desired. Notice the surface cracking as well. Not a problem in our application as “Irregular” stones were desired for this batch.
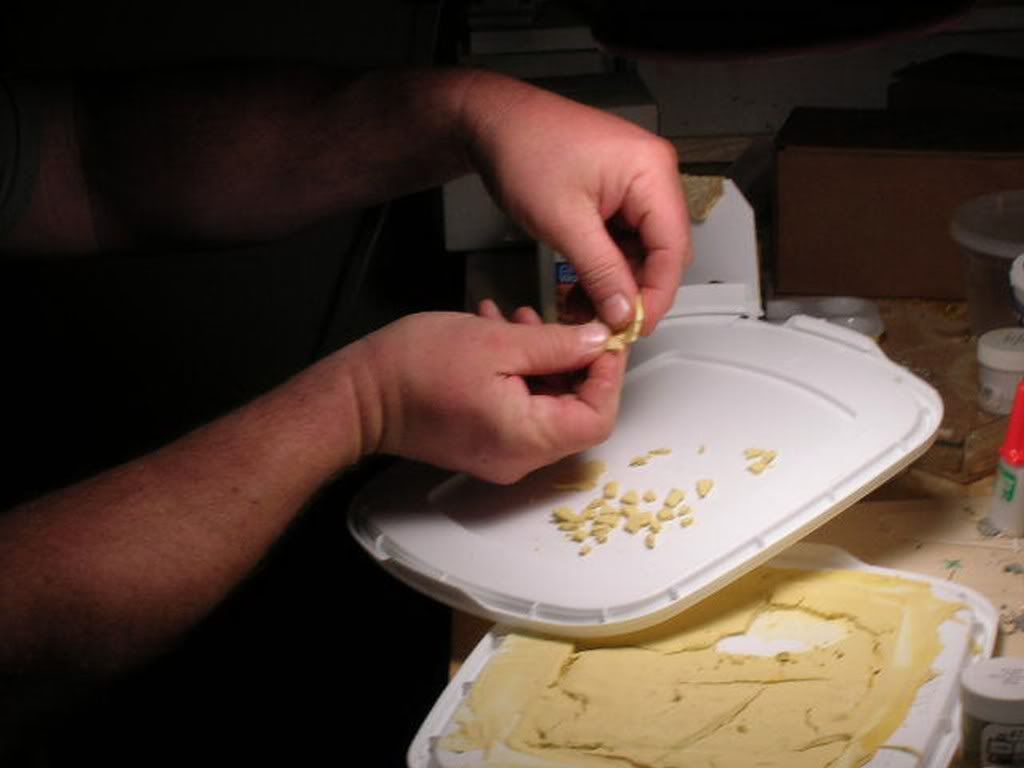
* Pulling out a section of “Stone” from the mold, simply snap off pieces of the desired size until you have enough to build your wall.
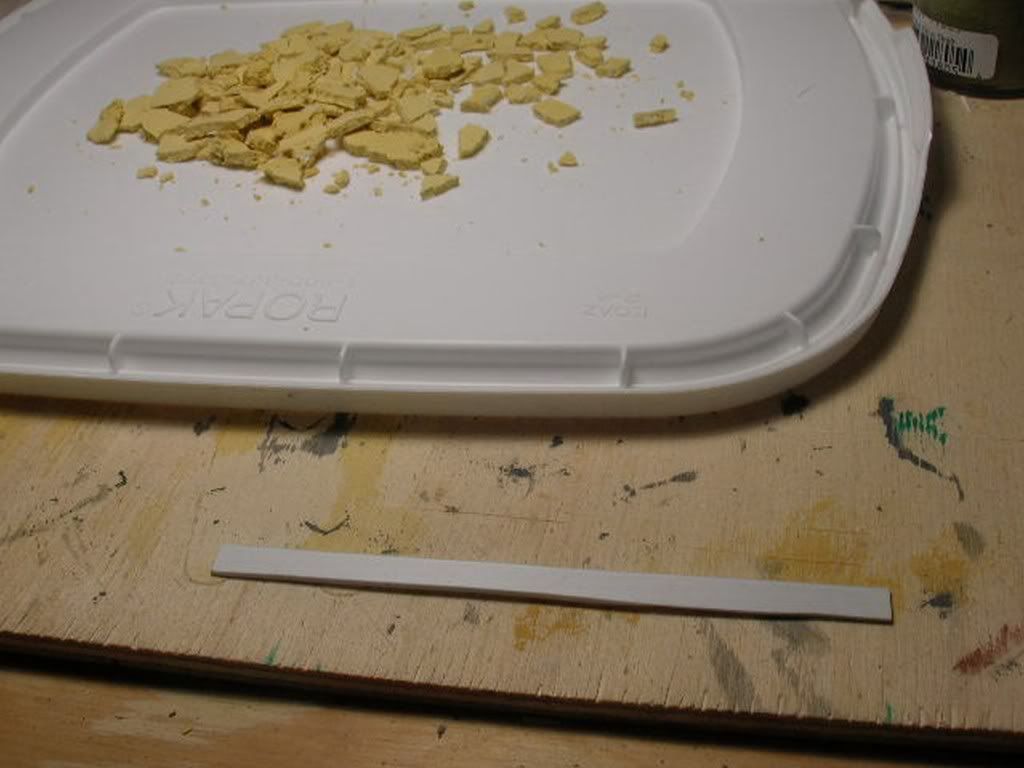
* Taking a piece of styrene, wood or metal (your choice, but I prefer styrene) to be used as a base, cut it to the width and length that your planned wall will be. This base strip will later be concealed by the groundwork on the diorama base.
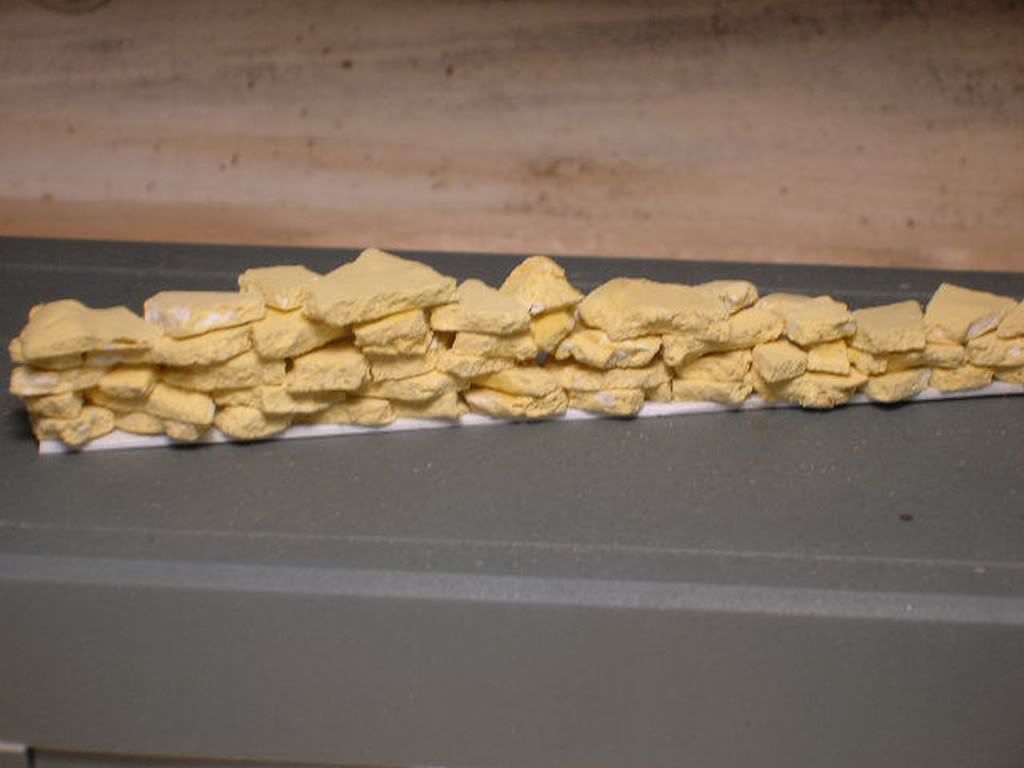
* Carefully attach the stone to the base strip, a layer at a time. I am using (and recommend) a “Super Glue” (chemically known as “Cyanoacrylate”)
type product to secure each layer of stone in this wall.
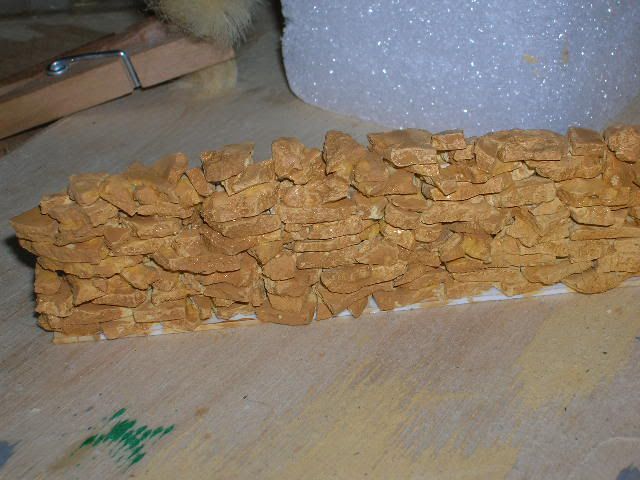
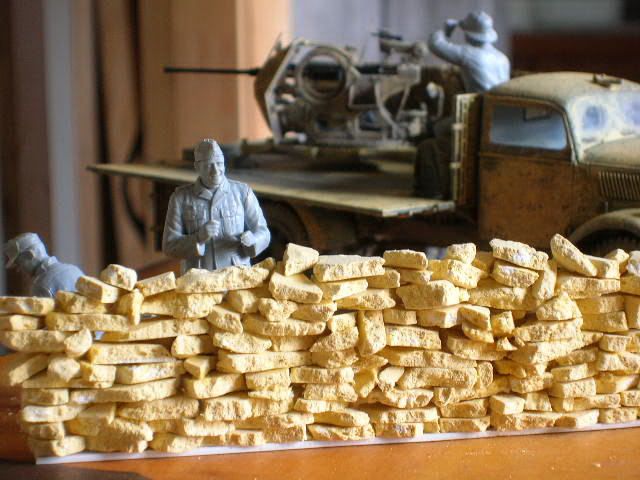
* Once the glue in stone wall assembly has dried overnight, you can feel free to shade, lightly wash or dry brush you stone wall. I found the stone to be too light and uniform in color once dried and in this picture, I have commenced the shading process with a dark wash followed by some dry brushed highlights.
* In this photo I have “Tacked” the stone wall assembly to the diorama base with some PVA glue (Elmer’s), as to allow it to be easily removed and repositioned if necessary. Throughout construction I continually measured the wall height against my vehicle and figures, maintaining the proper “Flow” one will experience when looking at the finished scene.
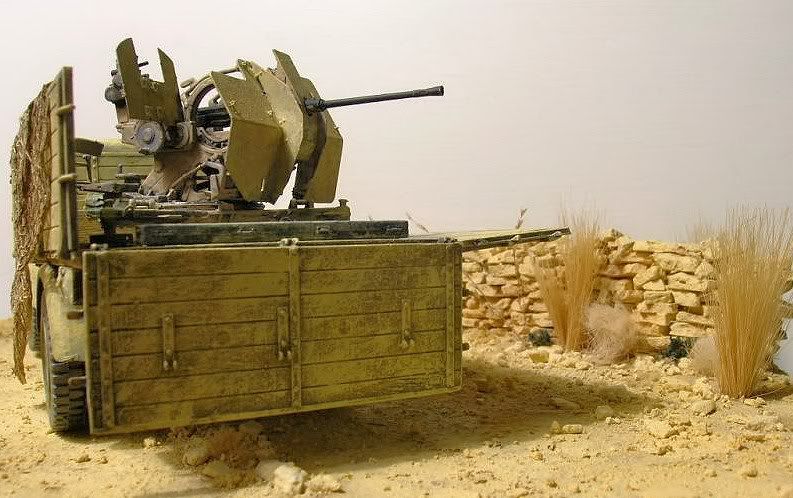
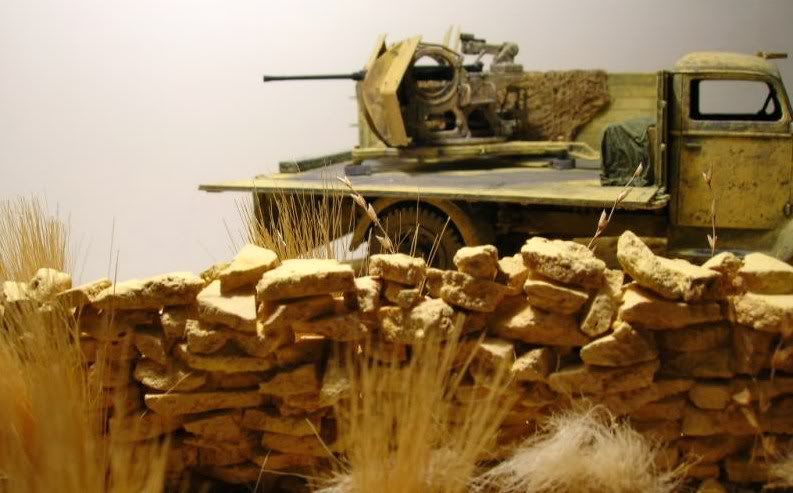
* The following photos show the completed wall assembly after it was permanently added to the diorama base, anchored with the glue and the covering Celluclay groundwork mixture.
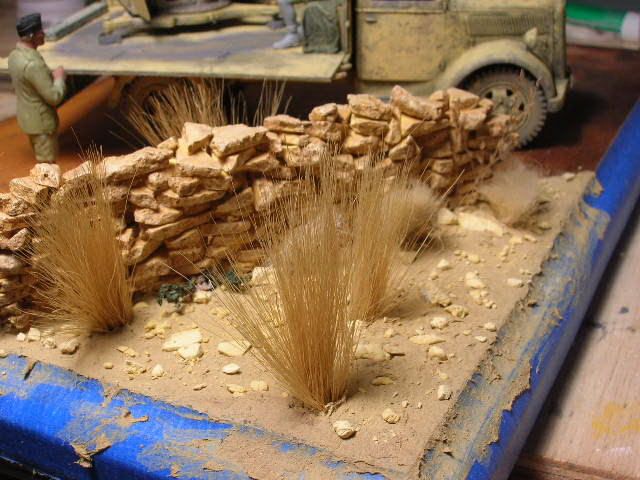
* Note how some additional pieces of stone were used in the ground work and how some fallen stones from the wall were placed randomly around and near the structure.
* Some of the same “Indigenous” stones that were used to make the desert wall were also used to brace the signpost, while more of the same rock can be seen naturally dispersed around the desert floor.

© 2010 Razorboy Productions - All rights reserved
")
