-
Modelers Alliance has updated the forum software on our website. We have migrated all post, content and user accounts but we could not migrate the passwords.
This requires that you manually reset your password.
Please click here, http://modelersalliance.org/forums/login to go to logon page and use the "Forgot your Password" option.
You are using an out of date browser. It may not display this or other websites correctly.
You should upgrade or use an alternative browser.
You should upgrade or use an alternative browser.
LRDG Chevy 1/35
- Thread starter kerojp4
- Start date
Really nice start, that PE does look sharp.


Hi gents,
Thank you very much for the kind words.
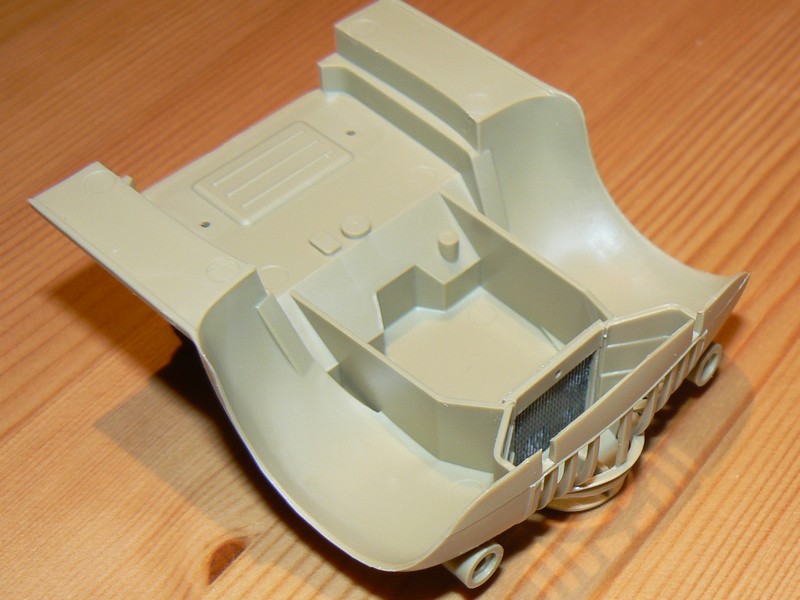
Today I "had fun" with putty
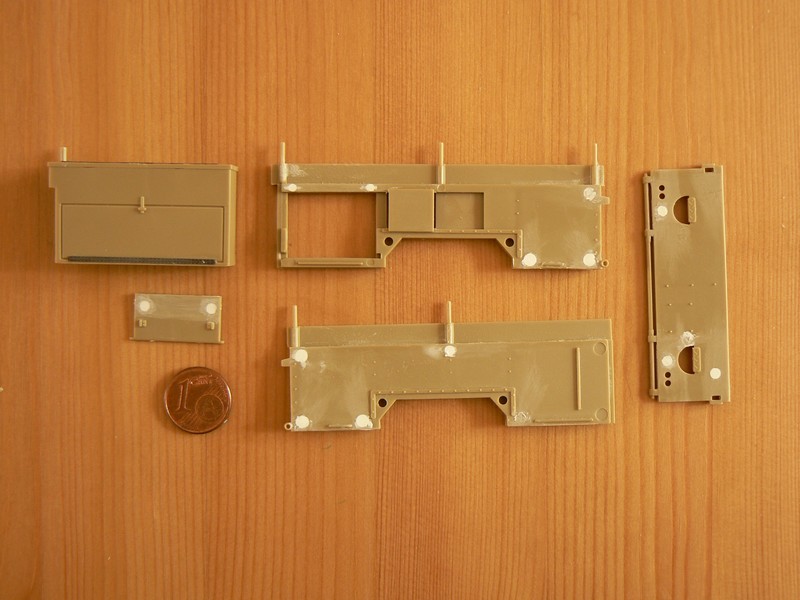
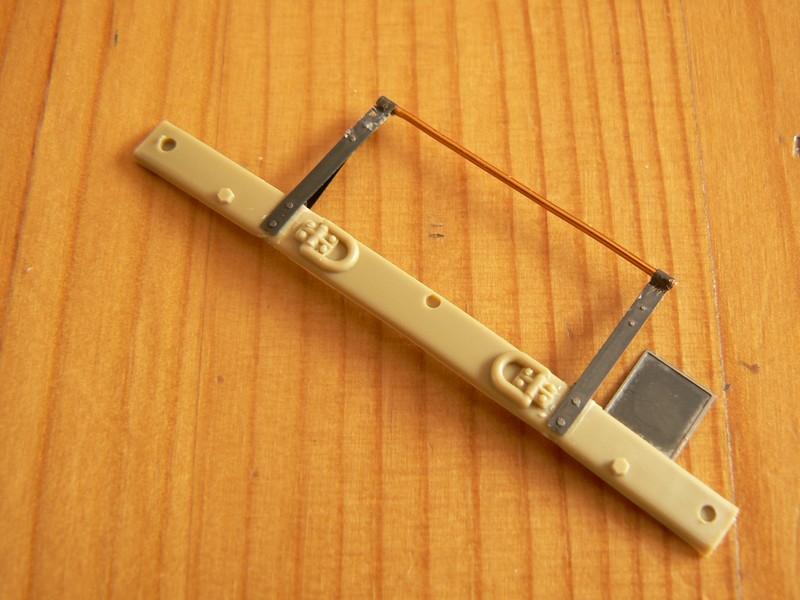
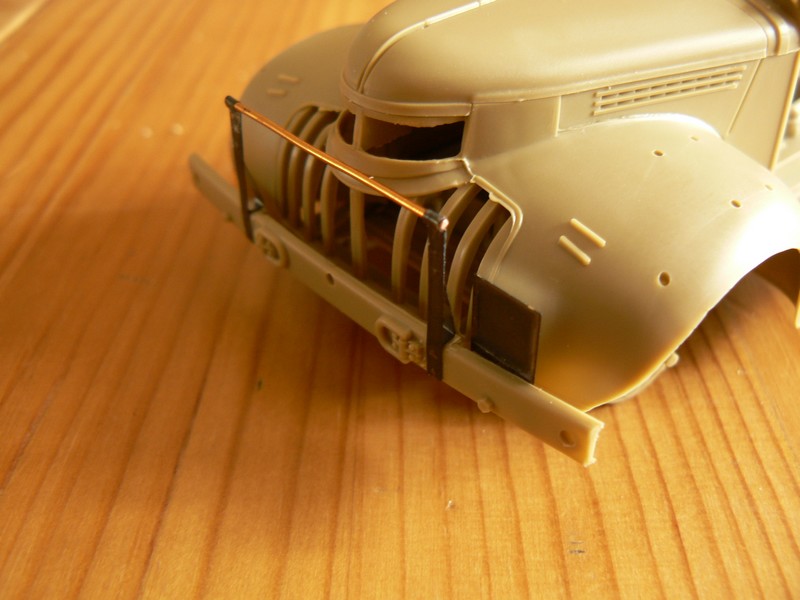
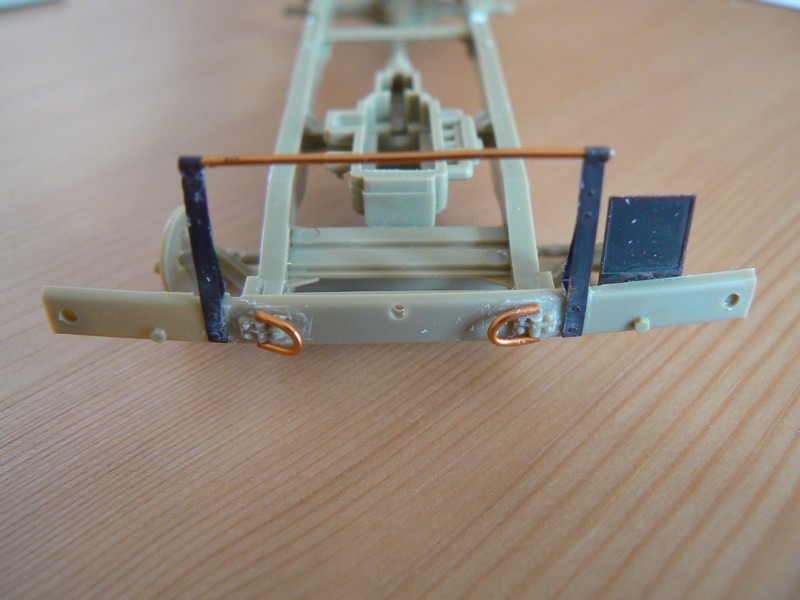
plus I added some details to the bumper
Here is a pic of a dry fit for testing parts assembly
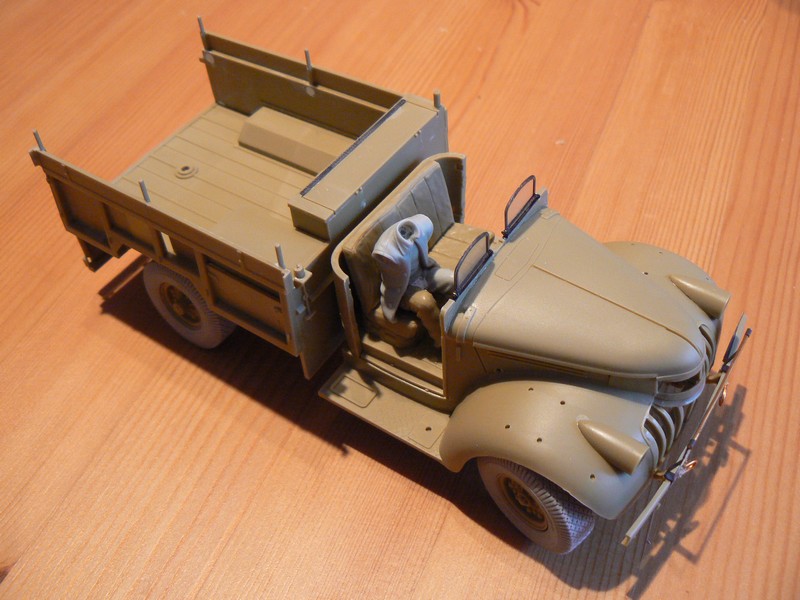
You could see the right leg of the driver is strange... The box contained two left legs, so I made a little surgery with Tamiya driver and it's ok !
Regards,
Richard
Thank you very much for the kind words.
Today I "had fun" with putty

plus I added some details to the bumper

Here is a pic of a dry fit for testing parts assembly

You could see the right leg of the driver is strange... The box contained two left legs, so I made a little surgery with Tamiya driver and it's ok !
Regards,
Richard
AndyFettes
Master at Arms
Very nice start, I will be watching with interest 

Looks fine, especially for Eduards stuff.
panzerace007
Active member
KERO,
WoW ! Great lookin' Truck ! I dig it Great Detailing !!
:drinks
WoW ! Great lookin' Truck ! I dig it Great Detailing !!
:drinks
Thank you gents !
Nice compliment from you Chuk, after I just discovered what you're doing with this Ju, I feel sooooooo humble ! Thanks, Master Chuk !
Regards,
Richard
PE and brass rod- a man after my own heart! Nice work, kero- cheers!
chuk
Nice compliment from you Chuk, after I just discovered what you're doing with this Ju, I feel sooooooo humble ! Thanks, Master Chuk !
Regards,
Richard
Bonsoir (=> Hi), :Hiay
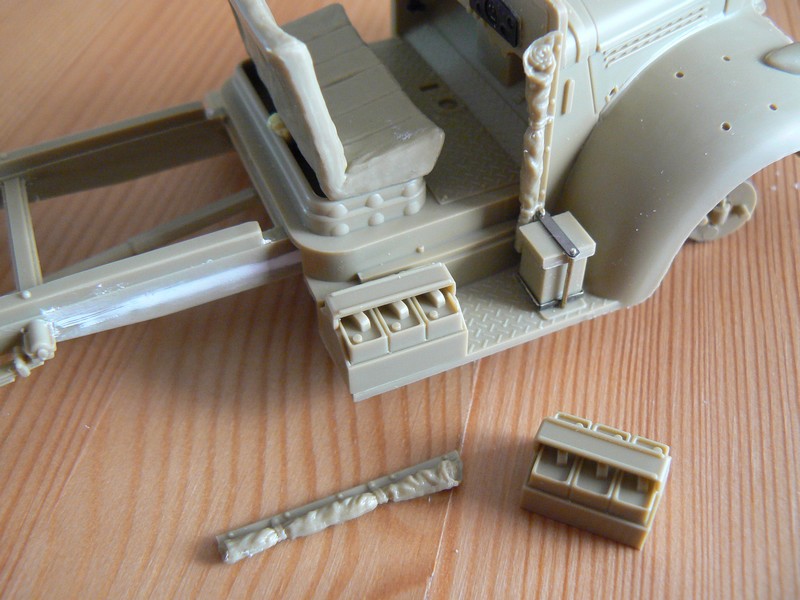
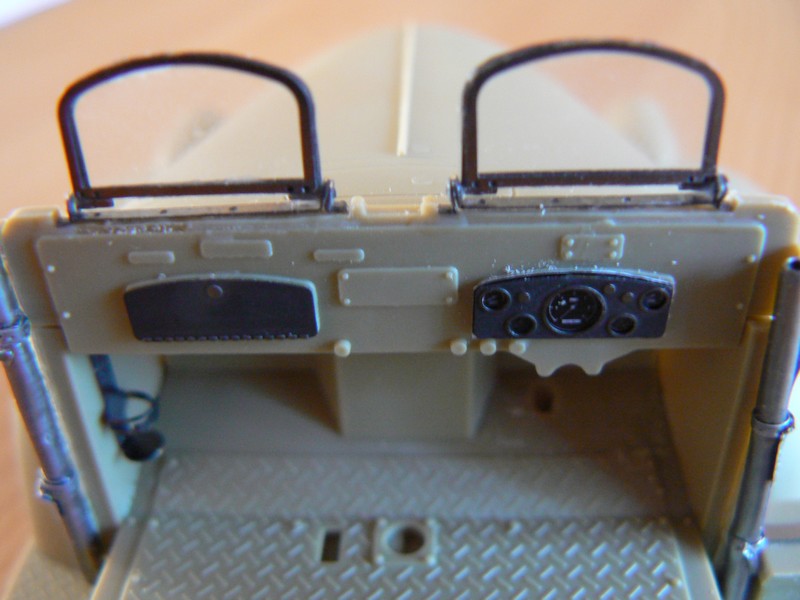
So here is an update, with a BEFORE / AFTER sight, still in the drivers cab.
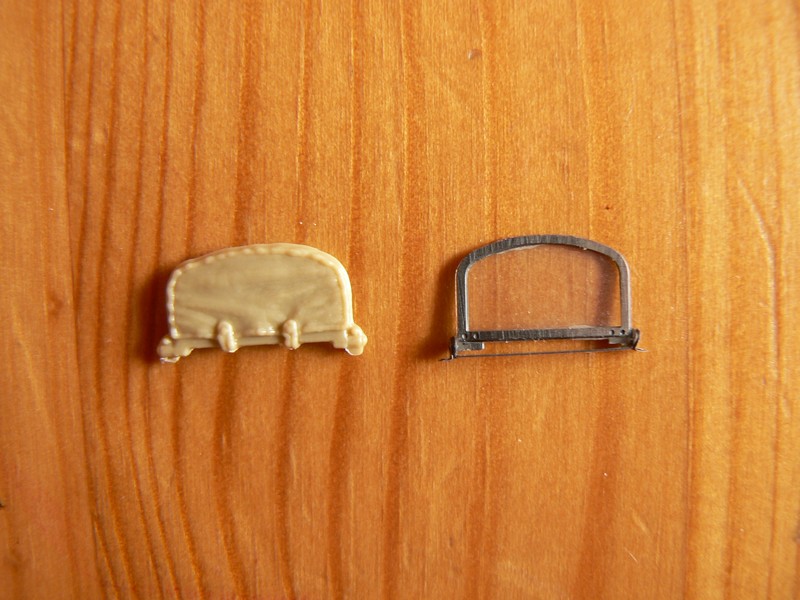
This is BEFORE... ie the parts Tamyia supplies which are quite decent for such an oldie

But as you easily guess, I upgraded this a little bit
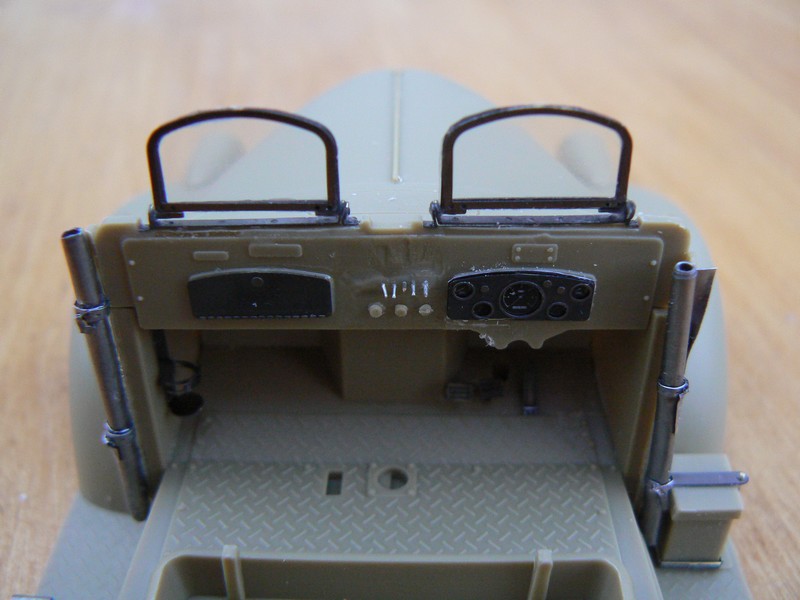

The new "doors" are made out of lead foil


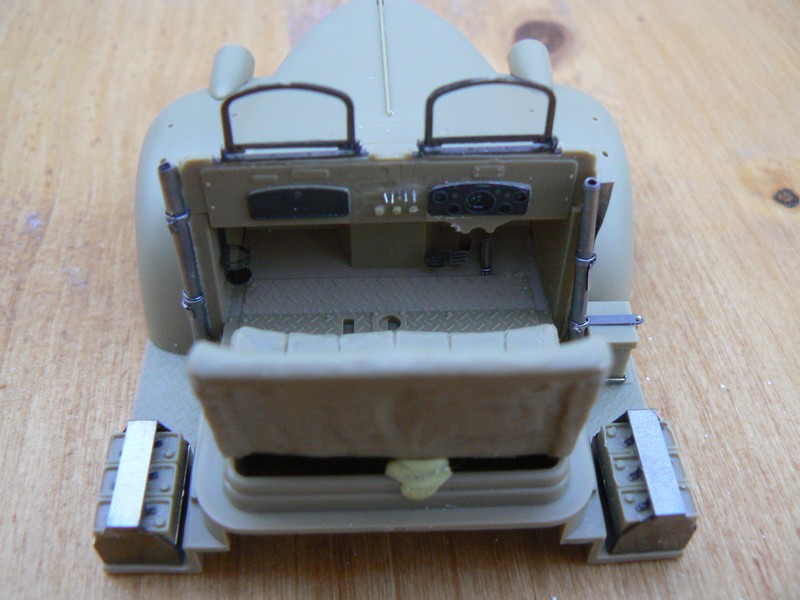
Here it is for today,
G'nite ! Cheers !
Richard
So here is an update, with a BEFORE / AFTER sight, still in the drivers cab.
This is BEFORE... ie the parts Tamyia supplies which are quite decent for such an oldie


But as you easily guess, I upgraded this a little bit


The new "doors" are made out of lead foil


Here it is for today,
G'nite ! Cheers !
Richard
Hi,
I used a little putty on the dashboard, fearing the cutter marks may show after paint
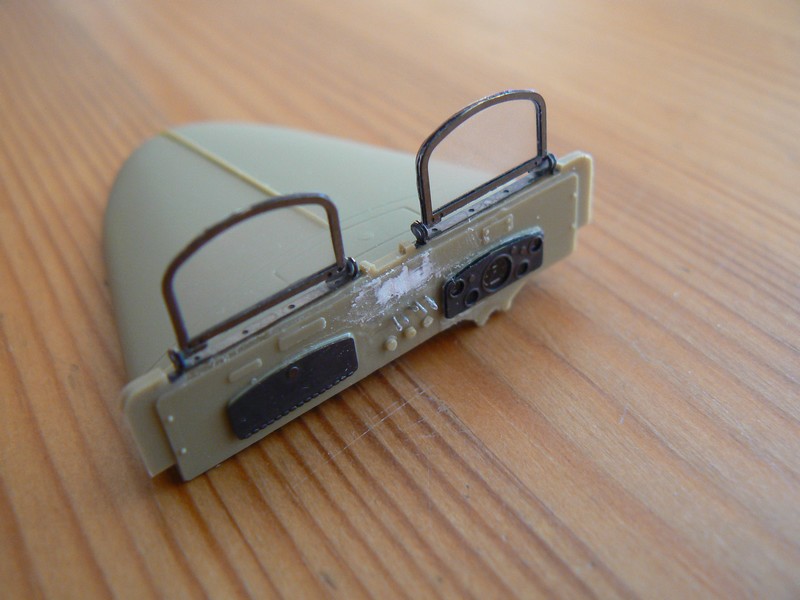
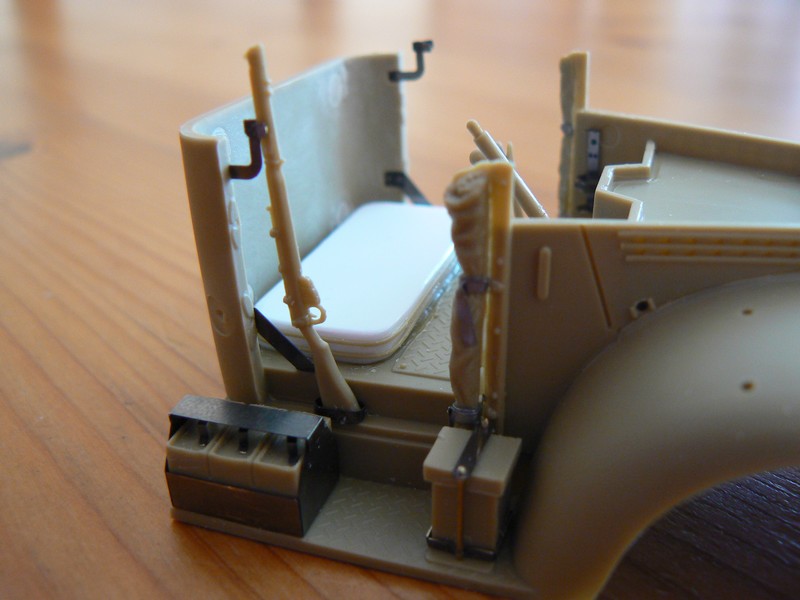
Then, after a fellow friend of mine told me the "doors" were looking too much like hoses, I decided to switch back to the Tamiya parts, adding them lead foil belts / straps. It looks better this way

Then I carried on with Eduard' PE, for Enfield racks, and I built the gas tank from Evergreen styrene sheet and stretched sprue
Regards, :Hiay
Richard
I used a little putty on the dashboard, fearing the cutter marks may show after paint

Then, after a fellow friend of mine told me the "doors" were looking too much like hoses, I decided to switch back to the Tamiya parts, adding them lead foil belts / straps. It looks better this way

Then I carried on with Eduard' PE, for Enfield racks, and I built the gas tank from Evergreen styrene sheet and stretched sprue

Regards, :Hiay
Richard
Hey fellas :Hiay
So here's a lil' up. Did not get as fast as I'd have like to these 2 last days cos of a busy schedule even on holidays ! Can you believe it ?????
Well, doesn't matta, I got 2-3 things to show you
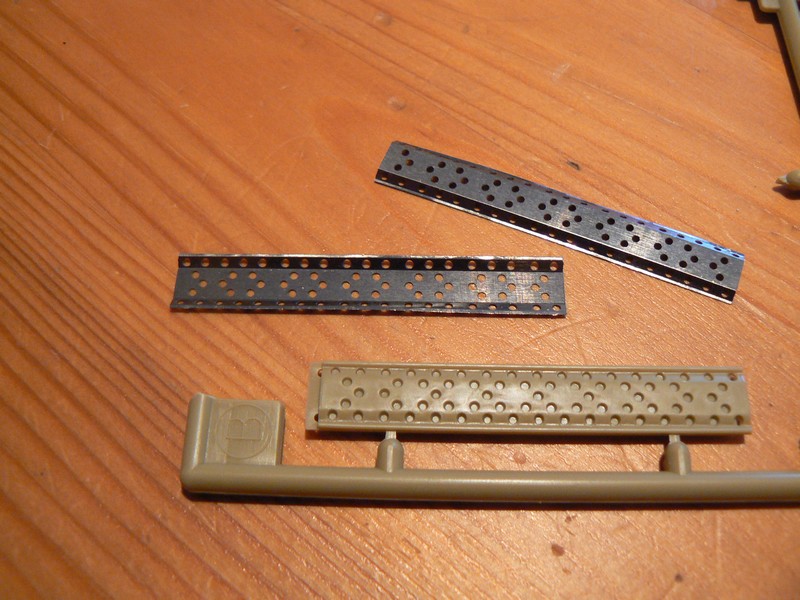
First, what I believe is much better from Eduard than from Tamiya, the PSP plates :
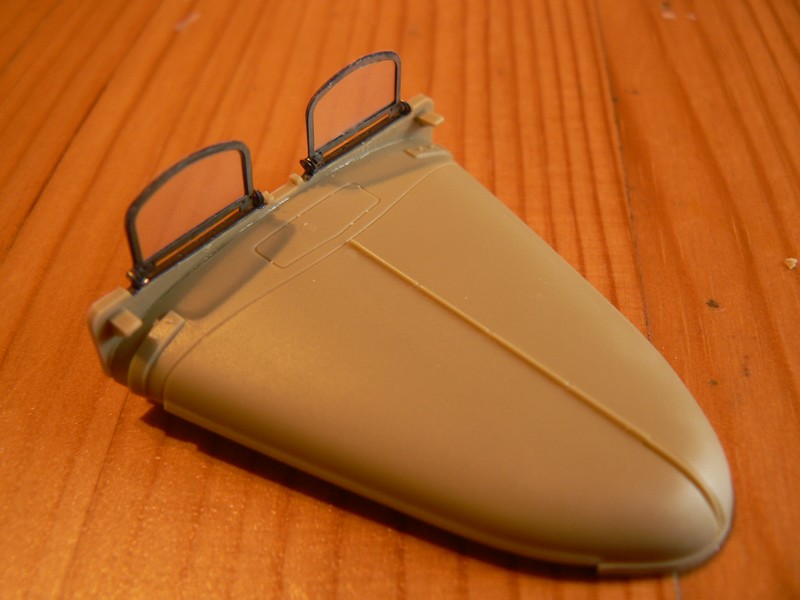
After that, I built what was to become the (pain in the a**) beautiful PE fenders, well, at least IMHO, they are...
front
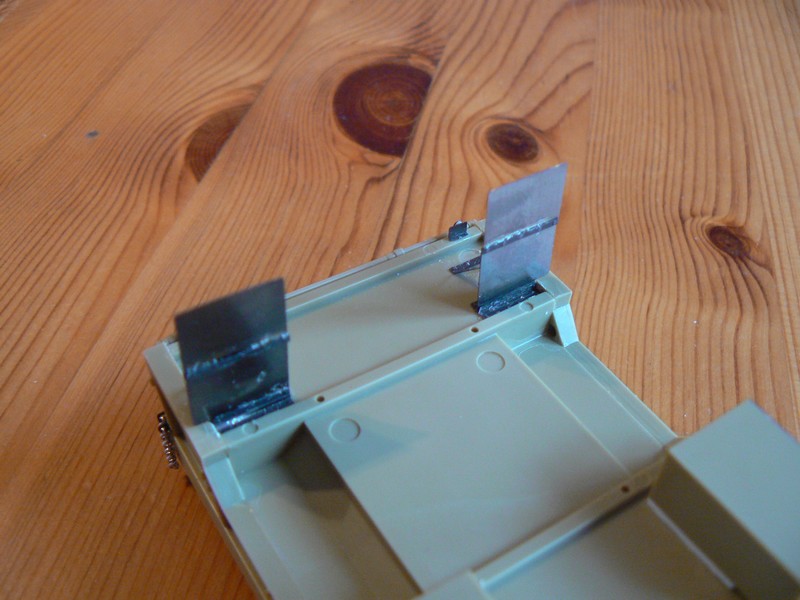
rear
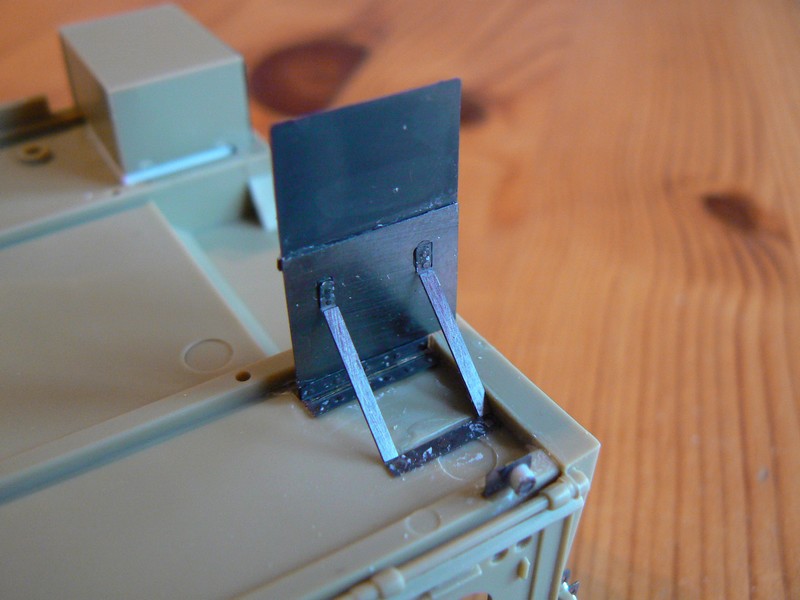
Then I paid some attention to the cargo door
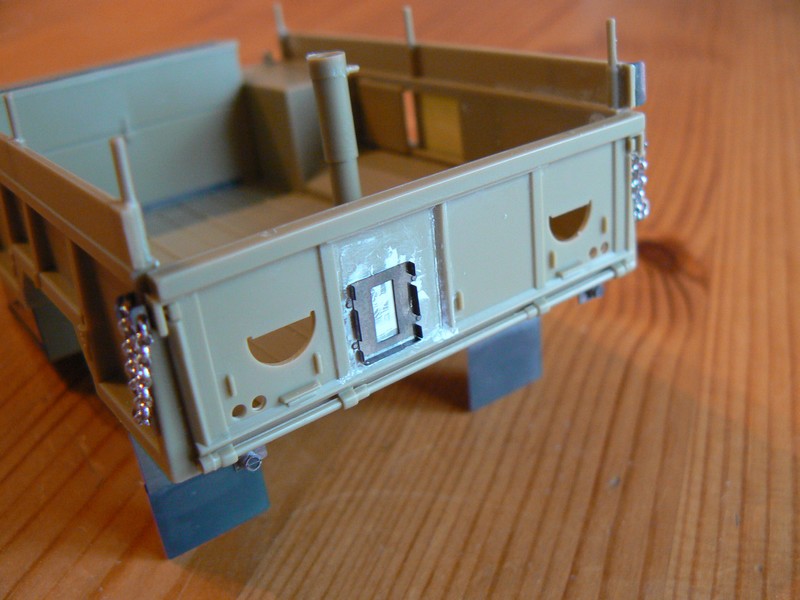
Put some chains from cheap jewel necklace mom agreed to sacrifice (thx mom !). The ones supplied by Eduard on the sheet are so thin that's not realistic... PE limits here...
And this way, it works ! It'll help me while at the paintshop !
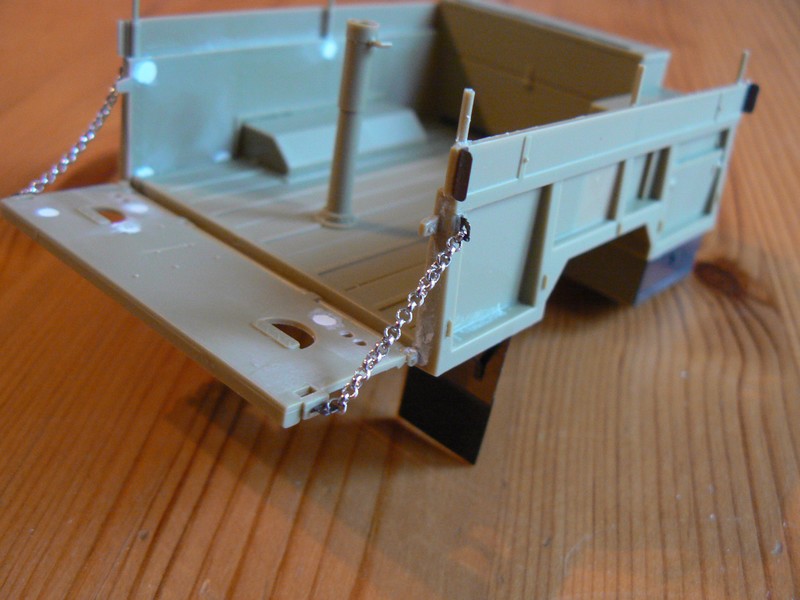
Here I am tonite
Regards
Richard
So here's a lil' up. Did not get as fast as I'd have like to these 2 last days cos of a busy schedule even on holidays ! Can you believe it ?????
Well, doesn't matta, I got 2-3 things to show you
First, what I believe is much better from Eduard than from Tamiya, the PSP plates :

After that, I built what was to become the (pain in the a**) beautiful PE fenders, well, at least IMHO, they are...
front

rear

Then I paid some attention to the cargo door

Put some chains from cheap jewel necklace mom agreed to sacrifice (thx mom !). The ones supplied by Eduard on the sheet are so thin that's not realistic... PE limits here...
And this way, it works ! It'll help me while at the paintshop !

Here I am tonite
Regards
Richard
Similar threads
- Replies
- 50
- Views
- 6K
- Replies
- 60
- Views
- 8K


