
jknaus
Administrator
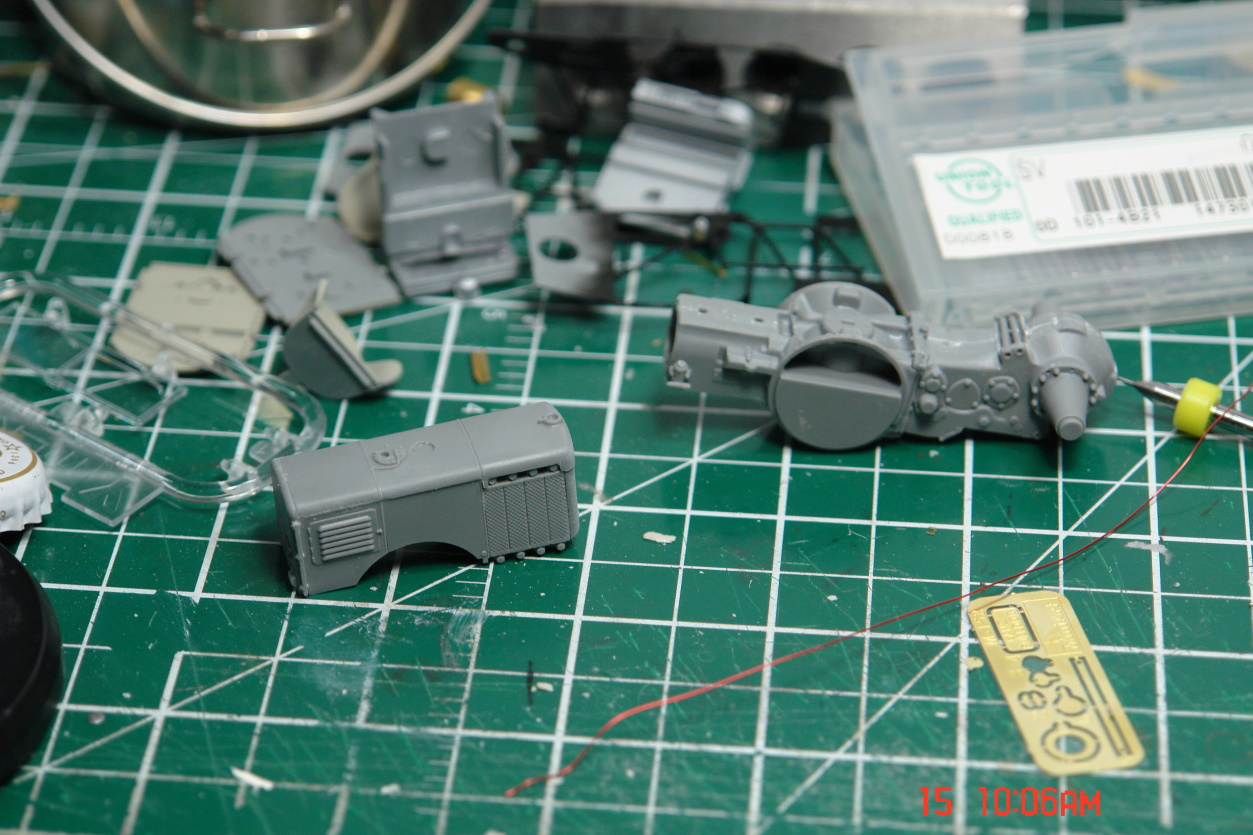
When I saw Miniart was coming out with this kit a few months ago I just really wanted it. It finally arrived on my doorstep on Friday and I figured why not jump in. There are not that many parts for a Miniart kit but it is still challenging and fun.

Made by Lanz of Mannheim, Baden-Württemberg, Germany it was a 3 speed 10.3L single cylinder powered tracto rated at 34 HPr. The engine could burn almost any fuel even waste oil. From what I can find online and Youtube etc it had 1 instrument which was a rotation gauge so you knew the engine was turning the correct way. When looking through the instructions I was a bit confused that the steering wheel can be mounted in the cab or on the right side of the engine after opening a cover. While watching the following video I found that the wheel was used to start the unit and then reconnected to the steering linkage.
The tractor was portrayed in German comics as being cool as that was the sound it made.

The kit also has an extra side which makes me think you can do a later model more powerful version which was 54HP. Parts are also laid out so that I can see some other versions coming. I found one picture of a military version which would be cool to see.
I found a cool cutaway of it online also and this is for discussion purposes.

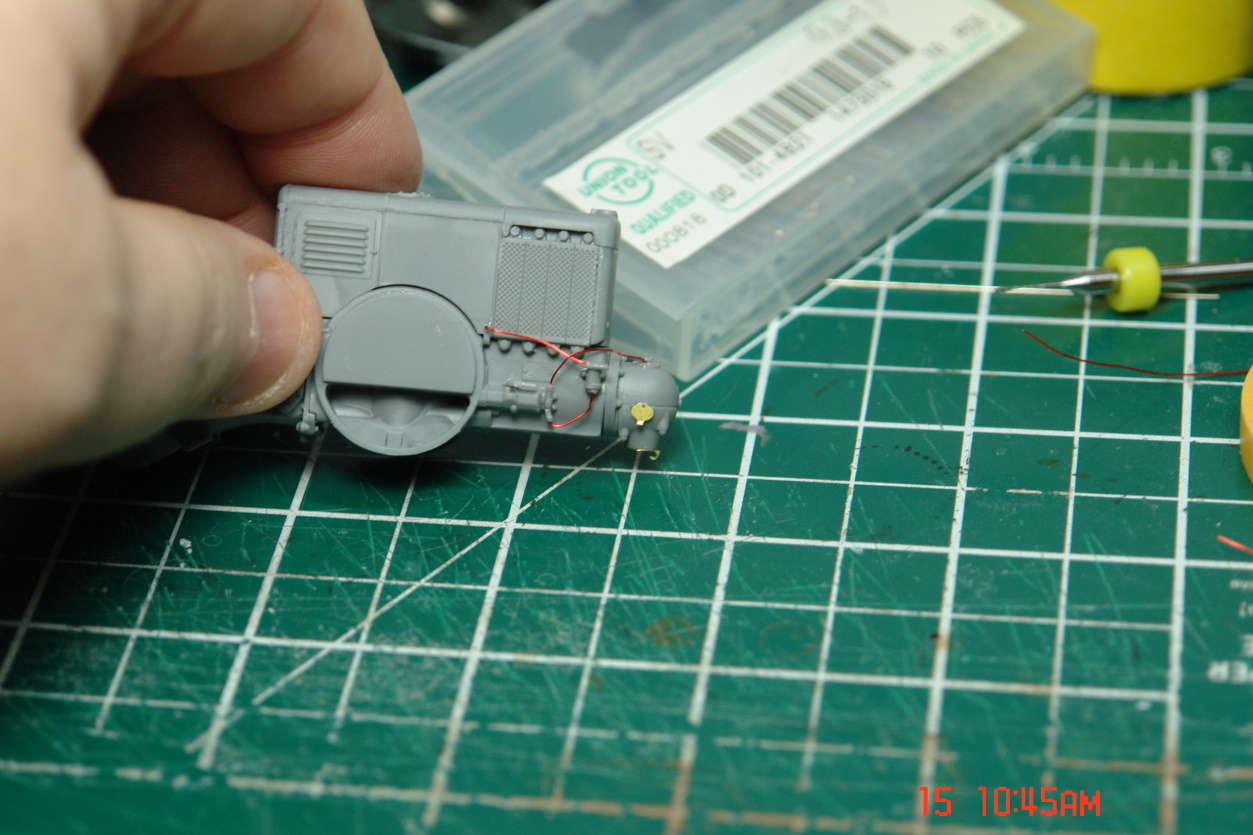
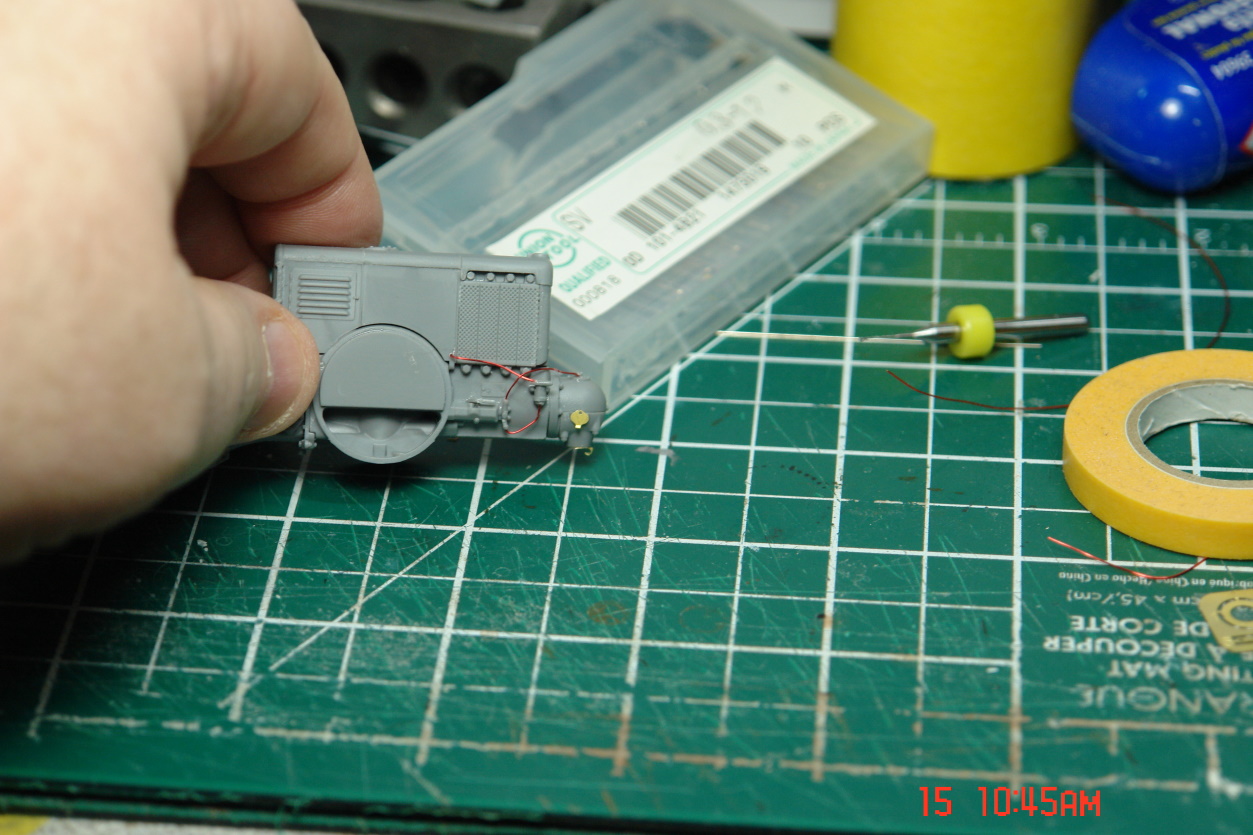
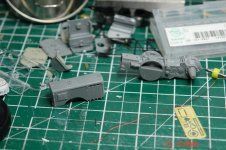
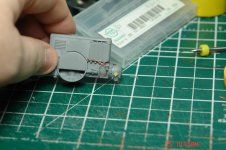
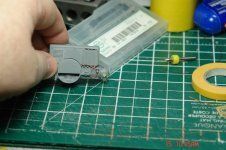
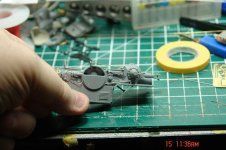
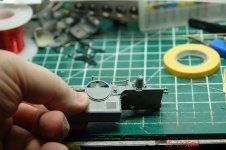
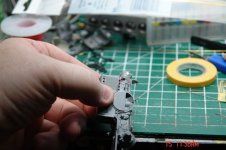
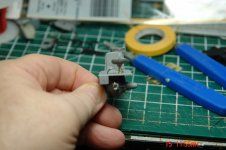
Construction is fairly simple and the parts fit is pretty good. Miniart does use a softer plastic so it is both easier and harder to sand.
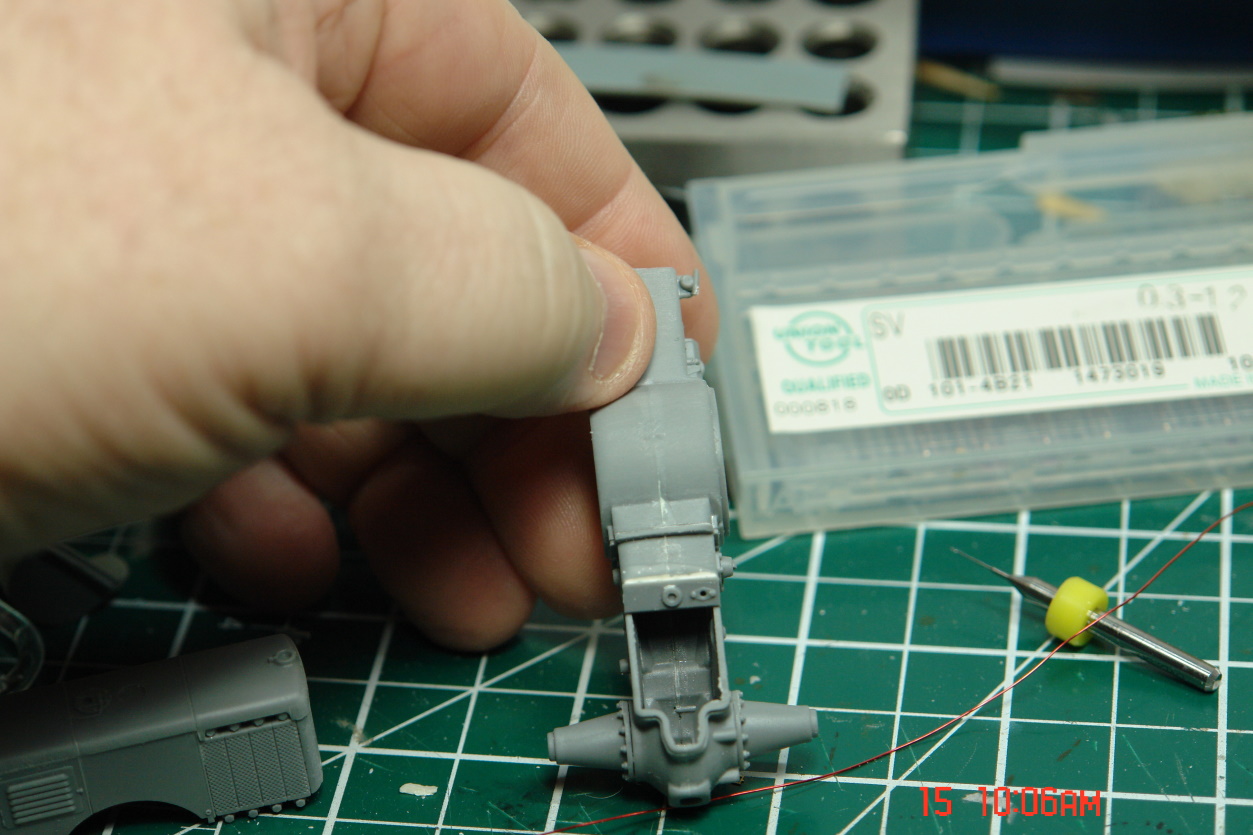
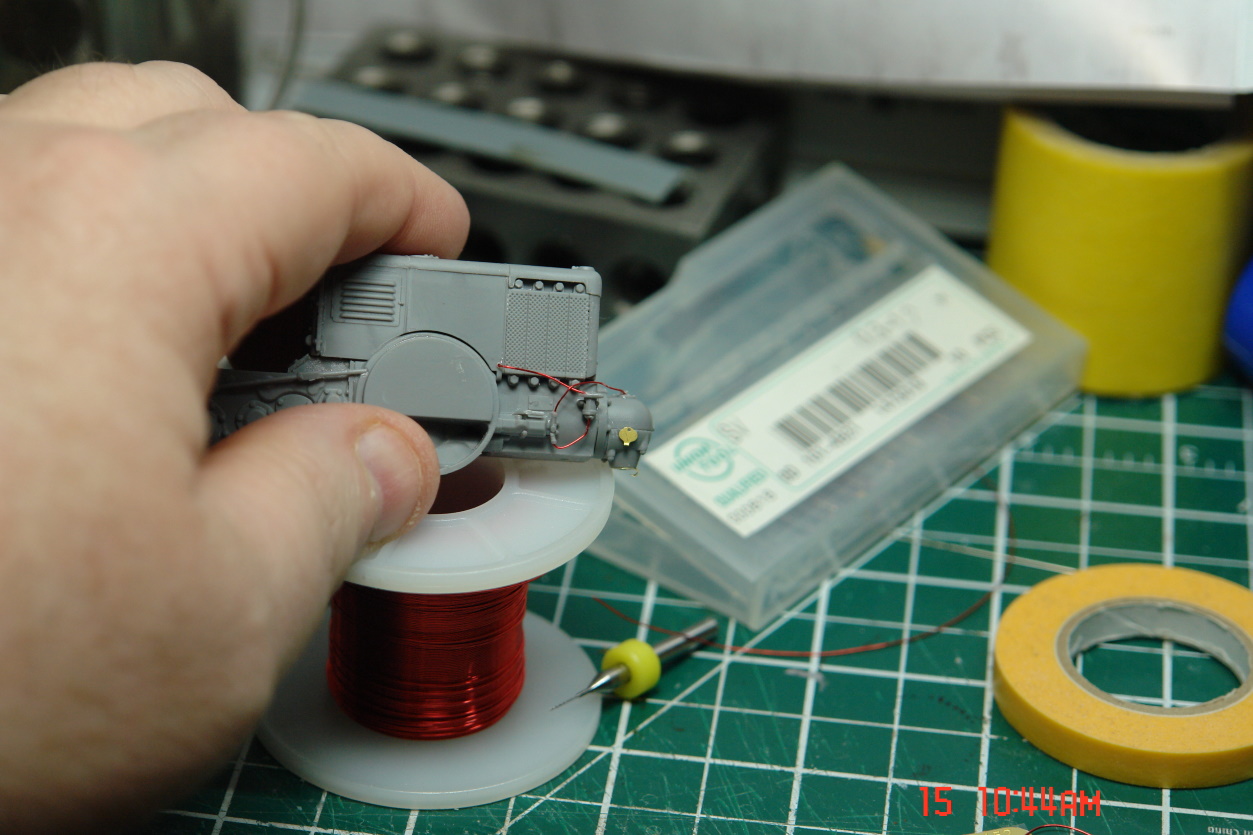
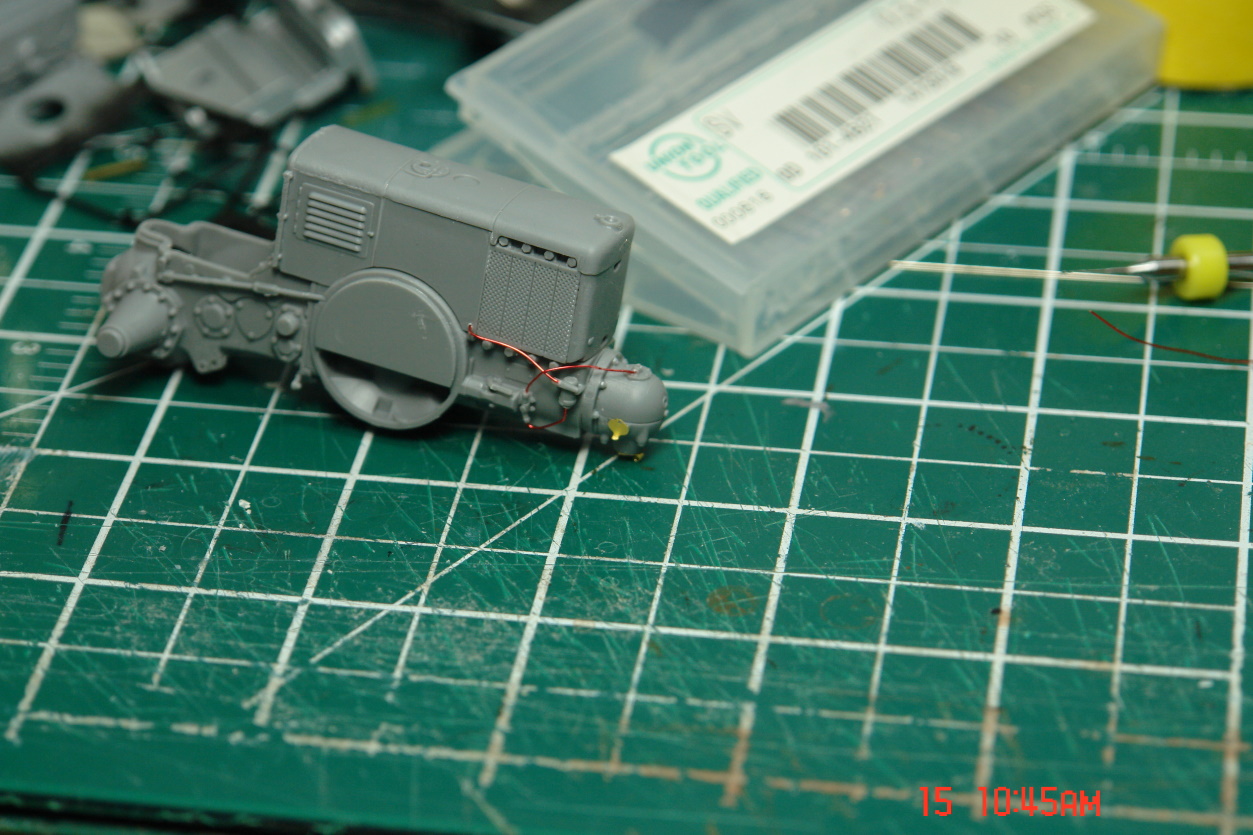
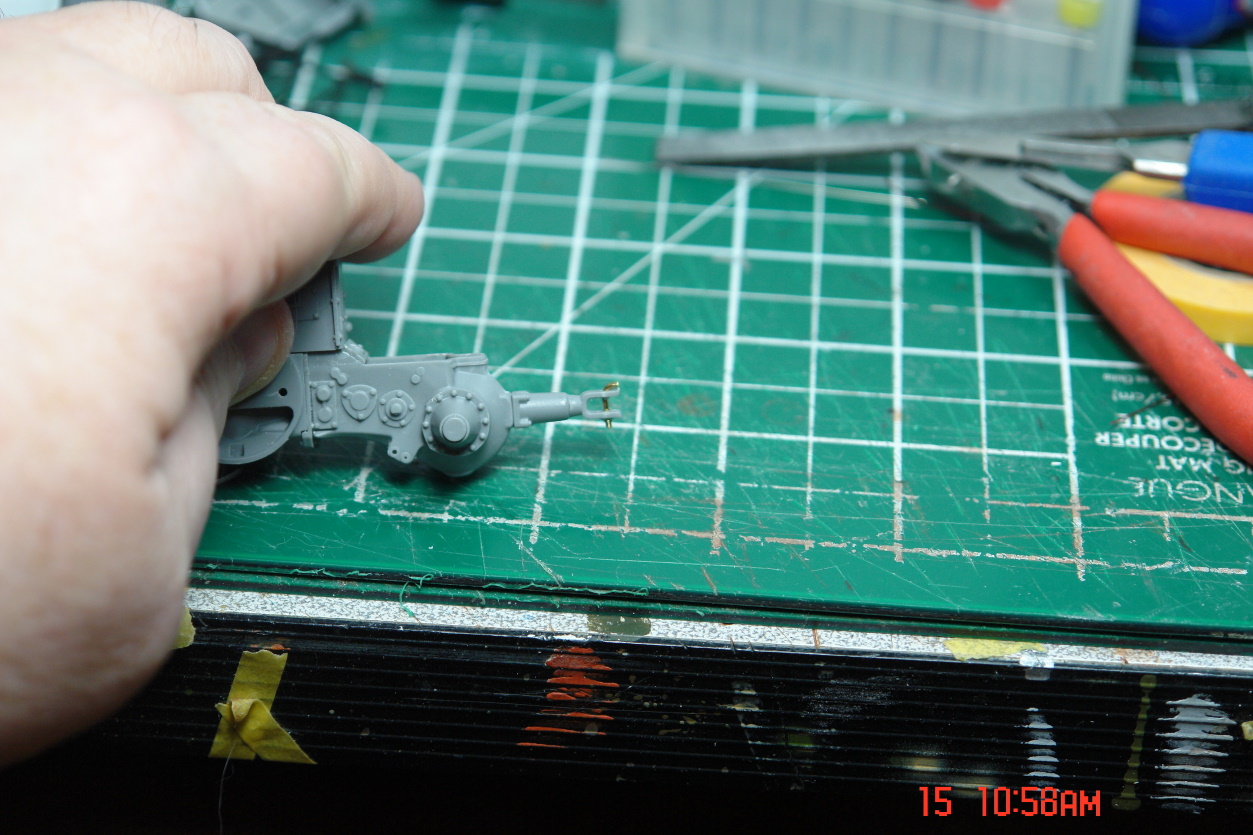
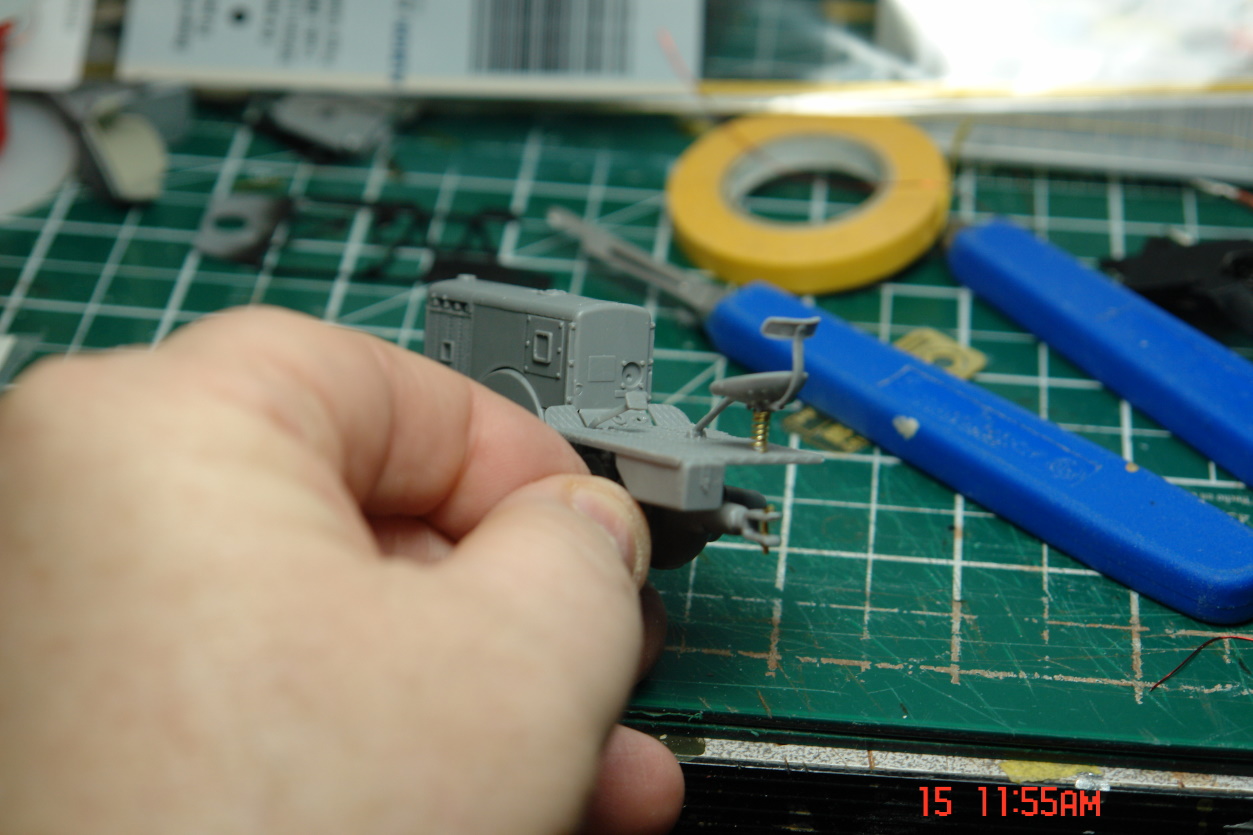
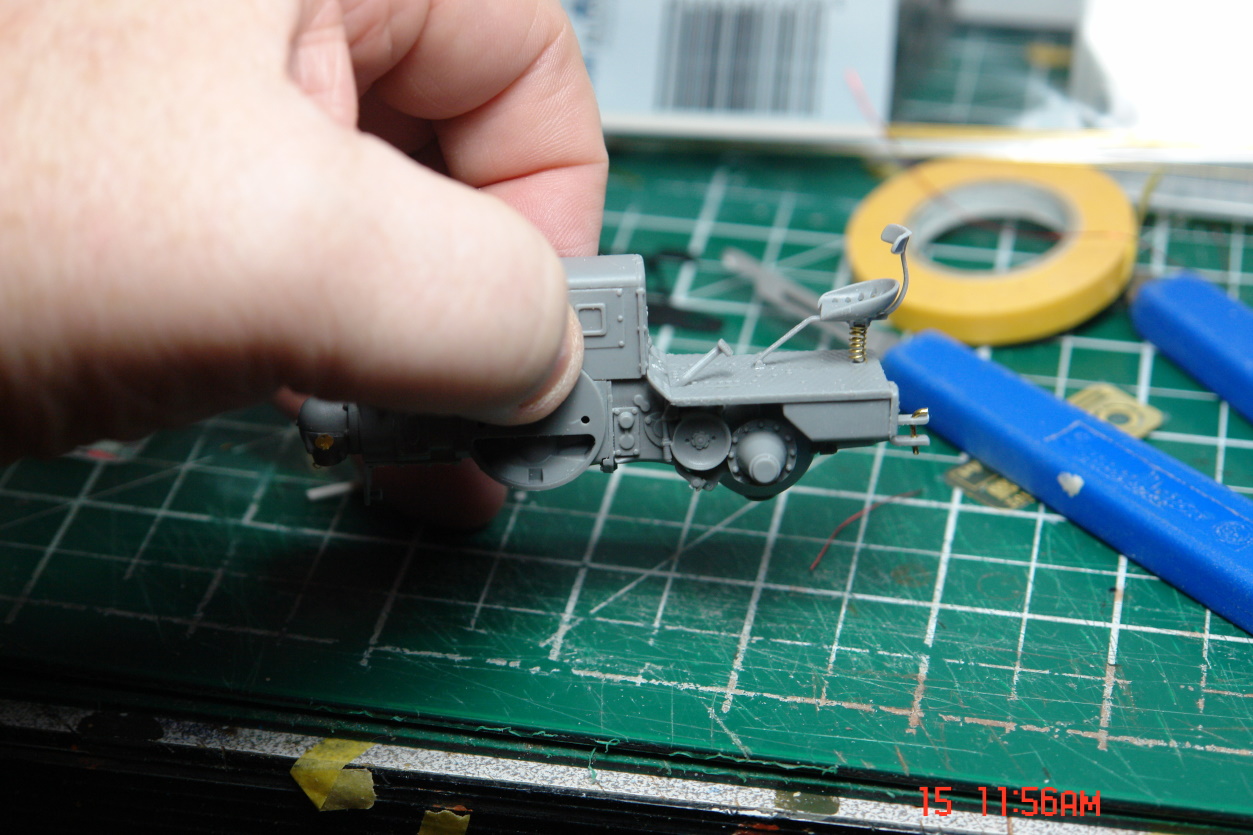
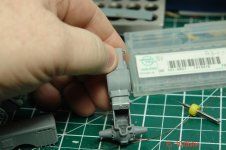
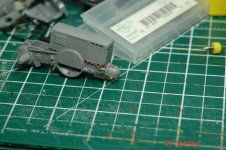
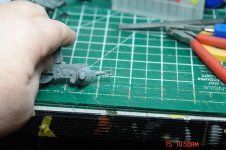
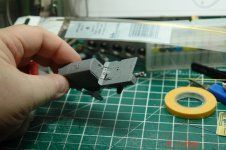
I drilled out the valves and plumbed them in with wire. The drill was .03mm. The colour scheme at the end shows the plumbing and you can find it online also. When cleaning up one of the linkages I managed to break it off as it was so small and fragile. I glued it back together and then when gluing something else it snapped in a new location. So cleaned it up and used some brass wire. For some strange reason the tow pin was molded as part of the pintle so cleaned it up, drilled it out and used brass rod for it. I didnt like the seat spring so I wrapped some brass rod around a plastic rod of suitable size. Then I removed the rod and cut 2 disks off. These were glued into each end of the spring and then the spring was glued in place. Pe cover plates were folded as per instructions and installed. Now a short break before I get back to it.


James
Made by Lanz of Mannheim, Baden-Württemberg, Germany it was a 3 speed 10.3L single cylinder powered tracto rated at 34 HPr. The engine could burn almost any fuel even waste oil. From what I can find online and Youtube etc it had 1 instrument which was a rotation gauge so you knew the engine was turning the correct way. When looking through the instructions I was a bit confused that the steering wheel can be mounted in the cab or on the right side of the engine after opening a cover. While watching the following video I found that the wheel was used to start the unit and then reconnected to the steering linkage.
The tractor was portrayed in German comics as being cool as that was the sound it made.
The kit also has an extra side which makes me think you can do a later model more powerful version which was 54HP. Parts are also laid out so that I can see some other versions coming. I found one picture of a military version which would be cool to see.
I found a cool cutaway of it online also and this is for discussion purposes.
Construction is fairly simple and the parts fit is pretty good. Miniart does use a softer plastic so it is both easier and harder to sand.
I drilled out the valves and plumbed them in with wire. The drill was .03mm. The colour scheme at the end shows the plumbing and you can find it online also. When cleaning up one of the linkages I managed to break it off as it was so small and fragile. I glued it back together and then when gluing something else it snapped in a new location. So cleaned it up and used some brass wire. For some strange reason the tow pin was molded as part of the pintle so cleaned it up, drilled it out and used brass rod for it. I didnt like the seat spring so I wrapped some brass rod around a plastic rod of suitable size. Then I removed the rod and cut 2 disks off. These were glued into each end of the spring and then the spring was glued in place. Pe cover plates were folded as per instructions and installed. Now a short break before I get back to it.
James
Attachments
-
 DSC08836.JPG366.3 KB · Views: 194
 -
 DSC08837.JPG253.7 KB · Views: 211
 -
 DSC08838.JPG273.2 KB · Views: 215
 -
 DSC08839.JPG272.6 KB · Views: 200
 -
 DSC08840.JPG360.4 KB · Views: 194
 -
 DSC08841.JPG313.9 KB · Views: 225
 -
 DSC08842.JPG331.5 KB · Views: 193
 -
 DSC08843.JPG356.4 KB · Views: 204
 -
 DSC08844.JPG315 KB · Views: 200
 -
 DSC08845.JPG319.7 KB · Views: 210
 -
 DSC08846.JPG304.2 KB · Views: 199
 -
 DSC08847.JPG270.3 KB · Views: 210
 -
 DSC08849.JPG247.9 KB · Views: 190
 -
 DSC08850.JPG259 KB · Views: 197
 -
 DSC08851.JPG321.4 KB · Views: 204
")

