• Modelers Alliance has updated the forum software on our website. We have migrated all post, content and user accounts but we could not migrate the passwords.
    This requires that you manually reset your password.
    Please click here, http://modelersalliance.org/forums/login to go to logon page and use the "Forgot your Password" option.

Just Another D.III(OAW)

mtnflyer

Member
Hi.
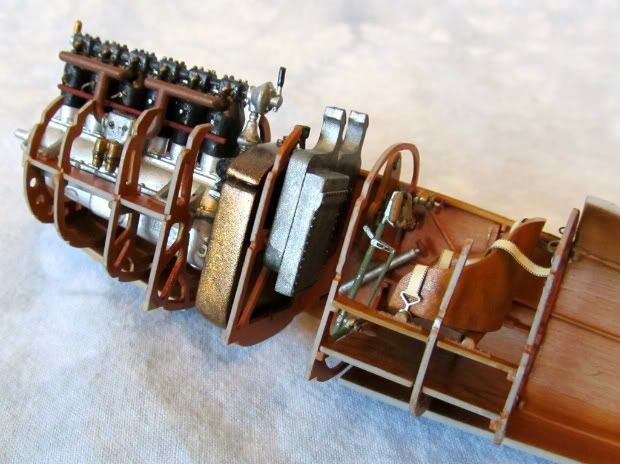
I've been messing with this 1/32 Roden D.III for a campaign on another site for awhile now. I was into that campaign
long before I even knew Modelers Alliance existed. Anyway; just thought I'd like to share what I've done with it. Its
still on the build, as I'm having time issues for modeling this summer.

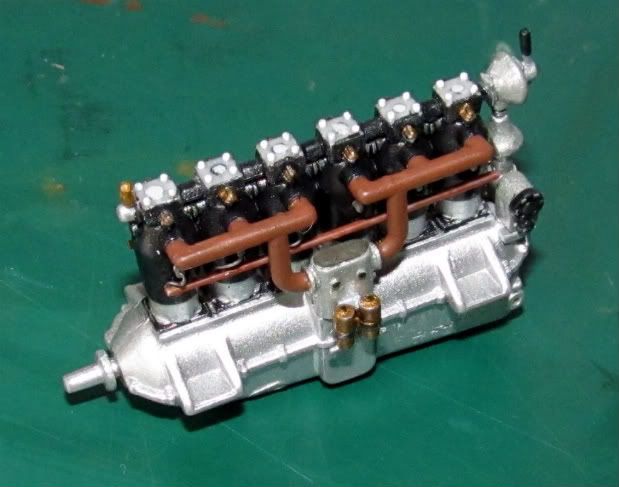
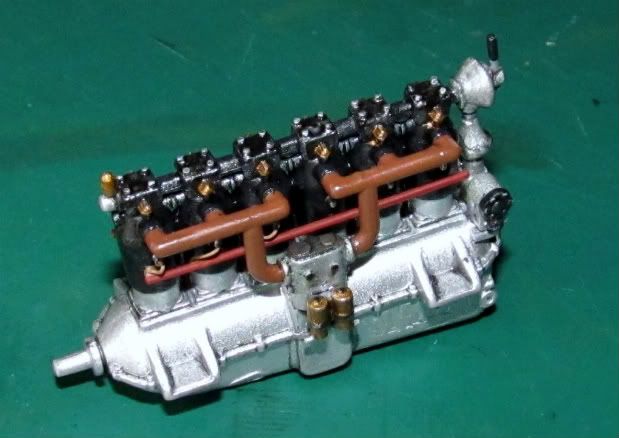
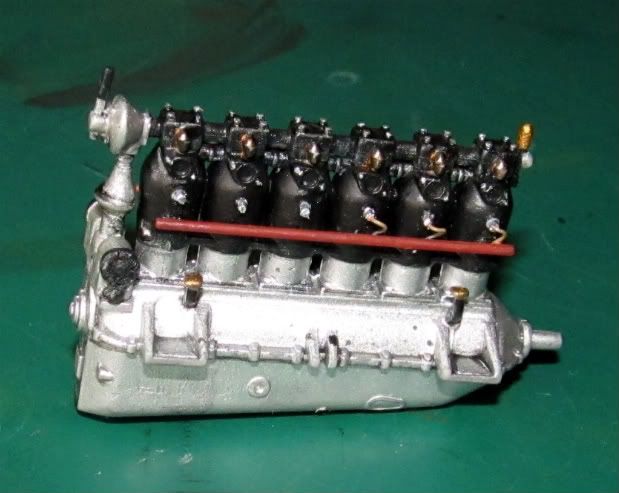
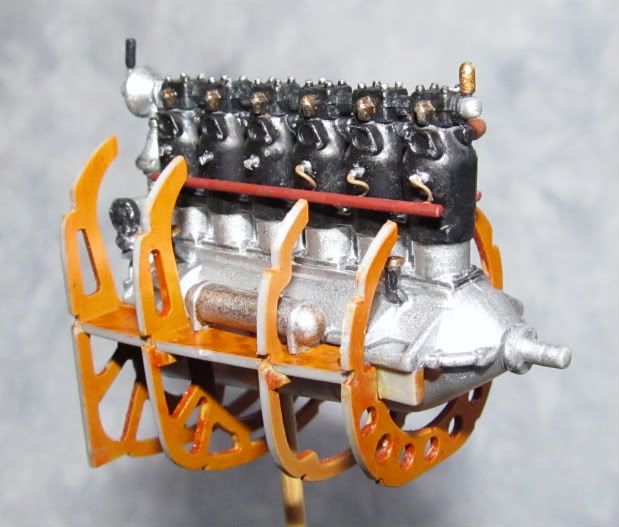
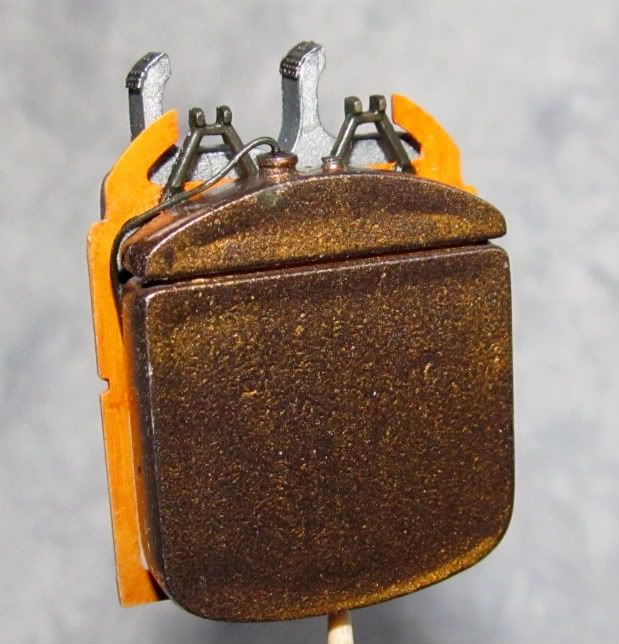
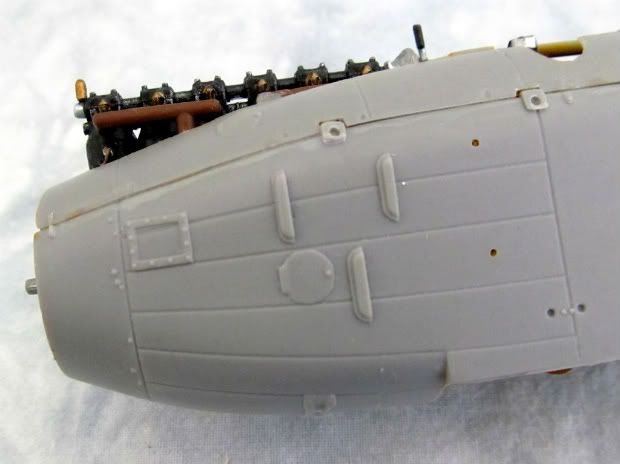
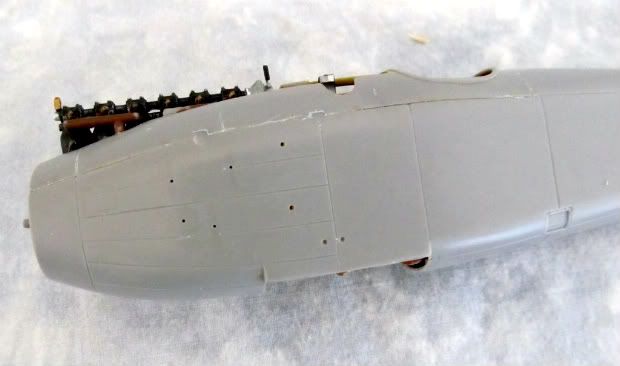
I used a punch to make the tiny bolt heads on cylinders:


Engine10.jpg


Engine11.jpg


Engine13.jpg


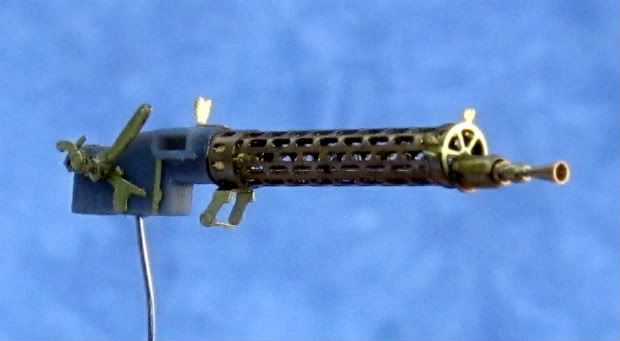
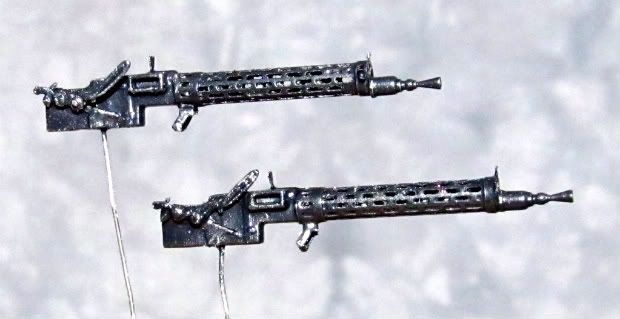
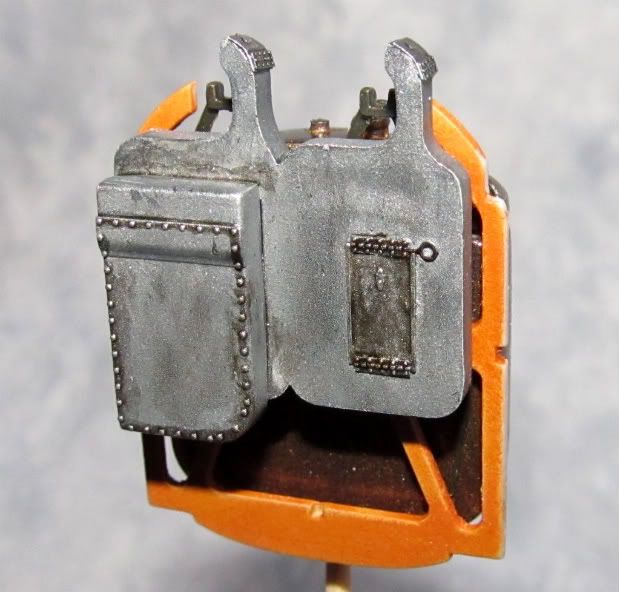
The Maxims were done using the Aber AM set:

Guns6.jpg


DIIIProject011.jpg


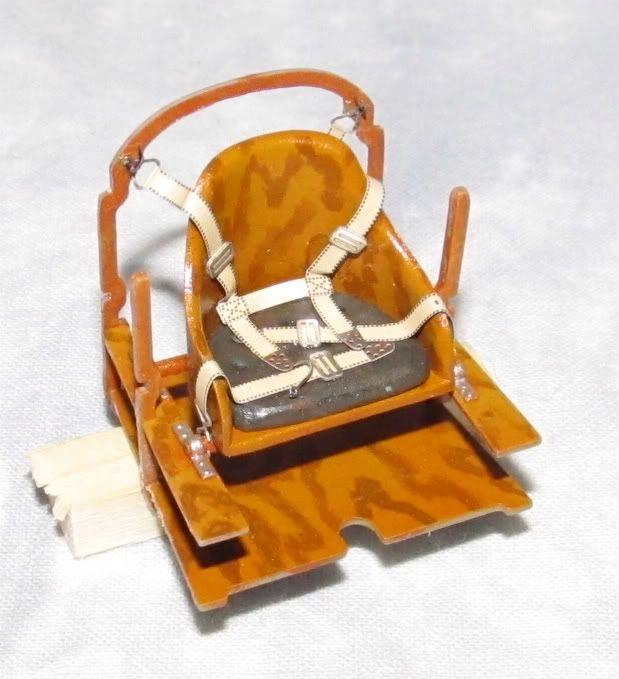
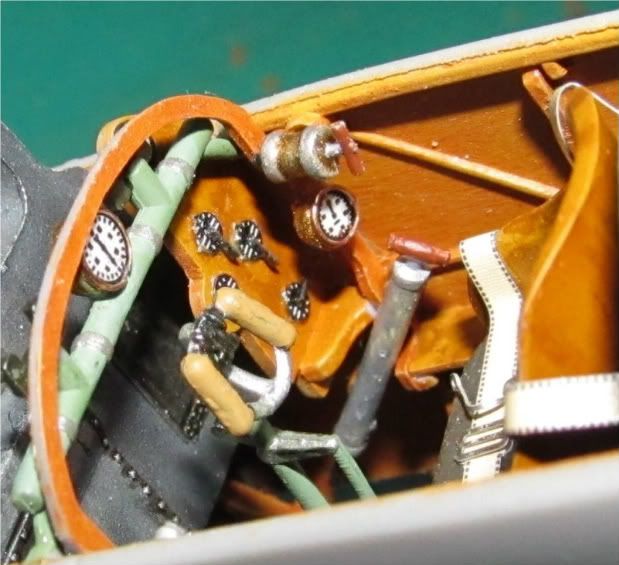
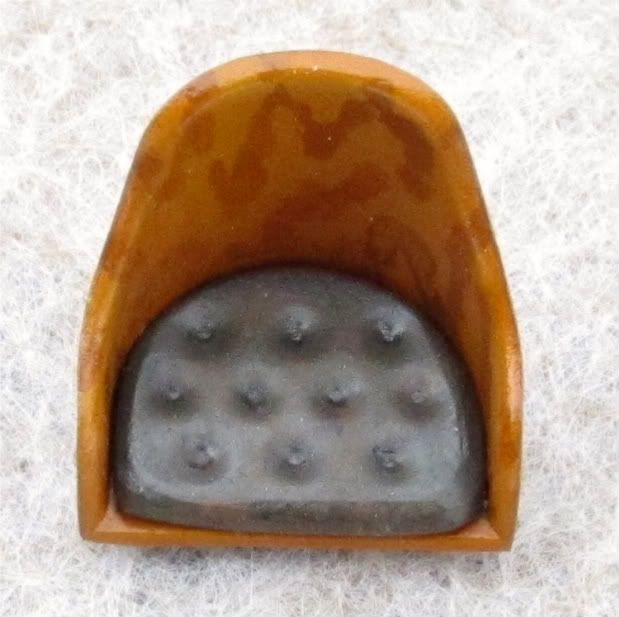
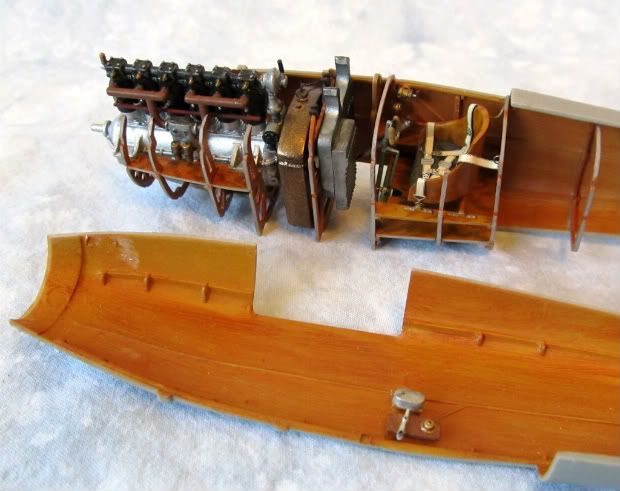
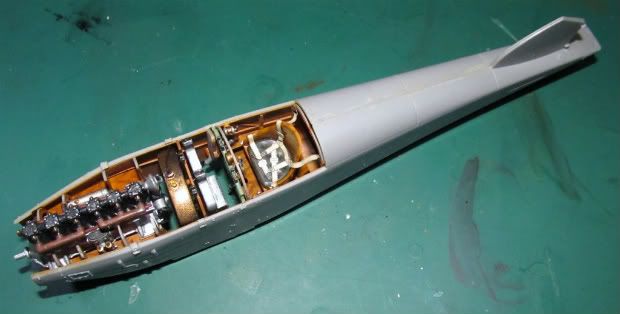
Interior parts are turning out OK, with a little Eduard PE. Instruments are done using the decal/copper wire/future technique:

DIIIModules007.jpg


DIIIProject007.jpg


DIIIFuselage004.jpg


Now, I'll stop loading photos until next time. Don't know how much I can get away with on this site, yet anyway.

Till next time: Guy
 
A few more interior module and trinket photos:

DIIIModules001.jpg


DIIIModules004.jpg


PitWorks3.jpg


DIIIInterior005.jpg


DIIIInterior001.jpg


DIIIInterior003.jpg


There will be a-little more to show. Thats for tomorrow, though. Sleep time now.

Guy
 
Really nice details Guy, love the seat and the highlighting of the metal parts. Love it all!

:popcorn
 
Thankyou, gentlemen, for the compliments.

Thought I'd bring it up to the present, and let you know where I'm at with it.

The fuselage was closed up some time back. Obviously, I require some tutorial on scribing technique:

DIIIFuselage006.jpg


I took a walkround series of photos like this one, as reference for the original detail locations. Then I drilled tiny holes through
the center of each louvre and inspection port detail so I could reference the exact location. My intentions were to sand off all the
details and replace them with PE:

FuselageDetail013.jpg


DIIIFuse008.jpg


DIIIFuse004.jpg


Yesterday, I sanded the same sort of detail off the wings, and am preparing to mate fuselage with lower wing. Its difficult right
now to find any serious modeling time, with a 1:1 home reno going on. But, I will update as things progress.

Thanks for looking, Guy
 
That looks mighty nice, Guy- cheers! Very much looking forward to seeing your PE application- whose bits will you be using?

Good luck with on the Home Front!
chuk
 
Very much looking forward to seeing your PE application- whose bits will you be using?
chuk

Gee, thanks guys.

Chuk, I have a couple sets of the Eduard D.III PE frets I'll be using. Hope to get it on for the weekend. Right now, I'm waiting for contractors to show up; my favorite passtime :hmmm
 
That is looking fantastic. Love the engine, looks great. I have an old WWI kit stashed away some where that I really need to give a go.

Can't wait for next update.
 
B) great work. I am looking forward to this as I would like to see how Yiu tackle the undercarriage - I am not sure how to get the Roden version stable.

Ian.
 
Rob, I'm going to finish it with the kit supplied Marine Field Jasta III decal. Its a lightly mottled camo style.

Ian, yes, I've heard that Rodens under-carriage is a little weak. So, I've decided to go with AM white metal carriage and struts. Scale Aicraft Conversions Product.

Thankyou for the kind interest in my build, everyone. I'm afraid I won't update for a-bit, as I'm taking some summer off for awhile. Just fishing.

Guy
 
Back
Top