• Modelers Alliance has updated the forum software on our website. We have migrated all post, content and user accounts but we could not migrate the passwords.
    This requires that you manually reset your password.
    Please click here, http://modelersalliance.org/forums/login to go to logon page and use the "Forgot your Password" option.

Il-2M3 in 1/32

Old Dog

Well-known member
Well now that we have a target rich environment it's time to break out the Russian flying tank and engage in some panzer knacking ! :evil:

The kit is the Hobby Boss Il-2M3 and here are the required start photos

il2gb1.jpg


il2gb2.jpg


I will be building this mostly out of box with a small amount of PE in the pit. I also will deviate from my usual anal habit :eek:hmy: of including all the detail stuff that can't be seen, in order to reduce the workload since the remaining time is getting short. Stay tuned more on the way soon !
 
I'm making a command decision and allowing aircraft on Cold Steel. Mainly because I want to see an IL2 built and secondly want to see one built by Gary :popcorn

Besides, it can be said this was an armored vehicle.

(y)
 
No need for that Bob as stated in the beginning "Here are the rules: You may do any subject: tracks, wheels, wings, foot sloggers, or
even floating things. I signed up for the Il-2 quite some time ago !
 
OK, before starting lets take a look in the box. The kit has a huge number of parts and many will not get used in this build.

il2-3m32-01.jpg


Here's a closer look at the surface detail

il2-3m32-01a.jpg


il2-3m32-02.jpg


il2-3m32-03.jpg


il2-3m32-05.jpg


il2-3m32-06.jpg


There was some thought to protecting delicate parts, this was done on several sprues

il2-3m32-07a.jpg


il2-3m32-07b.jpg


il2-3m32-08.jpg


il2-3m32-09.jpg


il2-3m32-10.jpg


il2-3m32-11.jpg


il2-3m32-12.jpg


Some parts were supplied in vinyl.

il2-3m32-13.jpg


il2-3m32-14.jpg


il2-3m32-15.jpg


Main struts in metal.

il2-3m32-16.jpg


A fret of PE is supplied

il2-3m32pe1.jpg


il2-3m32decals1.jpg


il2-3m32decals2.jpg


And for aftermarket I went with

il2-3m32pe2.jpg


il2-3m32pe2-1.jpg


Next up...assembly !
 
OK, so why has it taken so long to get started ? Well a funny thing happened on the way to assembly, I wandered into my library with the intent of pulling out my Il-2 references only to find I didn't have and definitive references, DUH ! :eek:hmy: Major over site on my part considering I have 4 of these birds in my stash. So I called a delay of game and proceeded to order some. In the mean time I decided to plunge ahead with things I didn't references to deal with. First was the engine. The kit provides somewhere in the neighbor of 60 parts for the engine, of course that includes the exhaust stacks which are separate and each in two halves :idonno since I have no plans to use the clear engine covers nor open any panels all I needed were the basics, crankcase to mount the engine bearers, gearbox to mount the propeller and cylinder heads to mount exhaust stacks. The parts fit well but some seam filling would be required if you wanted to make a showcase out of it. Anyway, this is all I'm using

il2-3m32-b01.jpg


il2-3m32-b02.jpg


Another item not requiring references was the tail planes so those were built up. I had thoughts of drooping the elevators but when my references showed up I found that most planes at rest showed flaps up and all control surfaces in neutral positions so that is what I'm going with.

il2-3m32-b03.jpg


Next up I glued the clear engine covers in place on the forward fuselage. Man, I sure am glad I didn't want to display these clear. While the fit was excellent it was also very fiddly as there were only two narrow ridges to line things up. Clear parts cement would have not been strong enough and trying to align it using super glue would have been a disaster for me, fortunately all the glue mess is inside as I had to reposition and re-glue about 3 times before I was satisfied with the alignment. :eek:hmy:

il2-3m32-b04.jpg


I started cleaning up the cockpit parts and much to my dismay found that the mold designers blew it in regards to the knock out pin locations, two of the three parts shown below could have had the marks on the other side and they wouldn't have showed, Ohh well !

il2-3m32-b05.jpg


I have already most of the wings together and we'll get to those in the next update.
 
As stated in the last installment the wings are next. The center section was done first. Although I don't like to install the landing gear this early in the process, it's wider at the top than the fairing that fits around it and although it might be possible to install it afterwards it looked like it would be fiddly so I bit the bullet and installed it.

il2-3m32-b06.jpg


Everything fit pretty well but it's not a Tamigawa kit so it pays to dry fit, a small amount of sanding and trimming was required. Most of the photo etch supplied with the kit was detailing parts for the wing bomb bays and since I'm going to use external stores there was no reason to fiddle with it and the doors were glued shut.

il2-3m32-b07.jpg


The worst fit so far was where the gear bay fairing met the top wing, the one below just requires a little sanding and some filler, the one on the other side has a step that will need to be filled and feathered in which doesn't look easy due to all the compound curves.

il2-3m32-b08.jpg


I was planning to do this one pretty much out of box, however, this is what you get out of box for the oil cooler on the bottom...

il2-3m32-b09.jpg


and this is what it should look like...

il2-3m32-b09a.jpg


and the other end of the kit looks like this...

il2-3m32-b10.jpg


and should look like this...

il2-3m32-b09b.jpg


While this might pass muster in 1/48 or smaller, AMS tells me it's not good enough for 1/32 so some work is planned. The shutters on the front, in spite of their appearance are considered armored shutters and were closed during take off and during attack runs to protect the radiator. On the back side the upper door controlled the airflow through the engine coolant radiator and the lower ones were also armored shutters which I believe opened and closed in unison with the front ones.

The outer wing panels are finished and ready to install, fit on them was pretty good as well but a little tweaking was required. Dry fitting indicates they should mate well with the center section and with the spars should be nice and sturdy but I'm going to wait until the radiator mods are complete before I install them.

il2-3m32-b11.jpg


You may have noticed a saw cut line on the radiator, I almost got started before remembering to photograph. The radiator is not glued in place yet.
 
Luckily , the IL-2 has a very sturdy landing gear . Good luck with that . I would drop it and snap everything off myself.

Cheers, Christian B)
 
OK, for the front of the lower radiator I started by removing the material between the radiator supports using a JLC saw and X-Acto knife. This went fairly painlessly

il2-3m32-b12.jpg


I next cut two strips from some 70x70 mesh brass screen to stand in for the radiator core. Finer mesh would have been better but I had this on hand and it's not going to be all that visible any way.

il2-3m32-b13.jpg


The strips were glued to the front and rear of the radiator assembly

il2-3m32-b14.jpg


il2-3m32-b15.jpg


I also made up the armored shutters for the front and rear, The pivot shafts have not been cut to length yet on one end.

il2-3m32-b16.jpg


Next trick will be mounting this stuff.
 
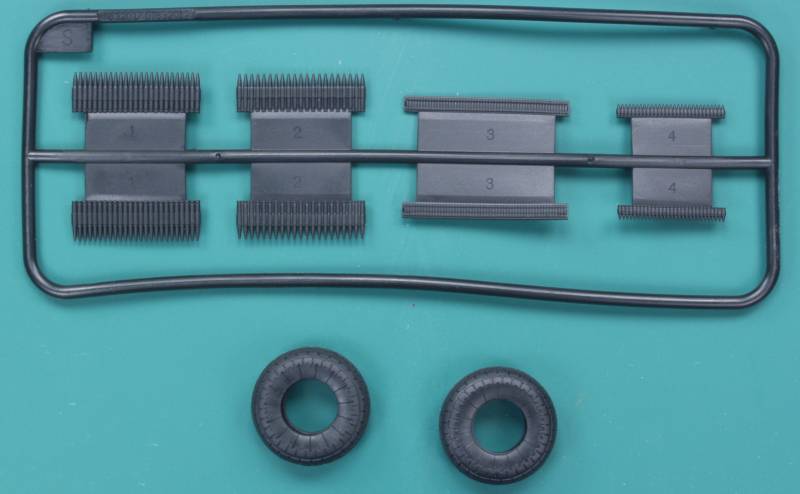
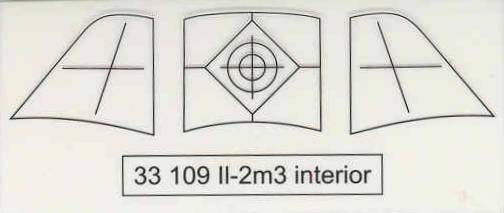
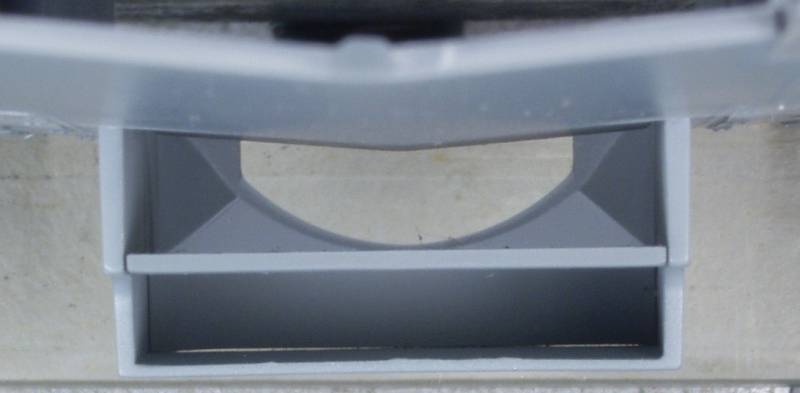
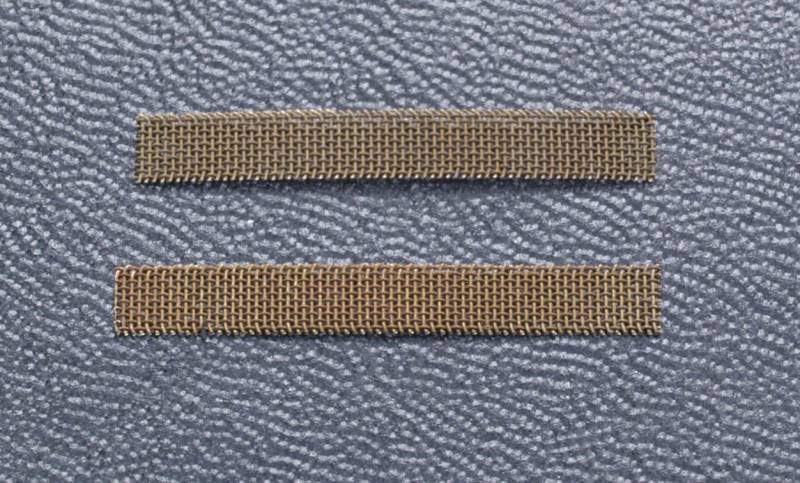
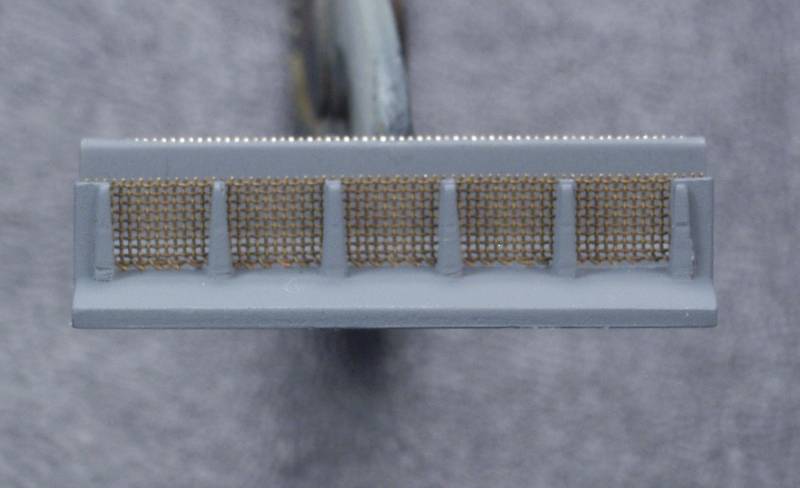
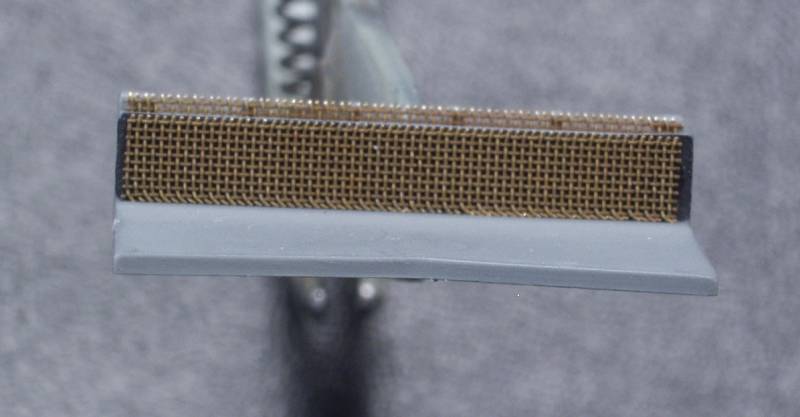
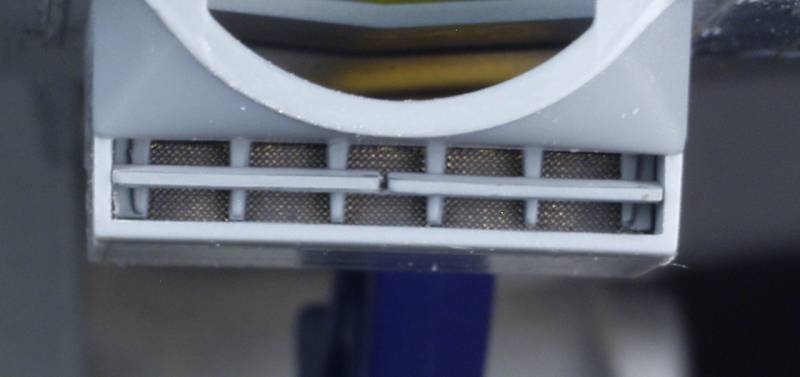
OK, time for an update. Before going on to new stuff I'm going to rewind a bit. Although I was reasonably satisfied with the radiator material I had used, I decided to obtained some 100 x 100 mesh and decided to used it instead. I also cut it at a 45º angle to make the apertures look diamond shaped instead of square, the end result looks like this

il2-3m32-b17.jpg


Not my best photo but you get the idea, the pieces still needed trimmed at this point, once painted up it looked much more like a radiator and less like a screen.

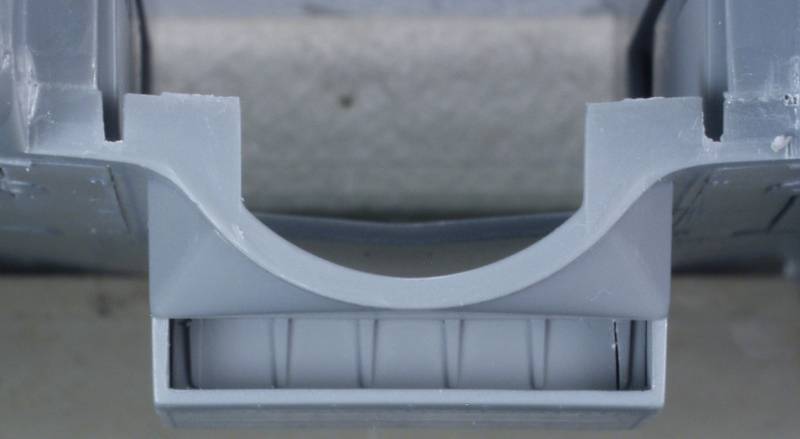
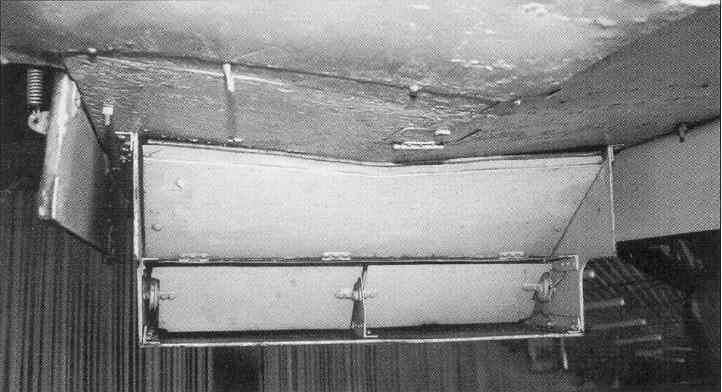
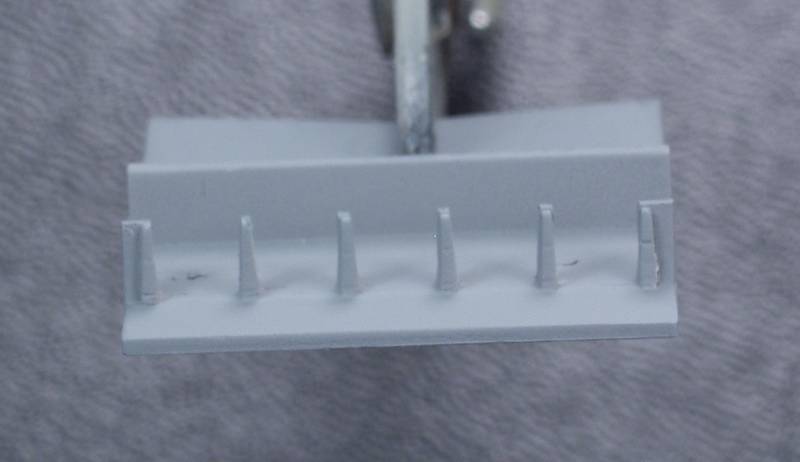
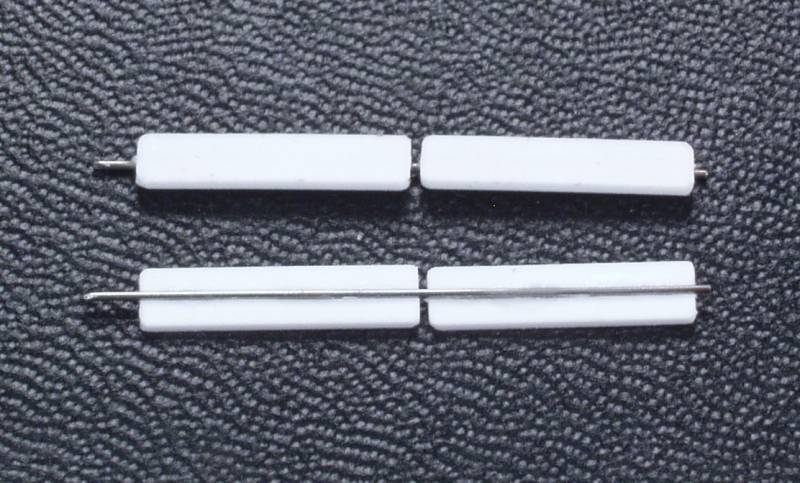
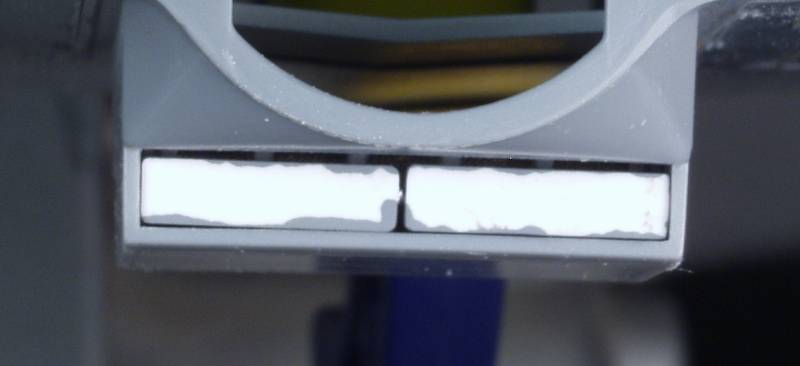
With that out of the way it was on to mounting the armored shutters. The shaft I mounted these on was a piece of small diameter hypo tubing as none of the wire I had was stiff enough. My original thought was to cut the ends of the tubing to half the thickness of the side walls, slip it in place and glue it. Before I got to that point I decided on a different approach. The internal diameter of the tubing was smaller in diameter than a #80 drill, fortunately I had a .0105" diameter drill (#80 is .0135) so I cut the tubing flush with the ends of the shutters then used the drill to open the ends and drill a hole in each side wall. I then found some wire (a single strand from some stranded wire) and used it and a pivot point at each end, This turned out to be quite a test of patience but was pleased how it turned out and a side benefit was the shutters are now positionable.

il2-3m32-b23.jpg


il2-3m32-b24.jpg


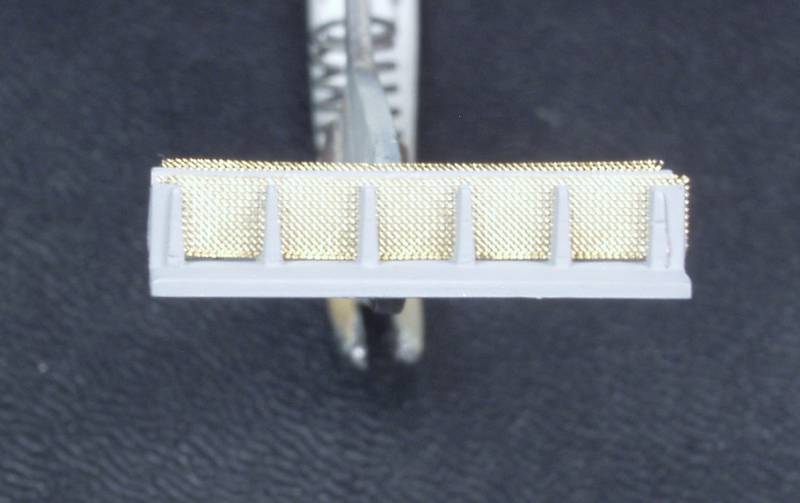
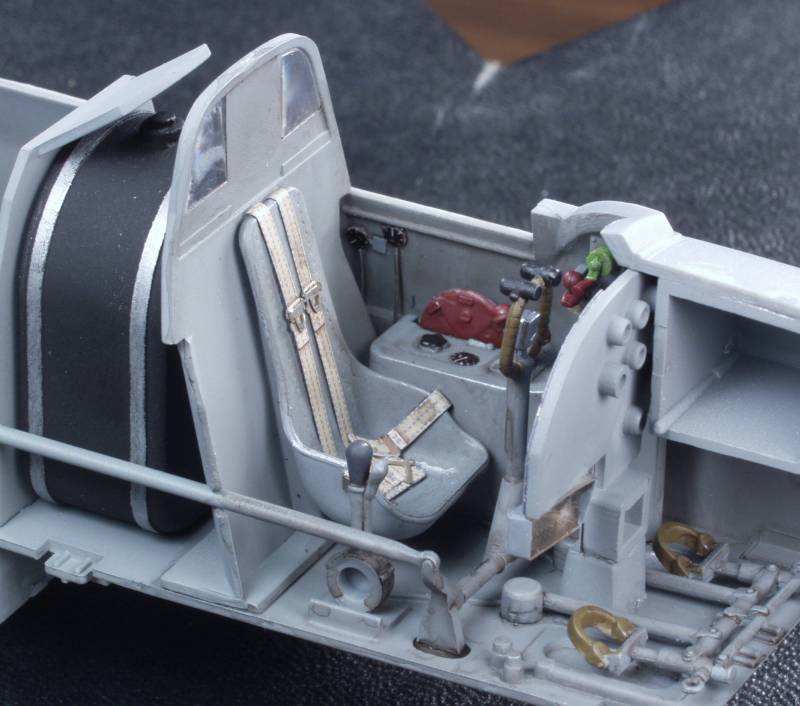
In the last shot you can see how the radiator looks painted up.

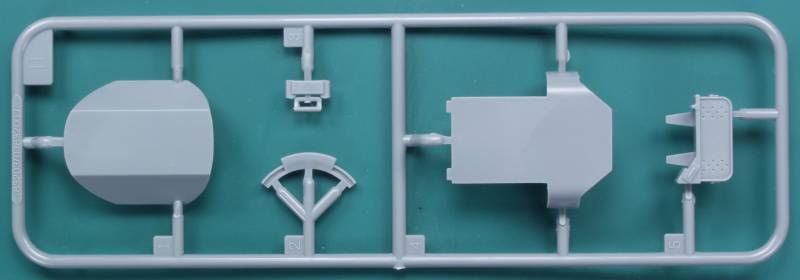
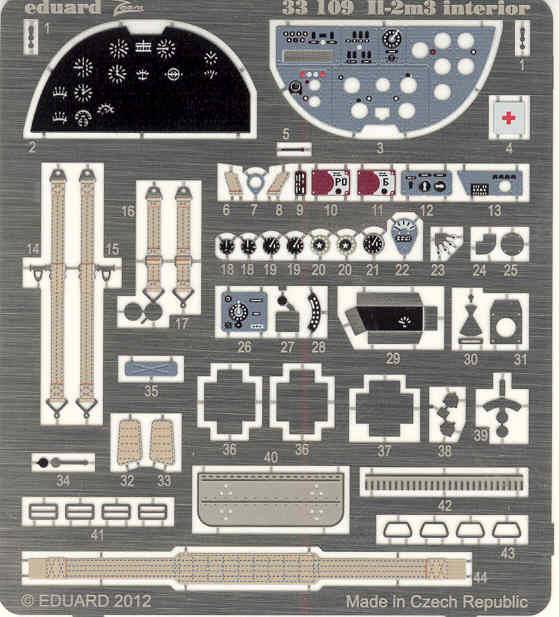
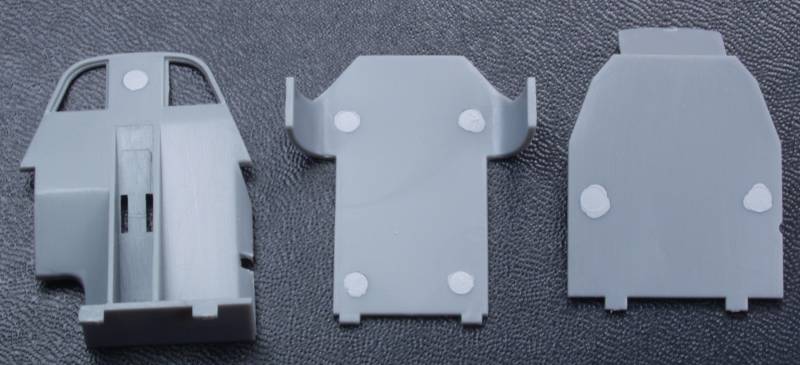
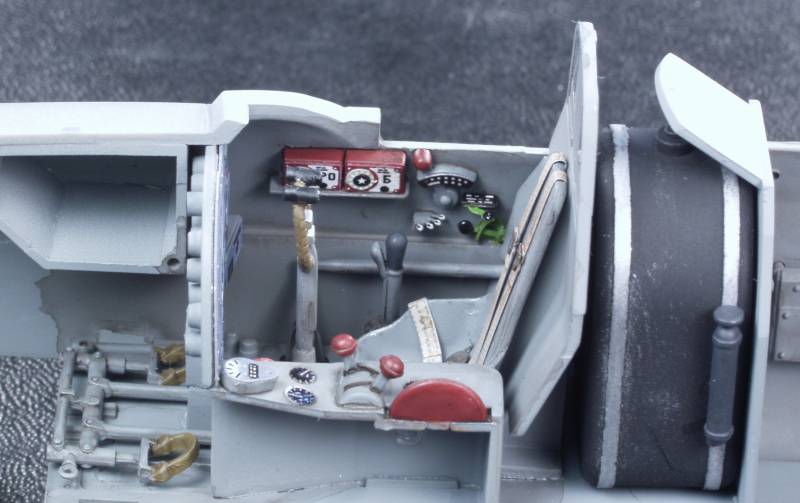
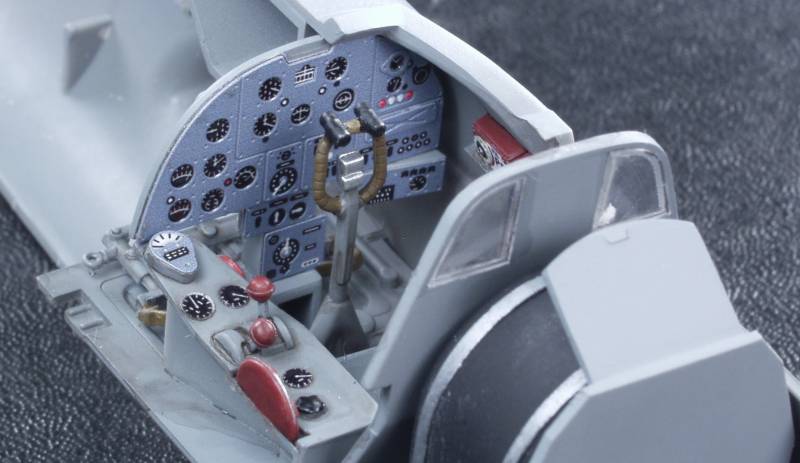
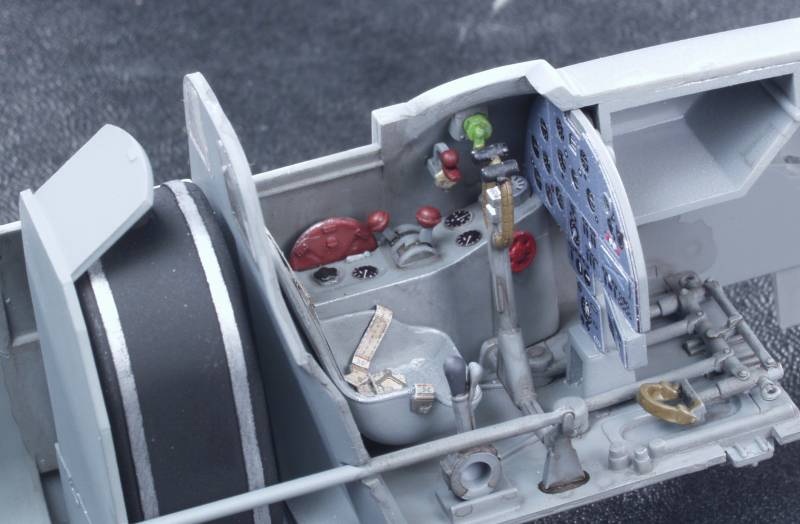
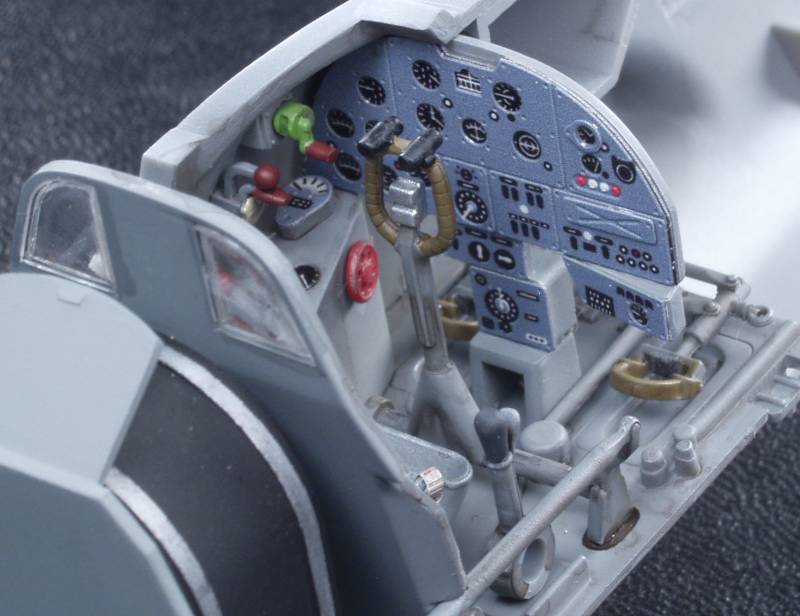
The back shutters were done the same way. With that done the pit was assembled and detailed. I found that there were discrepancies both between the kit parts and the Eduard set that did not match either photos or diagrams that I had available. Some were just wrong like a first aid box on the starboard wall that didn't show up in any of my references and minor stuff like the throttle being mounted too far forward. I also came to the conclusion that some of the details were just over sized as they would not fit in the configuration shown in photos and diagrams. So I used a bit of creative gizmology and fit things in the best I could. In this scale one could go nuts with detail but hey, I've got a deadline to meet. :unsure: Also the pit itself tends to look a little plain but that's due to lack of ribs and structural detail and that is correct due to the armored tub that surrounded the pit. Anyway, here is my rendition.

il2-3m32-b18.jpg


il2-3m32-b19.jpg


il2-3m32-b20.jpg


il2-3m32-b21.jpg


il2-3m32-b22.jpg


The big lever that looks like the parking brake from a Mack truck is the emergency bomb release. :lol:

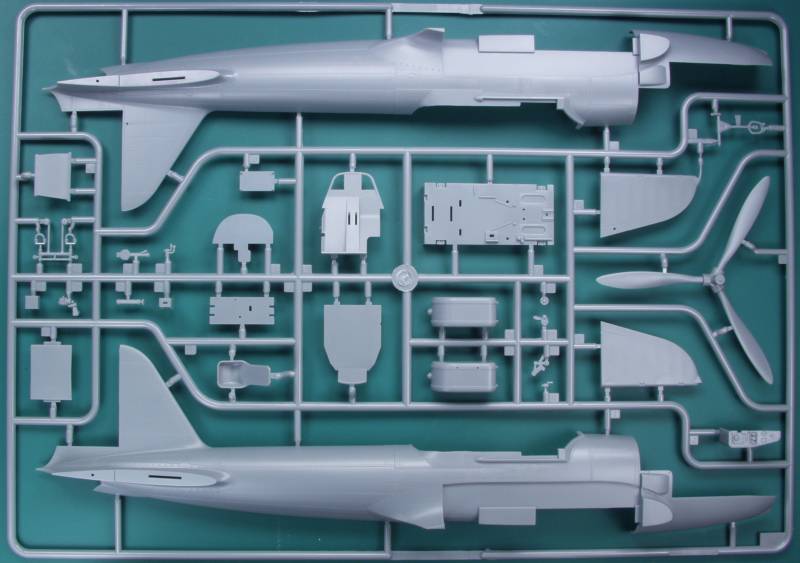
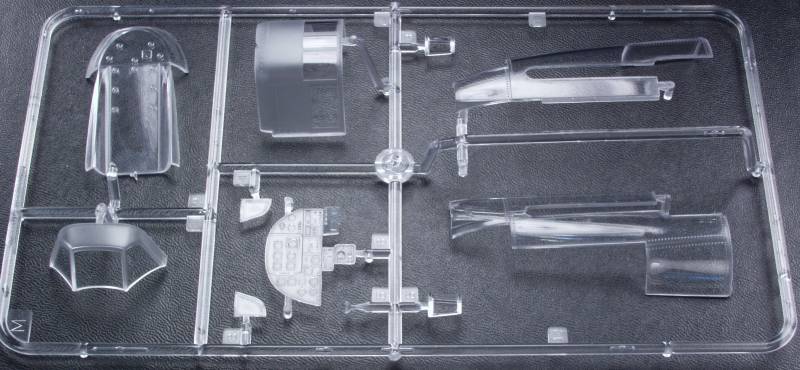
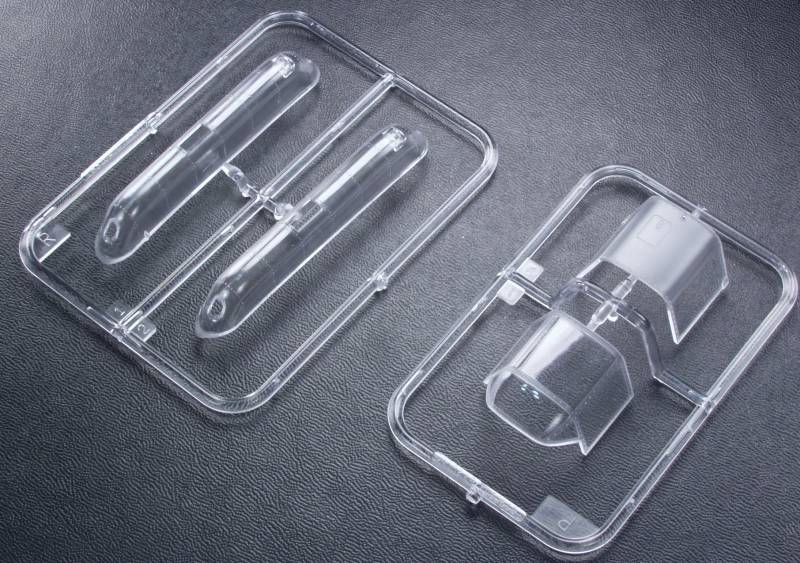
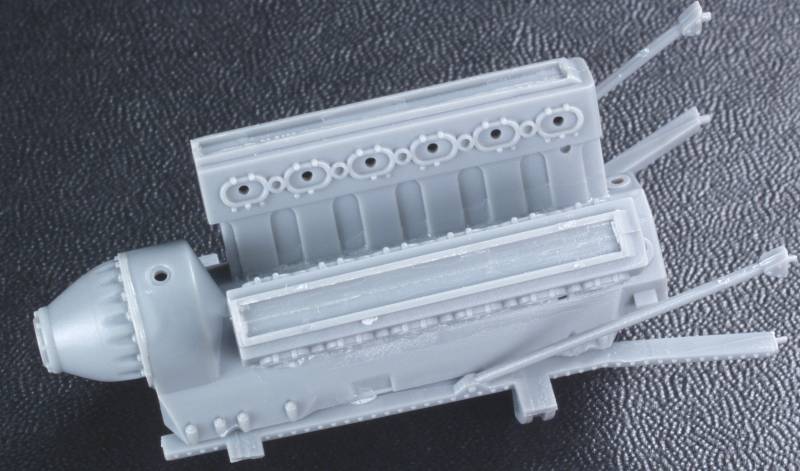
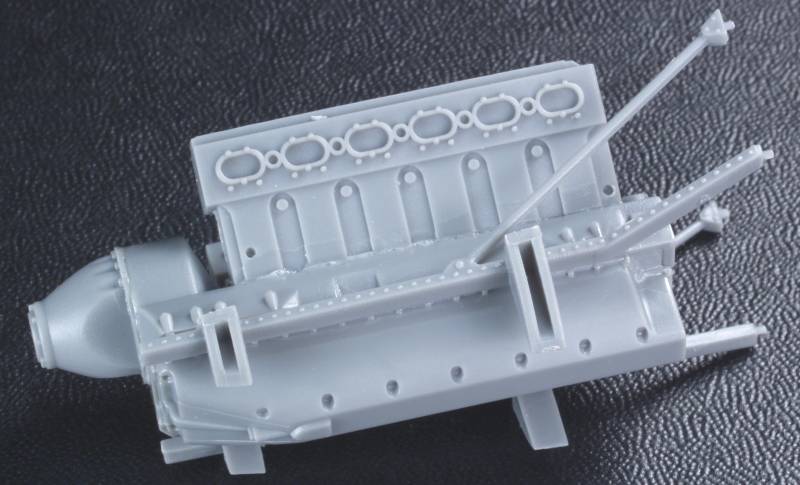
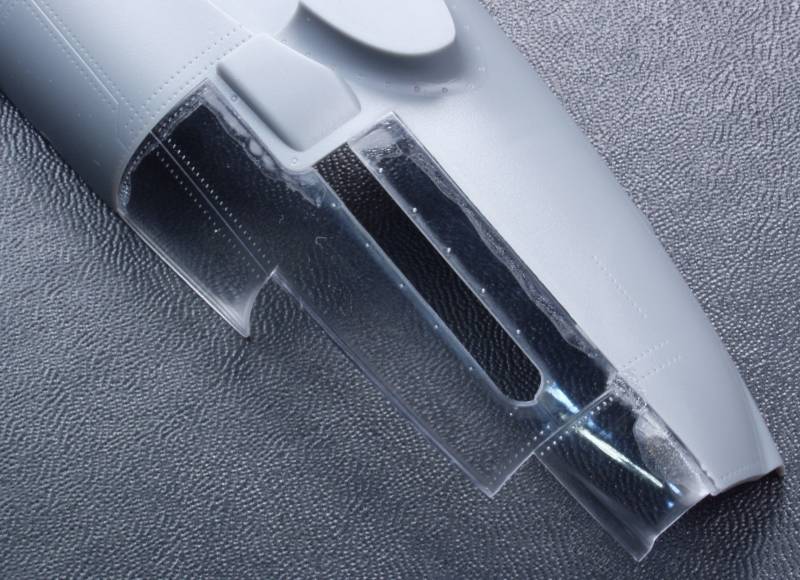
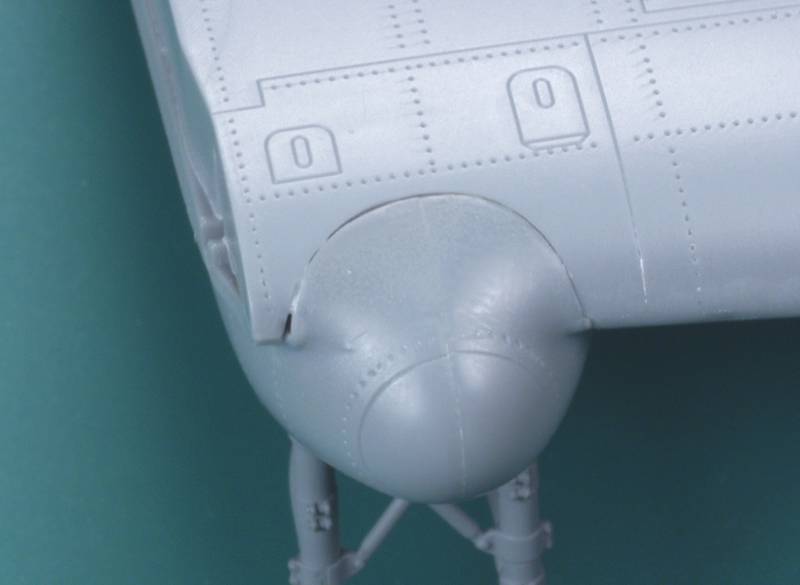
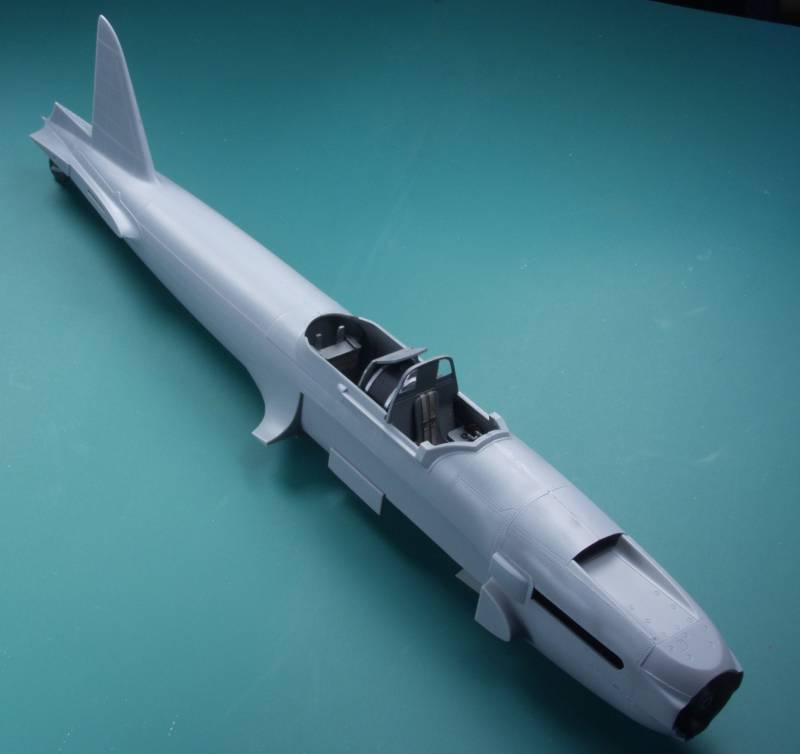
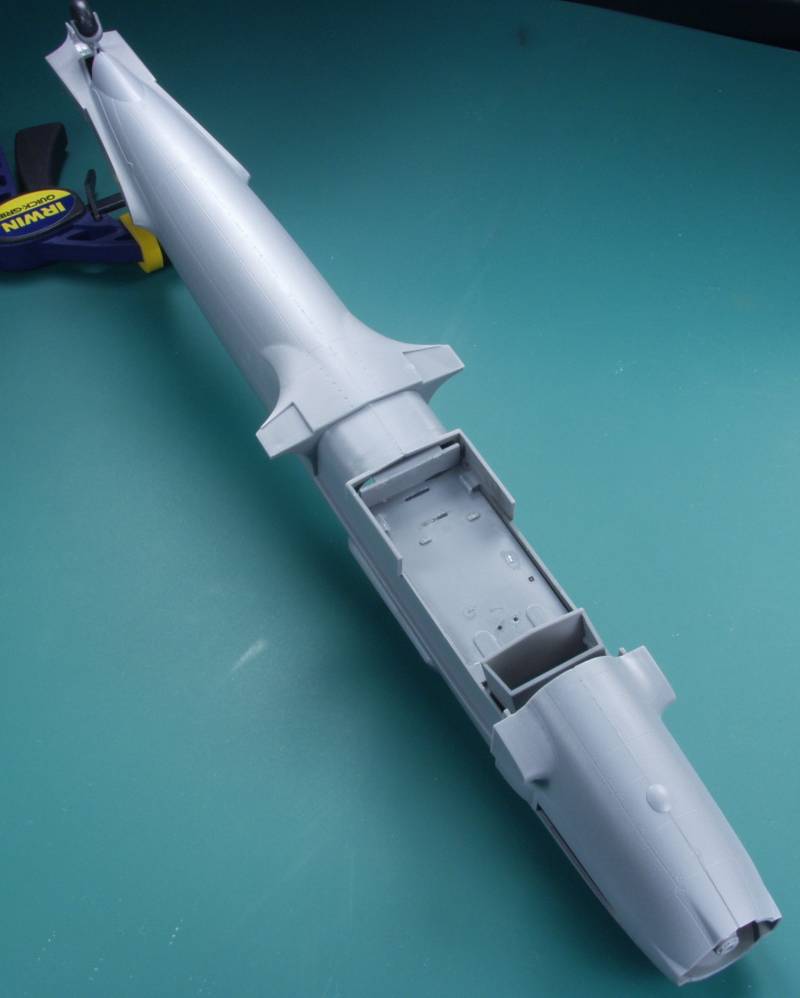
With the pit done it was on to fuselage assembly. I did not install the invisible radio rack in the rear fuselage and all in all the fuselage went together rather well, not Tamiya grade but no major issues either. In this photo I have primered the clear cowling parts to make it easier to see what seam work needs to be done and I also shot some down the center line seams. Nothing that a little Mr. Surfacer won't fix.

il2-3m32-b26.jpg


il2-3m32-b27.jpg


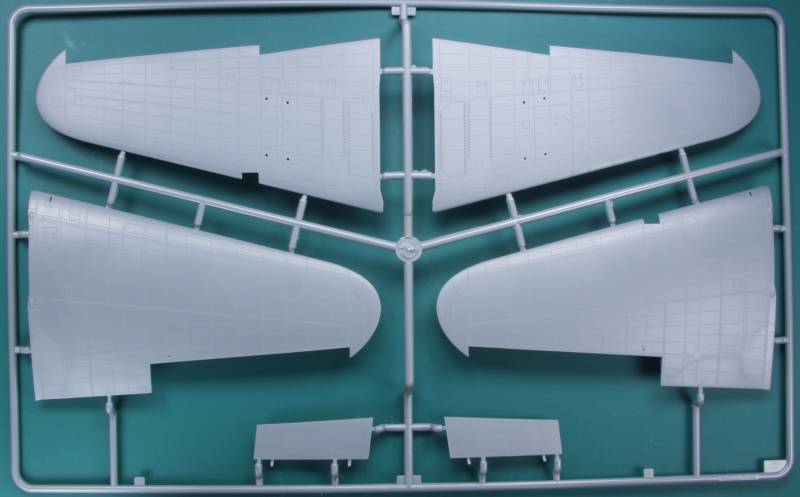
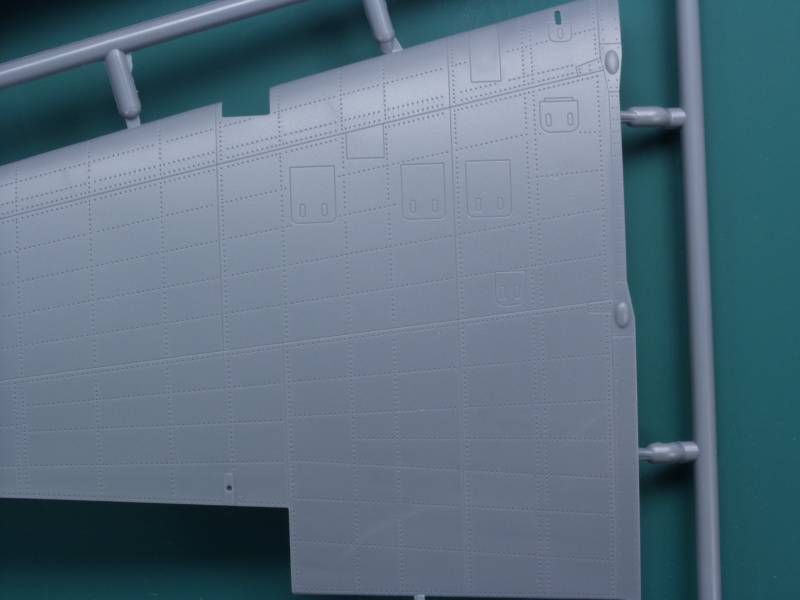
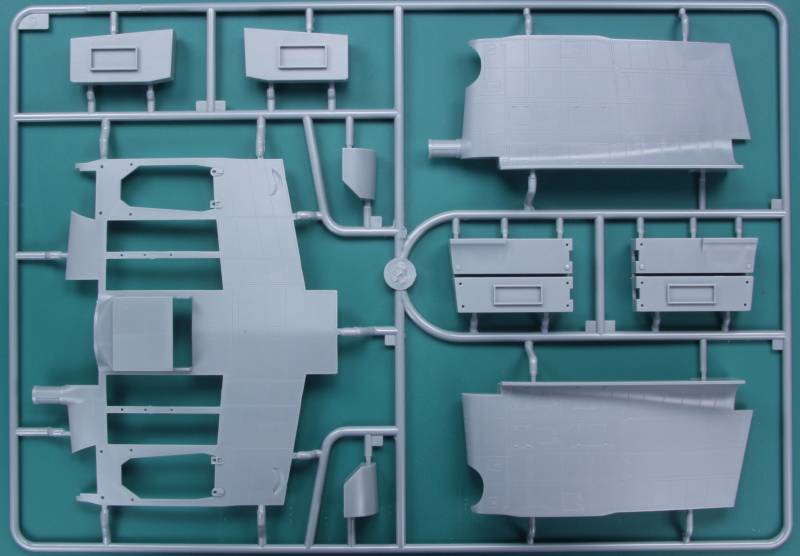
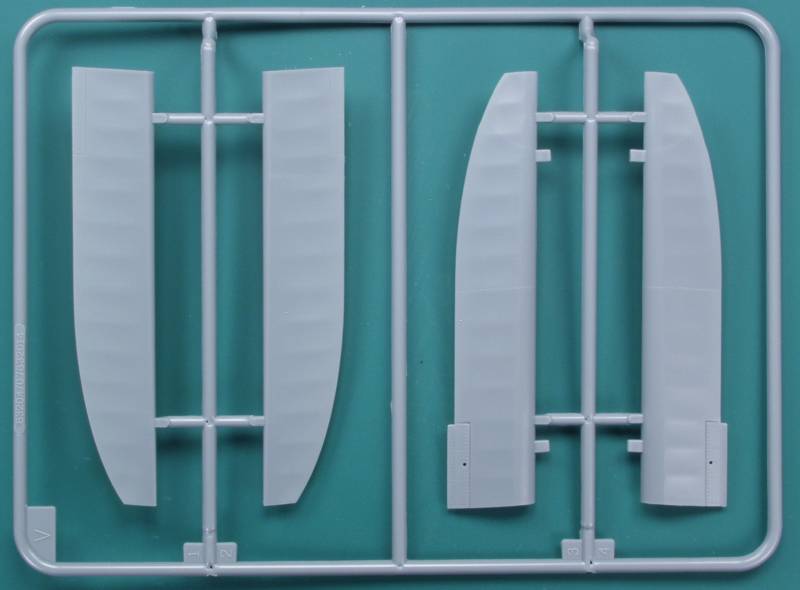
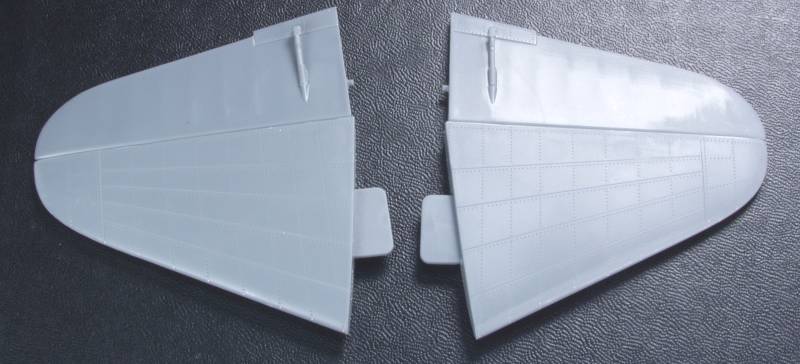
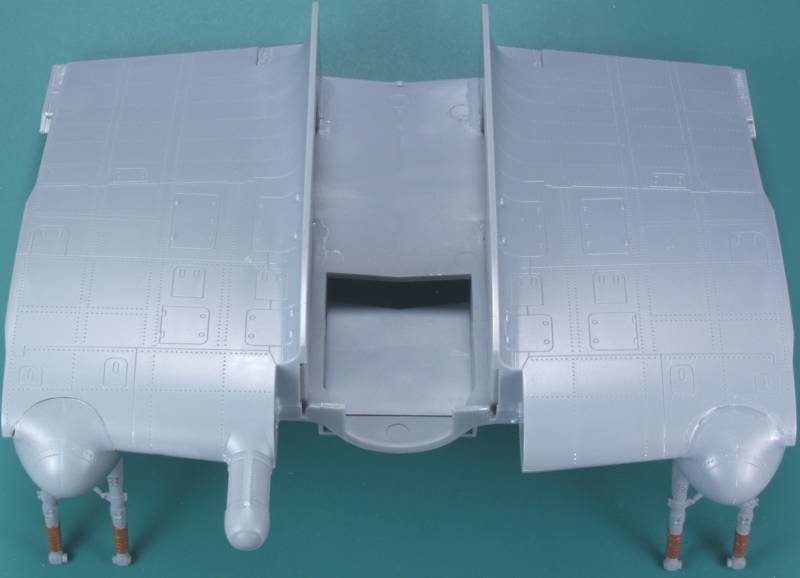
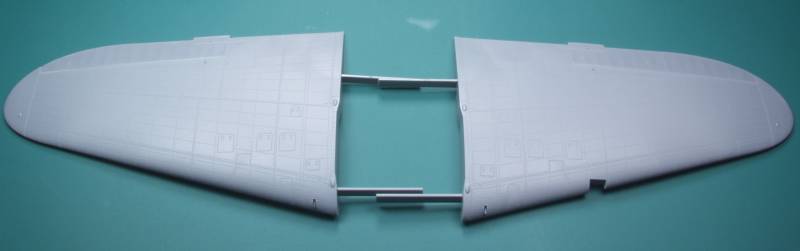
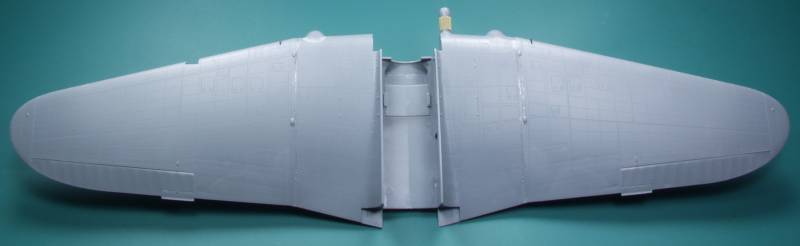
Next the outer wing panels were mated with the wing center section. The instructions would have you do this nearly at the end but I felt it would be easier to deal with any alignment issues without the fuselage getting in the way. I did need to do a little bit of filing and sanding here and there but nothing major and the fit was quite good and the spars added a lot of strength to the assembly.

il2-3m32-b28.jpg


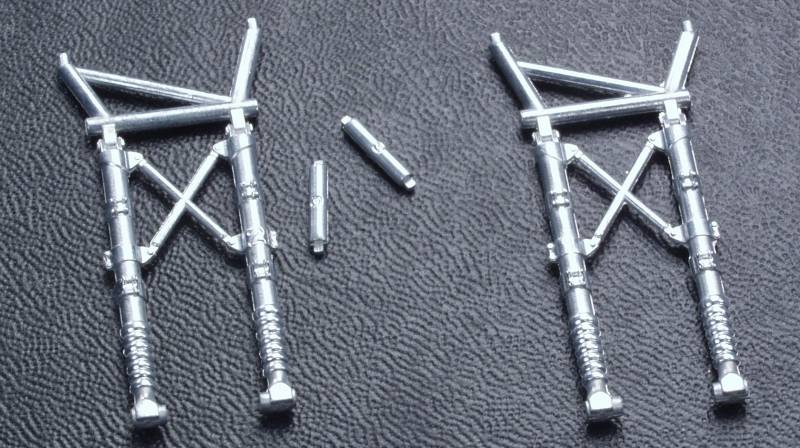
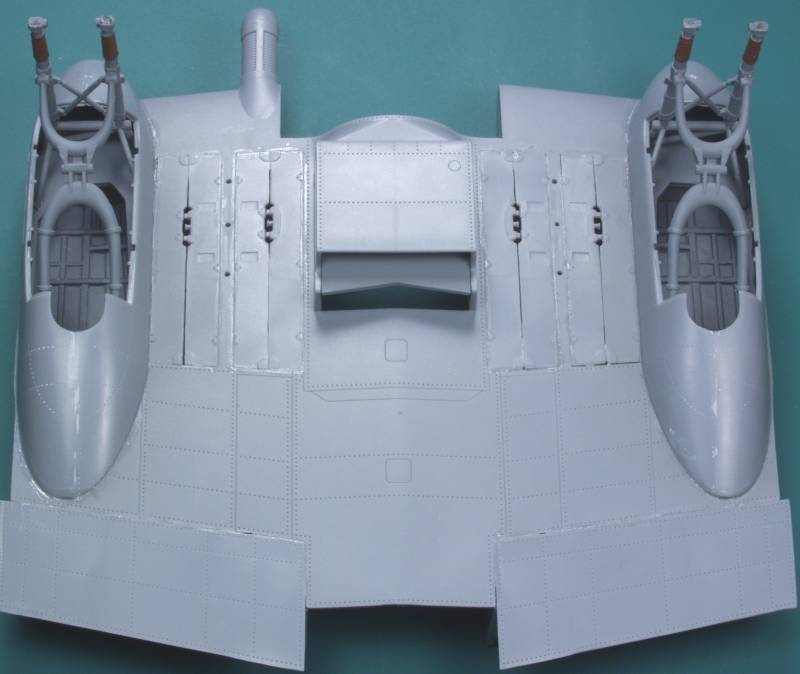
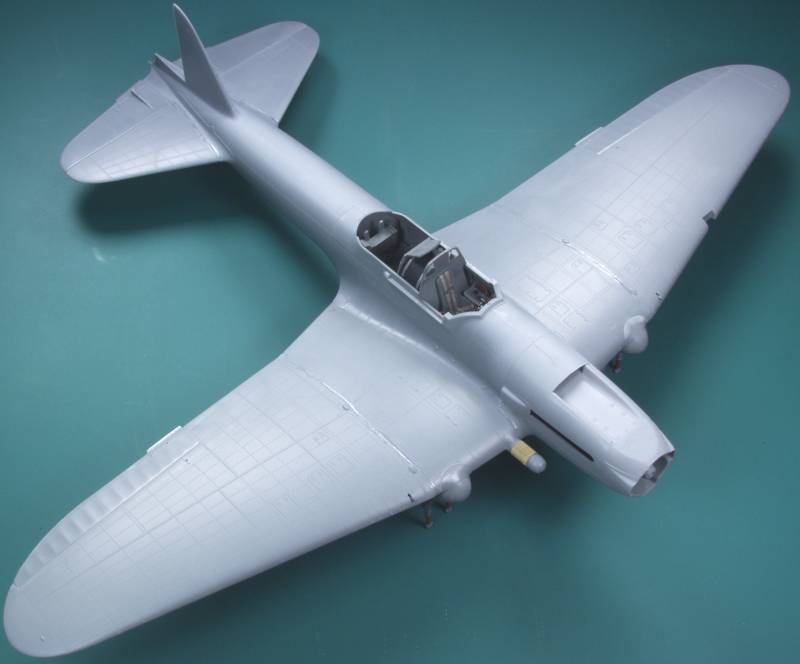
Once the wings had overnight to cure I attached the wing to the fuselage. This was a bit of a hand full, more because of the size of everything and again some minor trimming done at the test fit stage allowed things to go together pretty well but I still did a progressive gluing, doing one side first and while it was curing, aligning and gluing the other side. Again, the fit was very good with no major work to do prior to painting. As that cured I went ahead and installed the tail feathers, leaving off only the rudder which has a mass balance molded on that I know will come to grief if I install it before completing the seam work. So far the landing gear has fared well, I have only knocked one side of one of them loose. :eek:hmy:

Anyway, it's beginning to look like an airplane. I hope to have this ready for some color by next weekend if I can decipher what colors to use, Russian planes are so much fun in that respect.

il2-3m32-b29.jpg


Till next time, thanks for looking.
 
Back
Top