Iron Mike
Master At Arms And Resident Curmudgeon
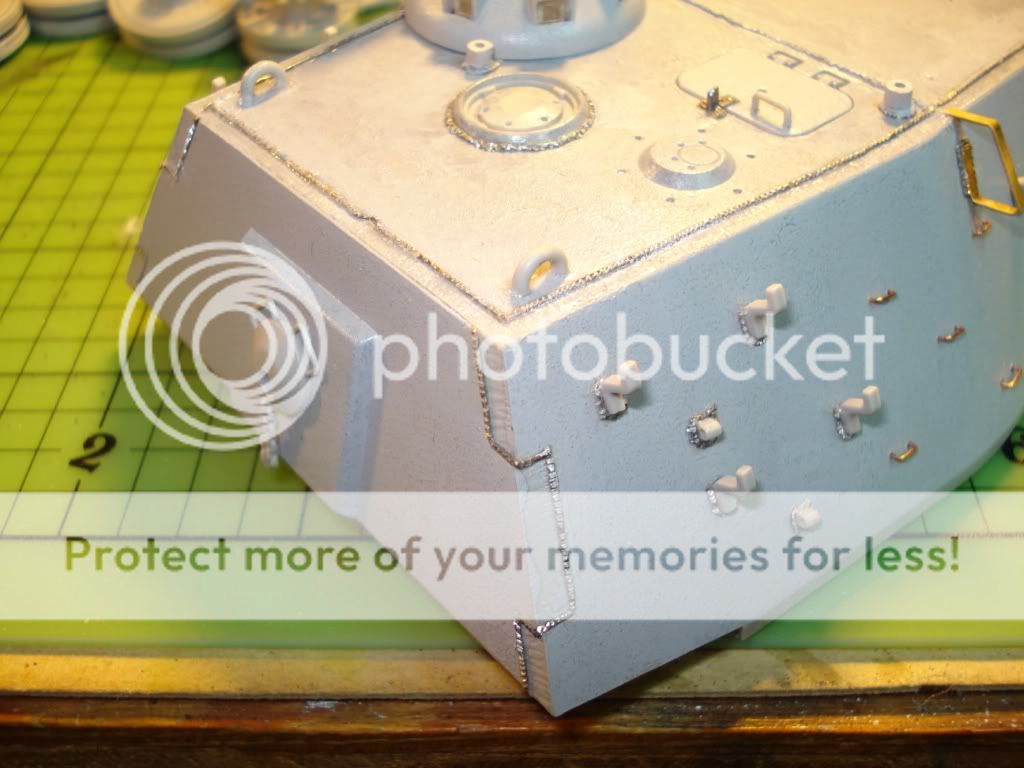
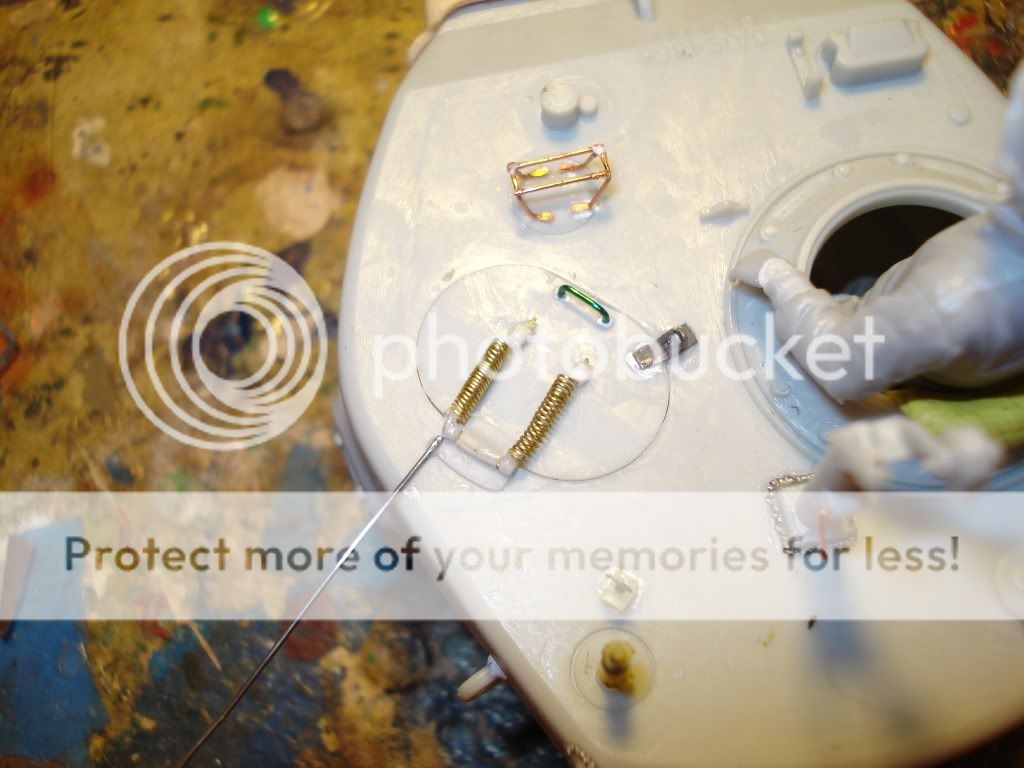
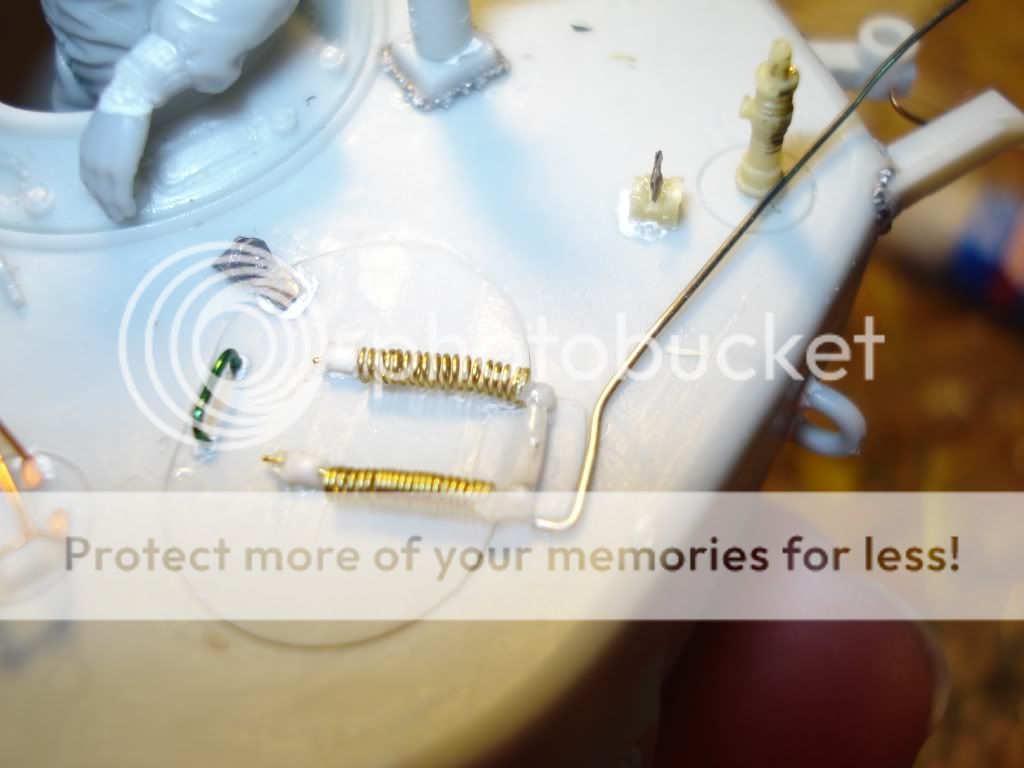
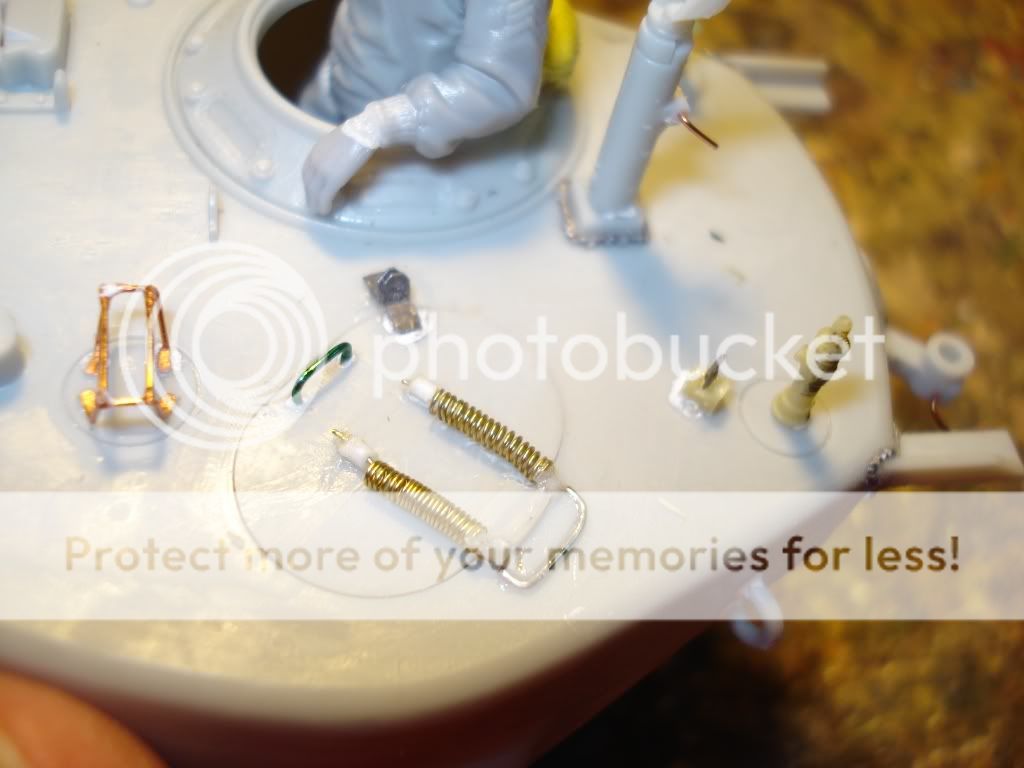
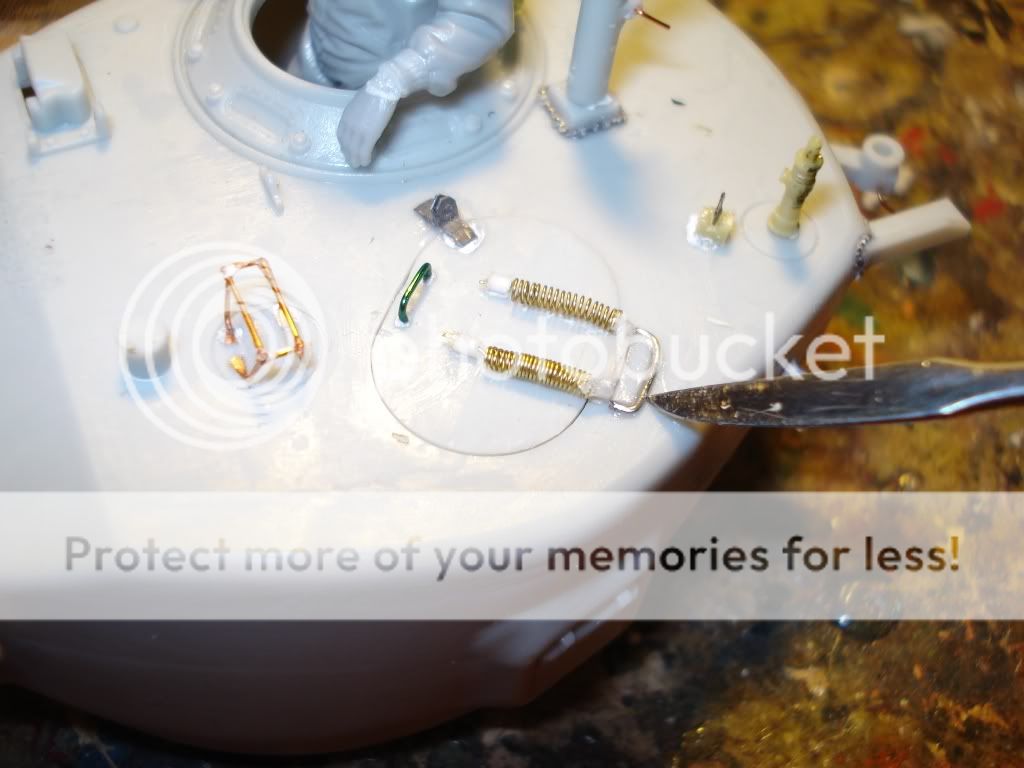
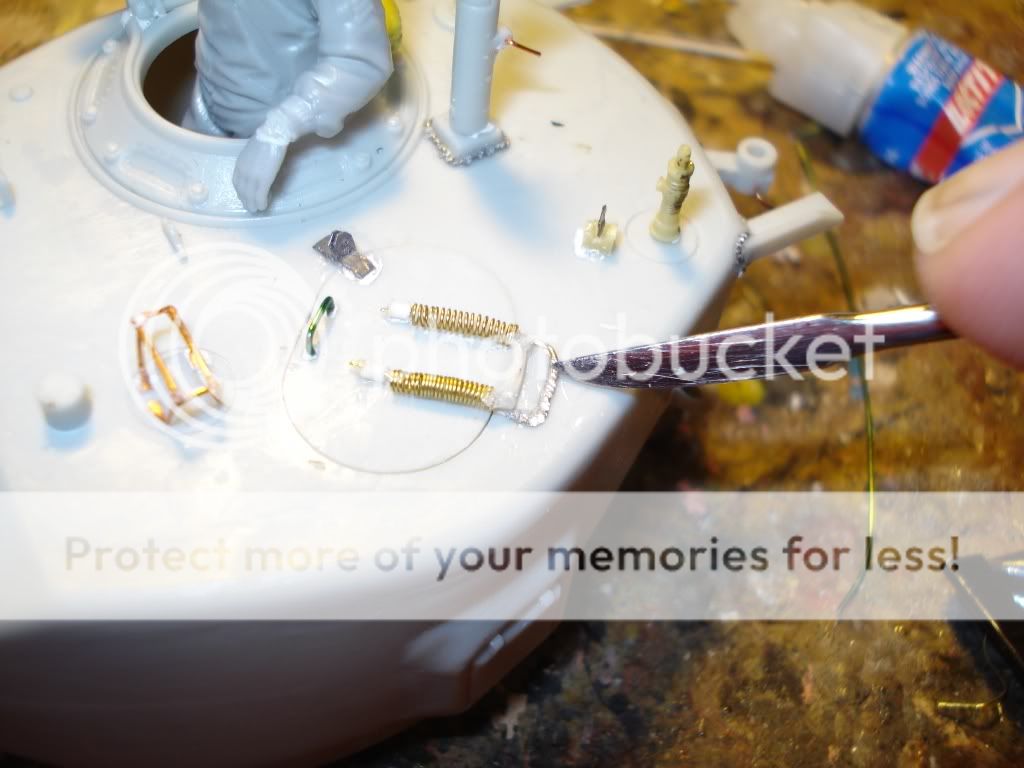
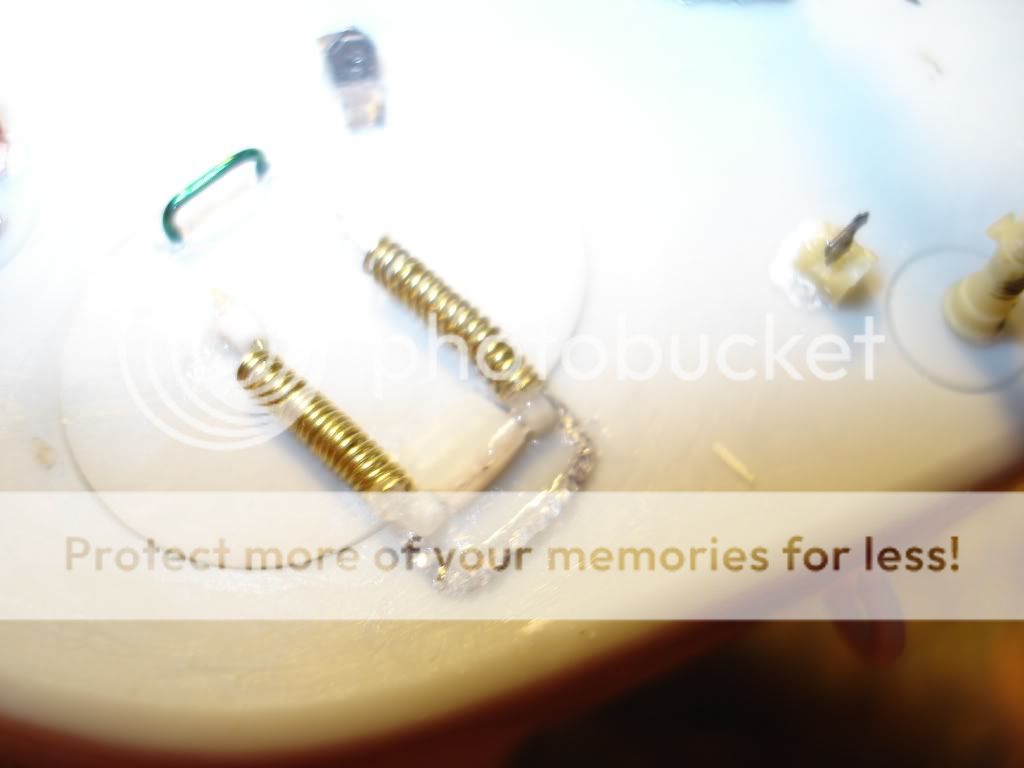
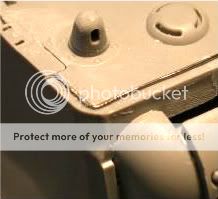
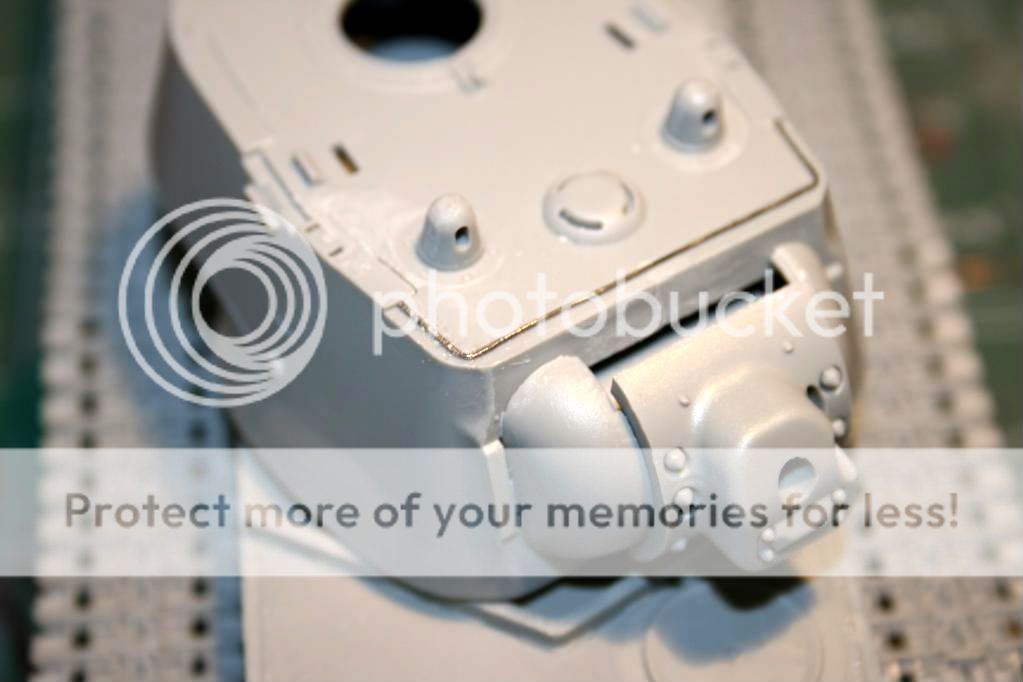
Hey everyone! Finally got a little bench time, assembling the turret for the KV-1 project I have under construction and will need to fill and enhance the welds on the upper deck. What is the best method for doing so? I have not tried this previously and wanted to know more from the experts. Thanks!! :cheer:
")