• Modelers Alliance has updated the forum software on our website. We have migrated all post, content and user accounts but we could not migrate the passwords.
    This requires that you manually reset your password.
    Please click here, http://modelersalliance.org/forums/login to go to logon page and use the "Forgot your Password" option.

He 115B

Old Dog

Well-known member
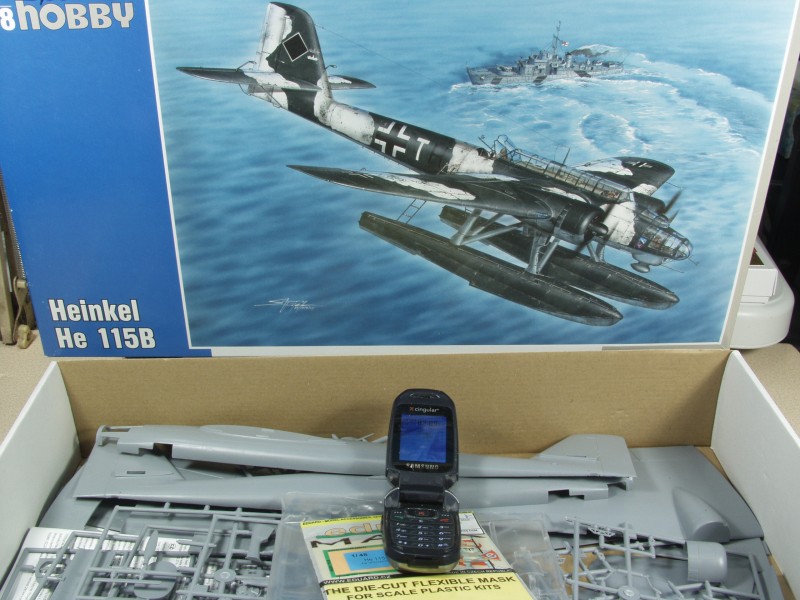
I'm going to throw my hat in the ring with this Special Hobby kit in 1/48. Probably won't start for a month or so but wanted to post the time stamp before I forget and start building. If you read my review of the kit here on MA you may recall the kit has a few issues like warped fuselage halves and floats whose halves don't match in height but nothing out of the ordinary for a limited run molded kit so it should be fun. Only after market is a mask set and I'm thankful for that.

115-ts1.jpg


115-ts2.jpg
 
Will definitely watch this one with interest.

An interesting but much overlooked by manufacturers :(

Cheers, Christian B)
 
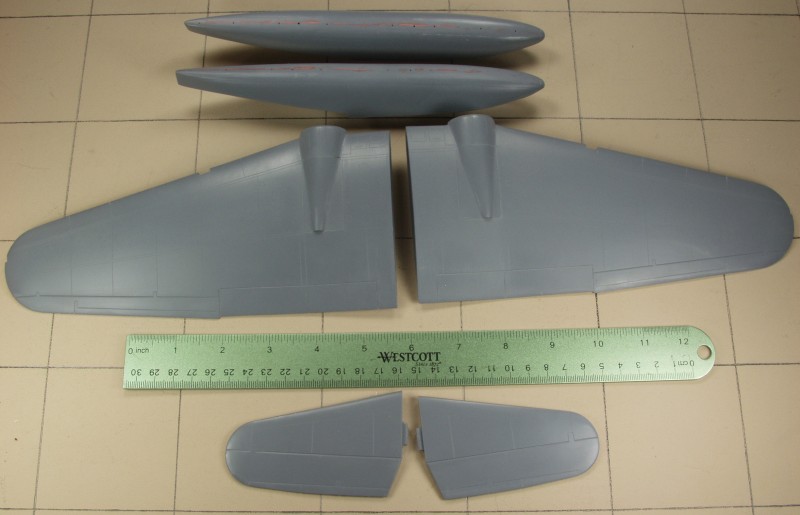
Time to get a start on this one. After looking over the instructions for the interior and seeing the usual Special Hobby vague diagrams I decided to go for some thing easy first like the wings, tail planes and floats. The wings were easy, only an insert on the upper side for the rear portion of the cowling. This was done as an insert because some versions had a rear facing machine gun and others did not. These parts fit quite well with just a little sanding and the wing halves went together reasonably well but suffered from really thick trailing edges. Most of the time I choose to ignore this as it is fairly common on a lot of models but these were way thicker than most...
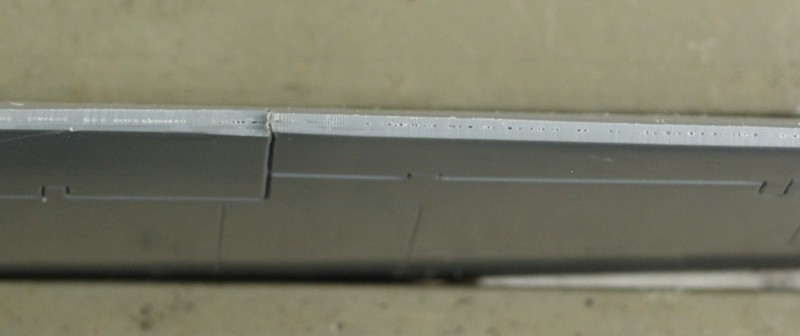
115-b01.jpg


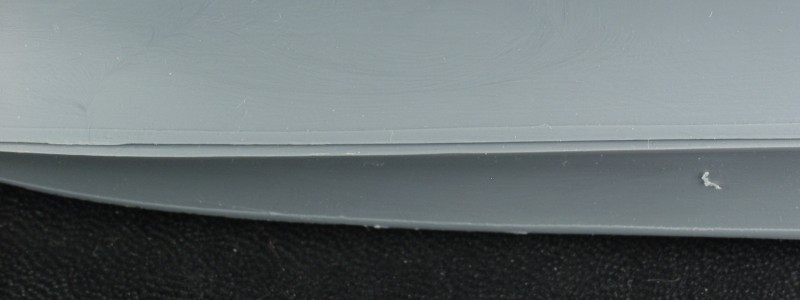
I think a belt sander would have been a good choice here but I wasn't going all the way to sharp, just wanted to make them a bit less blunt and more rounded. I ended up burning through several large sanding sticks as it was to get it to where I wanted. The tail planes weren't as bad so then it was on to the floats. I knew from when I reviewed this kit that there was an alignment problem with the floats...

115-b02.jpg


You know it's not going to be good when they make a point of noting in the instructions that the fit is problematic Anyway I started by aligning and gluing the top sides which really didn't align all that well...

115-b03.jpg


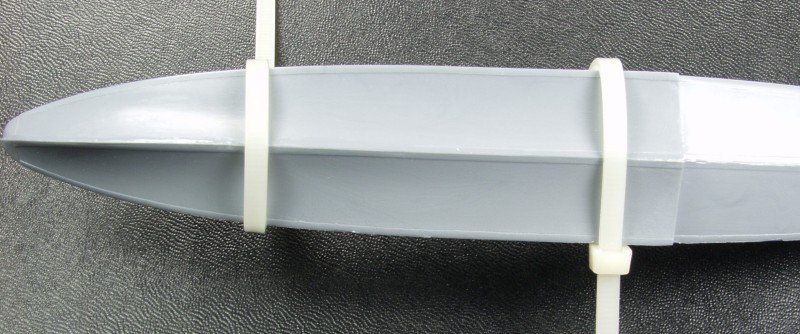
I then glued the bottom sides using a trick I learned over on Large Scale Planes...

115-b04.jpg


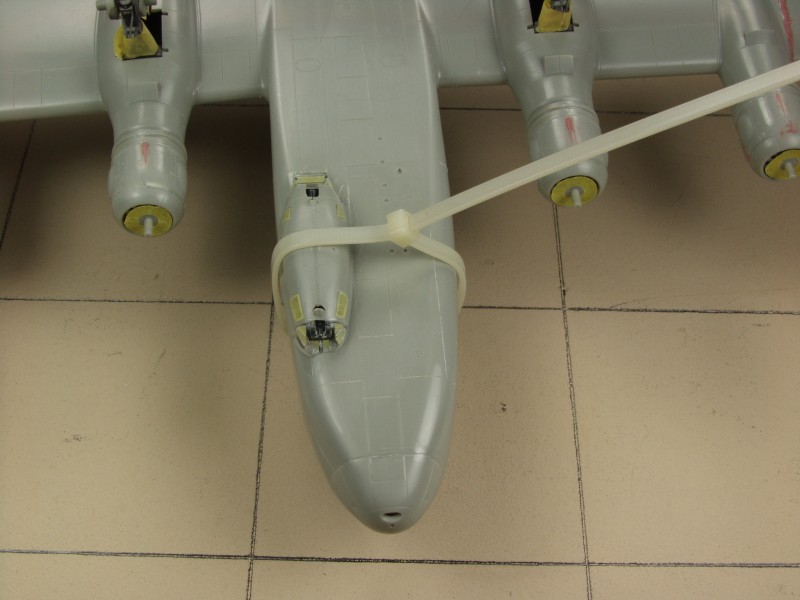
Zip ties, worked a treat, the bottom edge was too sharp for rubber bands and I was afraid of crushing it with a clamp. I also used this trick when I attached the gondola on the 290 and got a nice tight fit.

115-b05.jpg


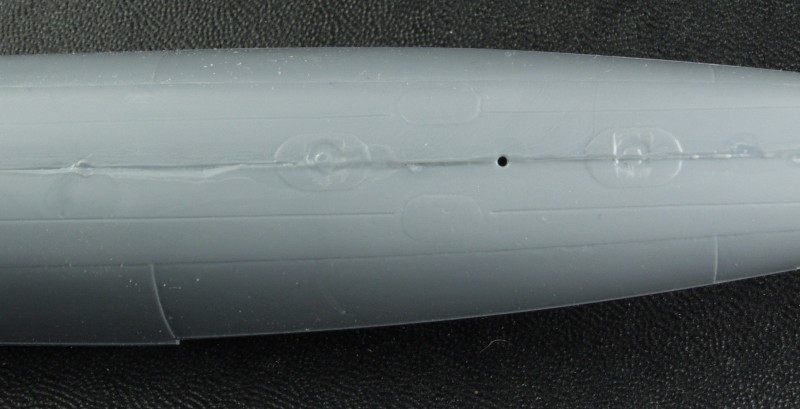
Once the floats set up I ended up sanding most of the raised detail off the top of the floats to get them evened out. I didn't consider this a bad thing as I have a fair number of 115 photos and from what I can see the detail would be better represented with scribed detail anyway. I drilled holes in the center points of the detail before sanding it away for positioning later on.

115-b06.jpg


That's it so far until I get into trying to figure out where all the interior parts go. One thing for sure this bird is going to be sizeable...

115-b07.jpg


Thanks for looking !
 
Notes taken . Looks like a carpenter's dream. :bang head

Sure wish someone would make a descent one in my scale .

Cheers, Christian B)
 
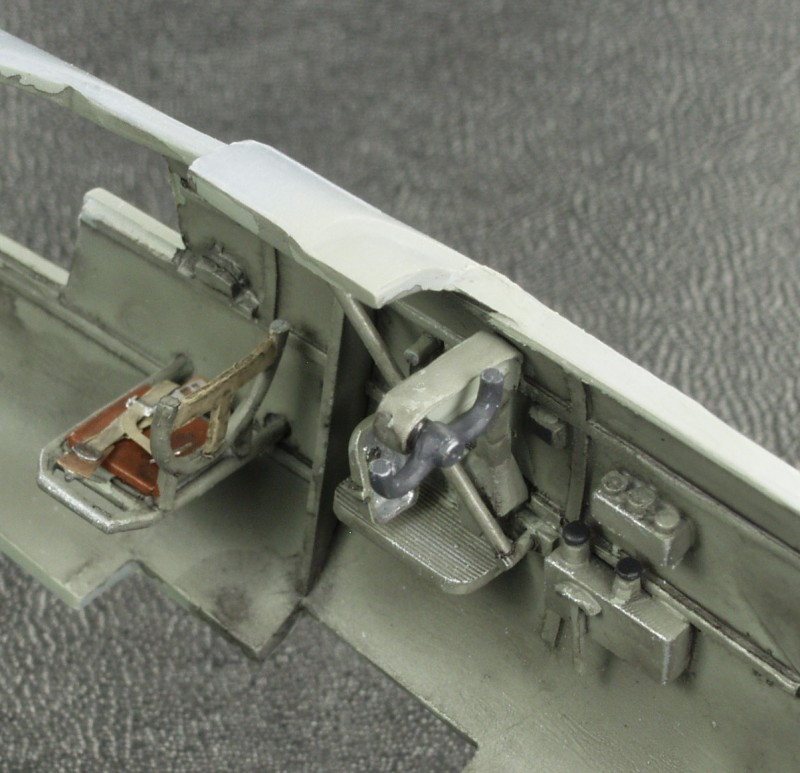
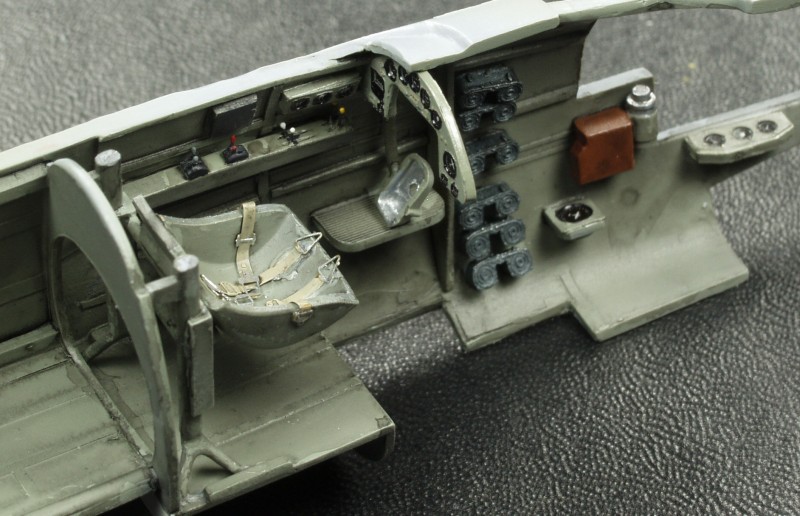
The interior is done as far as I can go until after the fuselage halves are joined...

Starboard side...

115-b08.jpg


Port side...

115-b09.jpg


115-b10.jpg


Radio operator / gunners station

115-b11.jpg


The supplied resin radios had rather soft detail and I didn't think I could do them justice so I sanded off the detail and used some color PE radio faces.

Still missing is the bomb aimer's lounge in the nose and the gunners seat in the back. Both will need to be added after the fuselage halves are joined. While there were hints marked on the inside of the fuselage where most things were to go, not everything fit per the drawings so I did need to be creative in a couple places. The area between the pilot and gunner is pretty barren but it gets covered anyway so any thing there wouldn't be seen. Test fitting the two side nose clear parts showed that the port one fit almost perfect the starboard not so great so I have that to look forward to as well. The fuselage halves themselves have a bow to them and will not be a pretty join so much more work will be required before this thing becomes whole.

Thanks for looking !
 
Back
Top