RichB
Well-known member
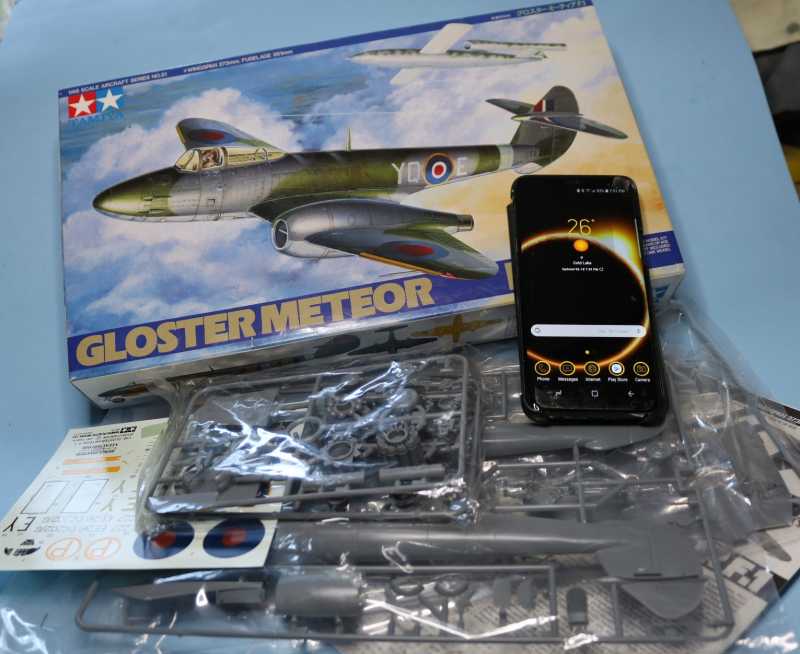
Keeping the production line open with Tamiya's 1/48 Gloster Meteor F.1.

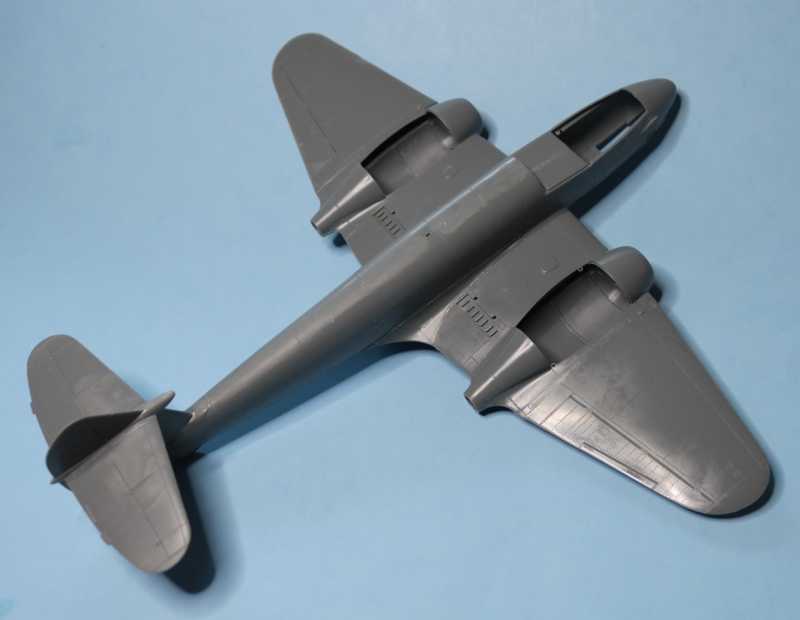
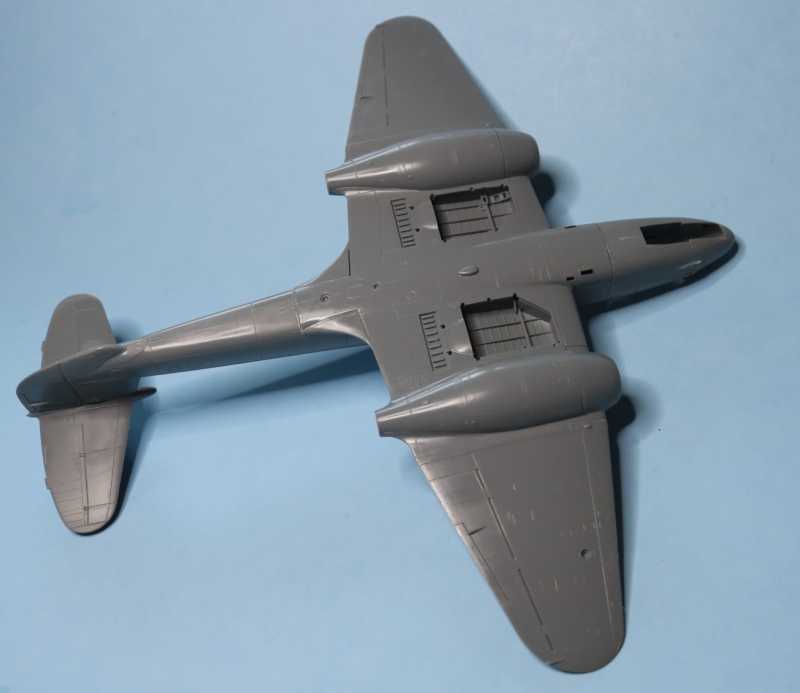
This is the 1997 boxing that was labelled unbuildable by many because it had an F.1 fuselage with an F.3 wing. Tamiya did release a corrected kit for the F.1 in 1998, unfortunately the box art is the same so there was no way to know which version you had until you opened the box.
With the early kit you can't build either of the two 616 Sqn options without modifying the wing back to the F.1 type by removing the air brakes, extending the under wing bulge and reworking the wingtips and ailerons.
That leaves the F.9/40 option DG202/G. From the box (with a few tweaks) it can be built as it was later in its career and as preserved at the RAF Hendon Museum. And that is why the kit has mixed featres, as DG202/G was used as the pattern aircraft by Tamiya.
Cheers,
Rich


 ...following with attention!
