• Modelers Alliance has updated the forum software on our website. We have migrated all post, content and user accounts but we could not migrate the passwords.
    This requires that you manually reset your password.
    Please click here, http://modelersalliance.org/forums/login to go to logon page and use the "Forgot your Password" option.

Fw-190d11 1/48 ProModeler

Adam

Member
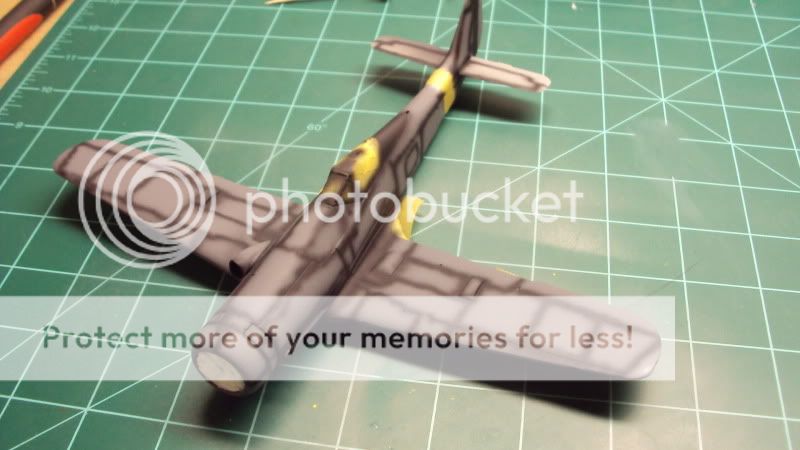
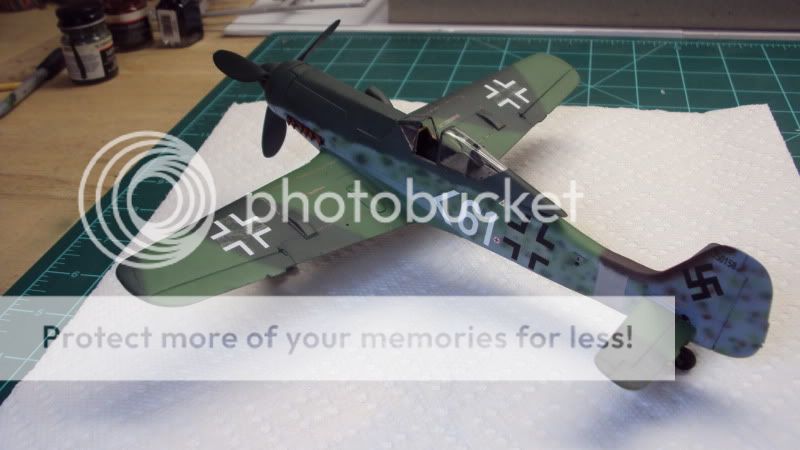
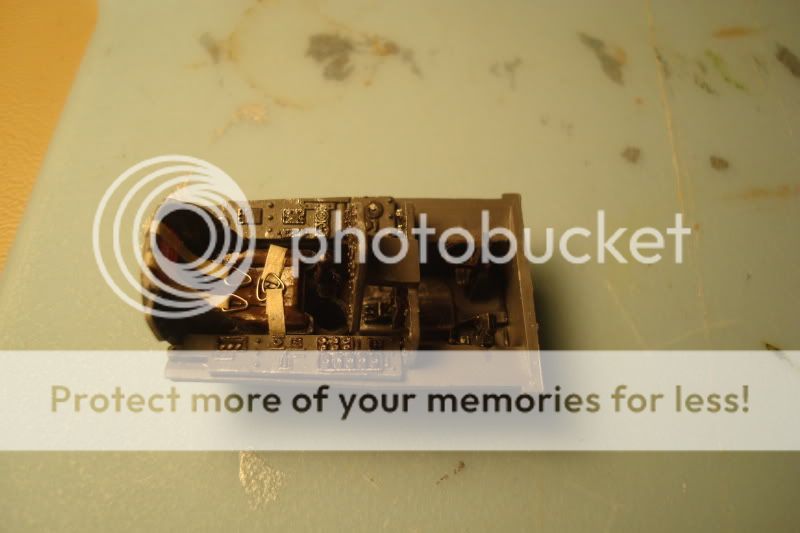
I fired up this old stalled build last night after putting a big ole fingerprint right in the tacky aluminum paint of another project I was working on. I had gotten the office done on this and threw it back in the box. Don't really know why I quit on this anyway here is what I had done. Only added foot straps from foil and seatbelts made of masking tape and wire. I know they're not really accurate but neither is the rest of the kit. Just busies up the cockpit some.

190d-11-6.jpg


190d-11-2.jpg


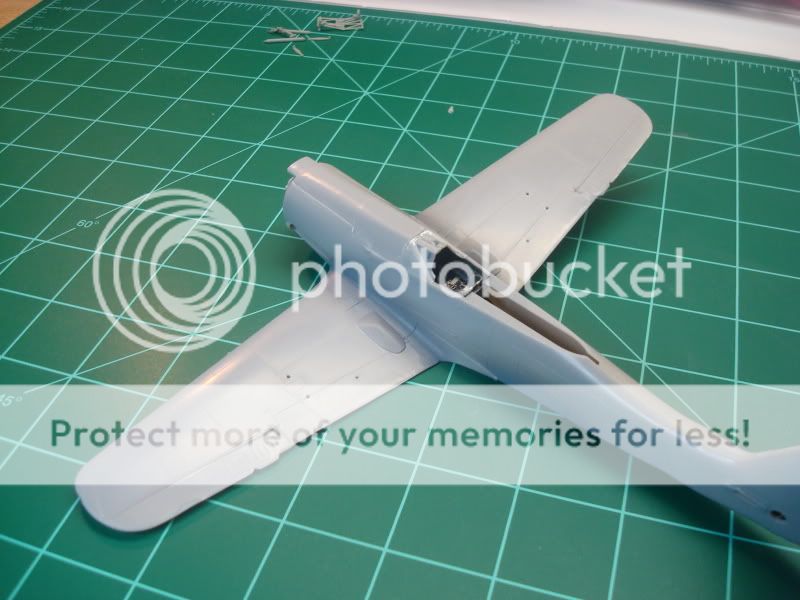
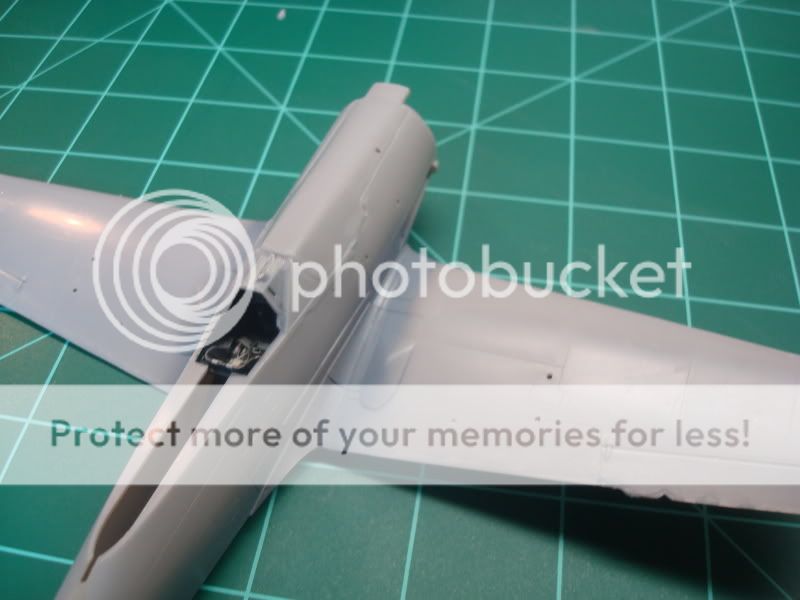
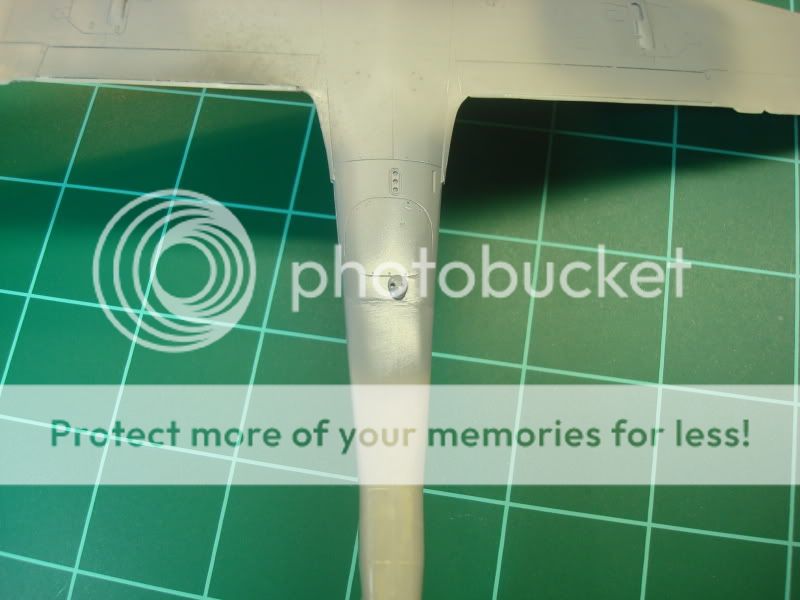
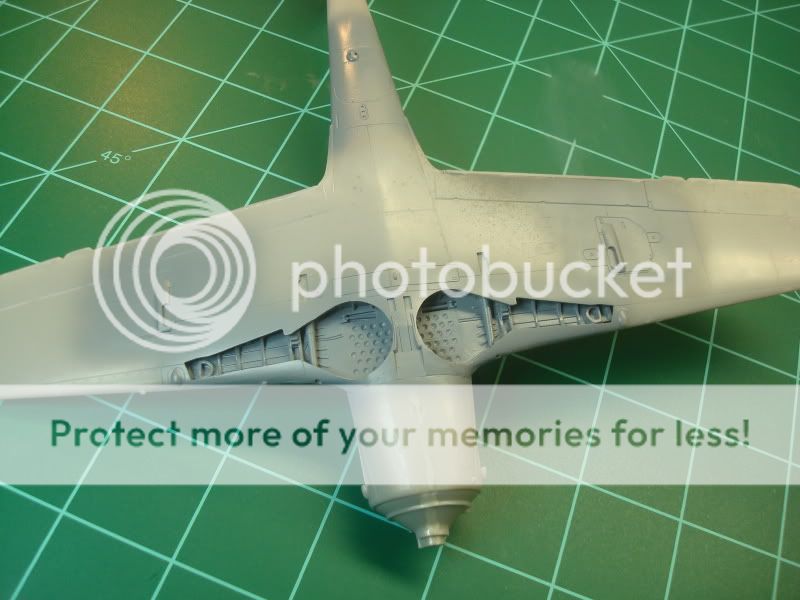
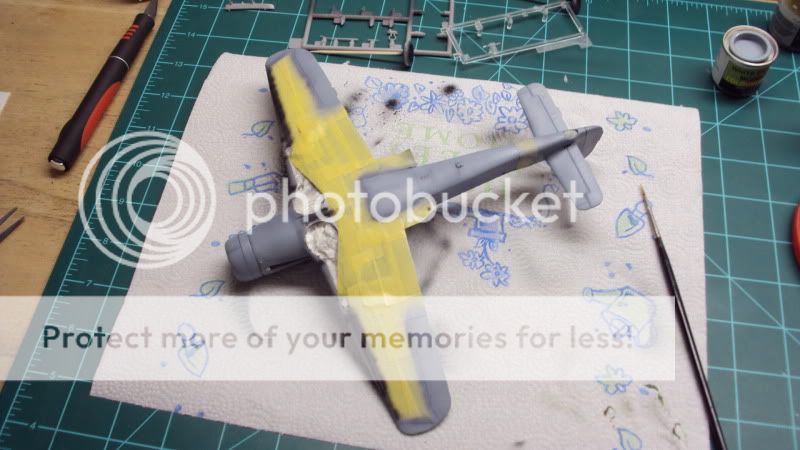
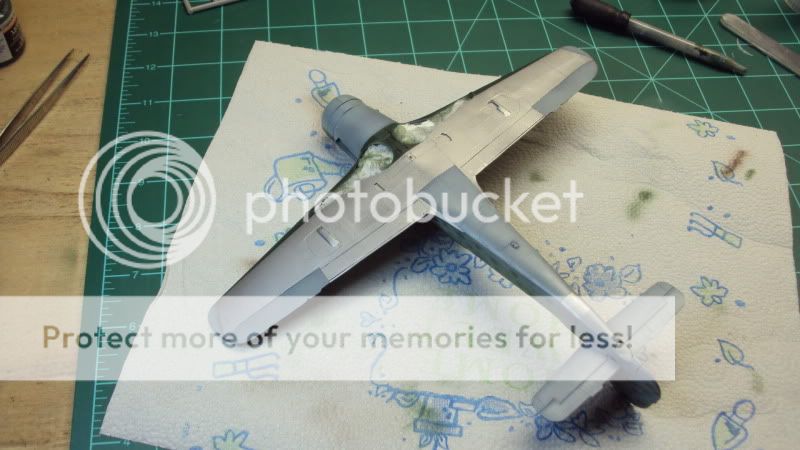
I got the fuselage closed up and wings attached last night. The fuselage fit was better than I expected with only a small amount of filler needed. However, when the top of the wings were attached it resulted in large gaps at the wing roots if I lined the panel lines up correctly. A quick internet check of a few other people's builds confirmed that this is a problem with this kit. The offending gaps had strectched sprue shoved in them and were slathered with Tenax then furiously sanded. :D

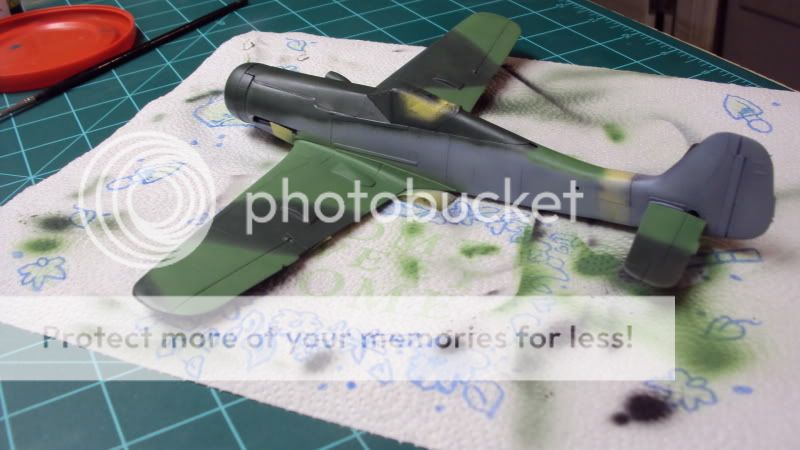
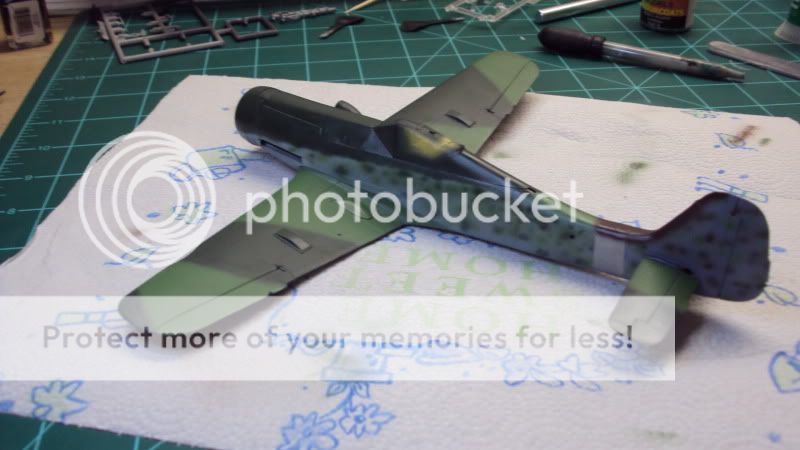
Hope to have some pictures and primer tonight. Thanks for looking.
 
Hey thanks a lot guys!

The offending gaps have been told where to go:

1908.jpg


1909.jpg


Got a little crazy with the file here as I had a step. Needs Mr. Surfacer and some TLC.

19010.jpg


Luckily I made the seams for the wing plugs for the outboard cannon disappear on the first go-round.

19011.jpg


Thanks for looking and keep on modeling!
 
White <61 Stab/Vaerbandsfuehrerschule der Generals der Jagdflieger, Bad Woerishofen, 1945.

RLM 81 and 74 over 76

At least that what the instructions say. Lord only knows if they're right. This kit is well known that the color call outs for the topside camo are mixed up.
 
No I hadn't. Every time I use CA to fill gaps it is a PITA to sand down. You've only got so long a window before it dries rock freaking hard. I'll go read it now.
 
White <61 Stab/Vaerbandsfuehrerschule der Generals der Jagdflieger, Bad Woerishofen, 1945.

RLM 81 and 74 over 76

At least that what the instructions say. Lord only knows if they're right. This kit is well known that the color call outs for the topside camo are mixed up.

Okay so according to the Focke-Wulf Fw 190 Dora vol 2 by Crandel:
Blown hood, all antennas intact, Bulged cowling for the Jumo 213 E or F and an ETC 504 rack.
RLM 76 underneath with natural metal rear half of wing
RLM 82/83 with RLM 83 motteling on top and fin, and RLM 82 lower rear spots and natural metal fuse extension plug.
RLM 70 props and spinner
<61 in white and white squares with 61 in black on inboard wing leading edge
Serial number above swastika 220014.
Will try to scan but wont break book to do it.

Here is the book, but they dont have decals for <61. http://www.eagle-editions.com/dorabook2.htm

And decals for the D-11
EC124-Instr-cover.gif

EC125-Instr-cover.gif

EC126-Instr-cover.gif

ec14cover.gif

James
 
No I hadn't. Every time I use CA to fill gaps it is a PITA to sand down. You've only got so long a window before it dries rock freaking hard. I'll go read it now.

Read over this thread
https://www.modelersalliance.com/forum/Ground-Power/48684-Scrap-Heap-Cuban-M4A3E8
and check out my Bone thread where I put his suggestion to practice on the windscreen.

I sanded the trailing edge of the engine nacelle too far, had a bad lip on it. I did Saul's trick with taping the outer side of the nacelle with cellophane tape to give it shape and support, filled in the gap with CA, gave it a shot of accelerator and waited a minute and pulled the tape off. a little sanding to shape and voila. Forget about the accelerator and let it cure for a little longer and it will be easier to sand.


Ahh now that is how you do it. Will have to practice with that. Been thinking about buyin' a nice big belt sander to take to all my models as it is the only task which I absolutely hate about model building. :woohoo:
 
Looking good, especially the cockpit. I started the Me-110 G-4 from promodeller last year and turned her into a shelf queen. The masking of the canopy is what stalled me. I can't decide if I go the old fashioned way with Tamiya tape or use the quick frame decals that came with the kit. Anyway, maybe one of these days I dust her off and finish her.

Joe
 
Big update today. I temporarily attached the sliding portion of the canopy with a little white glue for painting. Then I masked everything off and preshaded. After that I began applying color with the RLM 76.

19014.jpg


19015.jpg


Then I began putting the top colors on and this is where I started to have trouble. My airbrush was spitting something fierce and just generally behaving badly. Checked the paint mixture and that was OK. Needle was straight. I didn't think it could possibly need cleaned as I had just cleaned it prior to preshading. Well I ended up breaking it all down again and cleaning it and low and behold it worked fine after that. :gogo

Before cleaning AB:

19016.jpg


Final:

19017.jpg


19018.jpg


I also thought my mottling was a bit too stark so I went over it with a highly thinned mixture of 76 and that seemed to tone it down to a level I could live with.

Then it was futured and it was on to the decals! These things were horrible. I could not get them to silver no matter what I tried. Numerous applications of solvent did nothing. I even tried scoring them and dabbing future underneath them to no avail. In retrospect I should have gone looking for some different crosses and such the moment I put the first one on, but oh well. As this thing really needs to get off the bench they are staying silvered... It's not like I wanted to take this to an upcoming show or anything... :unsure:

I've now attached the landing gear and done a little weathering. All that's left to do is finish the weathering and attach all the little bits. The canopy is temporarily perched for the pictures.

19019.jpg


19020.jpg


19021.jpg


Onward and upward! Thanks for looking and keep on modeling!
 
Hi Adam, looking pretty good . Is that the Eagle cals that you're having such a hard time with ?

Cheers, Christian B)
 
Back
Top