
-
Modelers Alliance has updated the forum software on our website. We have migrated all post, content and user accounts but we could not migrate the passwords.
This requires that you manually reset your password.
Please click here, http://modelersalliance.org/forums/login to go to logon page and use the "Forgot your Password" option.
You are using an out of date browser. It may not display this or other websites correctly.
You should upgrade or use an alternative browser.
You should upgrade or use an alternative browser.
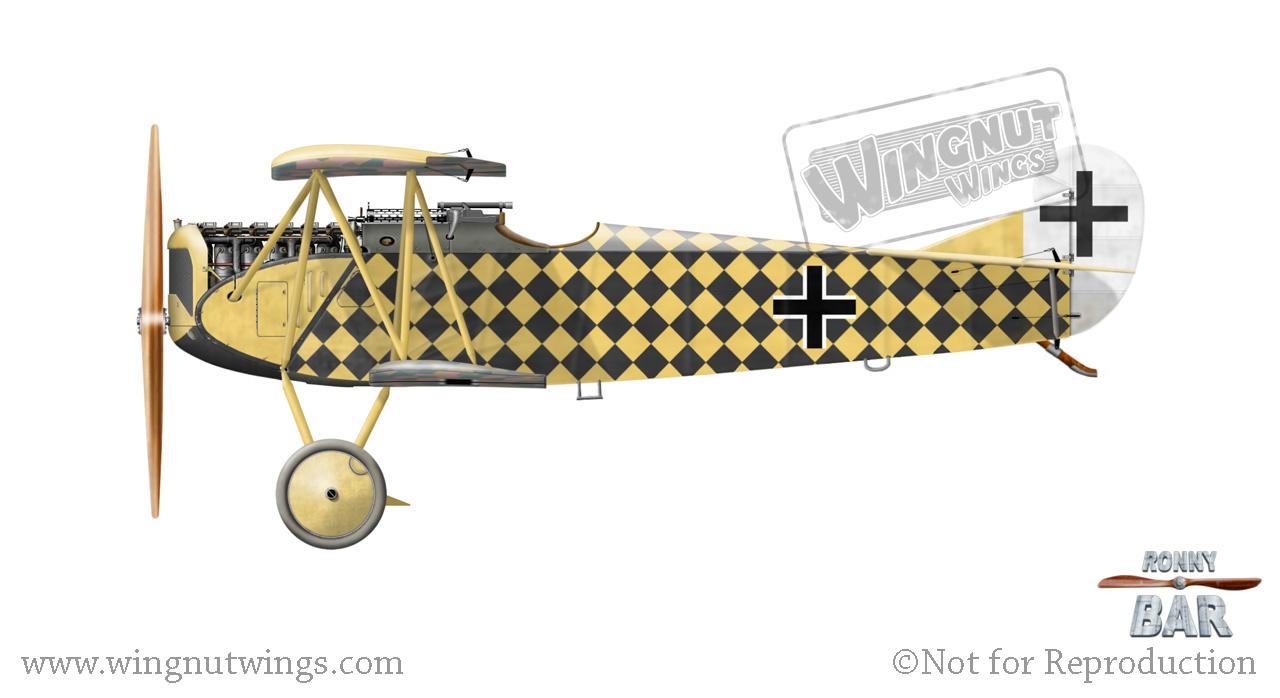
Fokker DVII Sachsenberg
- Thread starter jknaus
- Start date
Let's get that Fokker done James ")
phantom II
Master at Arms
And another.
Gotthard Schsenberg's a/c.
Again with those excellent Aviattic lozenge decals and Taurus parts and Gaspatch parts. And if I can find my RB radiator pe it too.
This will be my first Fokker built Fokker, all my others being AOW versions.
JAmes
Wuw, they all had quite the paint job. Must have been easy to find your bird after a night of drinking
Cheers,Christian B)


ij001
Well-known member
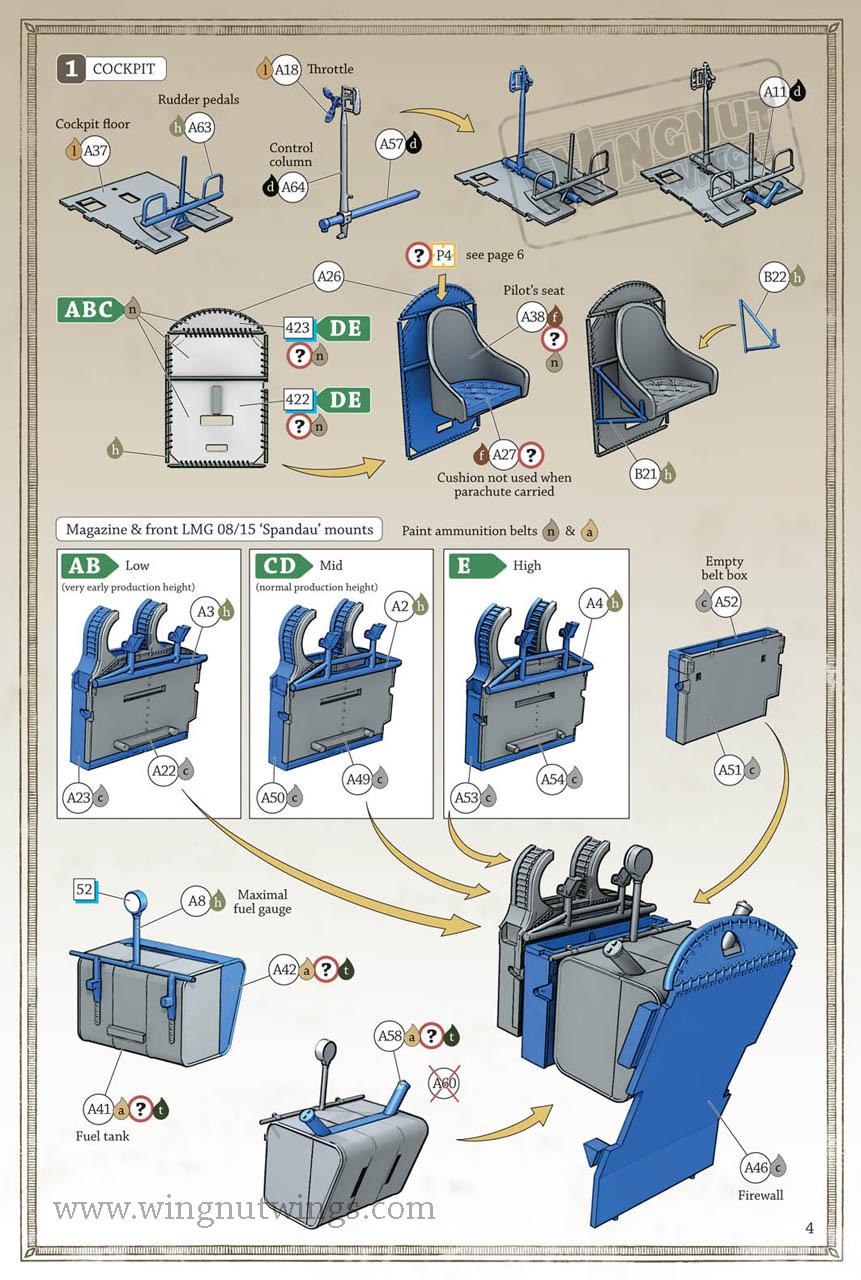
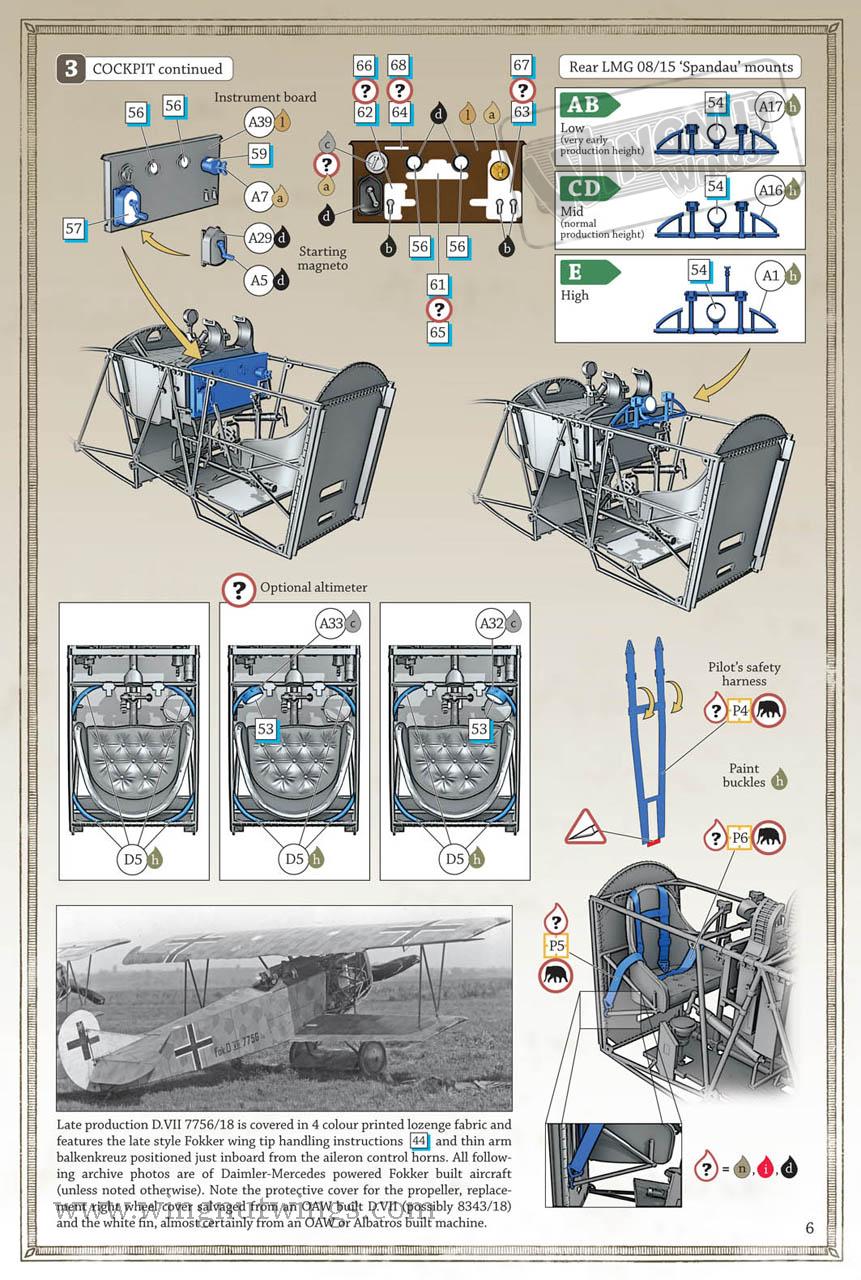
...great choice, James. According to the Osprey 'Fokker DVII Aces #1' volume, the guns on this machine were mounted higher on the fuselage because of the BMW engine, hope that this is allowed for in the kit - I'm sure it will be.
That's just going to jump off the shelf and grab you by the eyeballs. Good luck, matey !!
Ian
That's just going to jump off the shelf and grab you by the eyeballs. Good luck, matey !!
Ian
jknaus
Administrator
...great choice, James. According to the Osprey 'Fokker DVII Aces #1' volume, the guns on this machine were mounted higher on the fuselage because of the BMW engine, hope that this is allowed for in the kit - I'm sure it will be.
That's just going to jump off the shelf and grab you by the eyeballs. Good luck, matey !!
Ian
Thanks Ian. This one is a Mercedes powered one. The F model was BMW. I didnt see any difference in the instructions but will check my refs to see if this was modified. It is an earlier aiframe so not sure.
Thanks for the heads up.
James
I remember two parts for mounting the guns, one high and one low but didn't see anything in the instructions about when and how to use them.
phantom II
Master at Arms
It's great when you find that you have all the required pieces
Looking at all the available pieces sure makes me wish this was my field of endeavor :facepalm
If only this 1/32 lysander had come with all those goodies in the box, you would see one very soon. :vmad
Oh well, cheers anyway . Christian B)
Looking at all the available pieces sure makes me wish this was my field of endeavor :facepalm
If only this 1/32 lysander had come with all those goodies in the box, you would see one very soon. :vmad
Oh well, cheers anyway . Christian B)
jknaus
Administrator
Thanks Chris. Well I have made a start. The frame cleaned up and modified to this a/c's specs and then painted. Also the opening moves on the wood. Maybe I can get the oil paint on tonight ready to do more tomorrow. Also did some more on my other Fokker DVII. Its almost done now.
3 a/c at once is a bit much to build me thinks.

James
3 a/c at once is a bit much to build me thinks.
James
ij001
Well-known member
Also did some more on my other Fokker DVII. Its almost done now.
3 a/c at once is a bit much to build me thinks.
James
:evil: Not for 'real men' !! - (says the bloke totally focused on one 1:48 kit at the moment :Hiay )
Ian
Go James
Yep what he saidGo James


phantom II
Master at Arms
Cheers, Christian B)
Very fine grain there James. Looks good!
jknaus
Administrator
Okay, this doesnt look like much, but today got the ignition harness half built and all the holes in it drilled. Got the alternators drilled for the ignition leads. Got the spark plugs drilled out and the positions of the primer cups marked ready to be drilled. Next up is finish the ignition, and start working on the timing gear. Then assemble the primer cups and apply, then paint ready for stage 2 of the engine.

Took me 3 sittings with a period to recuperate between, but happy of what I got accomplished.
Oh and got a pipe on the right side that I hadnt noticed in my other builds. Looks right I think.
James
Took me 3 sittings with a period to recuperate between, but happy of what I got accomplished.
Oh and got a pipe on the right side that I hadnt noticed in my other builds. Looks right I think.
James
phantom II
Master at Arms
Sounds like a lot of tedious stuff to me .
Cheers, Christian B)
Sounds like you're having fun James.
Similar threads
- Replies
- 4
- Views
- 219
- Replies
- 54
- Views
- 8K
- Replies
- 4
- Views
- 1K