• Modelers Alliance has updated the forum software on our website. We have migrated all post, content and user accounts but we could not migrate the passwords.
    This requires that you manually reset your password.
    Please click here, http://modelersalliance.org/forums/login to go to logon page and use the "Forgot your Password" option.

Fill in Clear Part

moon puppy

Administrator
Staff member
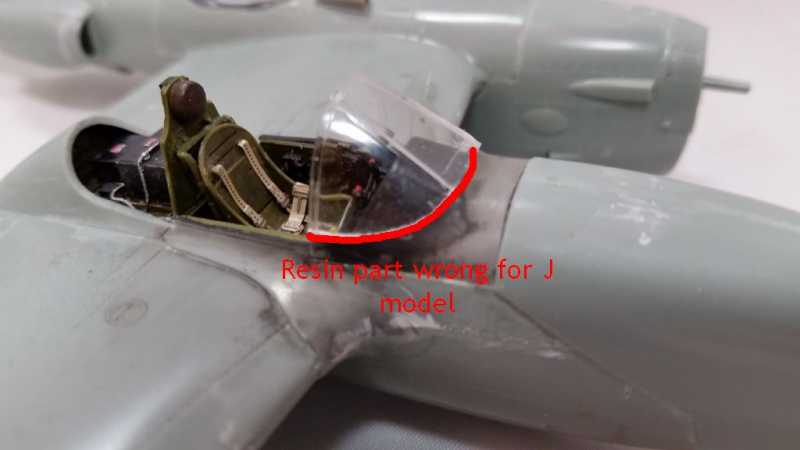
OK, Let's say you have a gapin' freakin' hole in a canopy because the aftermarket folks didn't do the part right. You can cut the kit part down where it fits, sorta, but you still have huge gaping holes. How would you fill it?

:popcorn
 
I would probably turn it into a master and vac it. Unless the seam area is where framework is, there is no good way to fill it.
 
If it's poor fit around the bottom, I use black Milliput. It's dark gray really, and pretty innocuous-looking on the inside of said canopy. Bonus: It smooths out with a wet q-tip.
 
OK, Let's say you have a gapin' freakin' hole in a canopy because the aftermarket folks didn't do the part right. You can cut the kit part down where it fits, sorta, but you still have huge gaping holes. How would you fill it?

:popcorn


Picture of gaping hole please . Curious how big gaping is ?
 
The gap is in the clear part Chuck. Whatever fills in has to be clear.

Chris I'll get something this evening.
 
Who is the (shoddy) manufacturer? Are they still in biz? Write 'em. Is there framework around the hole? Could you cut a piece of CD clear plastic fit and sand/polish it in? I don't know of any clear-on-clear seam fixes- sorry! :unsure:
 
Who is the (shoddy) manufacturer? Are they still in biz? Write 'em. Is there framework around the hole? Could you cut a piece of CD clear plastic fit and sand/polish it in? I don't know of any clear-on-clear seam fixes- sorry! :unsure:


I agree with Chuck Bob . A piece of clear plastic could also be used b :beer ut it would have to be mpolished back to size .

Cheers, Christian B)
 
OK, so I got the Aires cockpit set for the Academy P-38.

http://store.spruebrothers.com/product_p/ars4564.htm

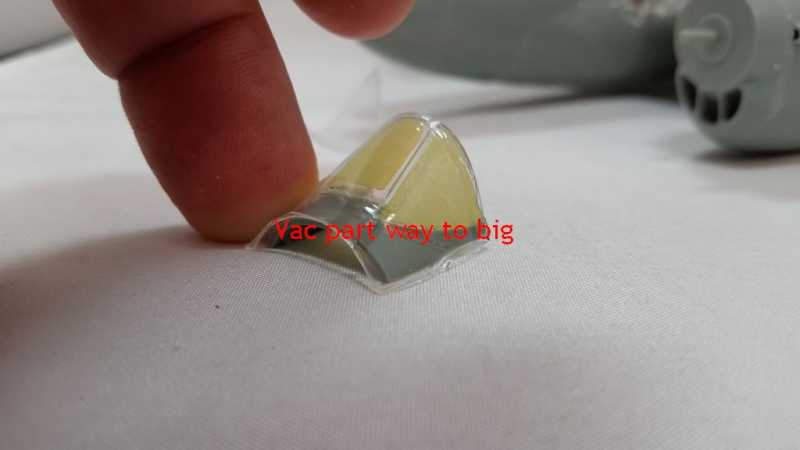
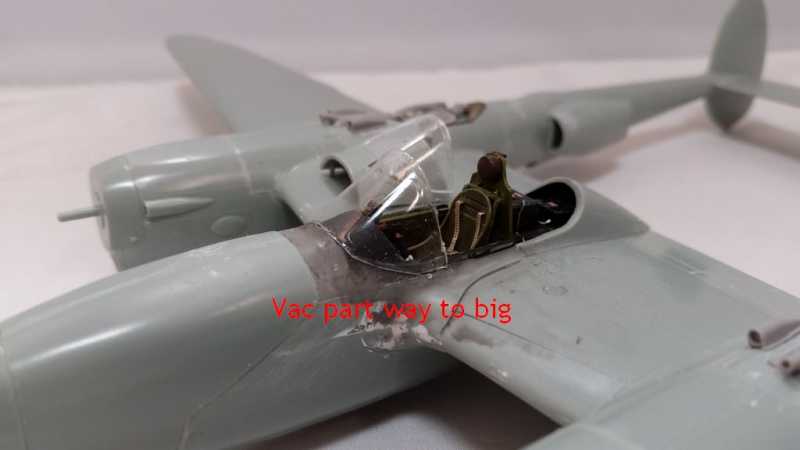
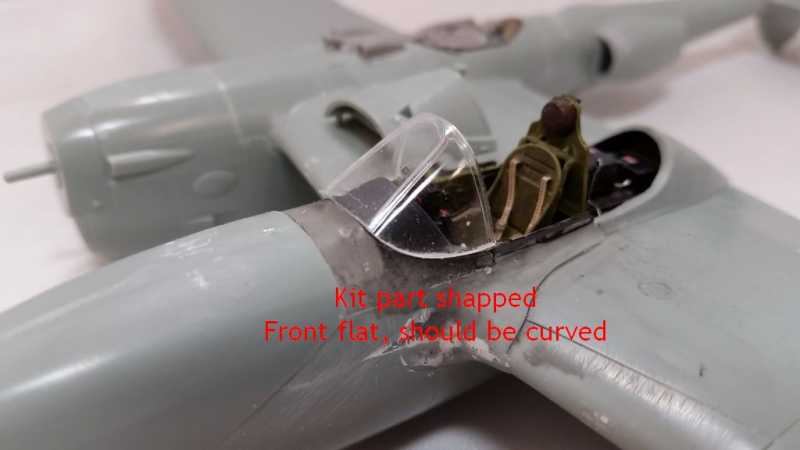
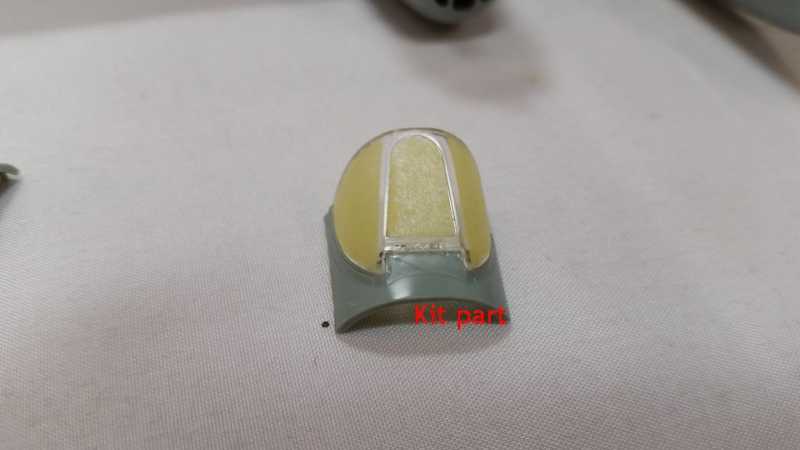
You can see in the images the part I'm dealing with. It's the part where the IP Combing and where the windscreen attaches. You can see in the discription that it's for the Academy P 38 J kit. Notice how curved the grove is where the windscreen attaches?


h050d33c.jpg


h41710c2.jpg


h1d8cf73.jpg


h929f7e4.jpg


he4a31f1.jpg


h38882d6.jpg


h532ee4d.jpg


I can not find where anyone else has had this problem. I don't understand, is there a windscreen that was not in the kit that I need? I reshaped the kit part but the front armor plate is flat, I need a curve in it, don't know if I can sand it down or not.

What am I missing?
 
From looking at P-38's on another web site, it appears that the kit one is correct.

Don't know what else to say Bob .

Cheers, Christian B)
 
From looking at P-38's on another web site, it appears that the kit one is correct.

Don't know what else to say Bob .

Cheers, Christian B)

I know Chris, I've seen other folks build this set but can't figure out what windscreen they use. It sure wasn't the kit one.

Thanks Warren, I really have to change the shape of this one to make it work.
 
Bob how about this ?


https://www.deluxematerials.co.uk/en/rc-modelling/28-rc-modeller-glue-5060243900111.html
 
h41710c2.jpg

Is it me or does the Squadron Vacuum Form part look like it's just smashed over the original which makes it too big? I mean how else would it fit exactly over the kit part?
 
Back
Top