Skinny_Mike
Well-known member
Hi everyone!
Its been a little while since my last post. I’ve finished up a few things on the MIG and am ready for the paint. Here’s today’s update.
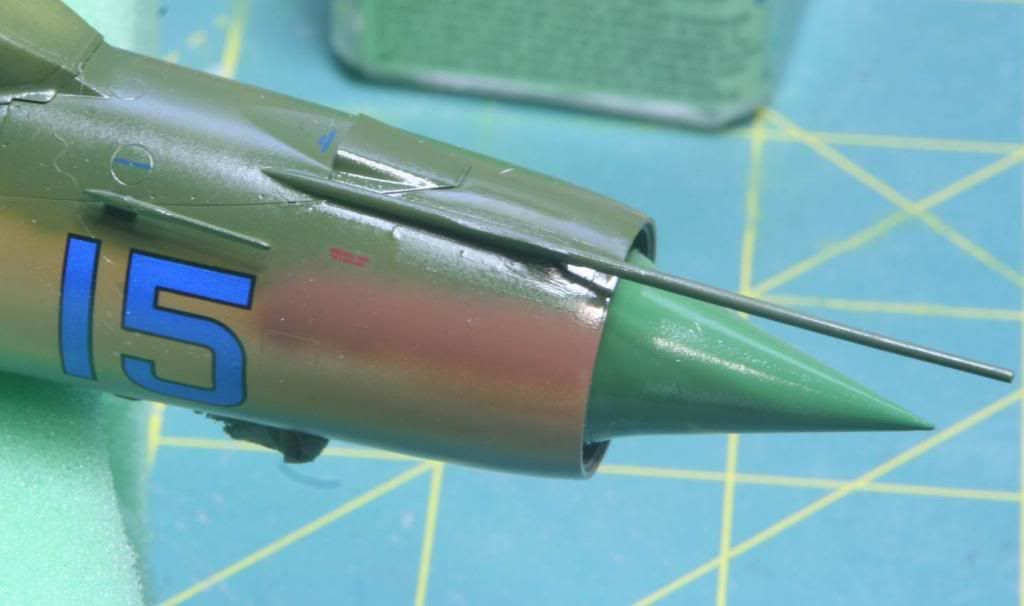
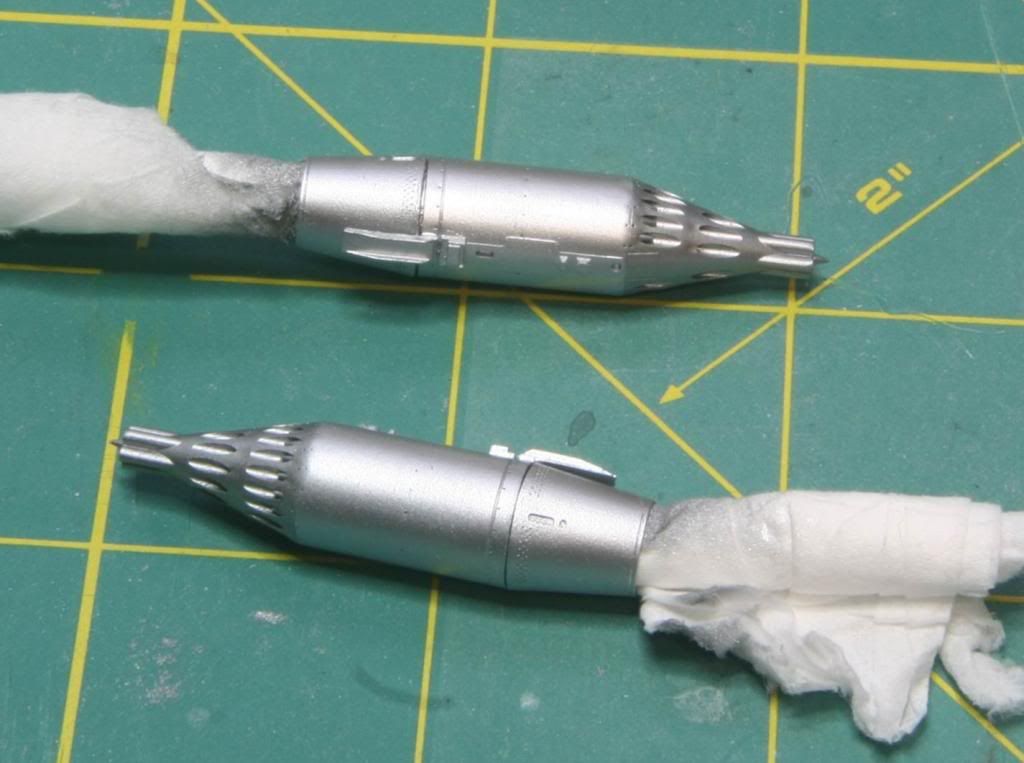
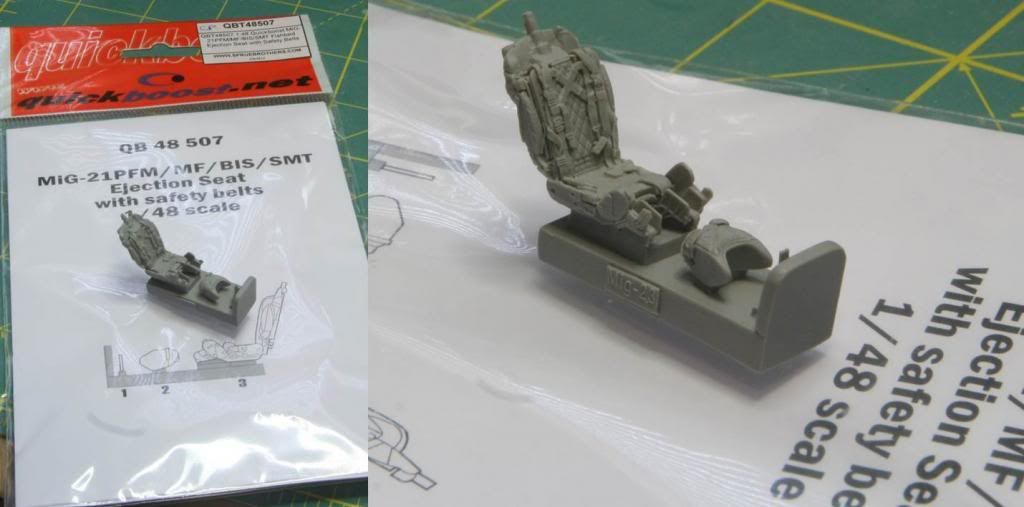
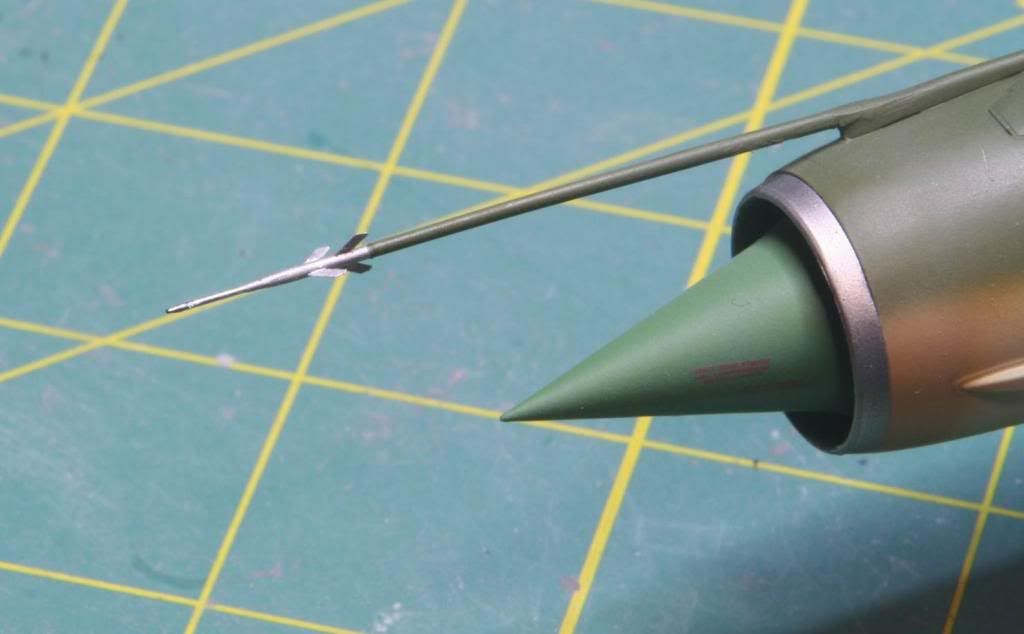
First off, the Quickboost seat (more on this in a future post) and the Master Models Pitot Tube have arrived. Here is the brass pitot next to the kit one. There really isn’t anything wrong with the kit pitot but I have a bad habit of breaking such things during painting and since this one sticks so far out in front of the nose I decided to protect myself from, well, myself! :facepalm
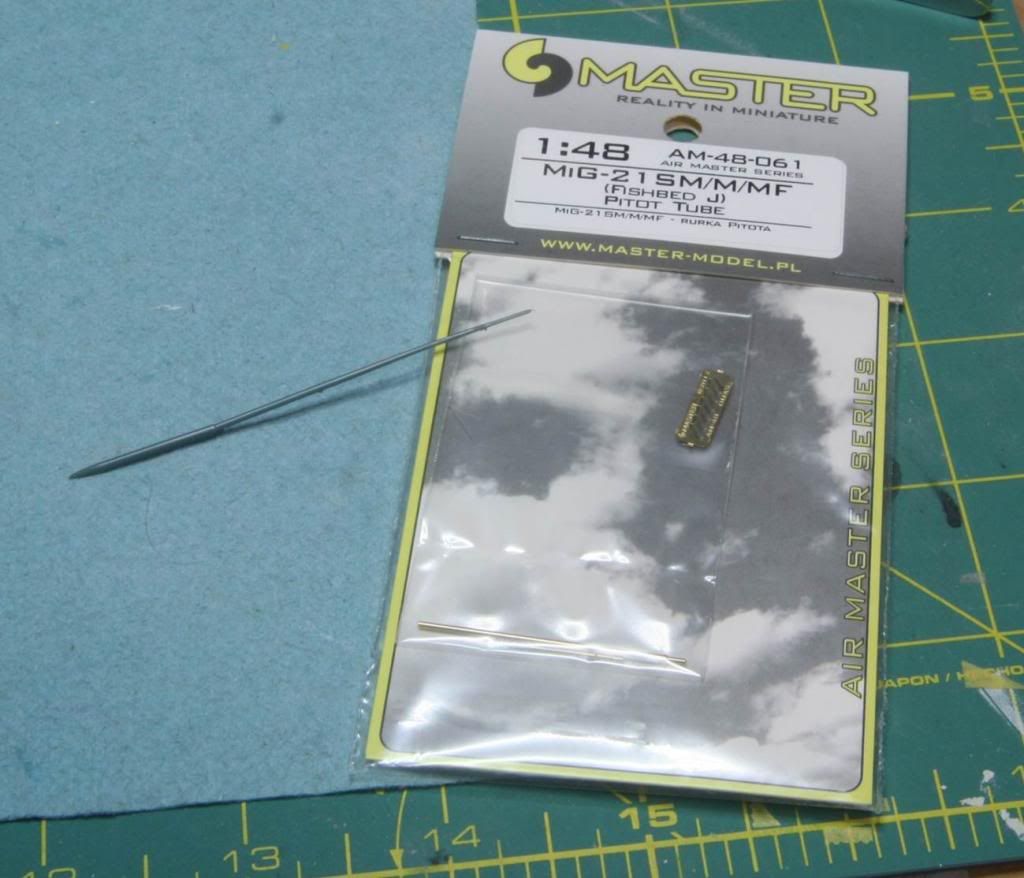
To install the pitot, you cut the kit part from the mount housing and drill a small mounting hole. Then insert the pitot and bend it to the correct shape. The tip with the vanes is a separate piece, which will help with assembly and painting. Plus I can add that part at the end.
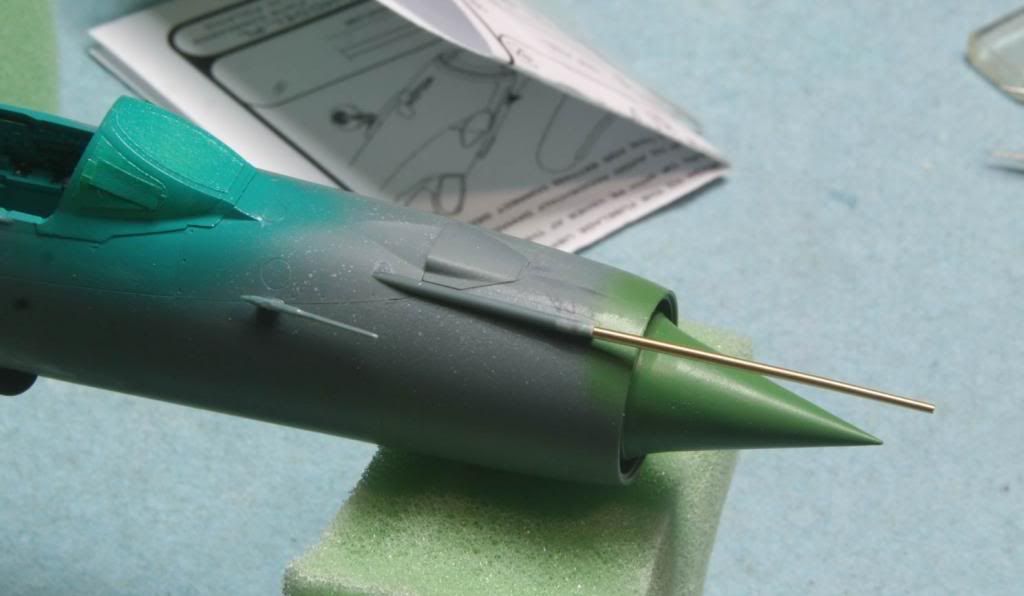
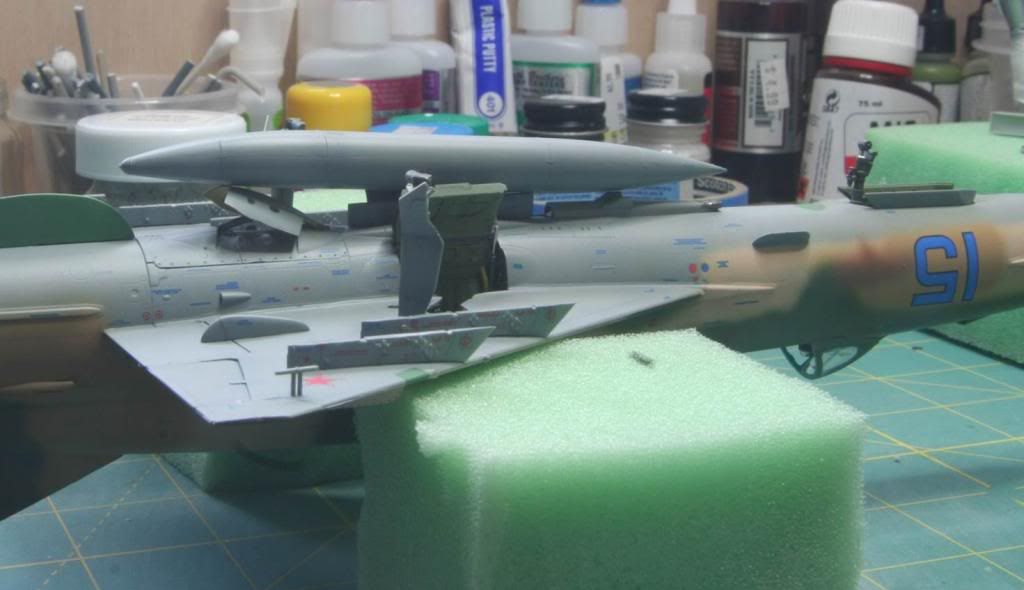
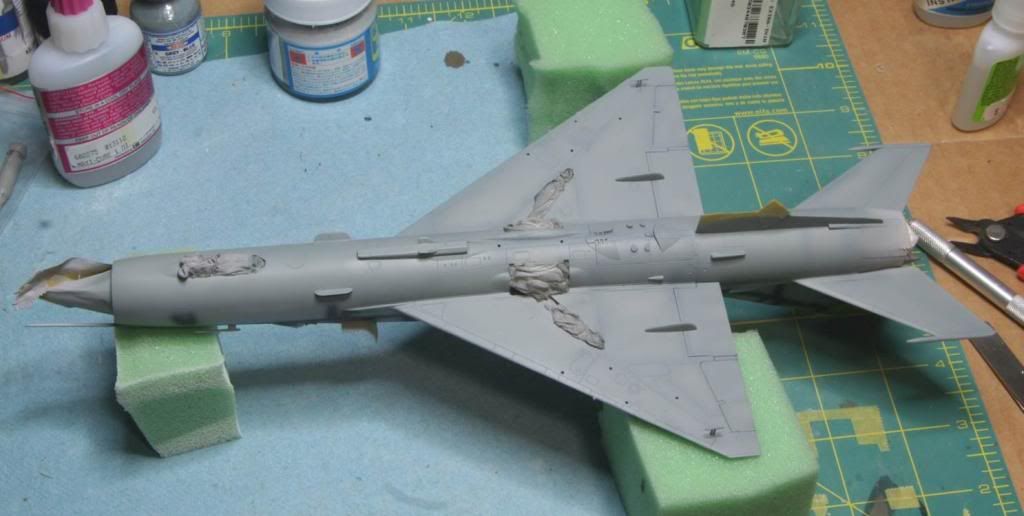
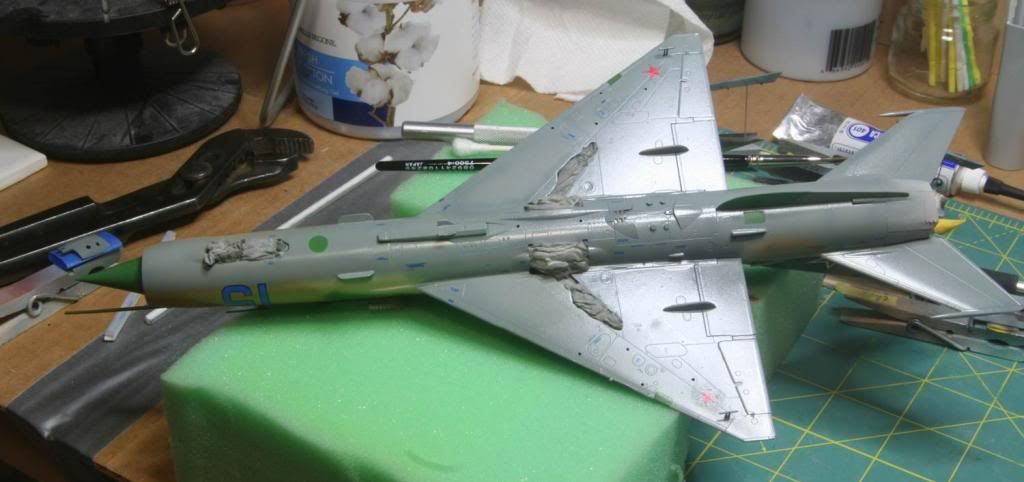
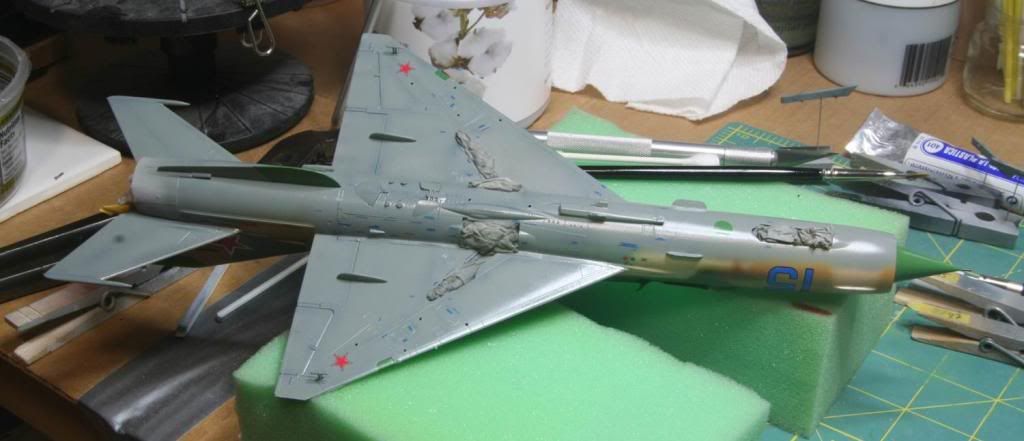
Once the pitot was installed, I masked off the cockpit, wheel wells, and the metallic areas, then gave the airframe a coat of Tamiya primer straight from the rattle can. There where some ghosts seams that needed to be cleaned up and then re-primered. Here it is.
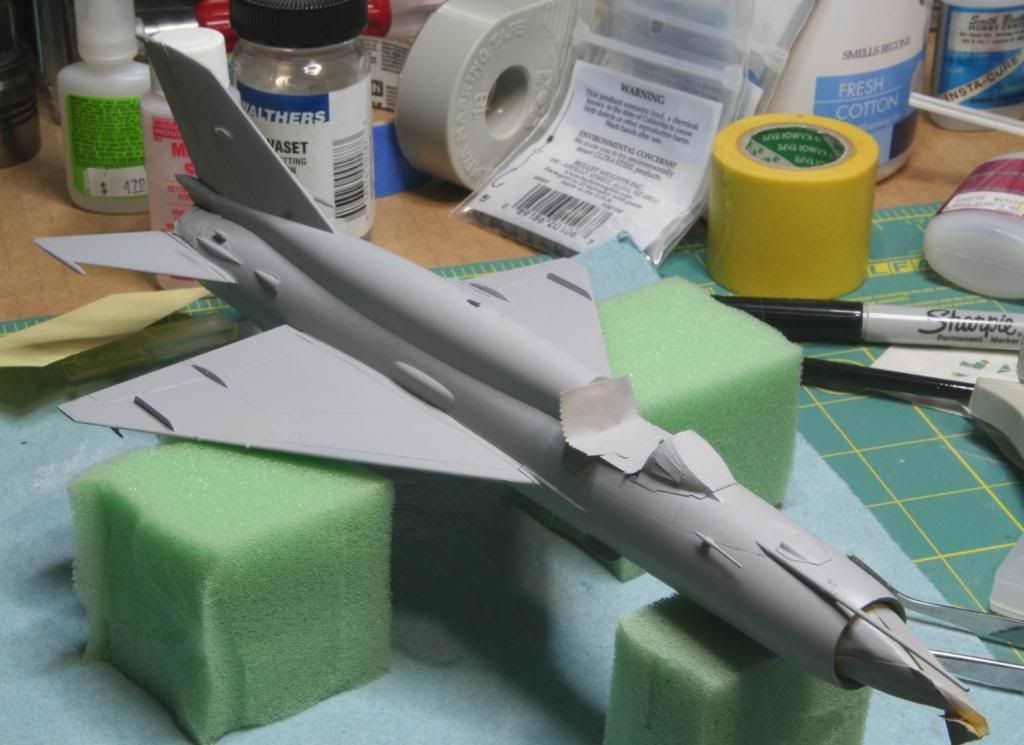
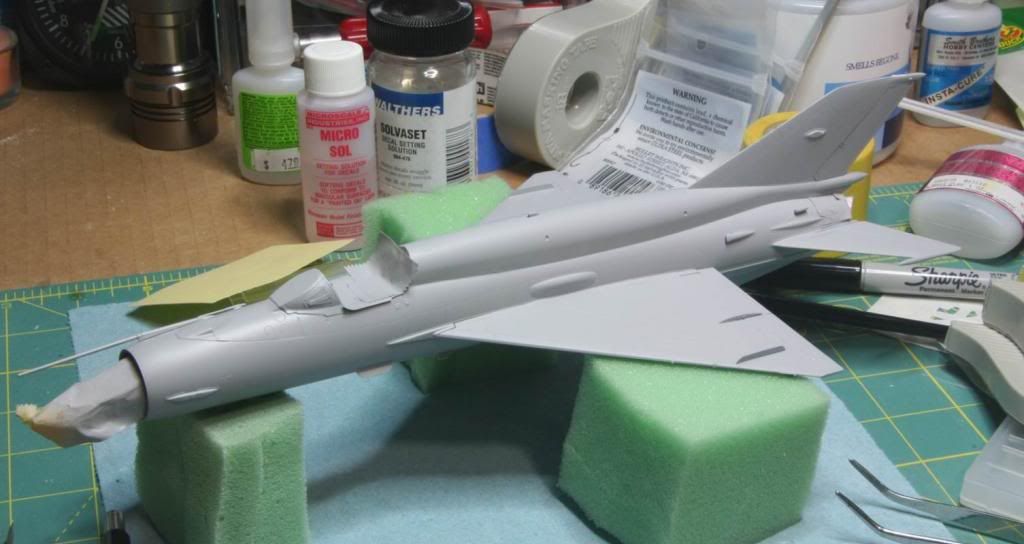
Well, not a huge update. I was hoping to get a pre-shade done and the dielectric panels sprayed in green today, but alas SWMBO had other plans. I have a month left to get this one finished for my model club’s March contest. I expect its going to be close!
Thanks for looking!
Mike
Its been a little while since my last post. I’ve finished up a few things on the MIG and am ready for the paint. Here’s today’s update.
First off, the Quickboost seat (more on this in a future post) and the Master Models Pitot Tube have arrived. Here is the brass pitot next to the kit one. There really isn’t anything wrong with the kit pitot but I have a bad habit of breaking such things during painting and since this one sticks so far out in front of the nose I decided to protect myself from, well, myself! :facepalm
To install the pitot, you cut the kit part from the mount housing and drill a small mounting hole. Then insert the pitot and bend it to the correct shape. The tip with the vanes is a separate piece, which will help with assembly and painting. Plus I can add that part at the end.
Once the pitot was installed, I masked off the cockpit, wheel wells, and the metallic areas, then gave the airframe a coat of Tamiya primer straight from the rattle can. There where some ghosts seams that needed to be cleaned up and then re-primered. Here it is.
Well, not a huge update. I was hoping to get a pre-shade done and the dielectric panels sprayed in green today, but alas SWMBO had other plans. I have a month left to get this one finished for my model club’s March contest. I expect its going to be close!
Thanks for looking!
Mike


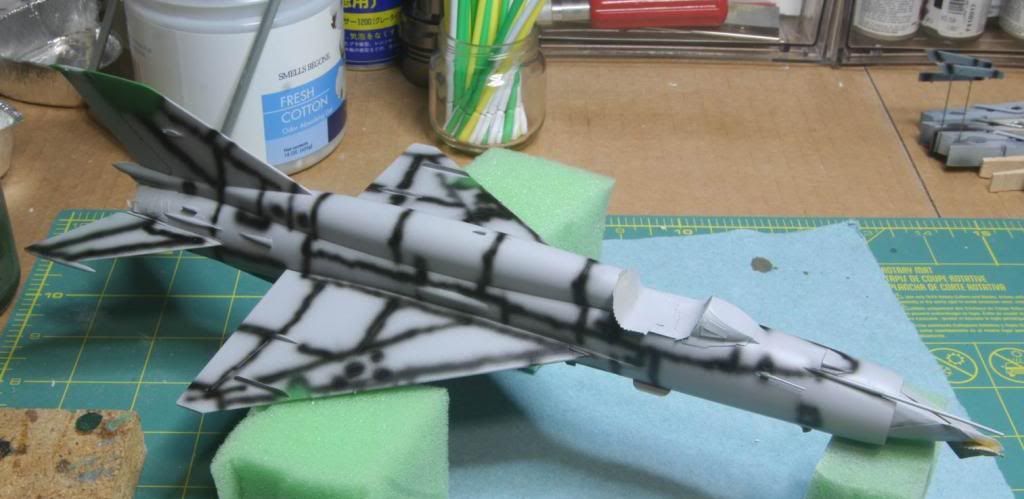
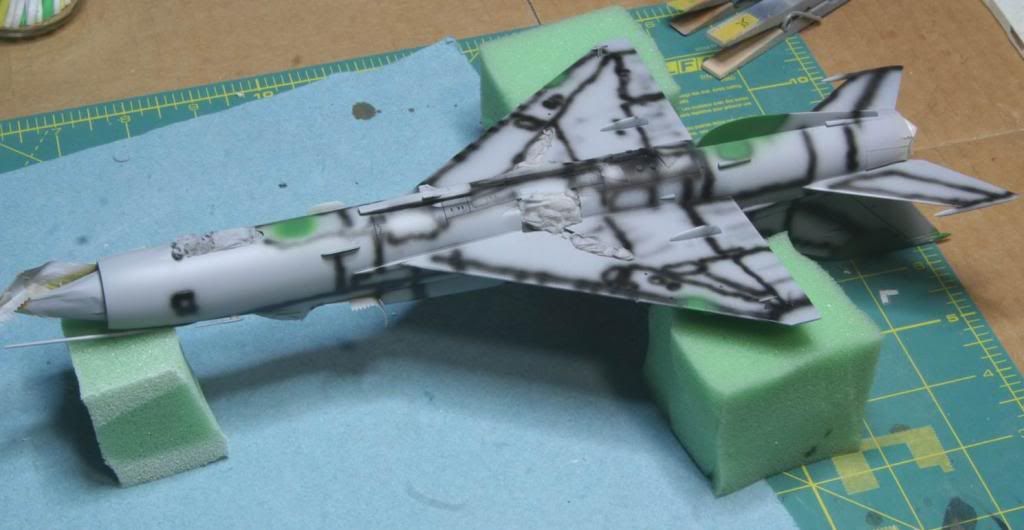

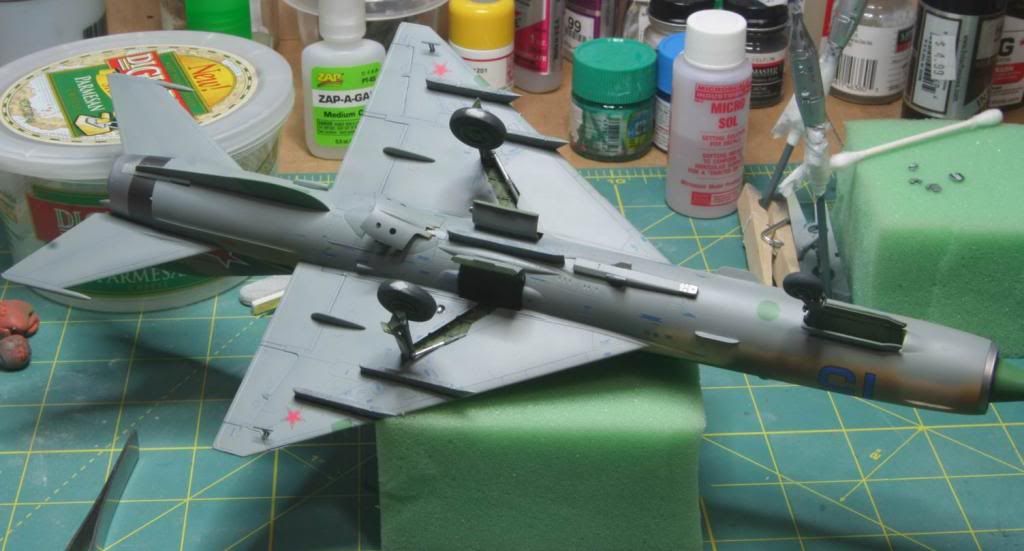
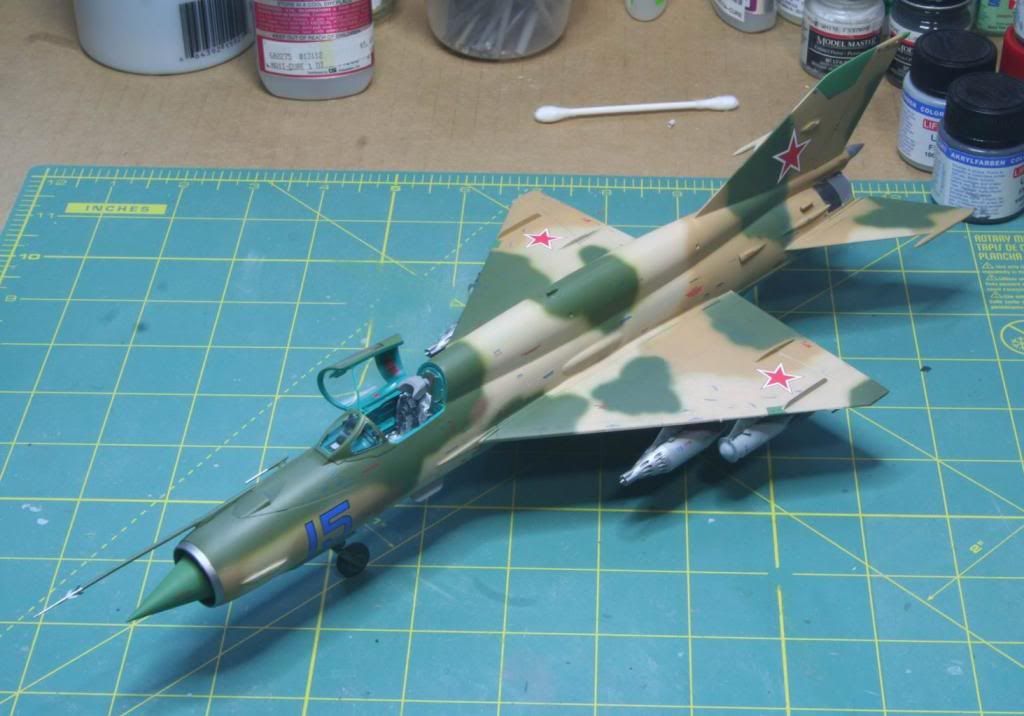
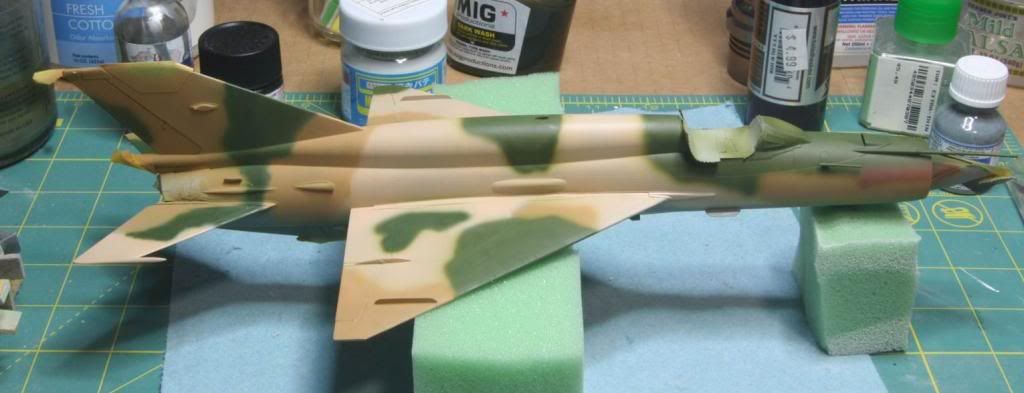
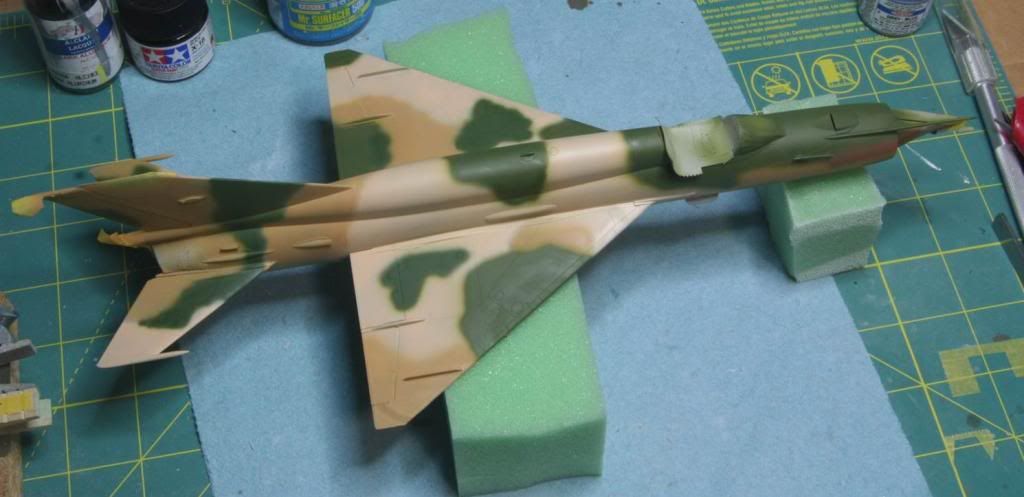
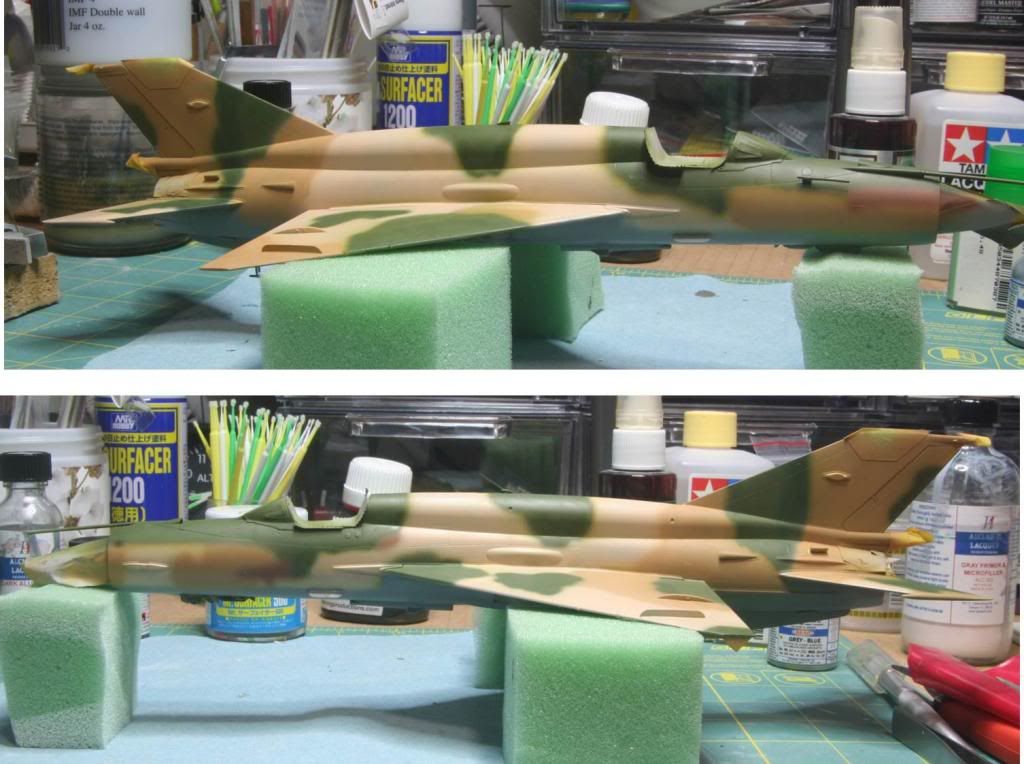
 First up was Light Sand (Gunze 51 actually labeled Flesh), then Sandy Brown (Gunze 19), FS34102 (Gunze 303), Brown (Gunze 43 actually labeled Wood), and last Russian Green (Gunze 136). All the colors were thinned using Mr Color leveling thinner at a ratio of a little more then 1 part thinner to 1 part paint. I sprayed all the camo freehand using my Iwata HP-C Plus at 20 psi. The pattern is not exact to the instructions but I think I got the spirit of it down.

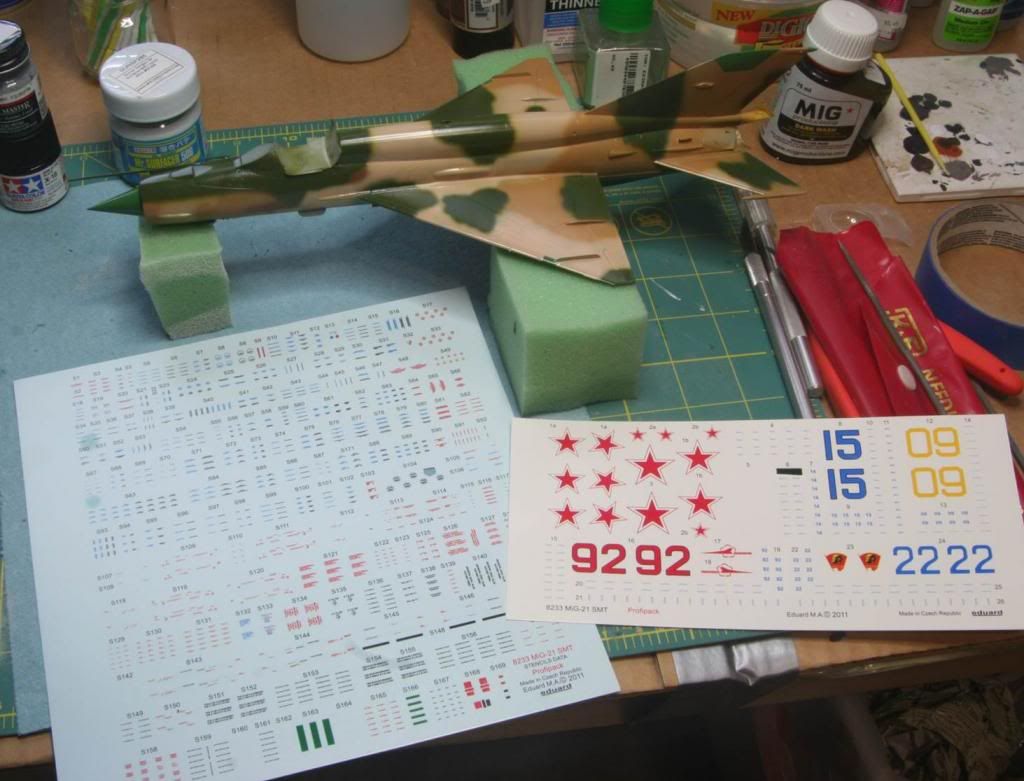
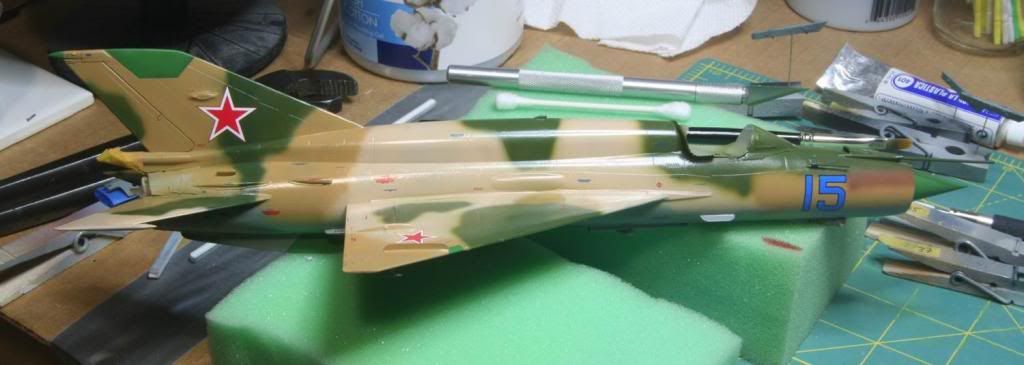

 After the big fuss I made about using the brass pitot tube for its strength, I went and broke it off anyway. I waited until I finished decaling to fix it.