• Modelers Alliance has updated the forum software on our website. We have migrated all post, content and user accounts but we could not migrate the passwords.
    This requires that you manually reset your password.
    Please click here, http://modelersalliance.org/forums/login to go to logon page and use the "Forgot your Password" option.

CyberHobby 1/35 Two-in-one JS-2

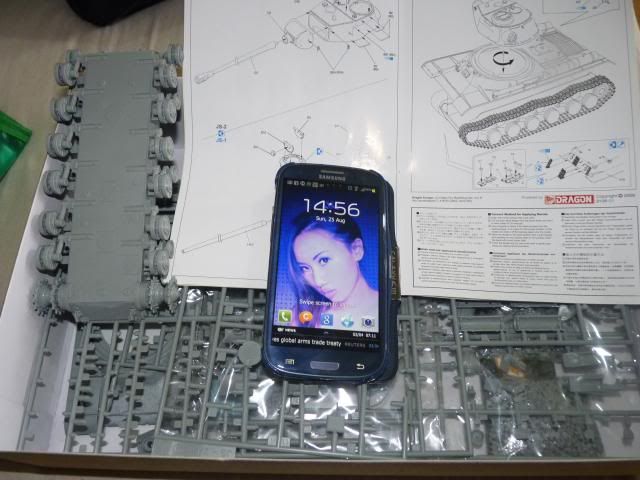
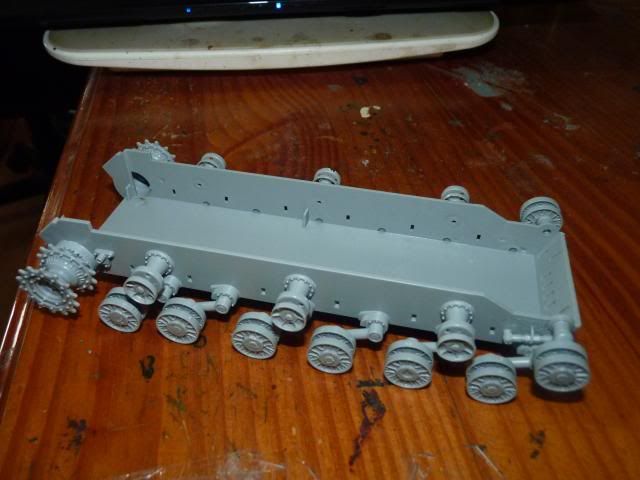
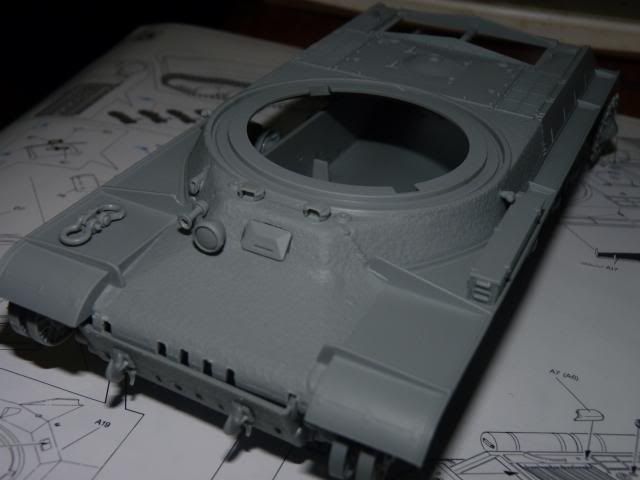
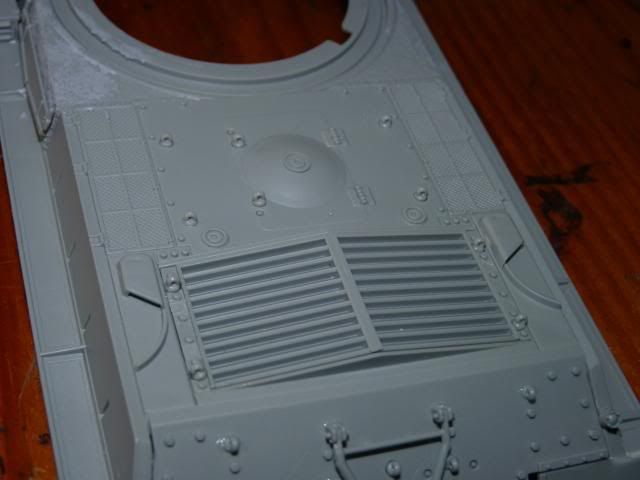
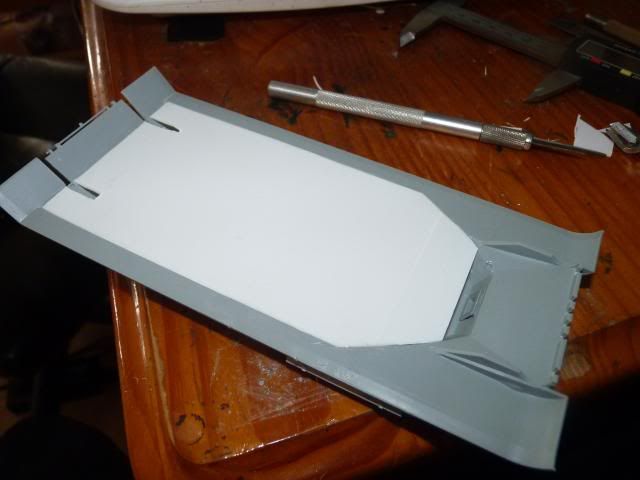
Ok guys.. here's my entry for this campaign ...

P1130725.jpg


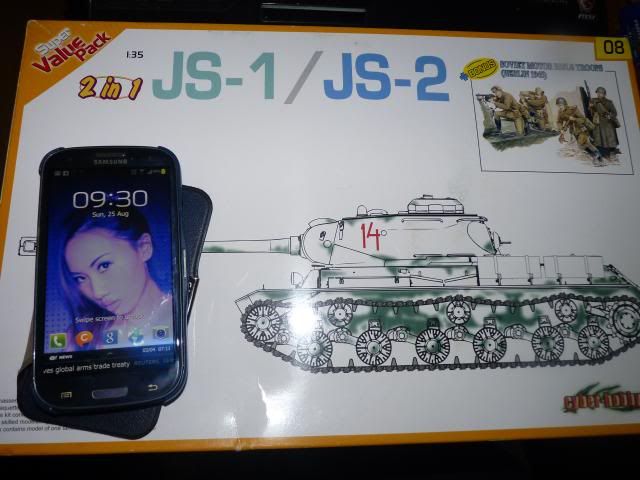
I'm not really a master so bare with me along on the build. Thanks.
 
Please post some open box pictures with your time stamp, Gary. Shots of the unbuilt kit are required. :good:
 
Sadly, I only took one such pic like this and now, I've already started with putting on the wheels. I did took some sprue shots but none with the Time-stamp. Oh well, I guess I am out. You can go ahead and delete this thread.
 
Gary get some time stamped shots of where you're at now please. :popcorn

We do these time stamped shots because from time to time we'll have someone to sponsor the Campaign and we just want to make sure everyone is on the same playing field.
 
A thousand apologies with the earlier hipcup ... glad everything worked out fine ...

Got some update for you, which I did yesterday but Forgot to post and just remember now at 11:30 PM .. LOL

By the time I put up the 2nd shot with the time stamp -
I have finished this much -
P1130716.jpg


To my surprise, it went rather quickly. It still needs the shock absorber though so I put them on afterward -
P1130717.jpg


and following the instruction, I put on everything I need to put on for the JS-2 on the front hull. There's not much difference the JS-1 and 2 really ...
P1130718.jpg

P1130719.jpg


I followed that with the engine Grille -
P1130731.jpg


and put on the rear hull plate, the gun-travel lock on it, and the little hooks-thingys all over the back plate
P1130729.jpg


and that's it for now folks. Still need to put up the turret. I made some mistake with the Mantlet and it pissed me off so I stop here to cool down.
 
A friend gave me a dragon JS2 kit, following along with yours before I tackle mine. (y) :drinks
 
OK guys.. Got an update for you alll ....

When I left off, I said something about the mantlet giving me trouble. I will show you -
a0a34ce3-e887-4bbf-a374-35047f69c513.jpg


First of all, I had problems with that little thing C9 that i'm supposed to glue on behind the elevating-part D9. Even before I join the mantlet with the rest of the turret, the little part keeps popping out with a slightest push on D9. So if you guys are building this, becareful not to push the barrel ( and the mantlet which comes after that ) so hard or that little thing C9 will just pop out. It happend to me AFTER the mantlet have joined the turret and it was a pain in the neck to put it back on.

The other problem is the mantlet cover C6. Now, kit is supplied with 4 different mantlet covers and I put on the wrong one, twice. and I only noticed it after the glue had dried ( for both times ). The illustration wasn't clear enough... ugh .

But I soldiered on and put up the whole turret, taking care not to handle it from the barrel -
P1130732.jpg


And as you can see from that photo, I also put on some more tamiya putty to improve the casting texture.

While dry fitting the two halves of the hull, I noticed that this thing has a very very terrible opening in the middle of the top hull which even the tracks and weathering won't be able to hide so I have to fill that darn thing -
P1130733.jpg


another issue I found was that the side chassis wall are two shorts I can see a huge gap so I had to fill again -
P1130743.jpg


Satisfied with those, I moved on the extra fuel drums ( are those fuel drums ??? ) -
The handles on each side of the drums were moulded solid. So I thought to myself '' alright, surgery time again '' and salvage some PE strips from my extra frets and put them on like so -
P1130738.jpg


Which give me these drums after ward -
P1130739.jpg


which I put them on along with the some tools on the side of the hull -
right -
P1130740.jpg


left -
P1130741.jpg


And this is how this gal look when test fitted
P1130742.jpg


I just need to close the hatches and then, its painting time.
 
Son of a big gun , you surely do. Sorry, I have not been here much lately .

Looks good so far. :) 
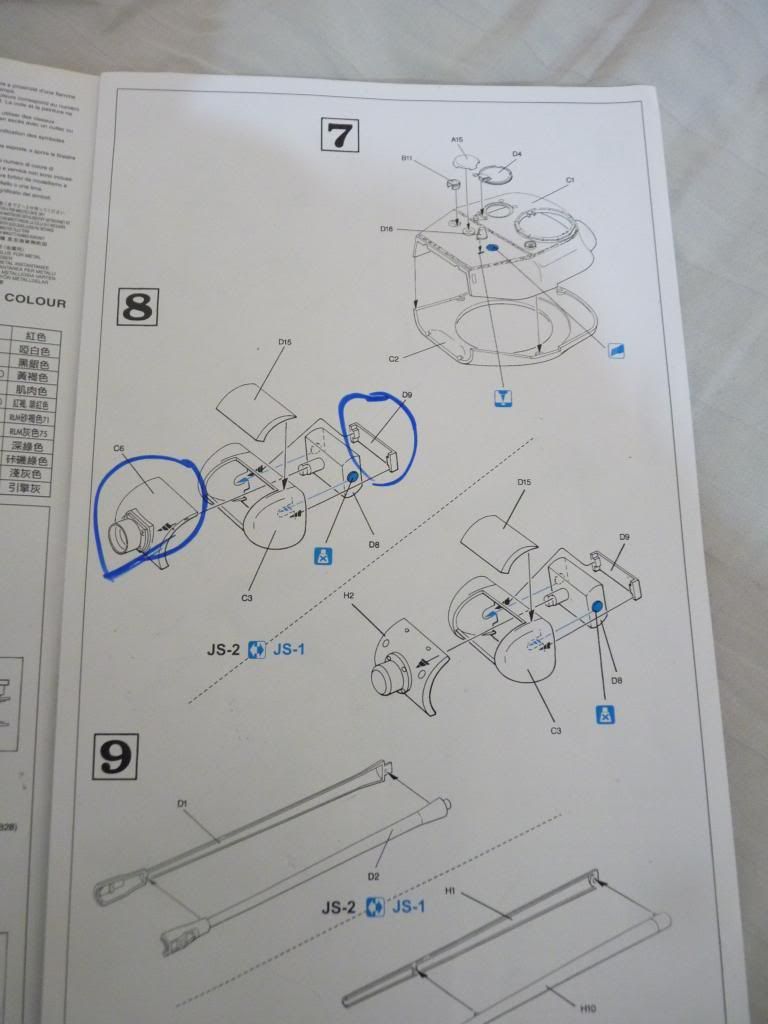
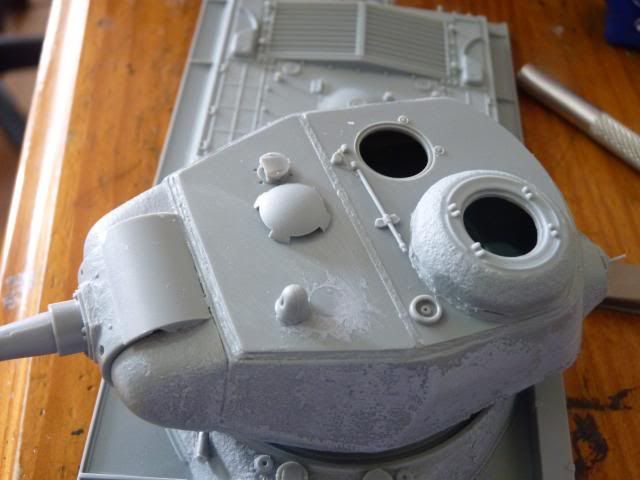
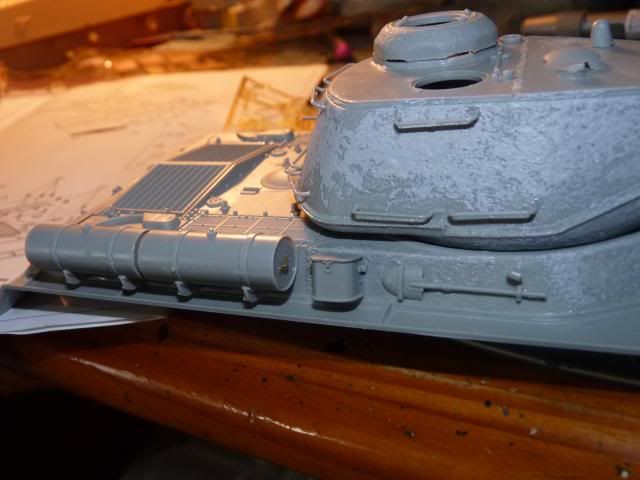
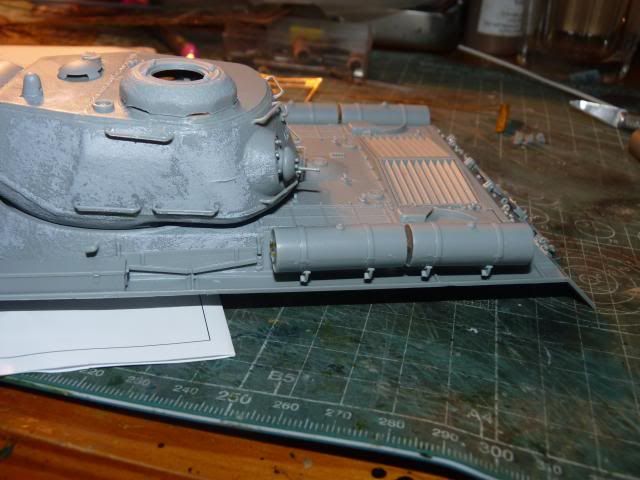
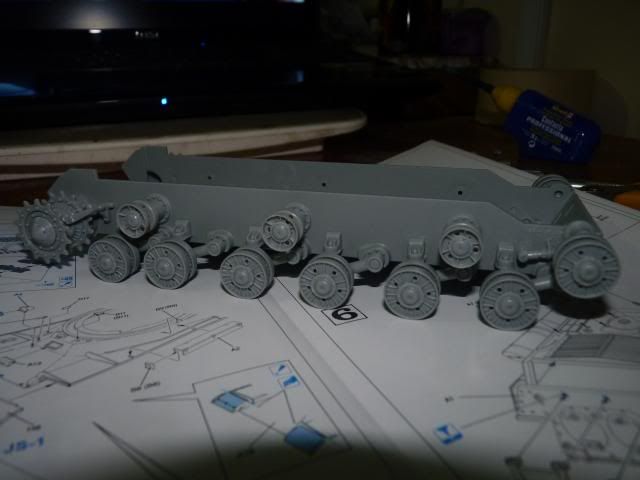
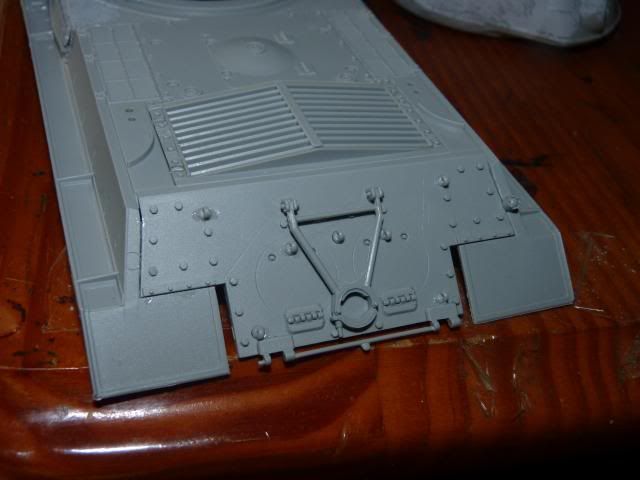
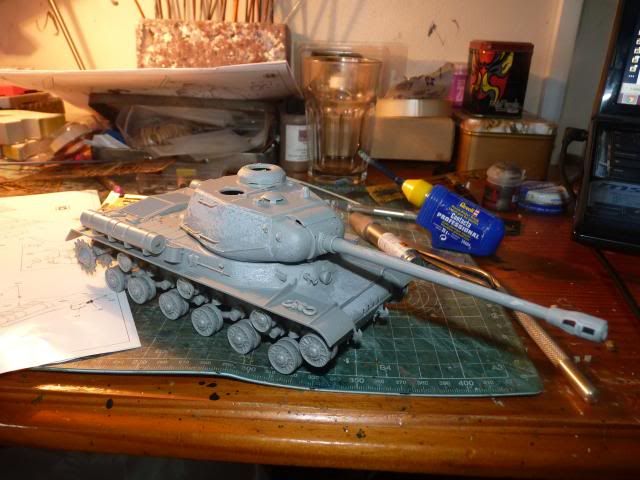
Waiting on some paint then :hmmm

SA Dave might be right after all. Welcome to the loony bin !

Cheers, Christian B)
 
Yes I thnk those are actual fuel drums, never understood why they mounted them outside, guess if they get hit, it's easy to replace and crew not in as much danger.

Doing great Gary, nice texture on the hull.
 
Looking good. Usually for that flimsy retaining piece I tack it in then glue is heavily so the gun isnt an issue. I usually also end up choosing the gun elevation and make it static. An alternative to the Tamiya putty for making the cast look would be Mr Surfacer. For that I would use Mr Surfacer 500. Reason I mention it is that it is cheaper in the long run than Tamiya putty and is very easy to use. And if can be cleaned of the brush with alcohol. It can also be "sanded" with alcohol and paper towel. This video might explain it a bit better. Video from Scale War Machines on You Tube.

http://www.youtube.com/watch?feature=player_embedded&v=g2nI8bogQ8A

Hope its of some use.
BTW I have never used acetate with this product and I am not sure I ever will.

James

Many thanks for the info James. I have been eyeing to use Mr. Surfacer for a long time now. Good to know the to-dos and not-to-dos. Thanks
 
Back
Top