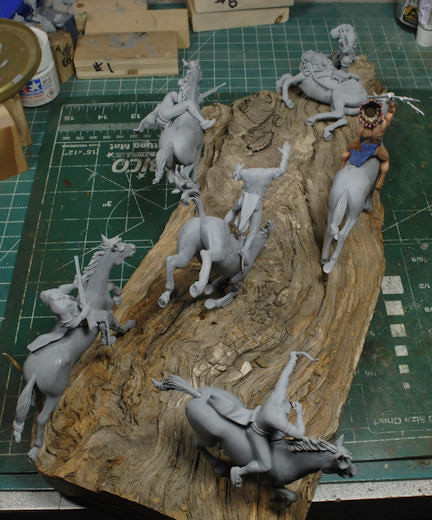
Critical Layout Considerations
Not to get too long winded here, but there’s some explanation required for what just transpired over the last few days. Some alterations have taken place to my initial layout, and it was not foreseen like it should have been. For me personally, building a diorama or a vignette needs to tell a story convincingly, or at least, that is my primary goal. That starts in the initial planning phase on paper or in my head and pretty much dictates everything else. Even the build sequence of the figures, vehicles, structures, etc., they all have a time slot, so to speak. Ya, that may sound a little anal retentive to some, but go build a house and tell me if that isn’t what transpires from slab to roof top. I’m not making excuses; I’m pointing an obvious mistake due to the lack of attention to detail. And that’s actually pretty big considering most of us figure painters are all about attention to detail. So, ya, it happens, and nobody is perfect. I reckon you could say the pony got ahead of the rider, HA!
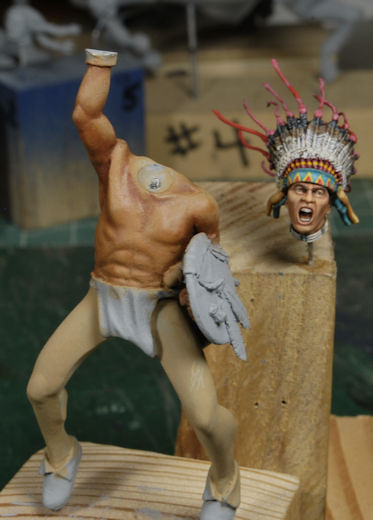
A little rant, if I may. Not liking these metal figures other than they are well sculpted, they’ve been a pain in my backside from the beginning, because they have no flexibility without major surgery, and I wasn’t into playing with metal shaving right now. When I “thought” I had the layout set in stone and all figured out, it wasn’t until I placed the Chief on his pony in his intended position that I found his stare and his spear would not align with the Trooper, his intended target. Under normal circumstances with a larger base, ah, no biggy. But this is a very tight narrow base which took quite a bit of jostling to place the figures and their ponies in the proper location to tell the story. So, to end this little rant, if these figures were resin, I could have easily reconfigured the head and shoulders to make the initial layout work, but I could not in all reasonable conscience do this in metal. So, I screwed up, and there ya have it.
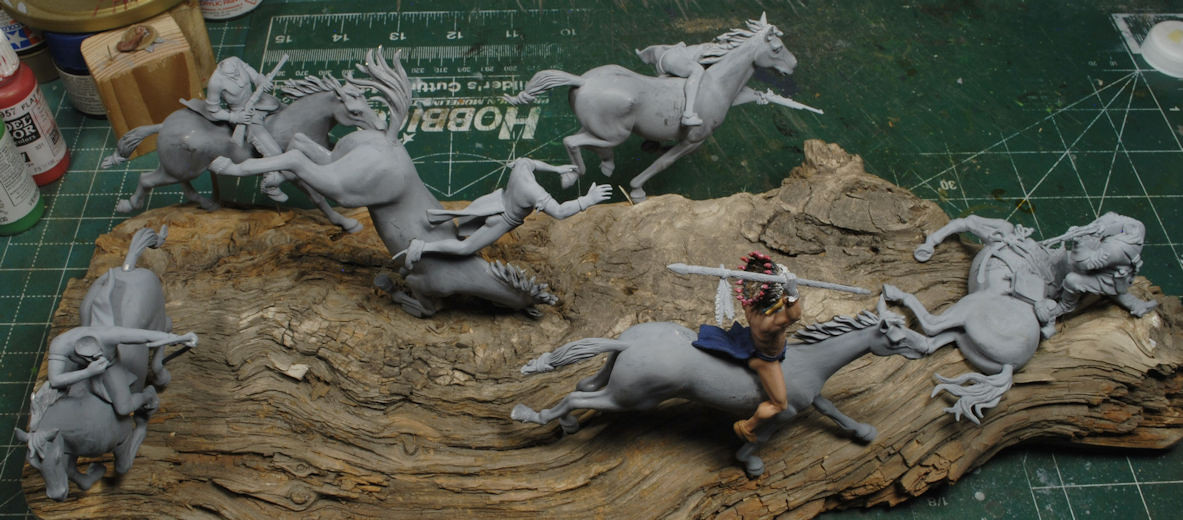
Not being the end of the world but only time invested in the correction, I was able, after several hours, to reset some of the players. I believe I have corrected the issue and have actually made good use of this boof by what I see now, a much better story told. I’m still not completely happy with the rider shooting the arrow, but his spine had to align properly above his rump or he would appear disconjointed. His path crosses a little bit ahead of the last rider holding the rifle, but I see no other location possible; it’s mighty dang tight tolerances on this base. This is a compression of a scene that could use a larger base, but this is what I’ve got to work with and I’m thinking this will work just fine.
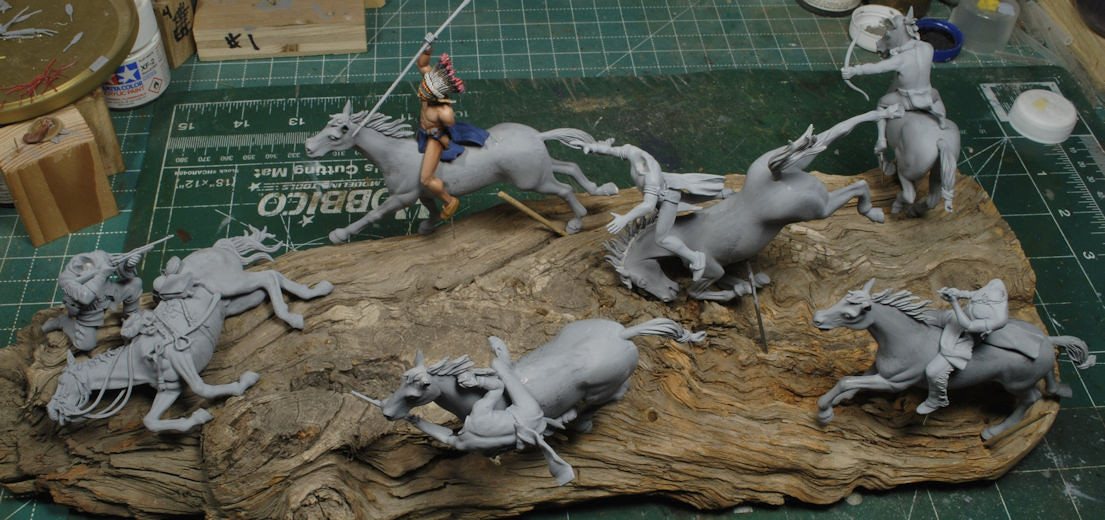
So now the Chief is closer to the Trooper with his spear on the left side of the horse’s head vs. the right. In the box art his head faces slightly higher but still toward the left. That is not how this figure went together and only heavy alterations would have corrected this elusive detail. This is what I failed to recognize initially. During the testing phase a resin head can be positioned on the torso with silly putty, or white glue, but not this heavy metal, “so the obvious was taken for granted,” which only screwed things up, my bad. Like I said, I’m not a fan of metal figures.
The silver lining in all of this is the falling rider is directly ahead of the Trooper in a more convincing location, and he does not interfere with any other rider’s perspective or alignment, which took some time to redo. Long story short, I avoided major surgery and I can carry on with painting.
So why did I run through all of this just to say I got it figured out? For the new guys who are never told what to expect in odd situation that they will inevitably run into. Maybe cut someone’s learning curve just a bit and avoid any frustration that could have been spent in a productive manner. We’re all learning from each other, so this is my 2 cents, lol. We Ruck On!
As usual, if you can make out any alignment issues I might have not seen, please holler out, I’ll look em over. I know the pics are not really big enough to see too deeply, and I apologize for that, but right now, I think this will work, so back to the brushes.
Thanks for watchin. Cheers, Ski.