Airfix 1/72 Bf110C-2
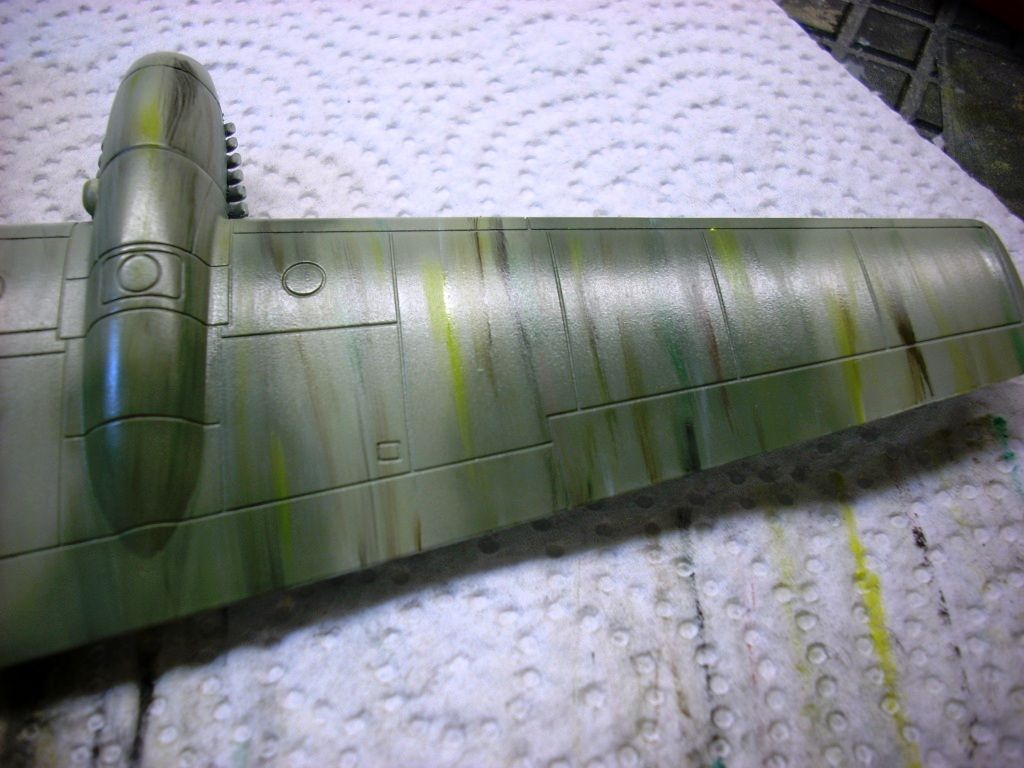
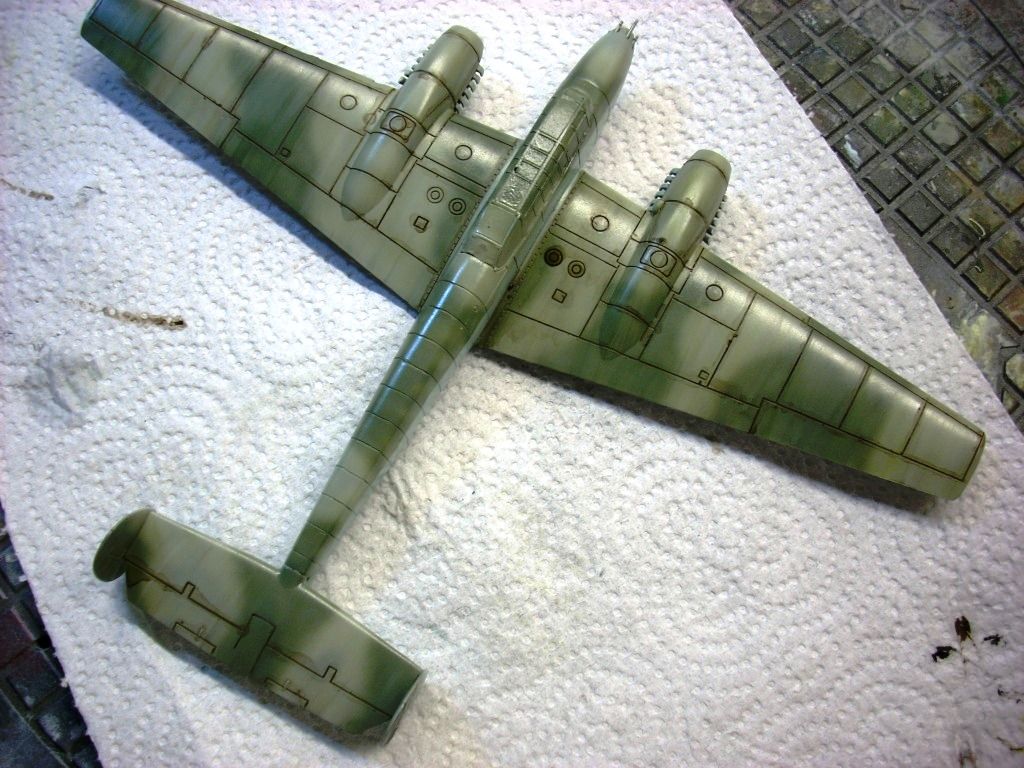
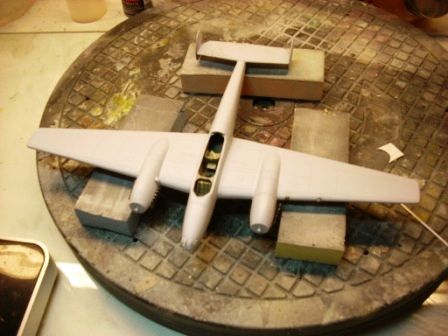
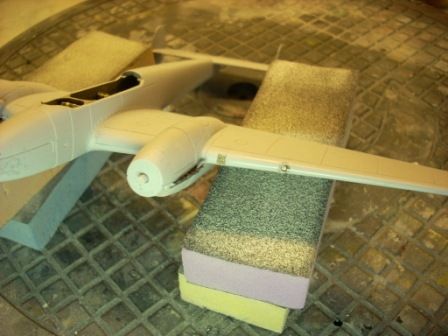
I got back after it and here are some pictures of the results so far. I use the artist oils streak technique on all my airplane models.
For anyone whose never heard of this or done it, the technique is simple and the results give your model a sense of motion.
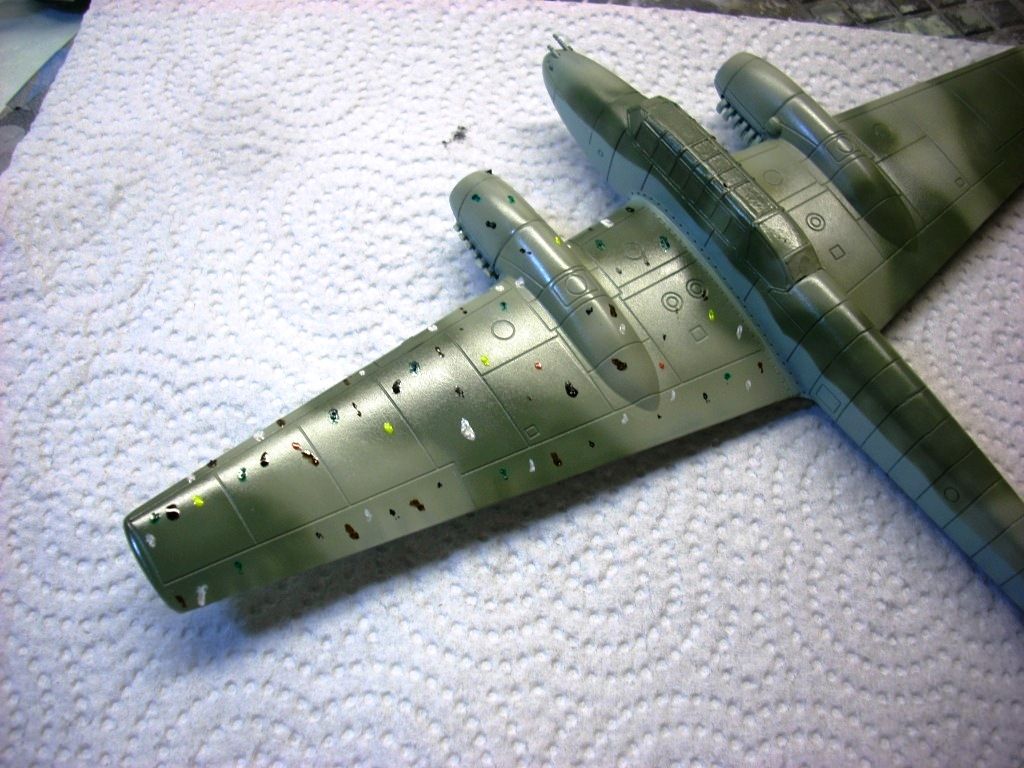
Basically, start by covering your model in a water-based clear gloss (Future works well). Then, using ANY color and/or color combination of artist oil paints, put small dots of paint randomly on your model. I used red, green, yellow, black, brown and white on this model.
Next, after slightly dampening your favorite flat brush with Turpinoid, use the thin edge of the brush to drag the paint in the direction of airflow (wings and horizontal tail) or gravity (fuselage).
Repeat the last step until you get an effect that looks good to you. I keep the brush from loading up by dragging it over a paper towel I place under the model. I swipe across the model and onto the paper towel in one motion.
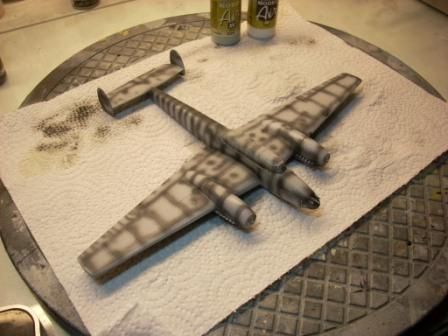
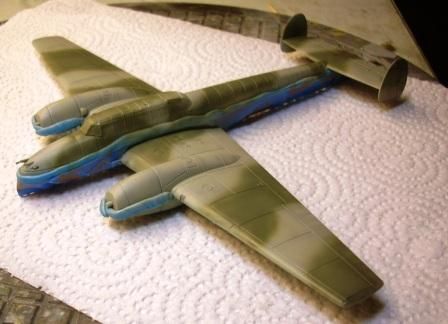
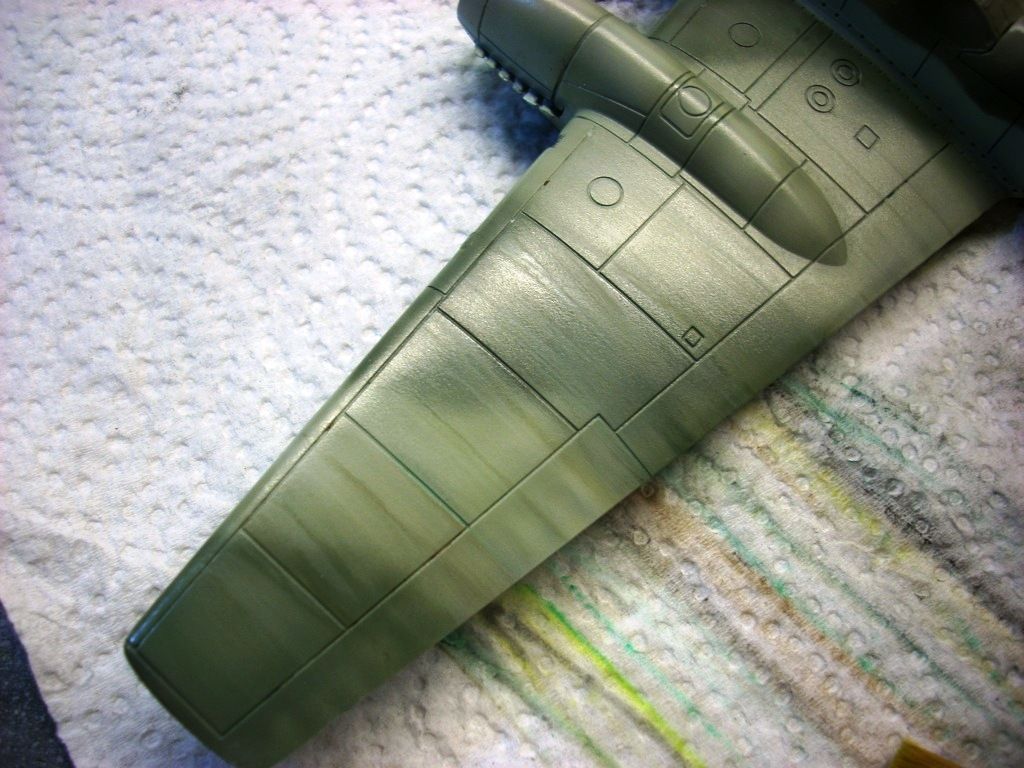
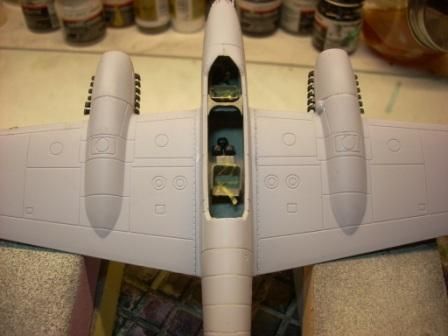
Here's the end result. I've applied a sludge wash of black and brown watercolors and with a drop of dish soap. The model is now in the drying stage. The oils will take a few hours to dry completely. So I typically leave it overnight to dry.
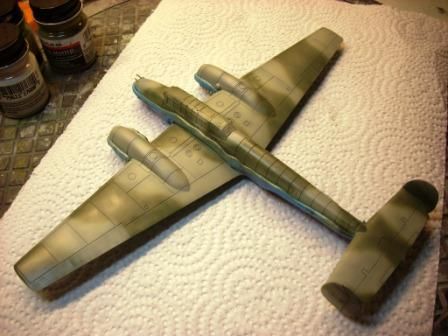
The effect might look a bit too heavy at this stage but will become very subtle once decals and a coat of clear flat are applied. I always apply a "filter"; I add a tiny-tiny-tiny drop of red, blue, green or yellow paint to the clear flat. The choice of filter color I use is always random, "today I'm feeling...GREEN!"

 .... :coolio
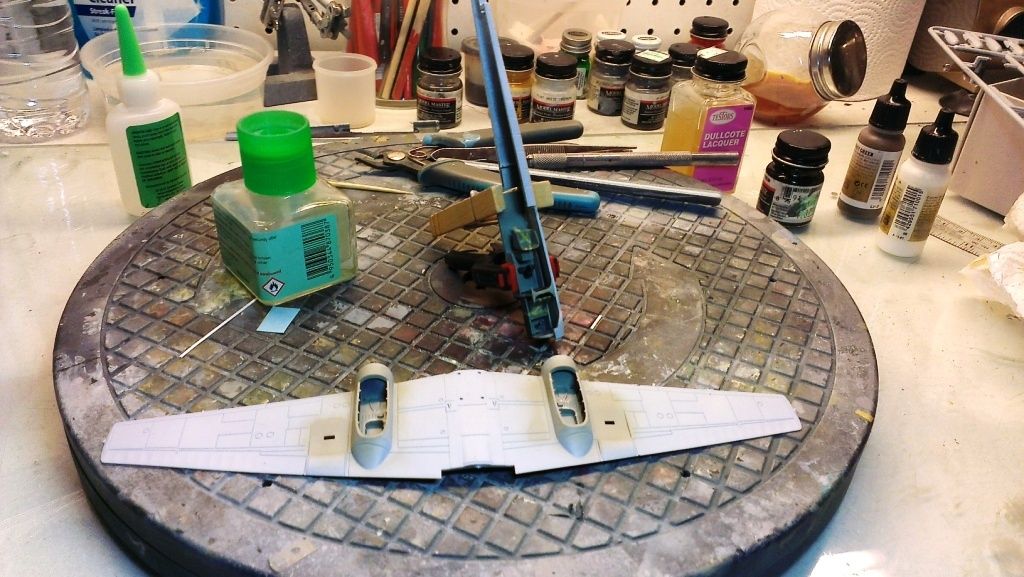
 ... I see the screen nice touch, glad you got some sleep ... Nice progress looking good ..
 ")