Skinny_Mike
Well-known member
Hey Everybody!
I pulled out the M109A6 that I originally started for the Modern Armor Campaign and had worked on quite a bit over the last few months and decided that this would be the perfect place to finish up, and get the campaign ribbon!
In case you forgot where we are, here’s a link to the build topic over in Armor Fury:
M109A6 WIP Link
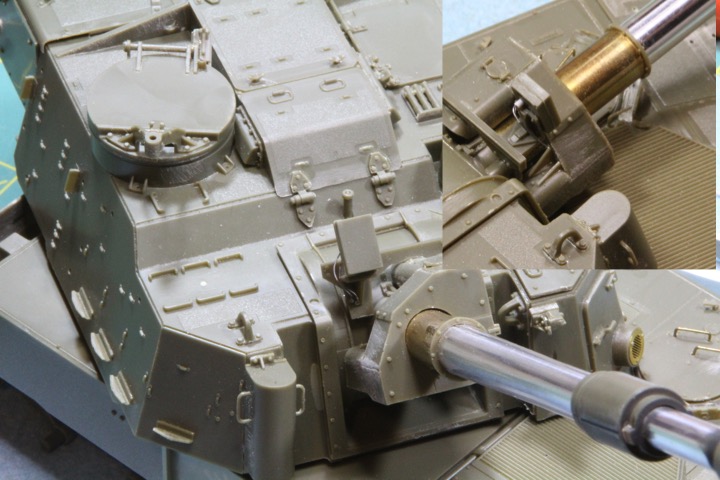
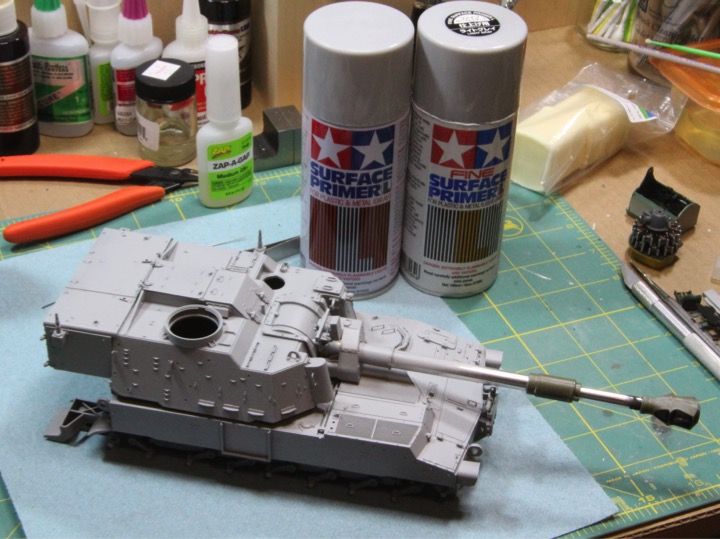
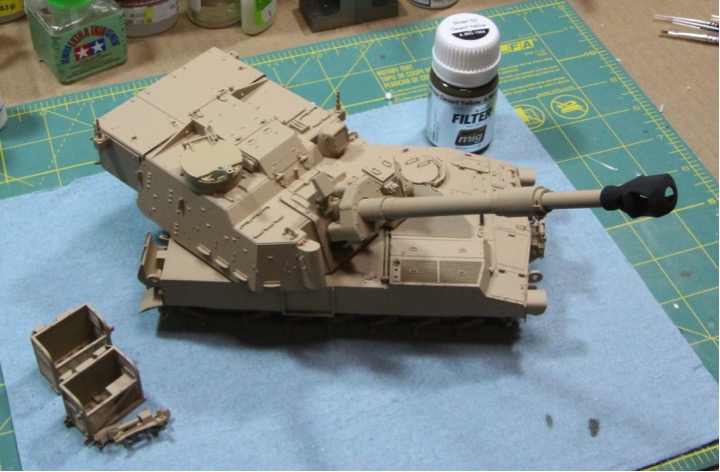
Not much new to show, but here is some quick progress I made tonight. First a picture of the beast.
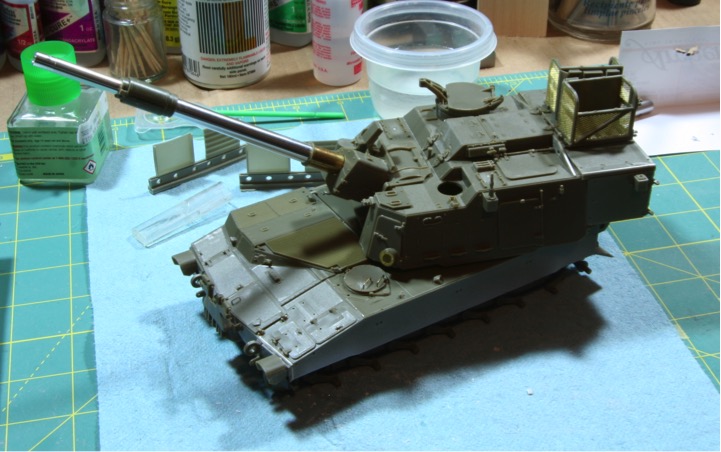
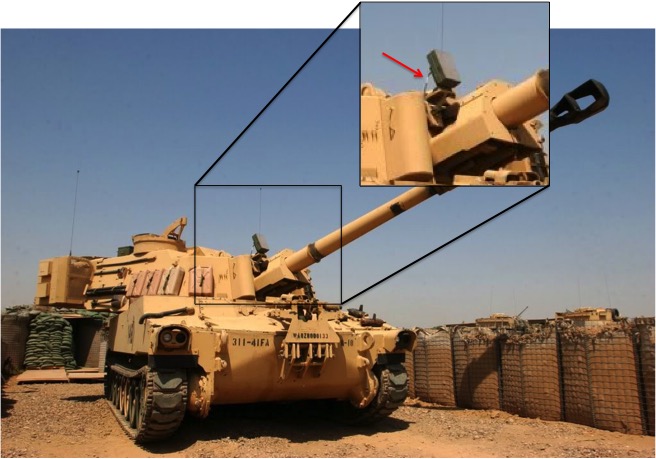
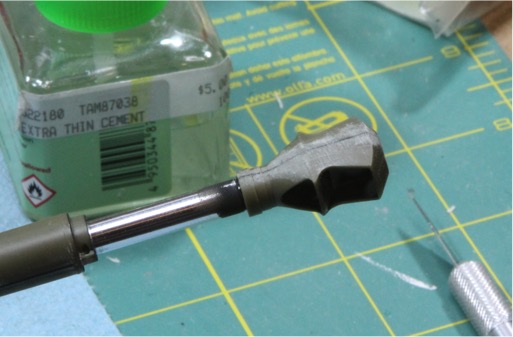
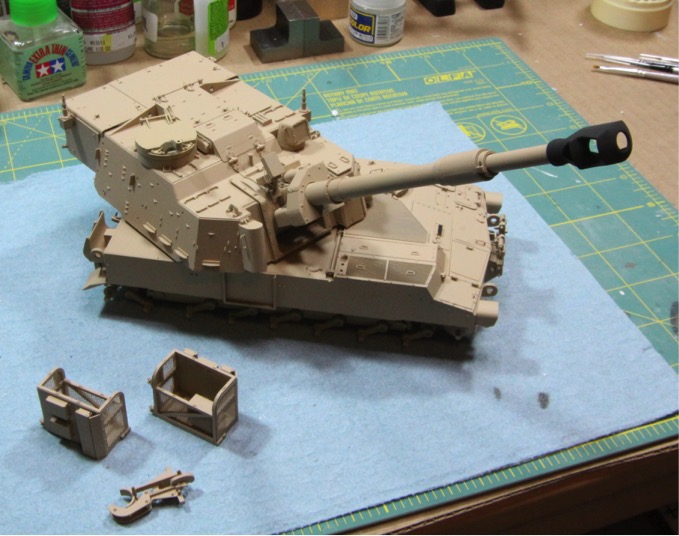
I’ve been doing some research on the Paladin and learned that the fume extractor on the barrel has a weld seam that runs along each side. I had originally filled the seam and sanded it smooth. To replicate the weld bead, I used the Archer resin decals for weld seams. I had them laying around and was curious how they would turn out.
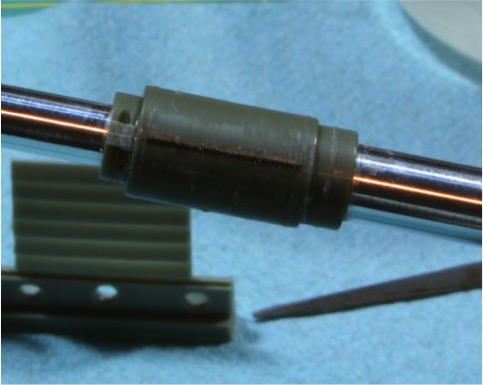
For those that haven’t seen these yet, they are raised resin affixed to a waterslide backing that are applied just like decals. Turned out pretty good. All I had to do was cut the appropriate length. I applied some Solveset once they had dried a bit, as recommended in the instructions.
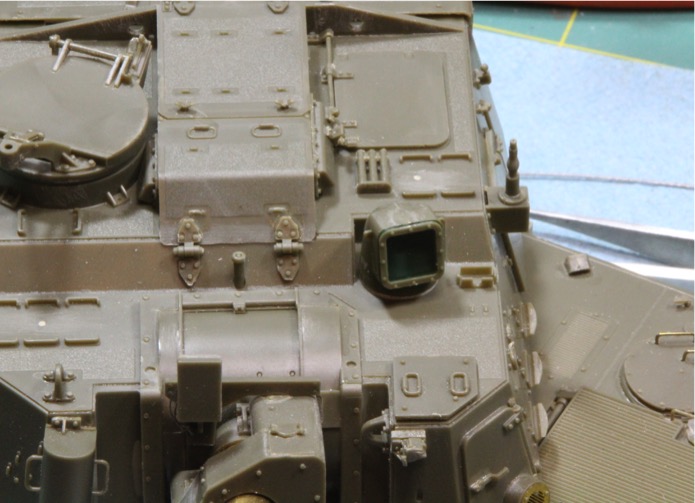
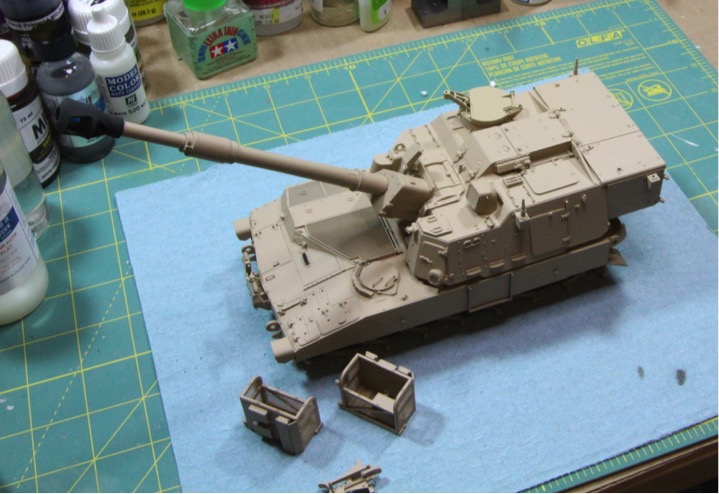
I also added the Combat ID Panel from the Legend stowage set to the back of the turret. Nothing too complicated here, just cleaned of the resin and attached with some super glue.
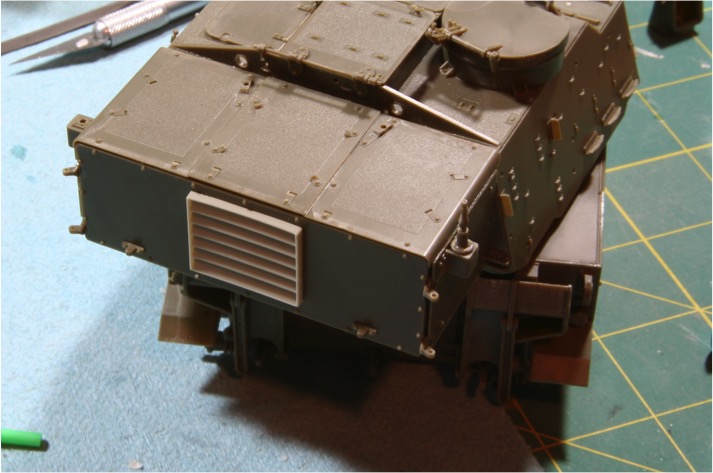
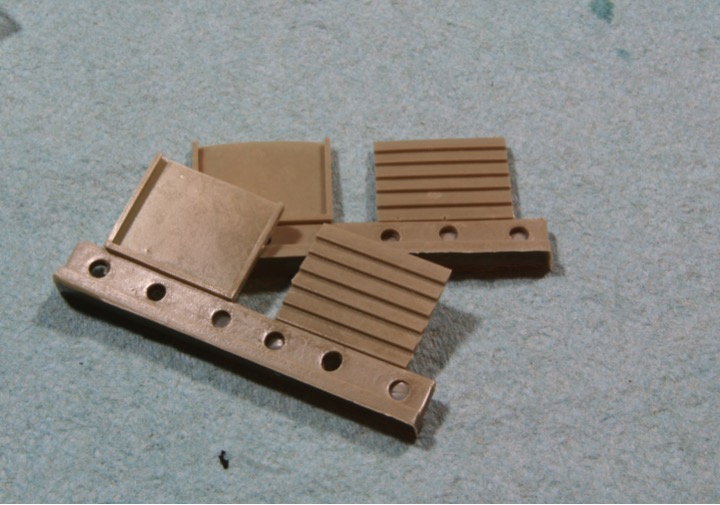
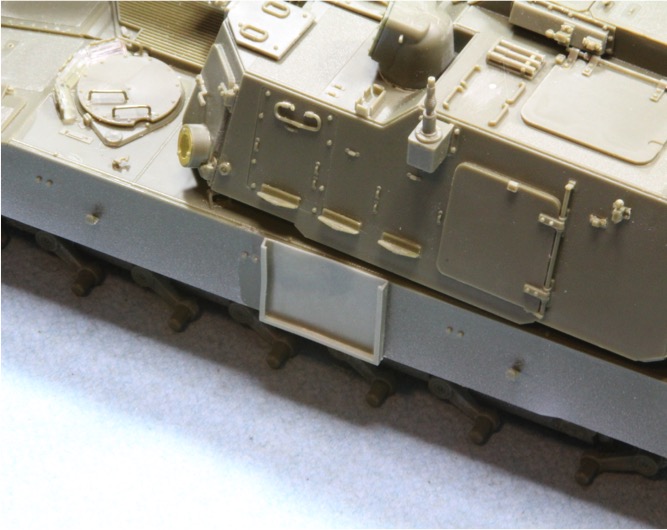
I was going to also add CID panels to the hull sides, but I’m not sure if I should. I have some left over from the Accurate Armor set and they would fit, but I haven’t seen many reference photos with the panels on the M109A6. Anyone have any thoughts?
Here is a shot of the panels. They really are quite good.
Well there we go, hopefully I’ll start picking up some momentum here on this and a few other builds because I really want to get the bench cleared for some of these campaigns that are coming.
Thanks for looking and as always comments are welcome!
Mike
I pulled out the M109A6 that I originally started for the Modern Armor Campaign and had worked on quite a bit over the last few months and decided that this would be the perfect place to finish up, and get the campaign ribbon!
In case you forgot where we are, here’s a link to the build topic over in Armor Fury:
M109A6 WIP Link
Not much new to show, but here is some quick progress I made tonight. First a picture of the beast.

I’ve been doing some research on the Paladin and learned that the fume extractor on the barrel has a weld seam that runs along each side. I had originally filled the seam and sanded it smooth. To replicate the weld bead, I used the Archer resin decals for weld seams. I had them laying around and was curious how they would turn out.

For those that haven’t seen these yet, they are raised resin affixed to a waterslide backing that are applied just like decals. Turned out pretty good. All I had to do was cut the appropriate length. I applied some Solveset once they had dried a bit, as recommended in the instructions.
I also added the Combat ID Panel from the Legend stowage set to the back of the turret. Nothing too complicated here, just cleaned of the resin and attached with some super glue.

I was going to also add CID panels to the hull sides, but I’m not sure if I should. I have some left over from the Accurate Armor set and they would fit, but I haven’t seen many reference photos with the panels on the M109A6. Anyone have any thoughts?
Here is a shot of the panels. They really are quite good.

Well there we go, hopefully I’ll start picking up some momentum here on this and a few other builds because I really want to get the bench cleared for some of these campaigns that are coming.
Thanks for looking and as always comments are welcome!
Mike


 ....perfect :salute