
Adam Baker
Active member
Was showing these pic's to Iron Mike last night, and he told me I should post them up here, so I figured why not.
This is Academy's 1/35 MH-60G Pavehawk. It was built OOB, except for the addition of a ton of sheet styrene to correct a lot of the fit issues that are present on the interior.
Here are a few of the in-progress pic's I have.
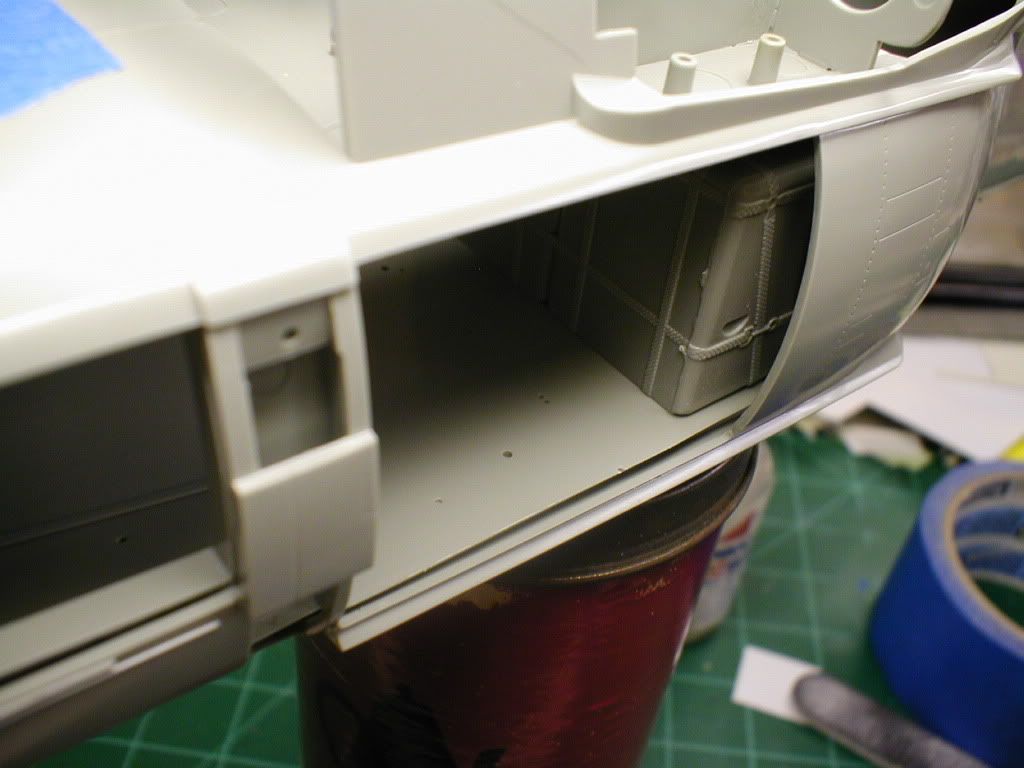
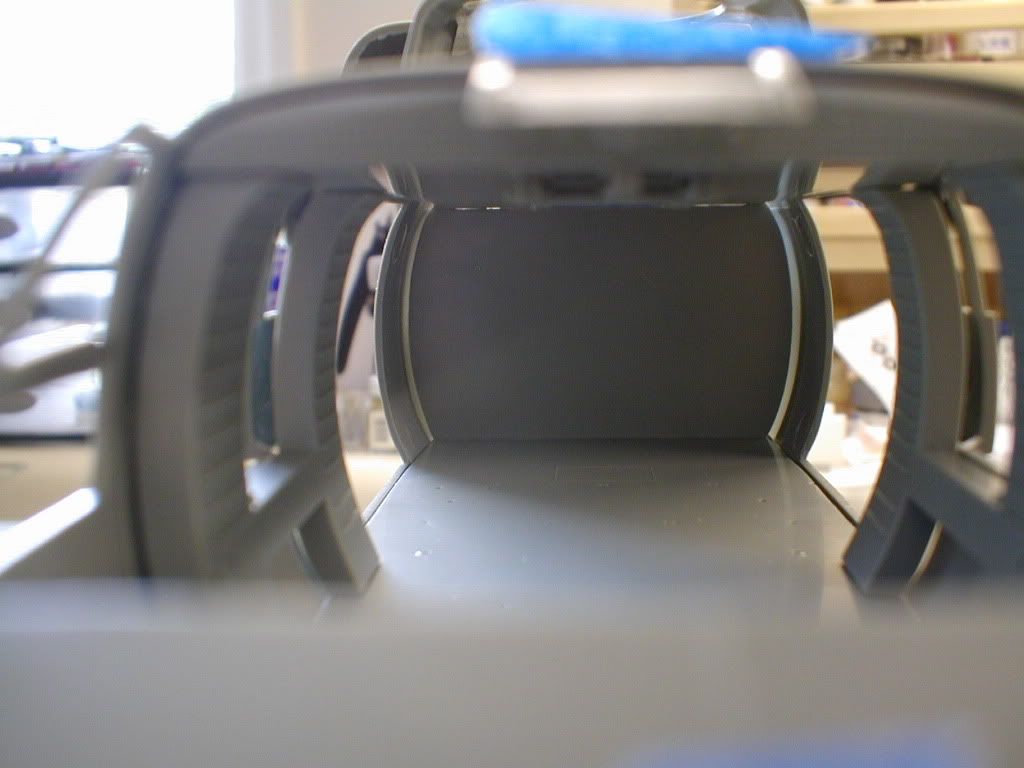
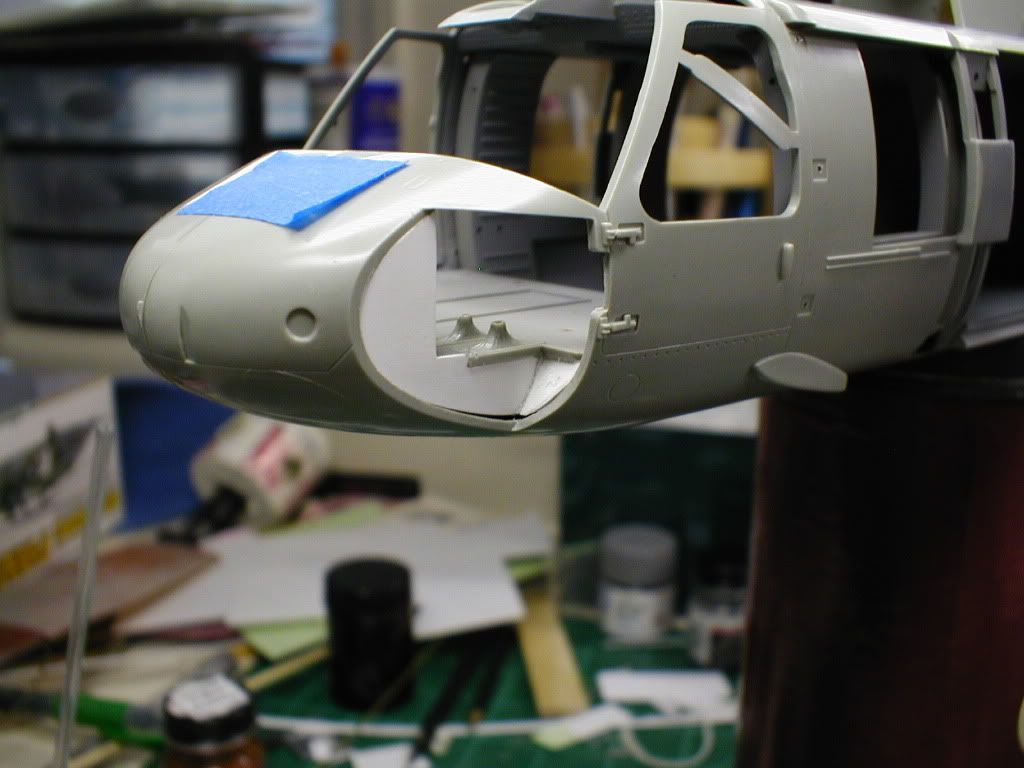
These couple pic's show how badly the interior fits inside the fuselage.
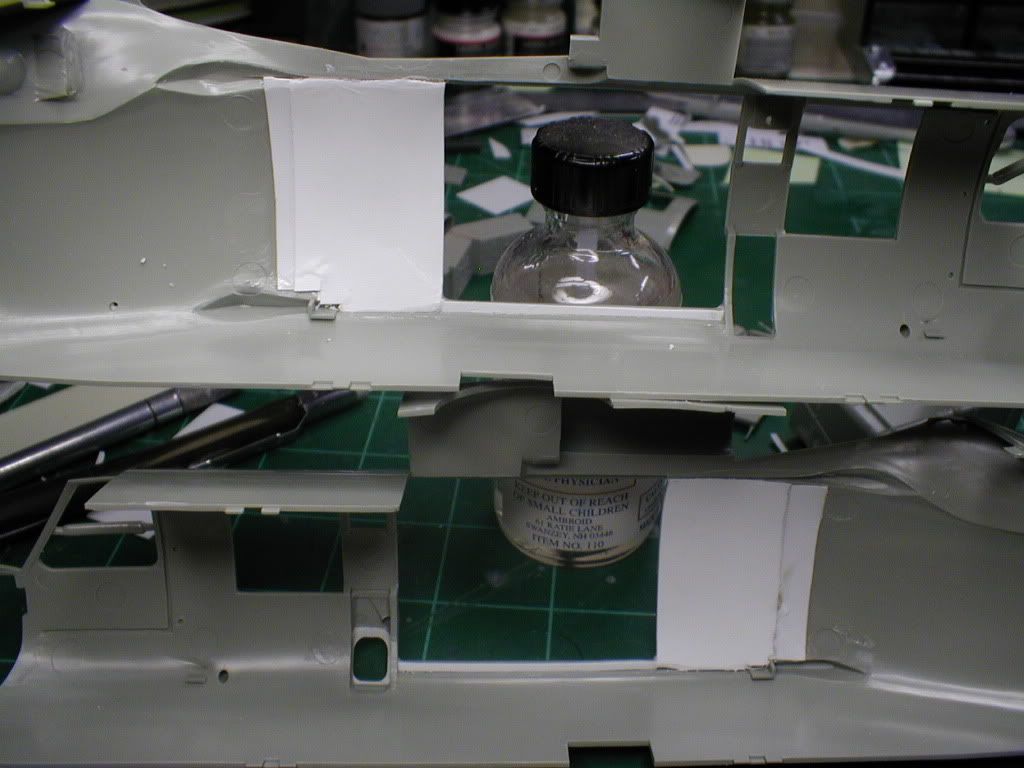
And this is what I did, to correct the fit issue. It ended up working out quite nicely.
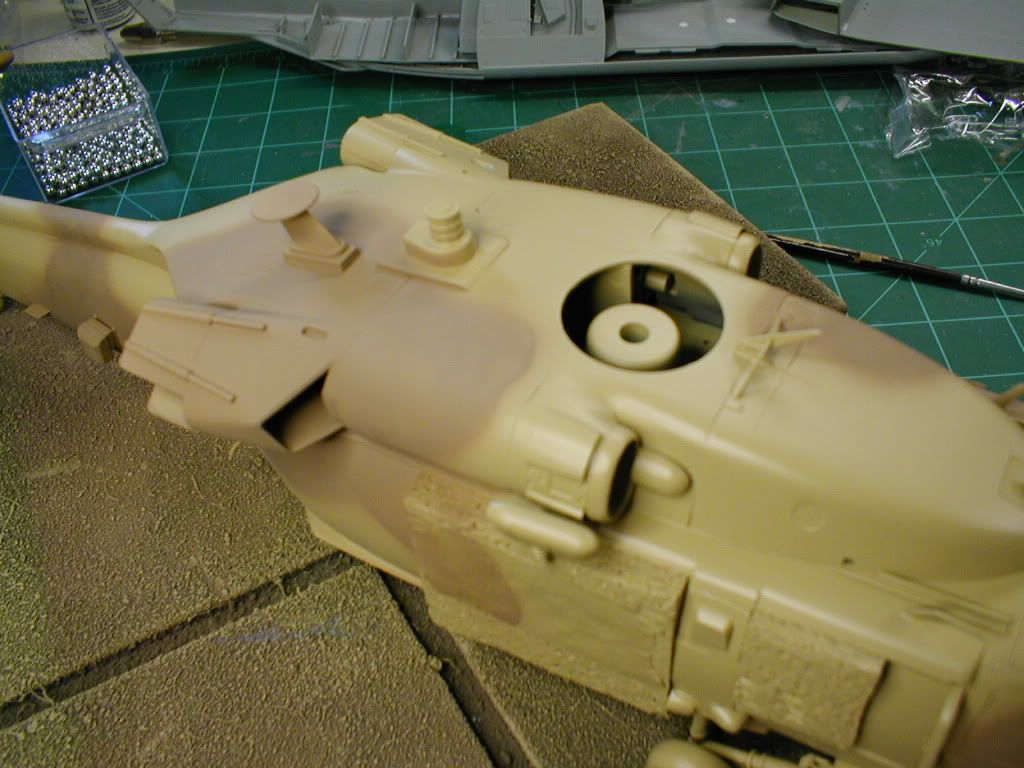
Once the interior fit issues were resolved, the next step was taking care of the huge openings that are visible through the nose windows.
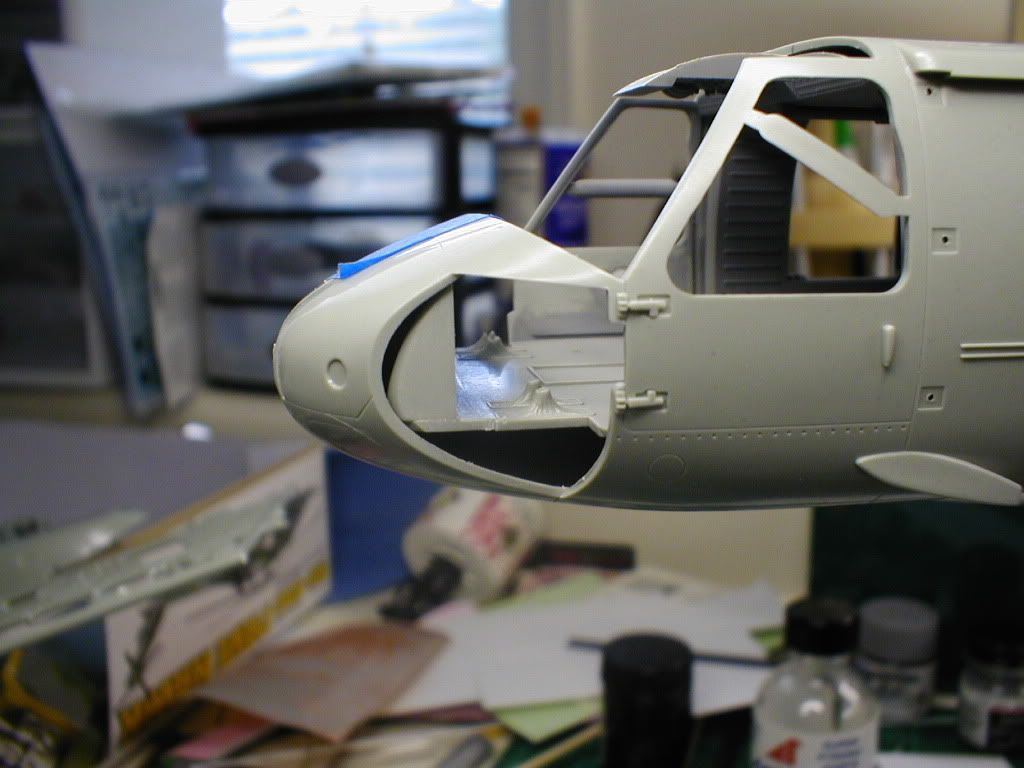
And this was how it looked afterwards. I was really happy w/ how it came out.
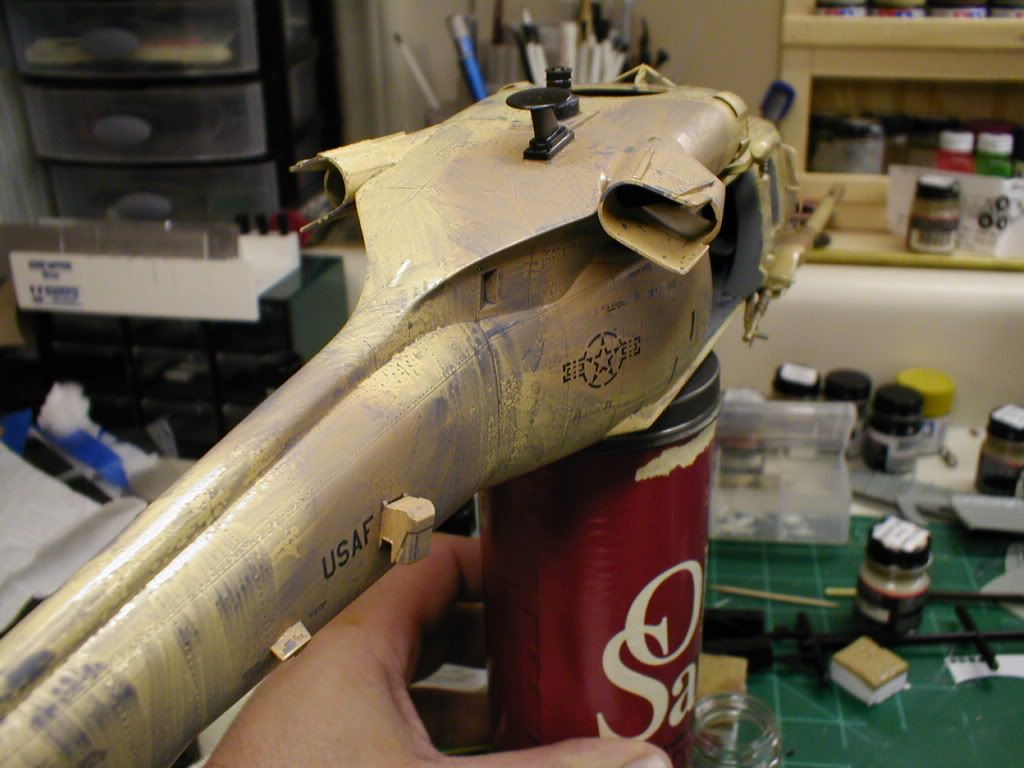
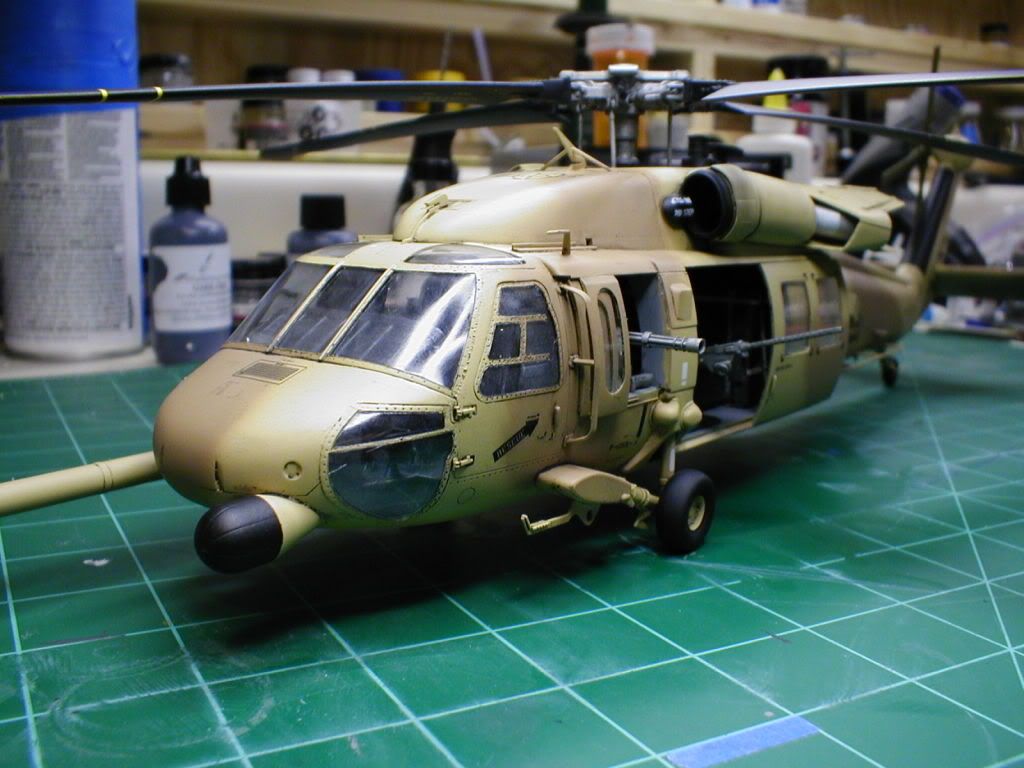
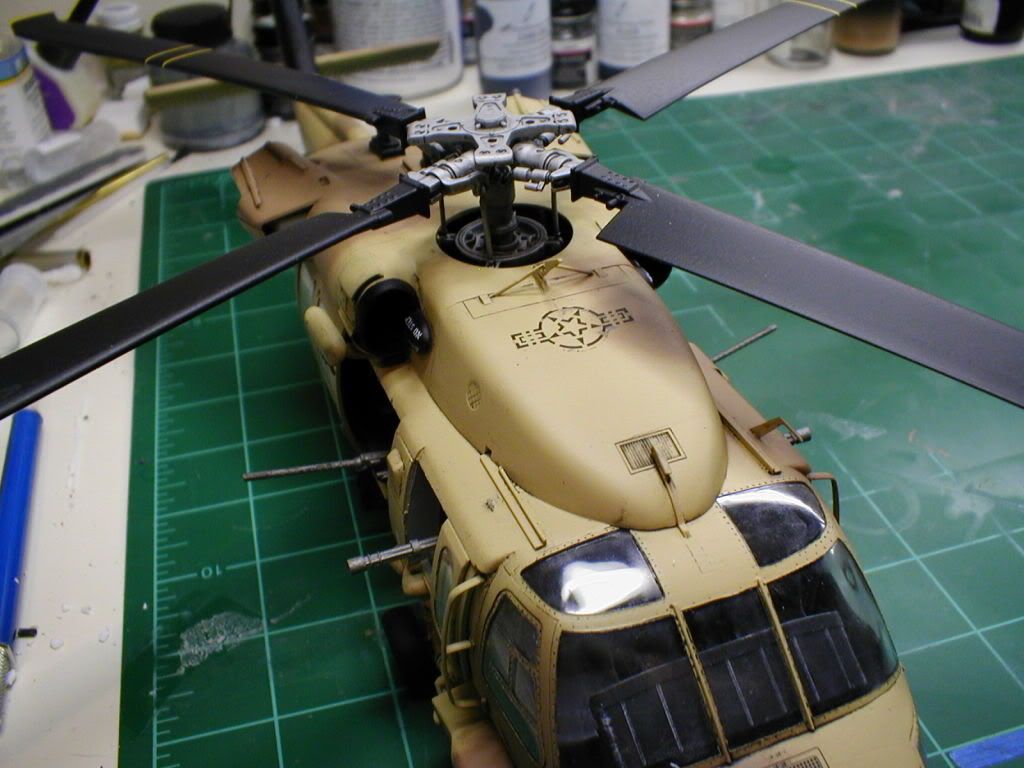
Next came paint. The instructions for the kit show a sort of SEA type 3 color Green & Black scheme, but I didnt really like that, so I chose to paint mine as a Desert Storm bird, but used the kit decals. Paints were Tamiya Sand and Humbrol Earth (I think).
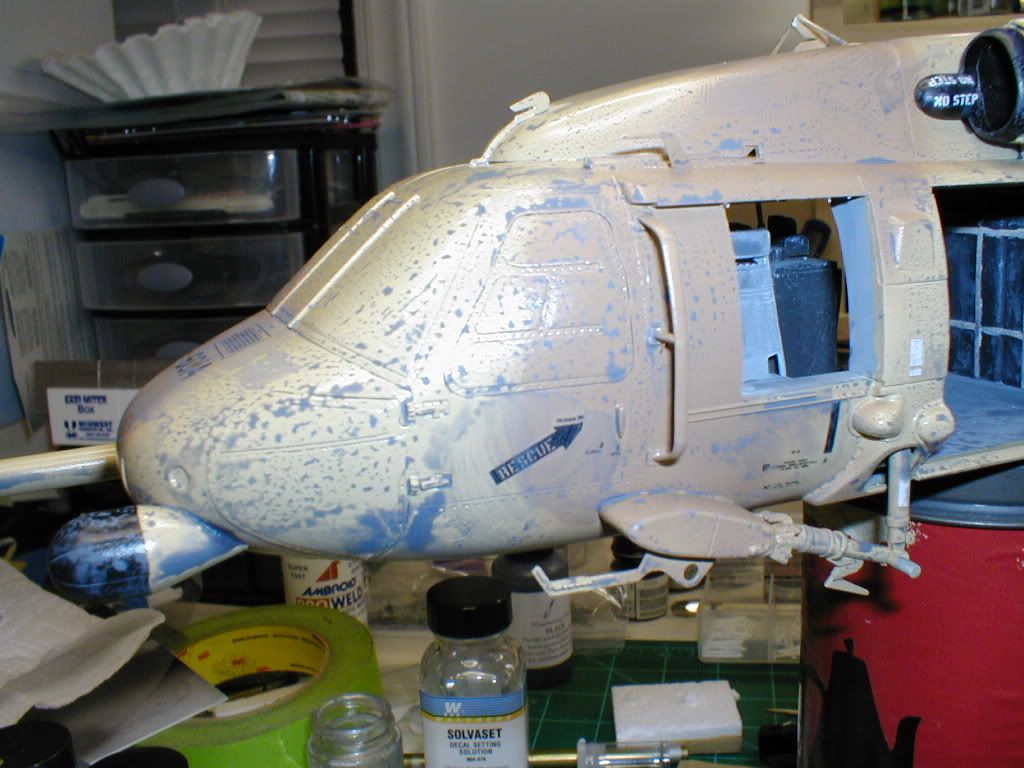
And then after painting, I washed it using Pro-Modeler Black Wash. I have to say I love the Pro-Modeler washes, they go down great, come up easy, and make a huge difference in how it looks.
And here is how she turned out at the very end.
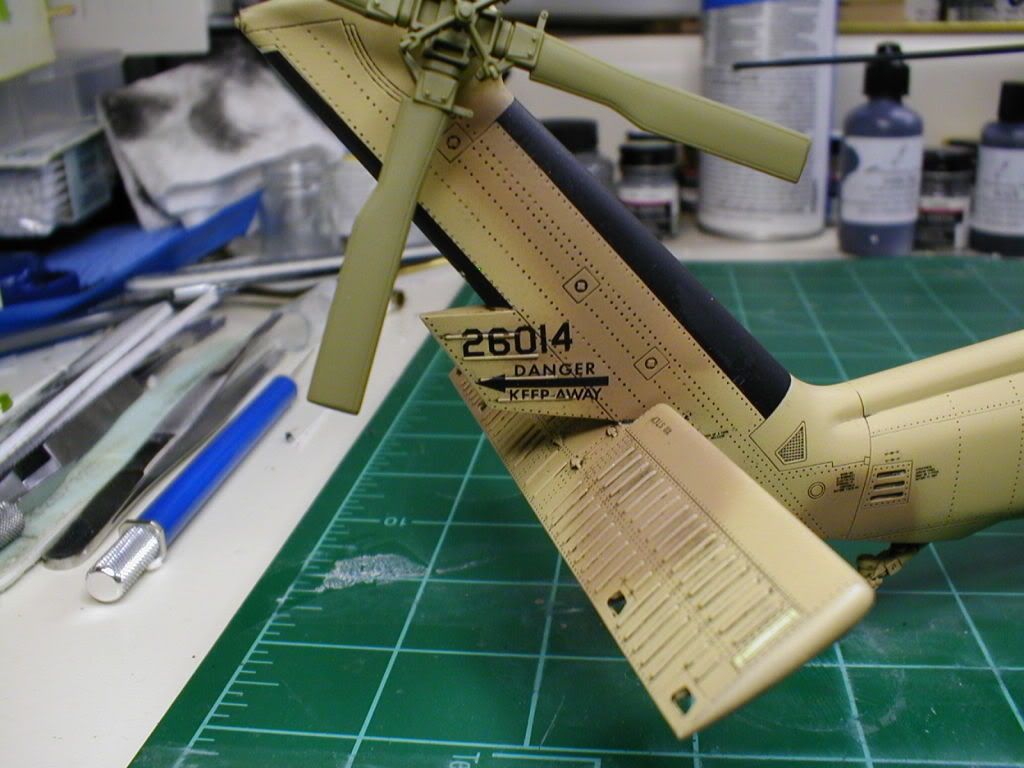
Overall I was happy w/ the build. There were a few things I didnt like about the kit, first & foremost being the terrible decals. I have 3 more BH kits in my stash, and I wont be using the kit decals for any of 'em. The other issue was the fitment problems. I showed the interior issues, but there were also major fitment problems around the engine exhausts.
This is Academy's 1/35 MH-60G Pavehawk. It was built OOB, except for the addition of a ton of sheet styrene to correct a lot of the fit issues that are present on the interior.
Here are a few of the in-progress pic's I have.
These couple pic's show how badly the interior fits inside the fuselage.
And this is what I did, to correct the fit issue. It ended up working out quite nicely.
Once the interior fit issues were resolved, the next step was taking care of the huge openings that are visible through the nose windows.
And this was how it looked afterwards. I was really happy w/ how it came out.
Next came paint. The instructions for the kit show a sort of SEA type 3 color Green & Black scheme, but I didnt really like that, so I chose to paint mine as a Desert Storm bird, but used the kit decals. Paints were Tamiya Sand and Humbrol Earth (I think).
And then after painting, I washed it using Pro-Modeler Black Wash. I have to say I love the Pro-Modeler washes, they go down great, come up easy, and make a huge difference in how it looks.
And here is how she turned out at the very end.
Overall I was happy w/ the build. There were a few things I didnt like about the kit, first & foremost being the terrible decals. I have 3 more BH kits in my stash, and I wont be using the kit decals for any of 'em. The other issue was the fitment problems. I showed the interior issues, but there were also major fitment problems around the engine exhausts.
")

