JamesOLeary
Master at Arms
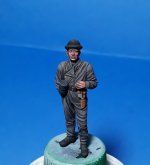
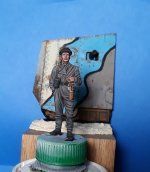
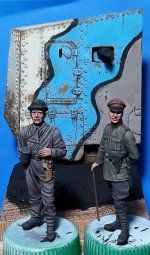
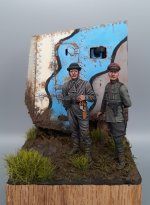
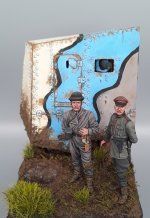
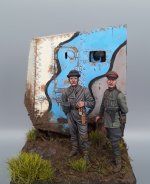
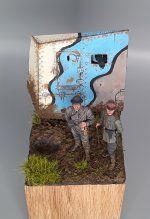
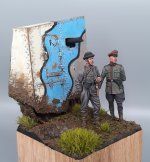
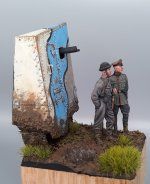
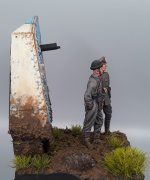
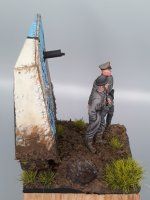
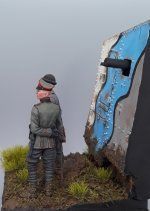
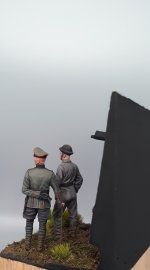
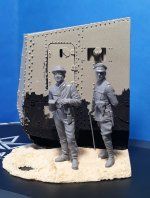
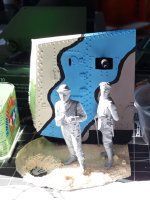
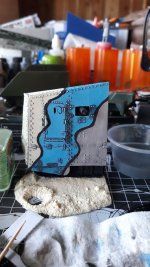
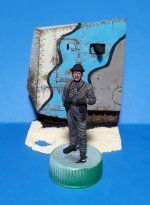
Here is something a bit different for me, a vignette of a wedgie of a WW1 German A7V from MModels and an enlisted tank crewman and an officer from Masterbox. I am building this for a friend of mine who is a WW1 history buff.
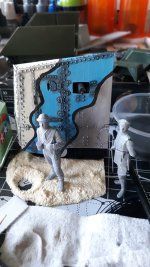
The wedgie makes a good backdrop for the figures and creates the atmosphere without having to make a model of a huge tank that would overpower the emphasis on the figures. For the most part the casting was decent, but I had to add the handles with wire because the kit handles broke off. One of the parts of one of the door hinges was broken off and was missing.
The figures from Masterbox went together well and required very little putty.
Everything is being painted in acrylics. For the flesh tones I am trying out the AK G3 paints for the first time.

Thanks for looking.
Cheers,
James
The wedgie makes a good backdrop for the figures and creates the atmosphere without having to make a model of a huge tank that would overpower the emphasis on the figures. For the most part the casting was decent, but I had to add the handles with wire because the kit handles broke off. One of the parts of one of the door hinges was broken off and was missing.
The figures from Masterbox went together well and required very little putty.
Everything is being painted in acrylics. For the flesh tones I am trying out the AK G3 paints for the first time.


Thanks for looking.
Cheers,
James


