Tankbuilder
Active member
Shalom.
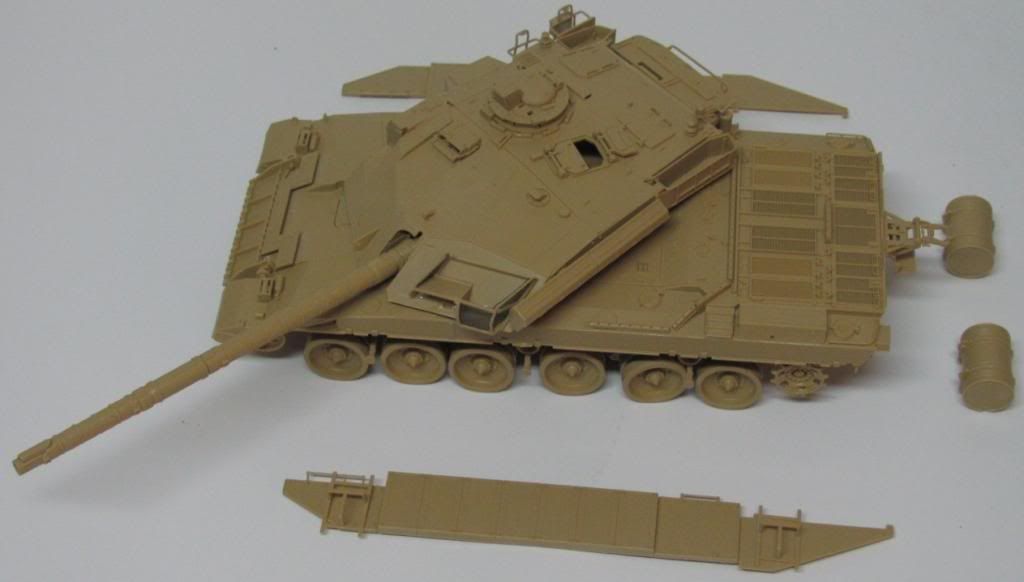
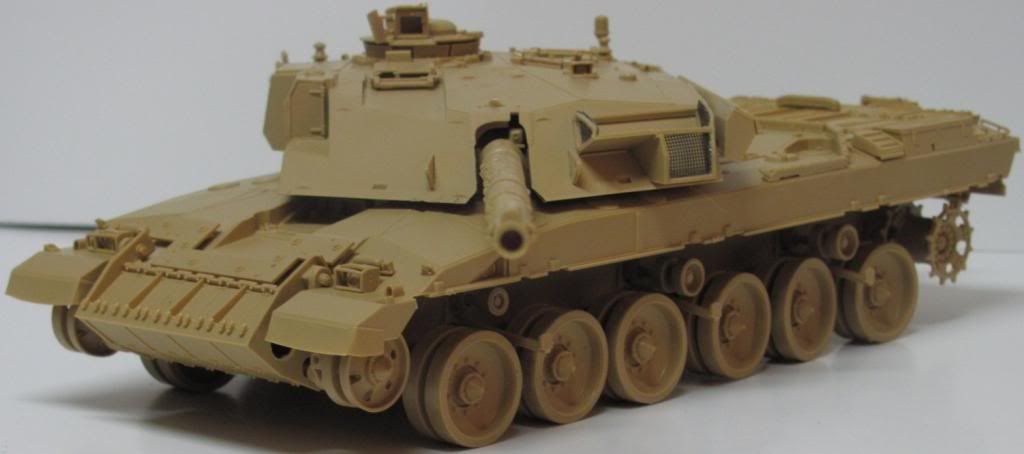
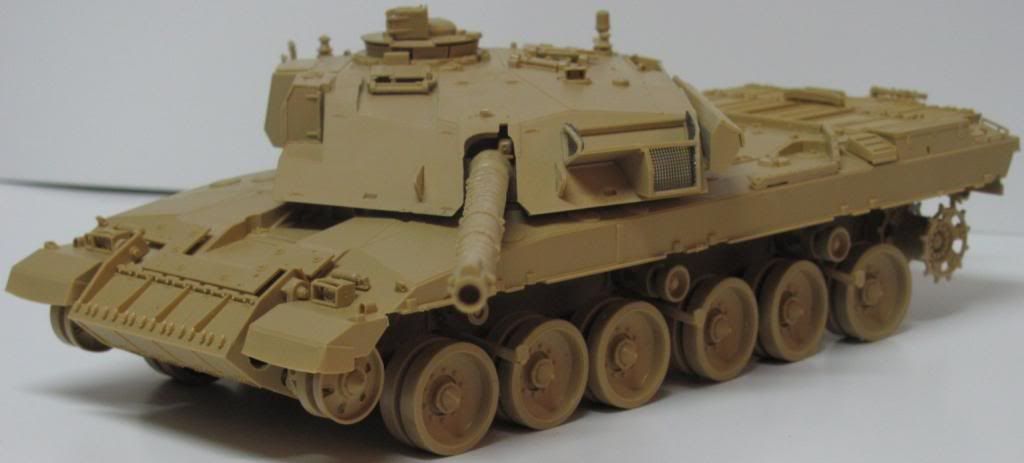
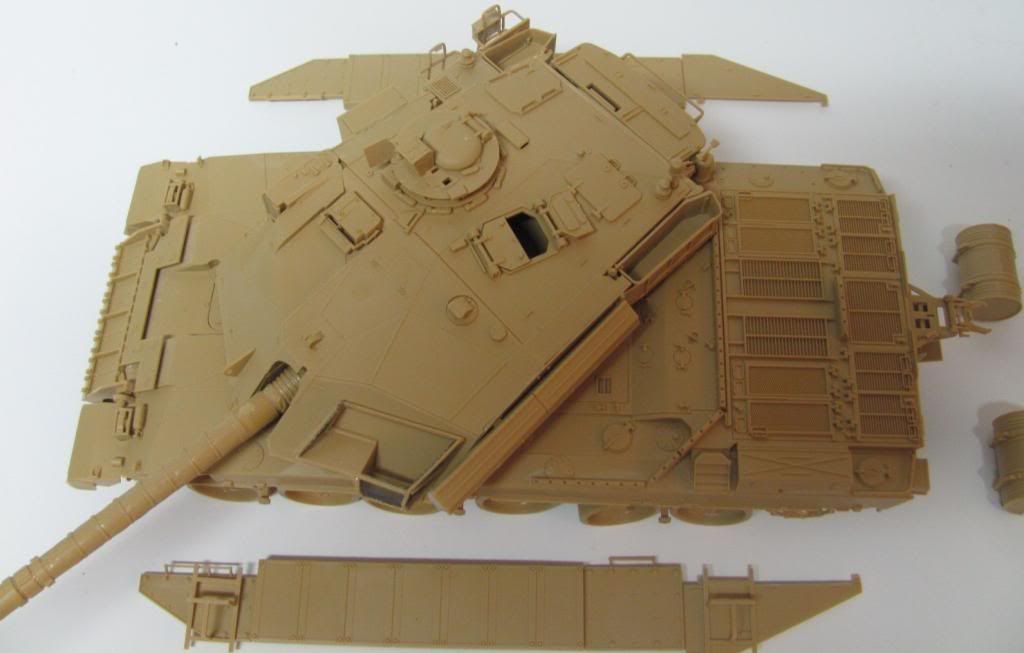
I'm nearly ready to put on the base colour. I just have a couple of parts to add for the commander's machine gun. I also need to decide whether to place the water can holders at the rear of both Choban armour sideskirts or place the two of them on the left sideskirt with one at the rear and the other at the front.
Hmm? I just thought that perhaps the images I've seen without a holder on the right is also of a tank with the two holders on the left like I've seen in some images in Desert Storm 1.
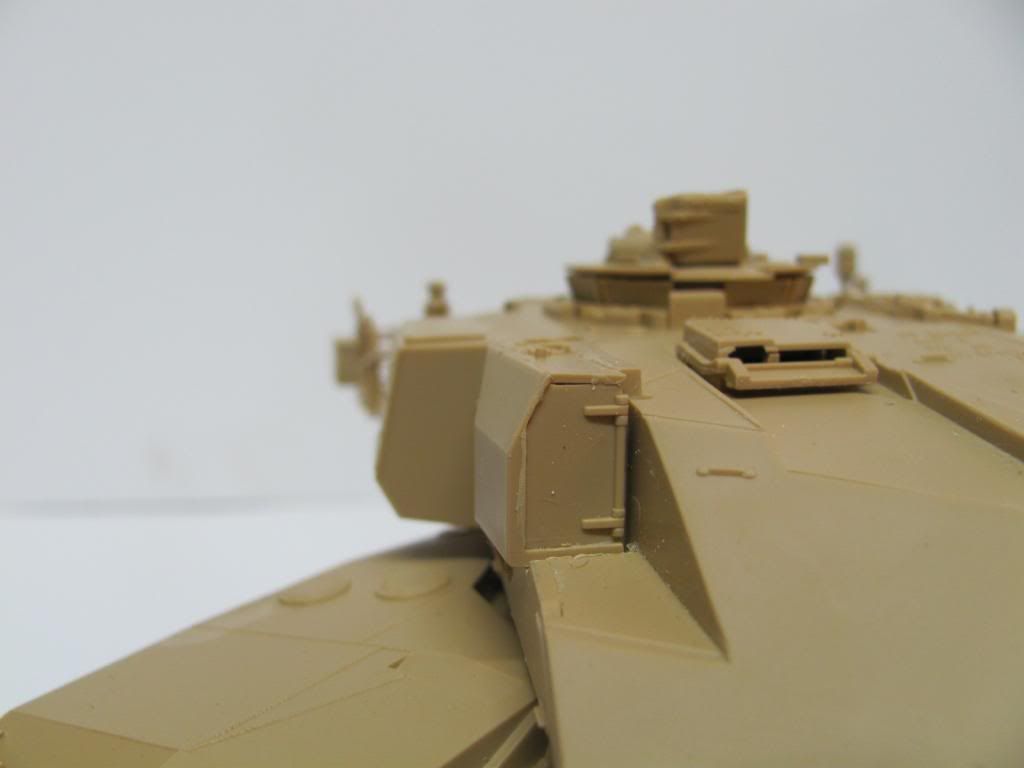
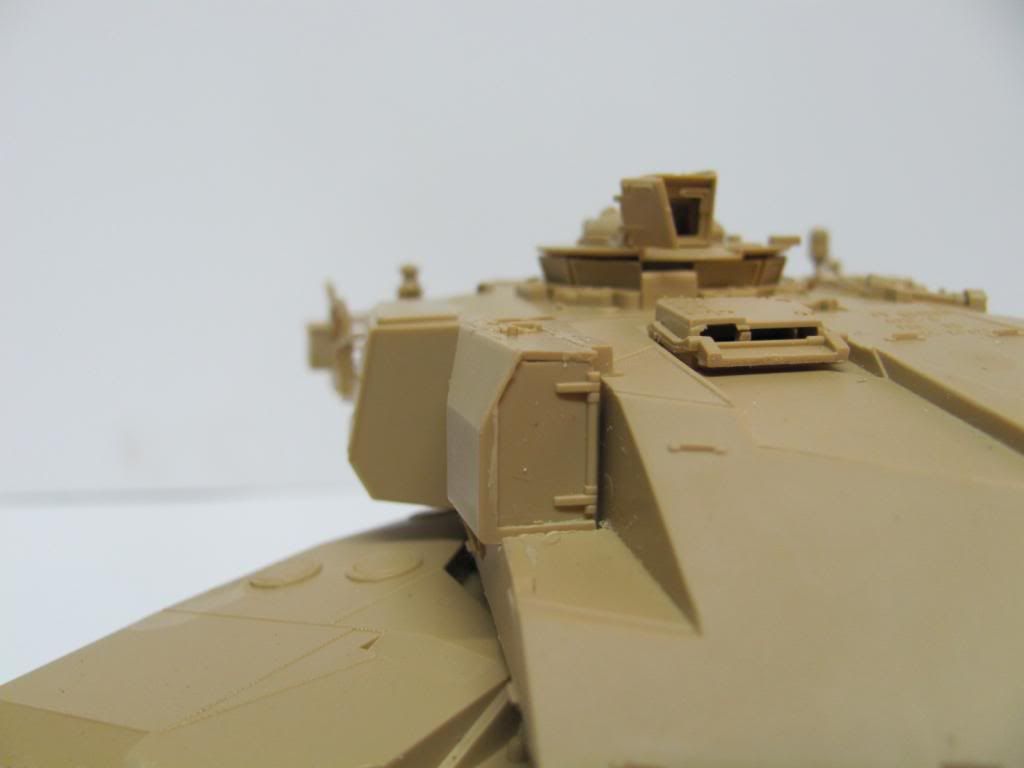
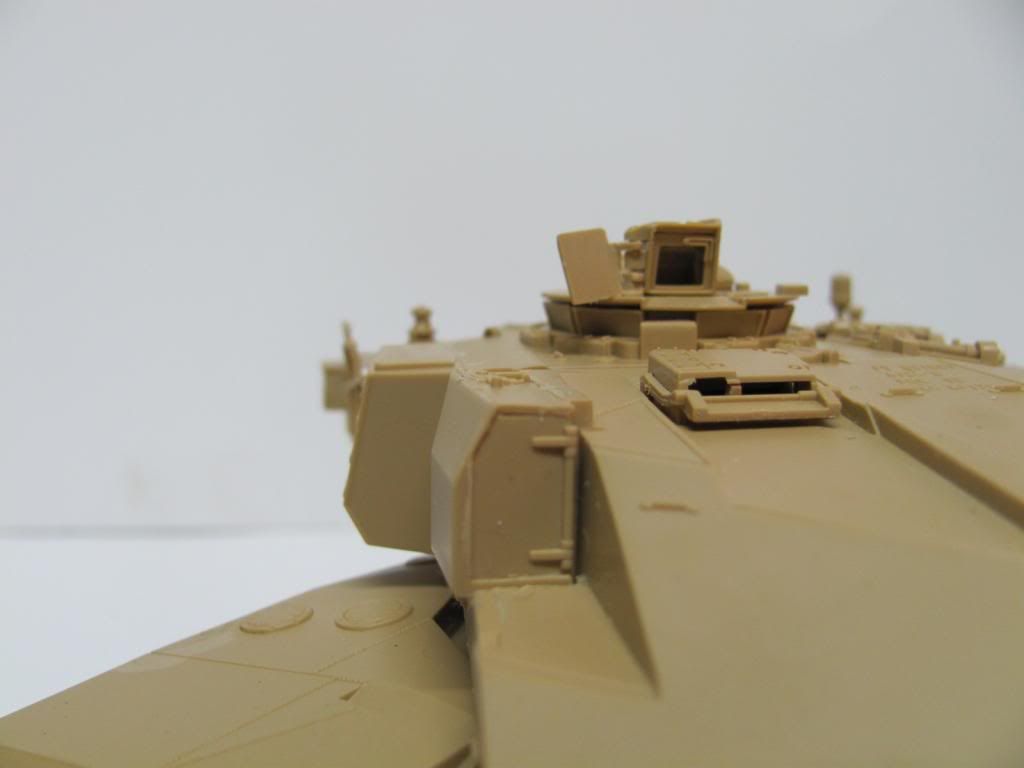
Anyhow, Modelling Insanity struck me last night as I was working on cleaning up the parts for the commander's periscope housing. The madness was to make the protective door for the housing moveable - which I did.
Here are 5 images of the model as it looks now. In 2 images you can see the periscope door closed and in 2 other images you can see it open.
There are a few more parts to go on before I paint it but I have to sand and perhaps fill the sides of the periscope housing to get rid of the joint.
I decide to leave off the Choban armour sideskirts until after everything is painted. Ditto for the wheels. That will make both painting and assembling the kit tracks much easier.

Comments are welcomed.
Cheers from Peter
I'm nearly ready to put on the base colour. I just have a couple of parts to add for the commander's machine gun. I also need to decide whether to place the water can holders at the rear of both Choban armour sideskirts or place the two of them on the left sideskirt with one at the rear and the other at the front.
Hmm? I just thought that perhaps the images I've seen without a holder on the right is also of a tank with the two holders on the left like I've seen in some images in Desert Storm 1.
Anyhow, Modelling Insanity struck me last night as I was working on cleaning up the parts for the commander's periscope housing. The madness was to make the protective door for the housing moveable - which I did.
Here are 5 images of the model as it looks now. In 2 images you can see the periscope door closed and in 2 other images you can see it open.
There are a few more parts to go on before I paint it but I have to sand and perhaps fill the sides of the periscope housing to get rid of the joint.
I decide to leave off the Choban armour sideskirts until after everything is painted. Ditto for the wheels. That will make both painting and assembling the kit tracks much easier.


Comments are welcomed.
Cheers from Peter


")