Skinny_Mike
Well-known member
Hello everyone!
On a recent business trip I came across the Trumpeter kit of the Canadian AVGP Cougar. It was pretty unique and I like modern wheeled vehicles so without knowing anything about the subject I picked it up.
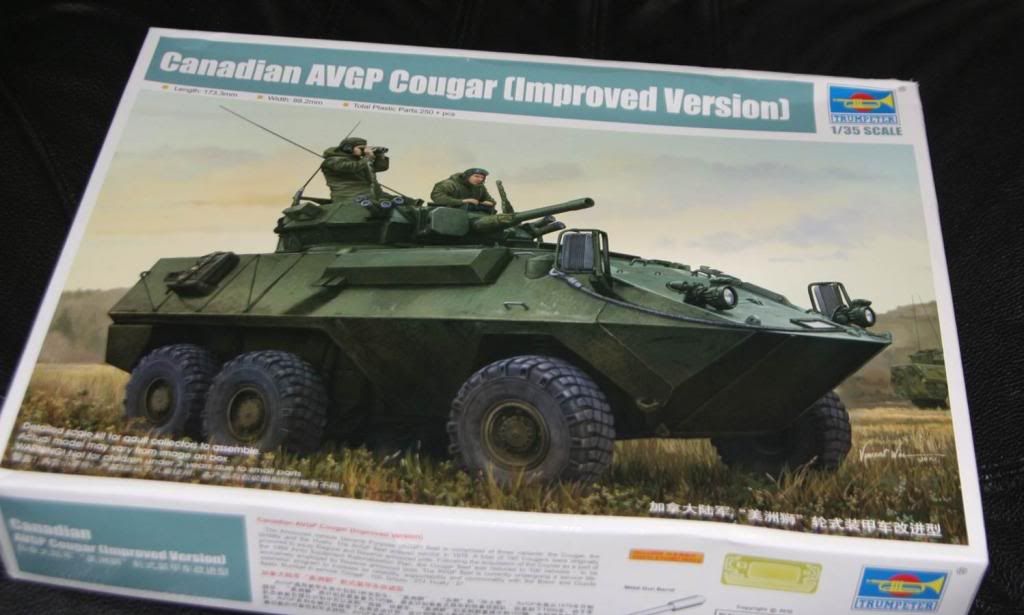
It turns out that Cougar was developed for the Canadian Army as a training vehicle used by armor crews on the training grounds to keep from putting wear and tear on the limited supply of tanks. A good idea, for an army with the limited resources like the Canadians, but not the sexiest of vehicles. In later years the Cougar was used as a direct fire support vehicle with UN peacekeeping forces, the story gets a little better there I suppose.
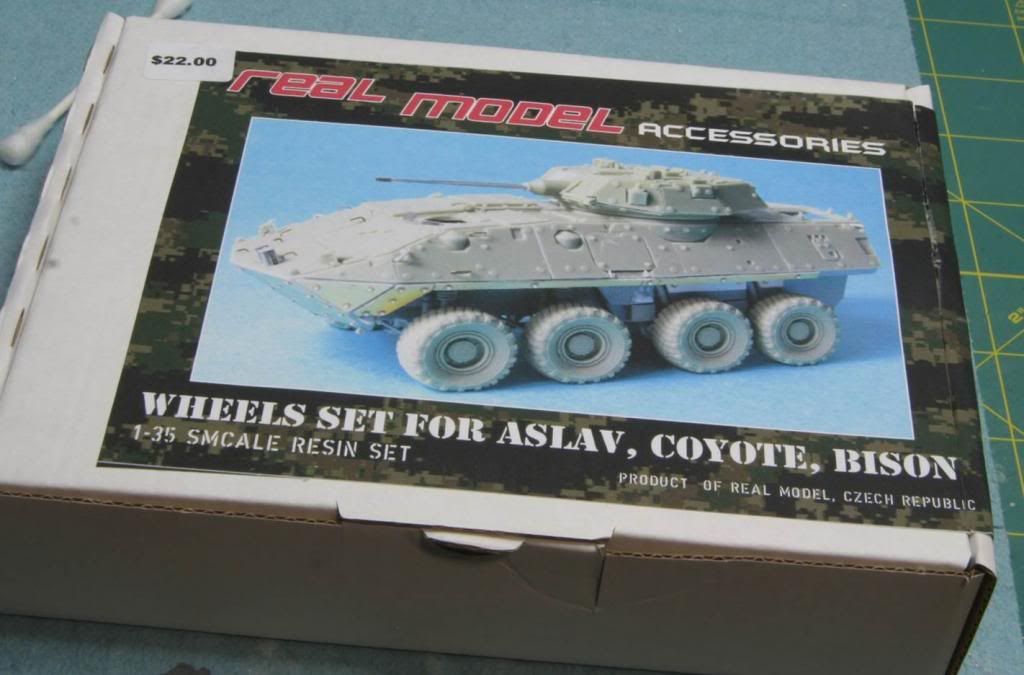
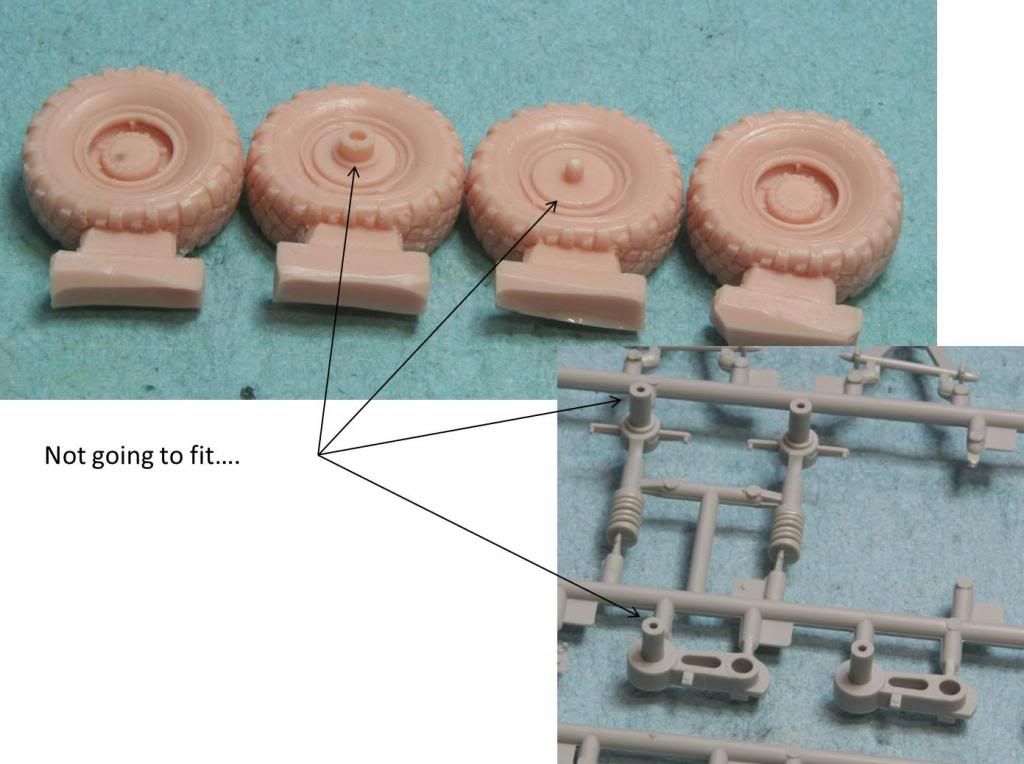
Once I opened the kit I found a kit with a small number of parts compared to the modern armor kits. This gave me an idea. As many of you may have seen in my aircraft builds, I tend to be a very slow builder. And it seems like I buy kits much faster than I build them, which means the stock pile is just getting bigger! Since this is a fairly small vehicle and the kit has a few parts, I am going to try to complete the build in 1 week. That’s right – just 7 days! Just to see if I can. Each post will be a new day’s progress. This kit also gives me the benefit of allowing me to try some techniques before I build my ASLAV and USMC LAV. The plan was to be an OOB build, but I broke down and got some resin wheels, but we’ll get there. So here we go!
DAY 1
I have to apologize here, I didn’t get many pictures, of course I didn’t make that much progress either! I also need to confess that Day 1 of this build occurred three weeks ago, but it all got stalled out when I was sent out of town for work again! But the spirit of the 1 week is still there.
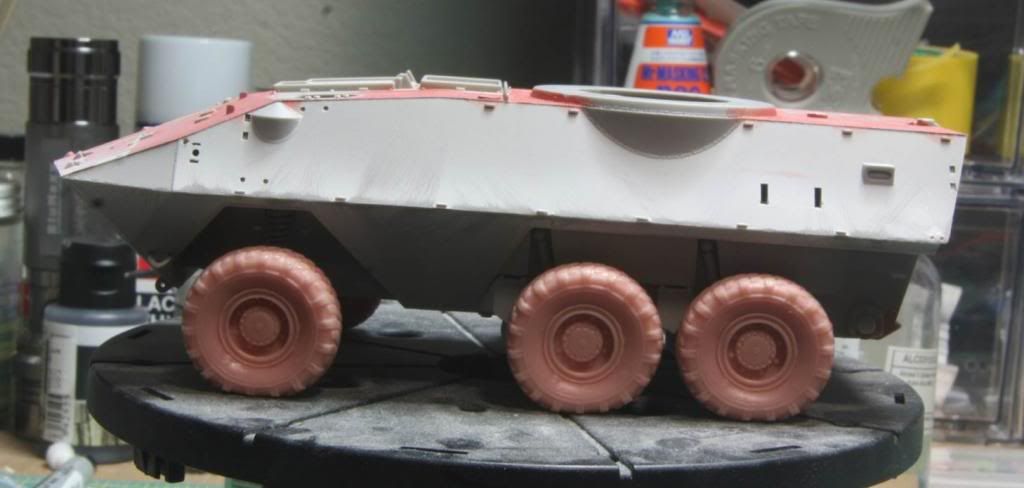
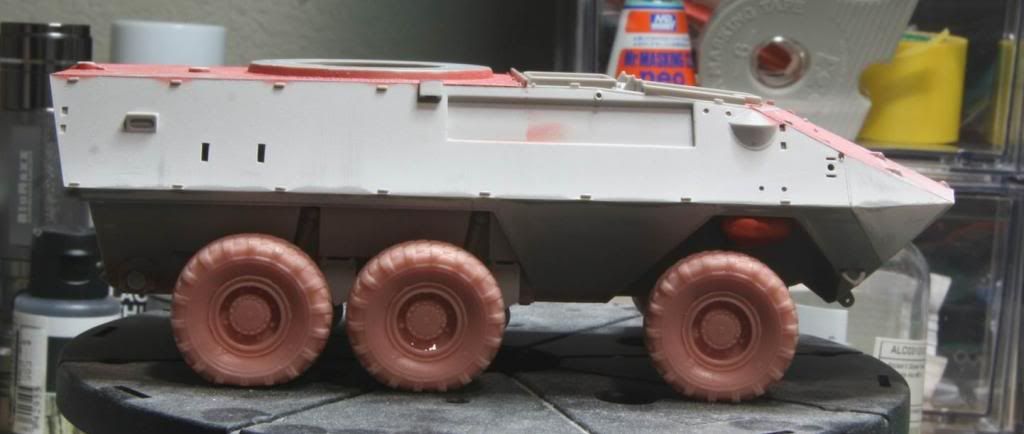
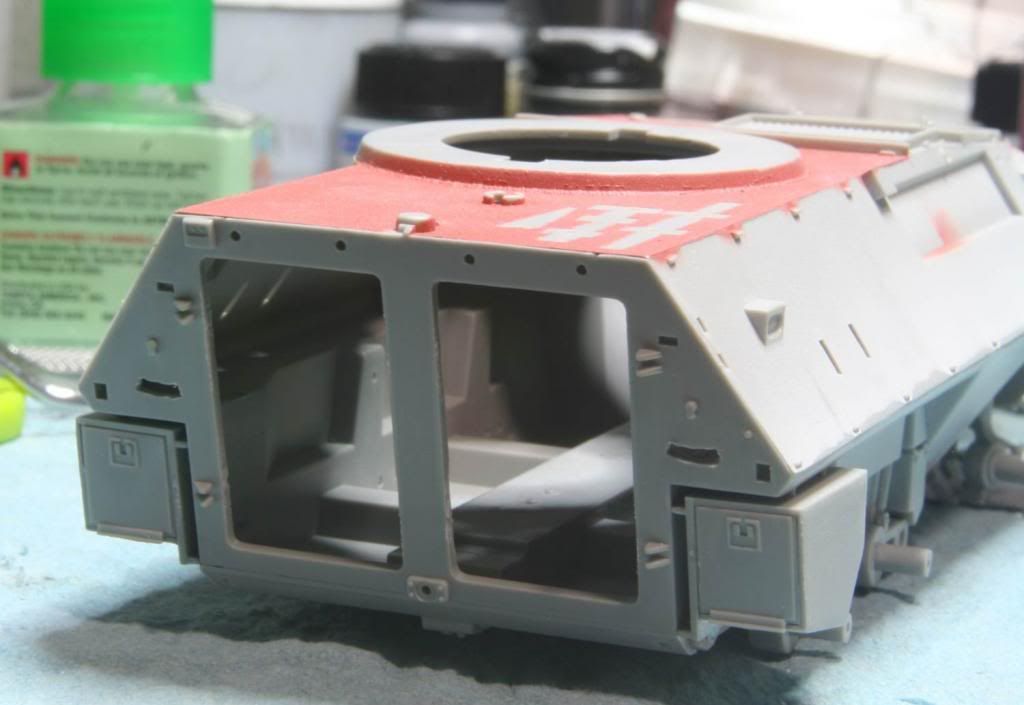
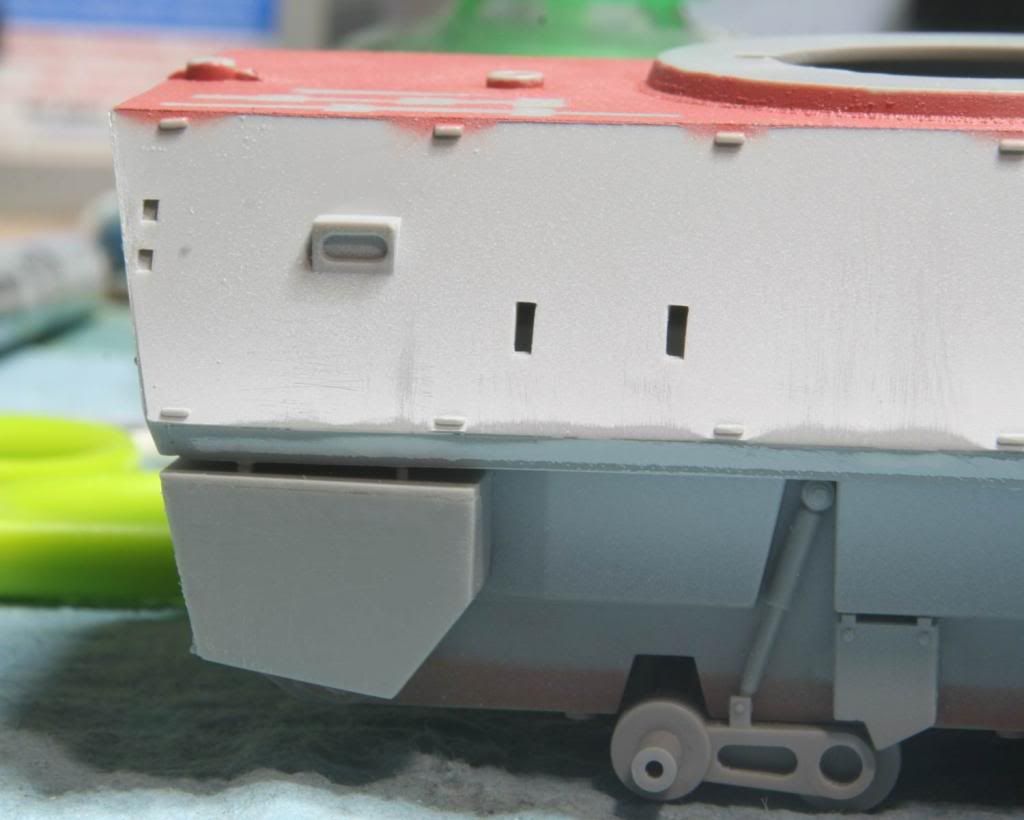
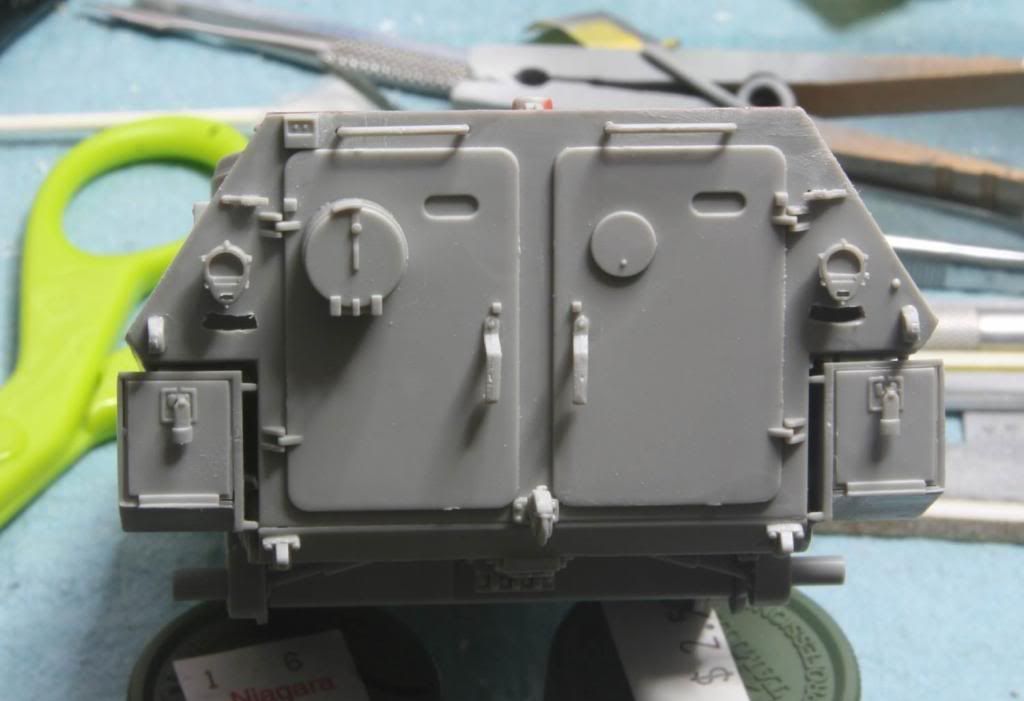
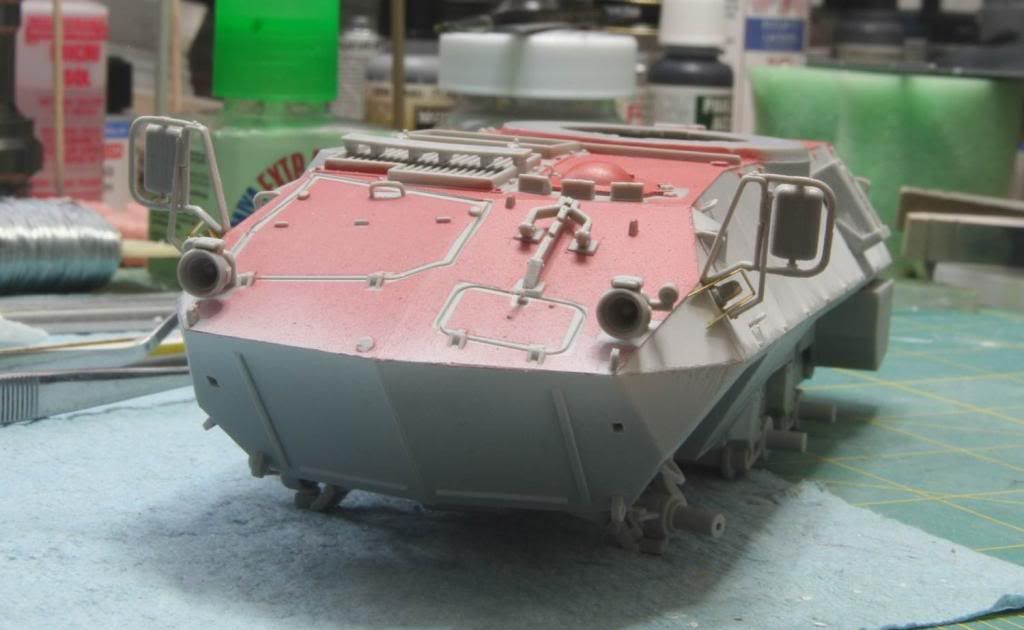
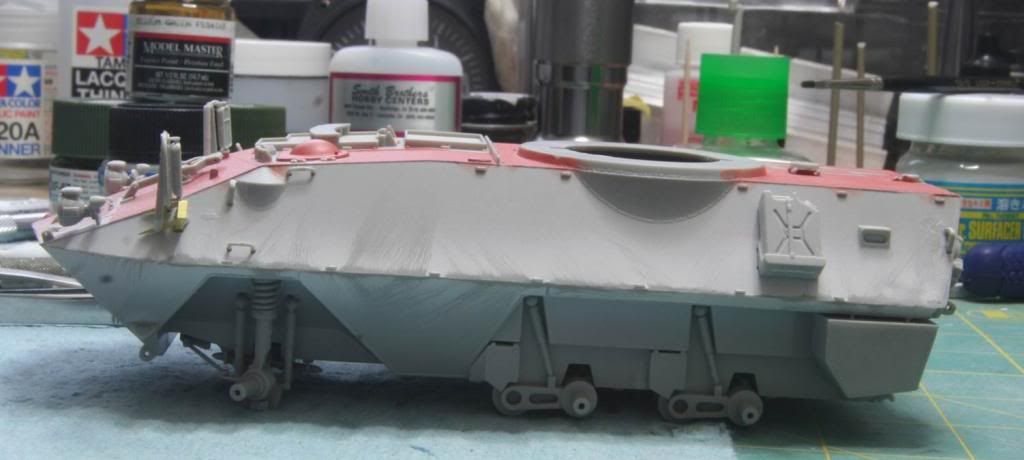
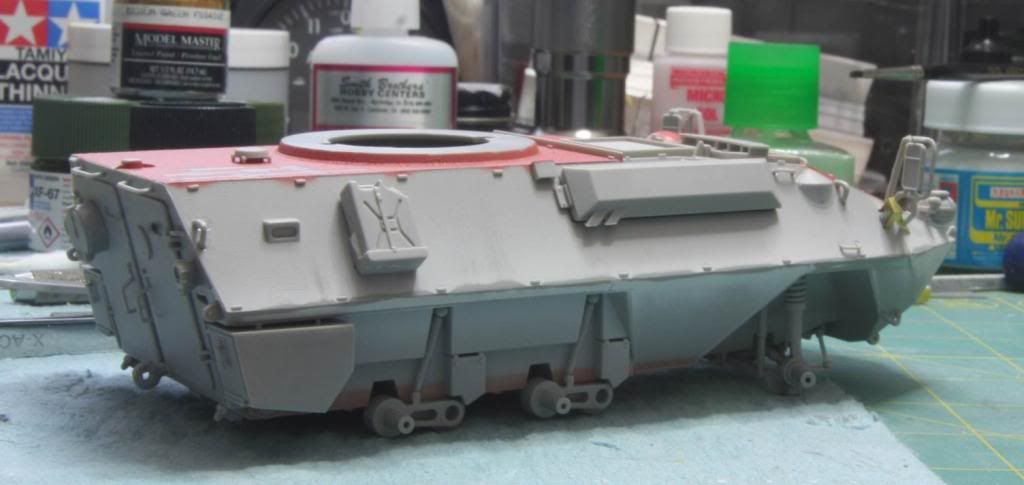
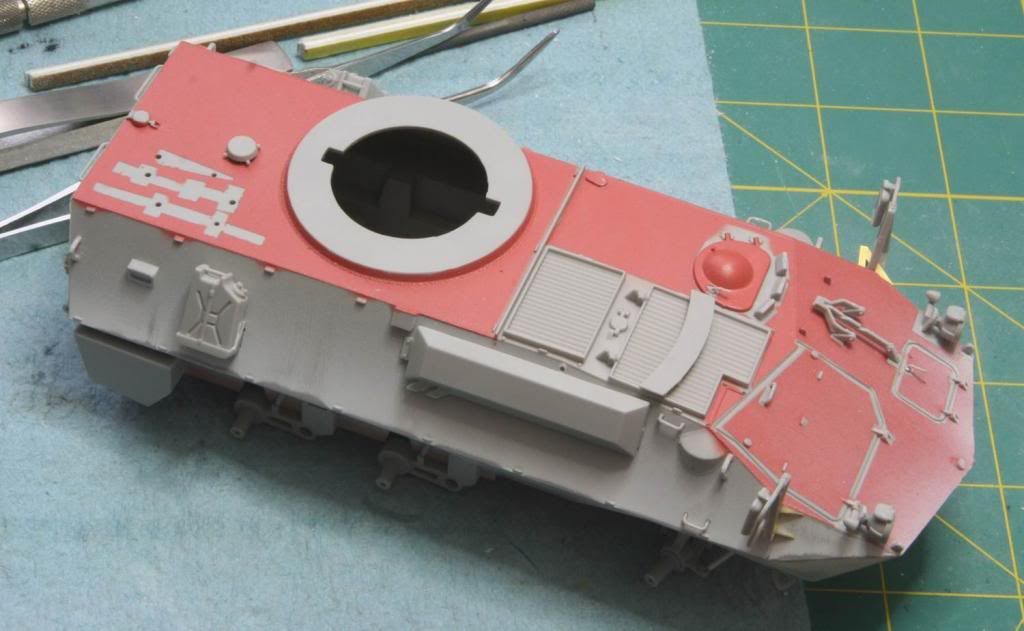
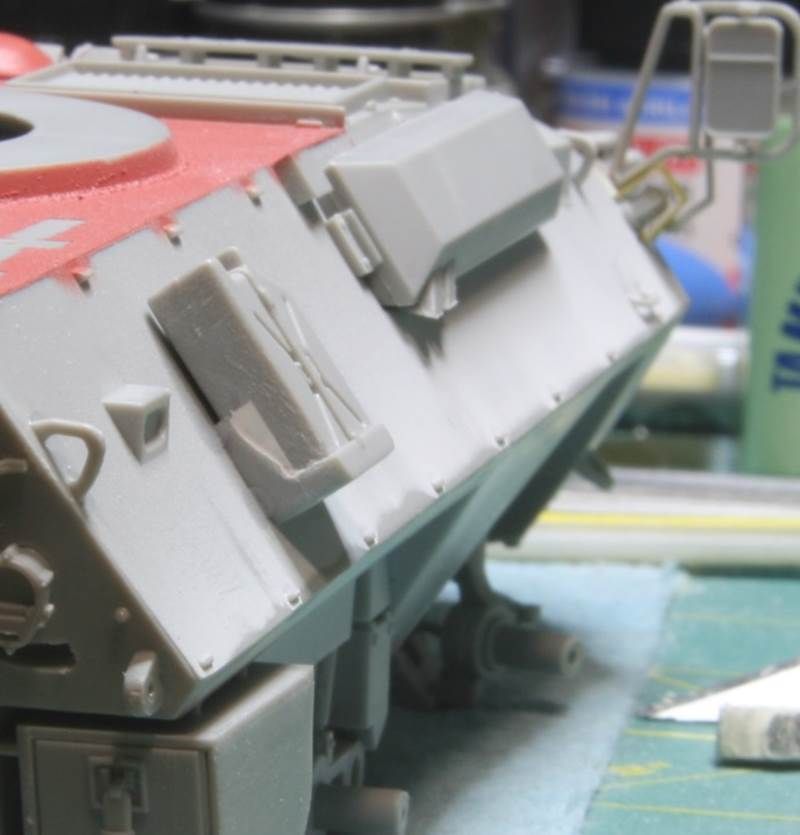
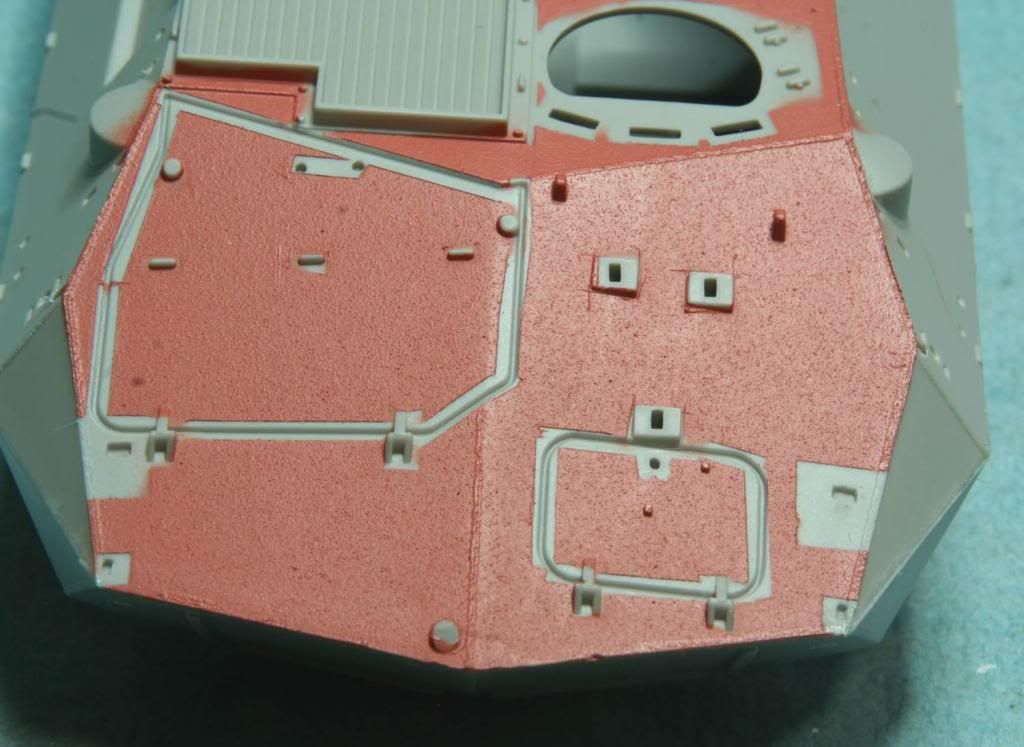
The first thing I wanted to do was to replicate the anti-slip texture that is missing from the hull roof. I have seen a couple of techniques and decided to try to use the Rustoleum Terracotta Paint. Basically this paint has a bunch of grains in it and dries rough. It comes out of a rattle can so I needed to mask anything I didn’t want coated. So I assembled the hull top and bottom, just to give myself a little more to model to hold on to and then I masked all the areas where parts are added to the hull top or where there isn’t generally texture. I used an educated guess because I really don’t have much reference material on this vehicle.
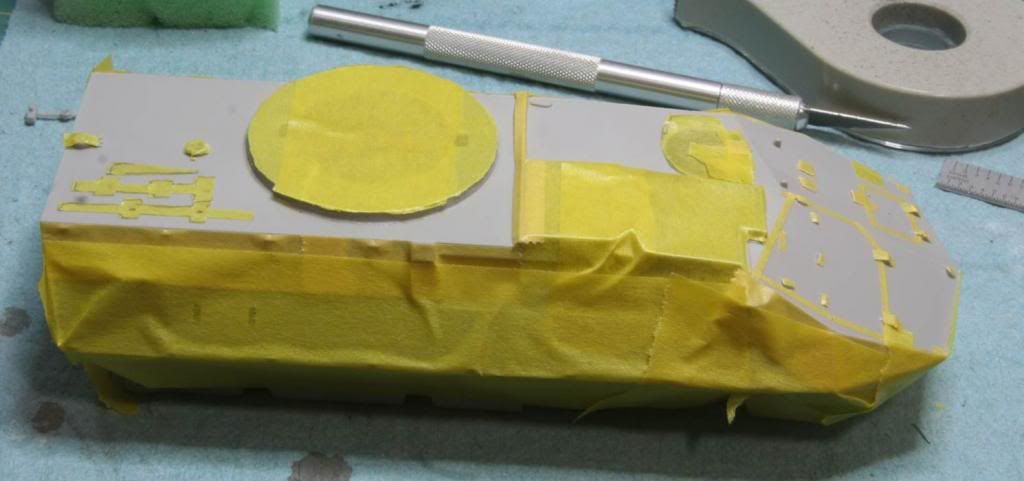
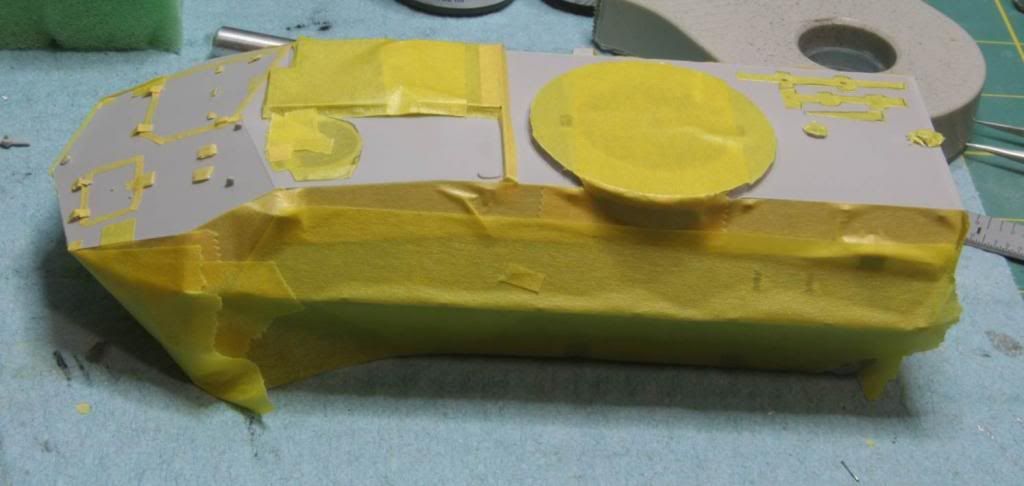
Then I sprayed on the paint and then removed all the tape. Turned out pretty well I think.
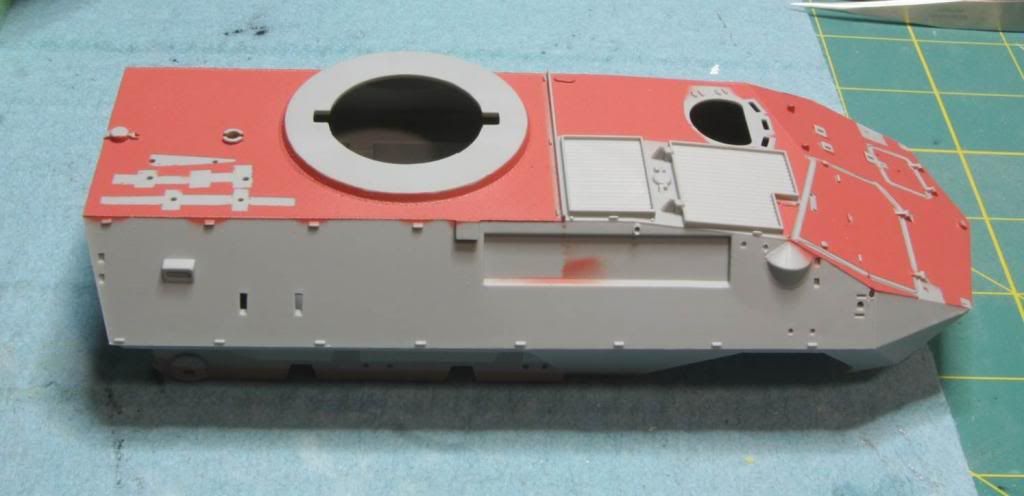
Well there you go. Day 1 in the bag. Next up – lower hull and suspension!
See you soon!
Mike
On a recent business trip I came across the Trumpeter kit of the Canadian AVGP Cougar. It was pretty unique and I like modern wheeled vehicles so without knowing anything about the subject I picked it up.

It turns out that Cougar was developed for the Canadian Army as a training vehicle used by armor crews on the training grounds to keep from putting wear and tear on the limited supply of tanks. A good idea, for an army with the limited resources like the Canadians, but not the sexiest of vehicles. In later years the Cougar was used as a direct fire support vehicle with UN peacekeeping forces, the story gets a little better there I suppose.
Once I opened the kit I found a kit with a small number of parts compared to the modern armor kits. This gave me an idea. As many of you may have seen in my aircraft builds, I tend to be a very slow builder. And it seems like I buy kits much faster than I build them, which means the stock pile is just getting bigger! Since this is a fairly small vehicle and the kit has a few parts, I am going to try to complete the build in 1 week. That’s right – just 7 days! Just to see if I can. Each post will be a new day’s progress. This kit also gives me the benefit of allowing me to try some techniques before I build my ASLAV and USMC LAV. The plan was to be an OOB build, but I broke down and got some resin wheels, but we’ll get there. So here we go!
DAY 1
I have to apologize here, I didn’t get many pictures, of course I didn’t make that much progress either! I also need to confess that Day 1 of this build occurred three weeks ago, but it all got stalled out when I was sent out of town for work again! But the spirit of the 1 week is still there.
The first thing I wanted to do was to replicate the anti-slip texture that is missing from the hull roof. I have seen a couple of techniques and decided to try to use the Rustoleum Terracotta Paint. Basically this paint has a bunch of grains in it and dries rough. It comes out of a rattle can so I needed to mask anything I didn’t want coated. So I assembled the hull top and bottom, just to give myself a little more to model to hold on to and then I masked all the areas where parts are added to the hull top or where there isn’t generally texture. I used an educated guess because I really don’t have much reference material on this vehicle.


Then I sprayed on the paint and then removed all the tape. Turned out pretty well I think.


Well there you go. Day 1 in the bag. Next up – lower hull and suspension!
See you soon!
Mike


