Bagge
Well-known member
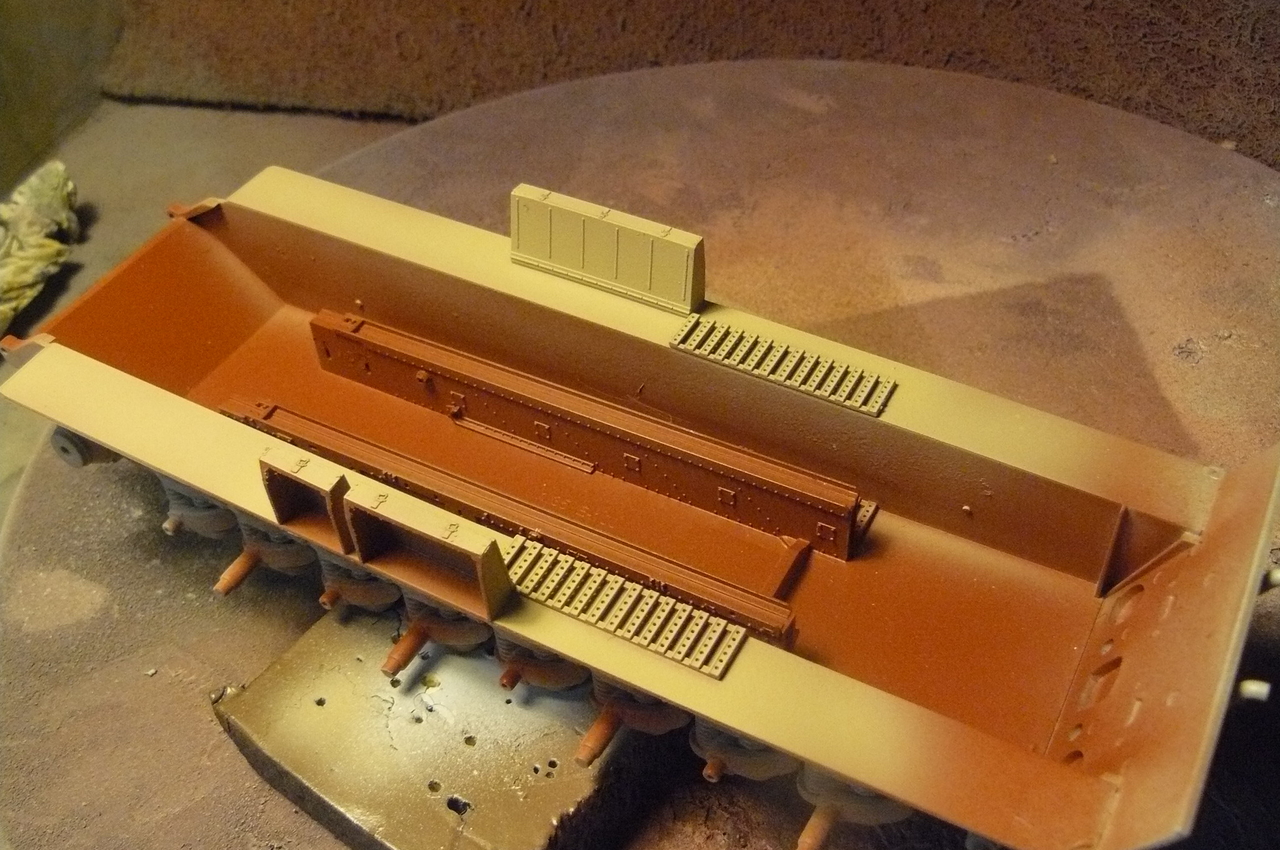
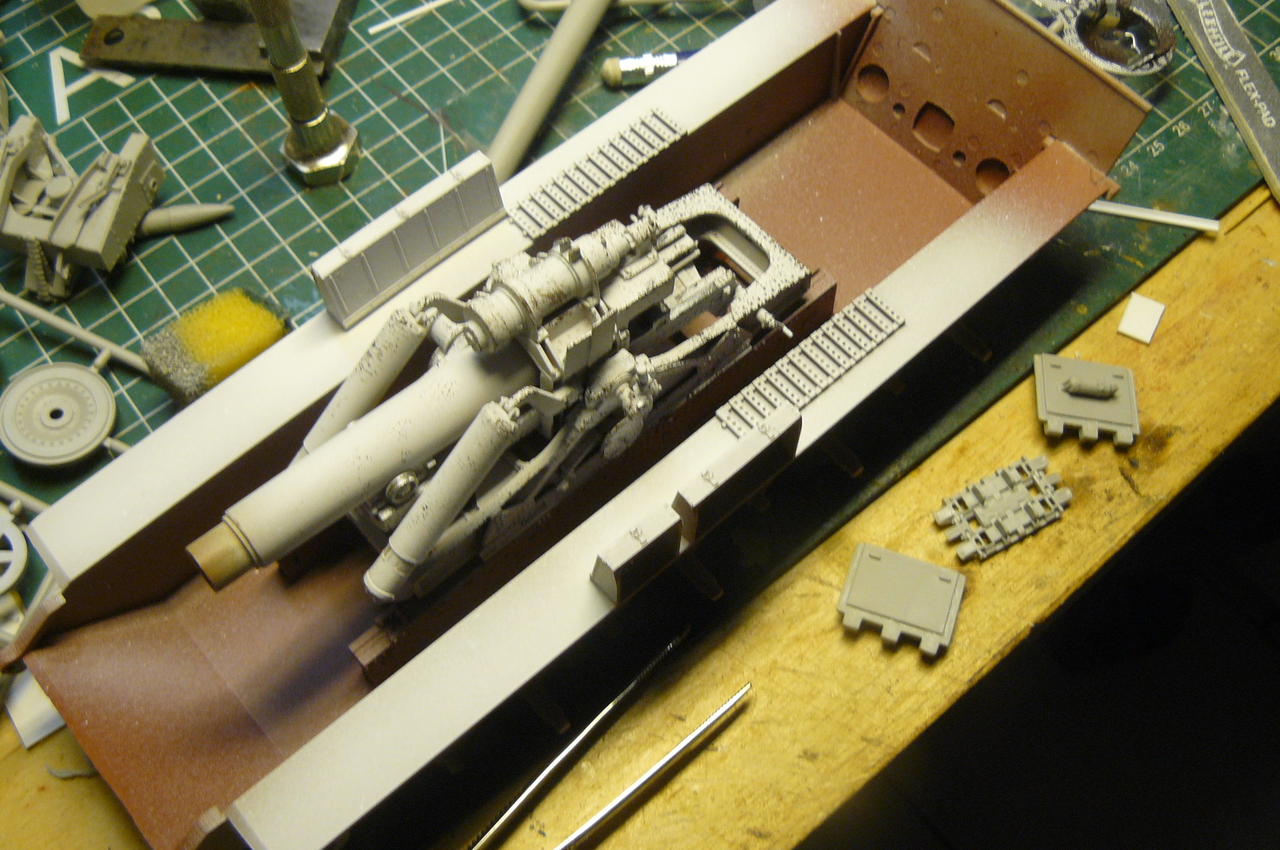
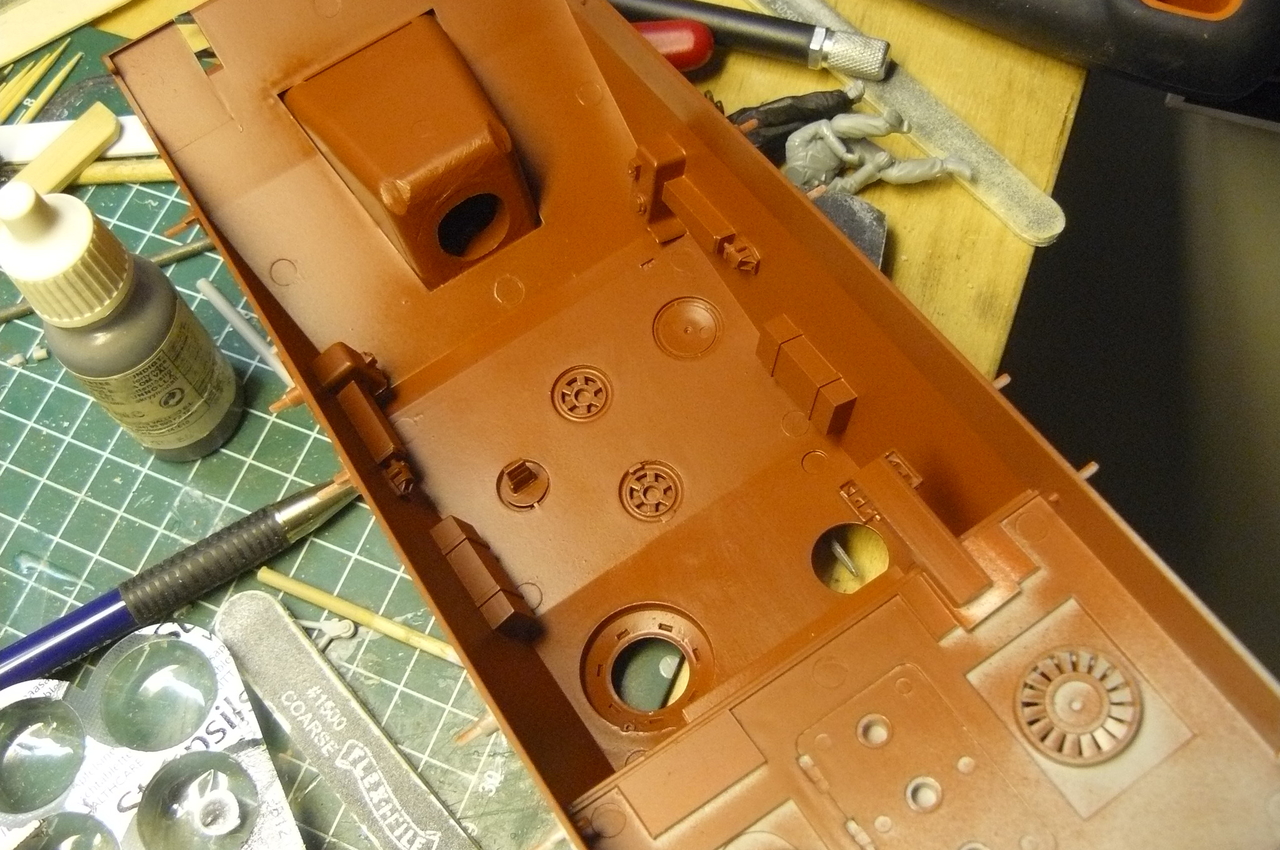
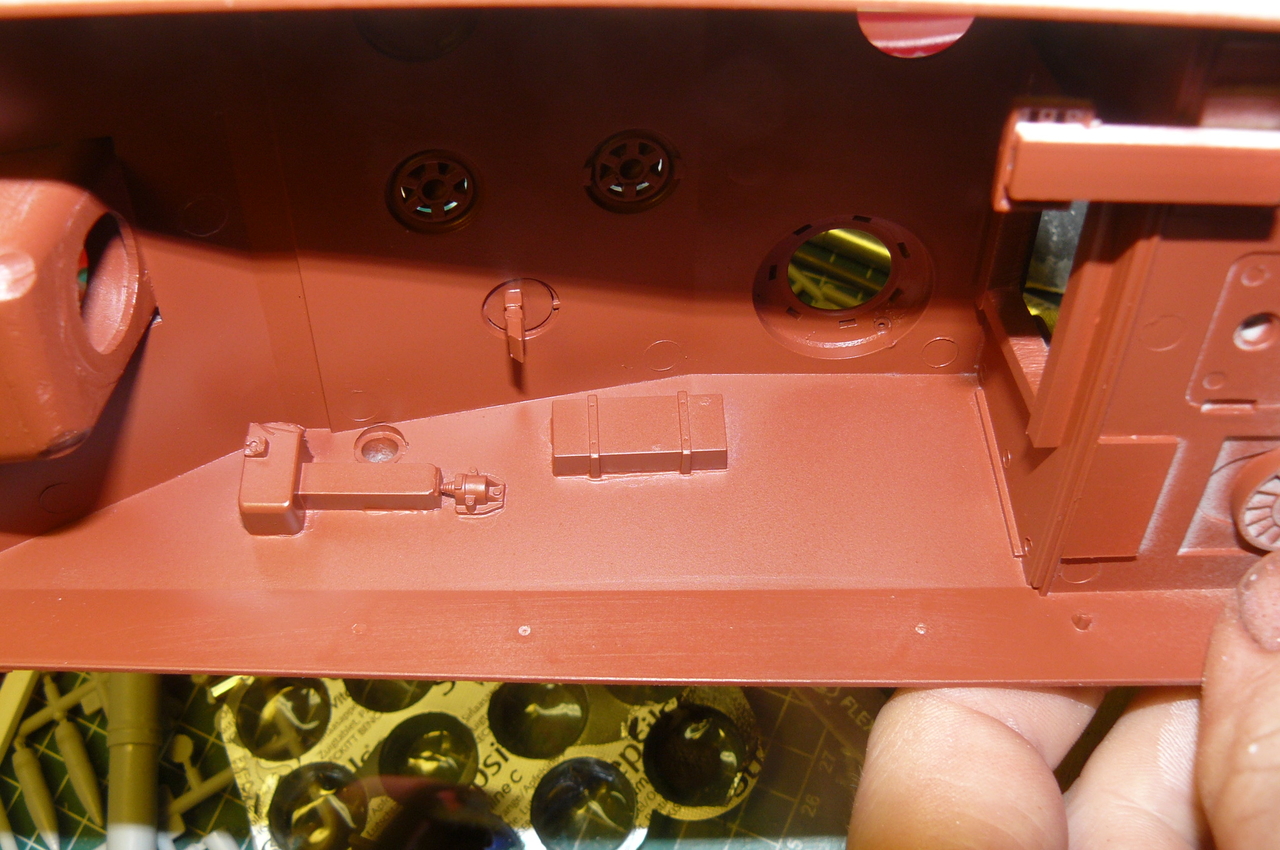
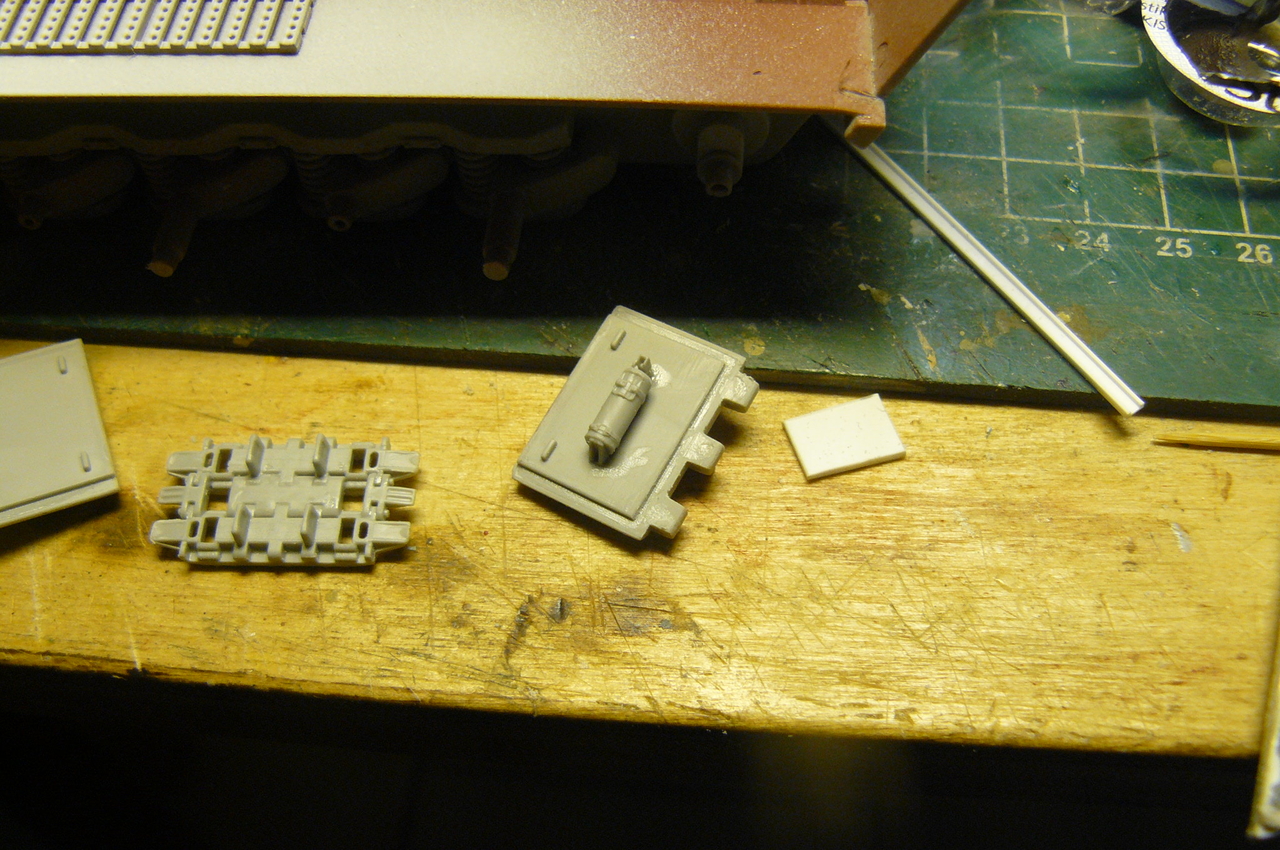
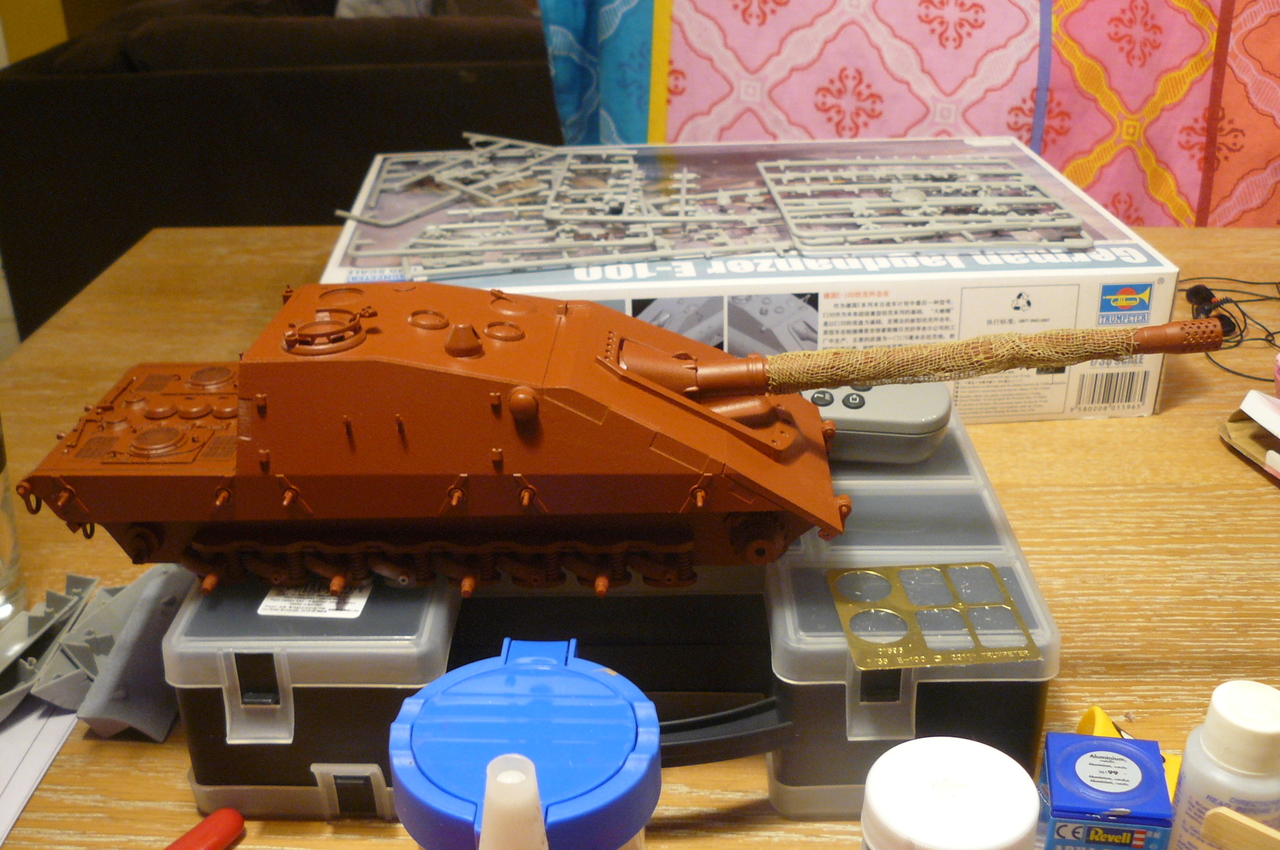
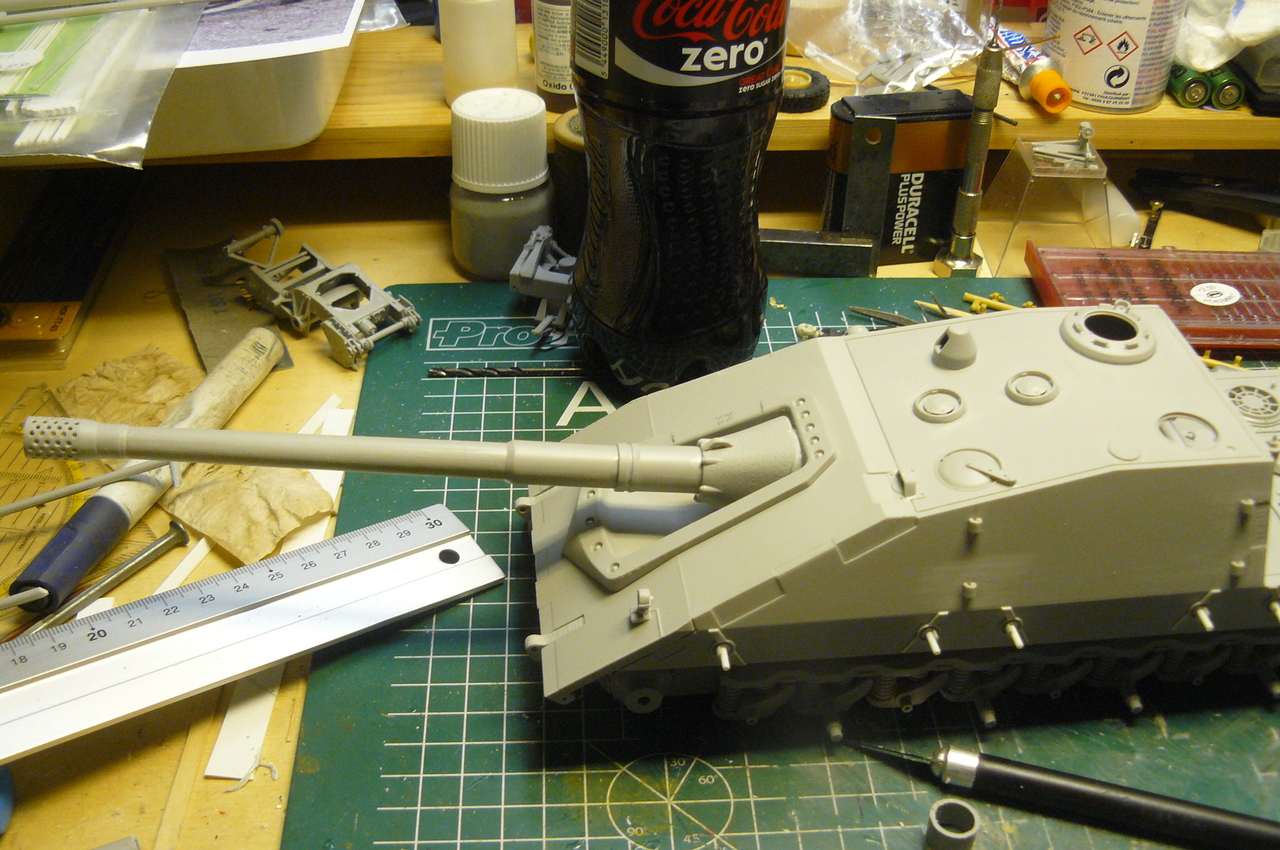
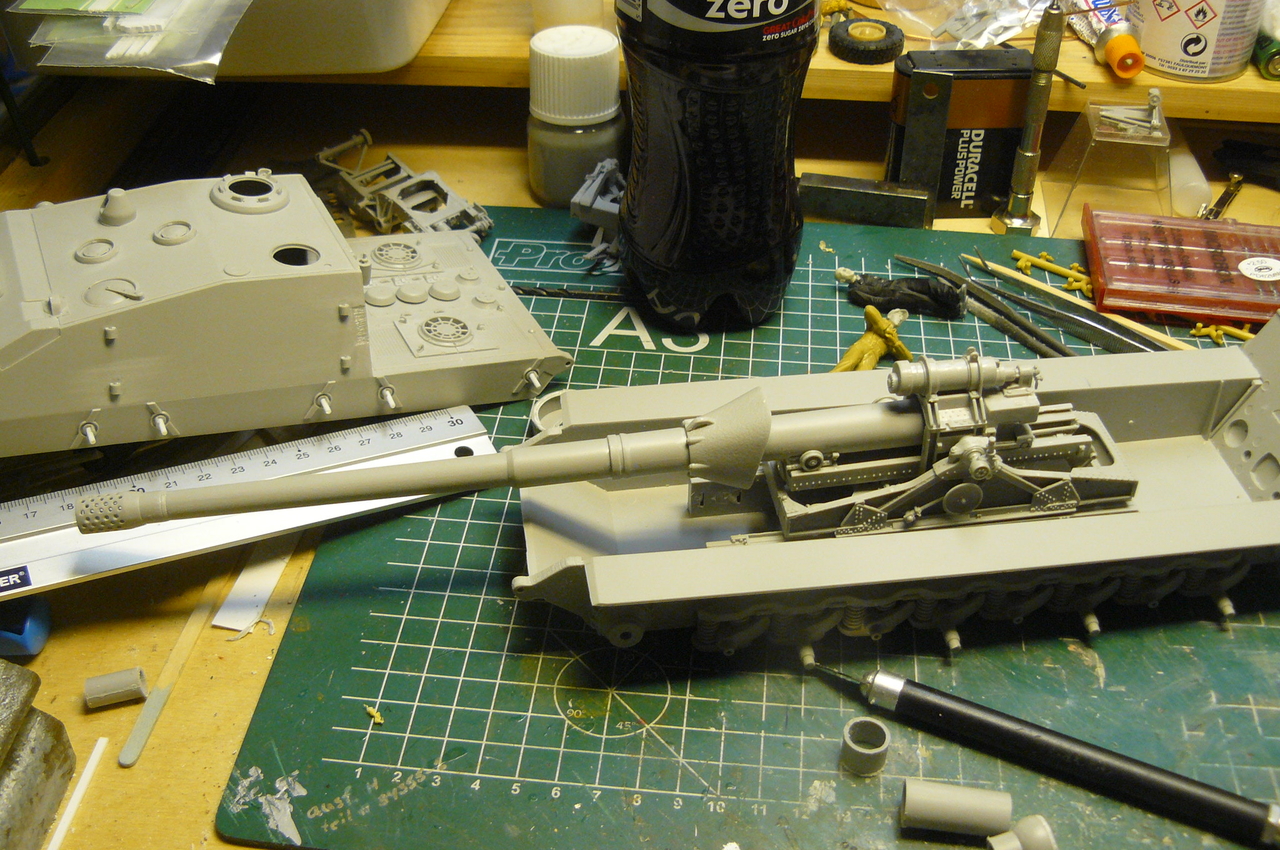
Some progress of the interior work and gun modifications
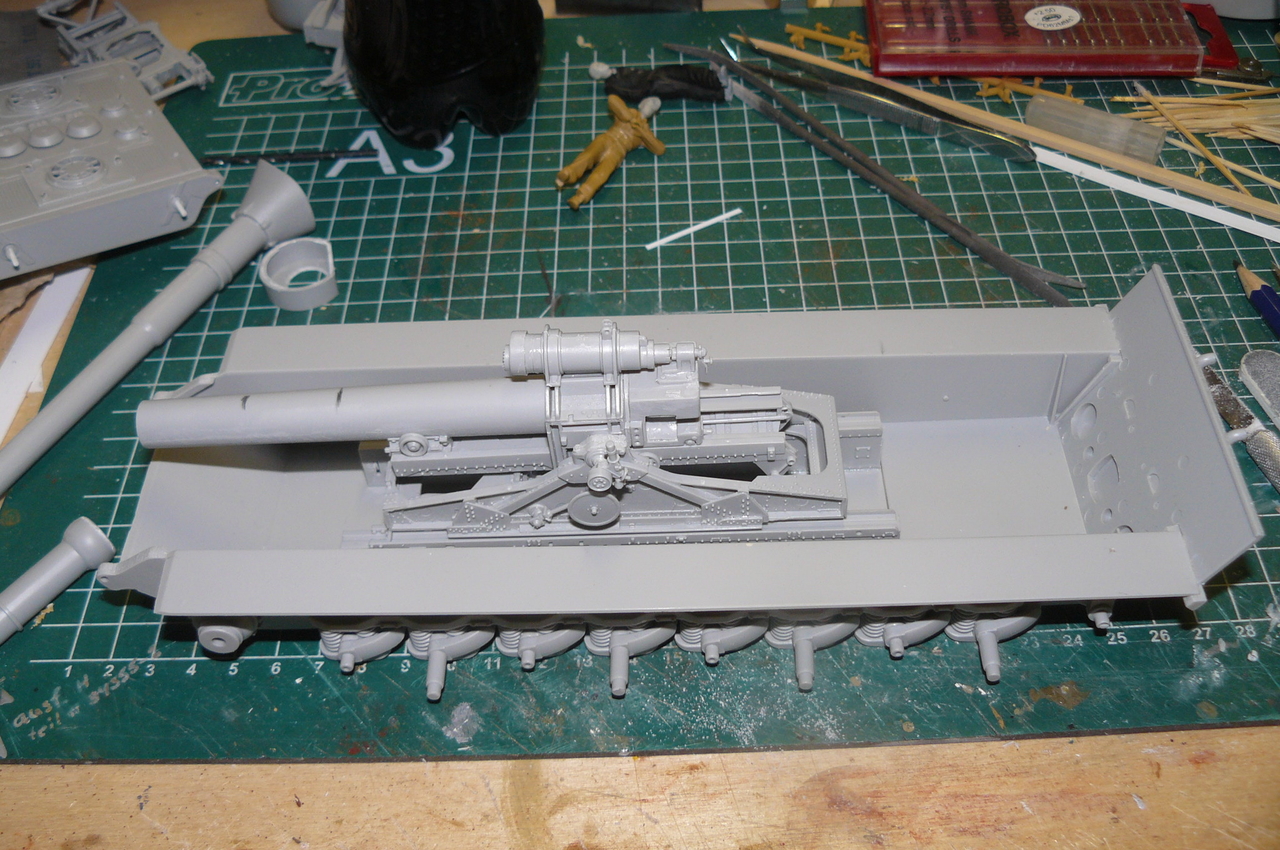
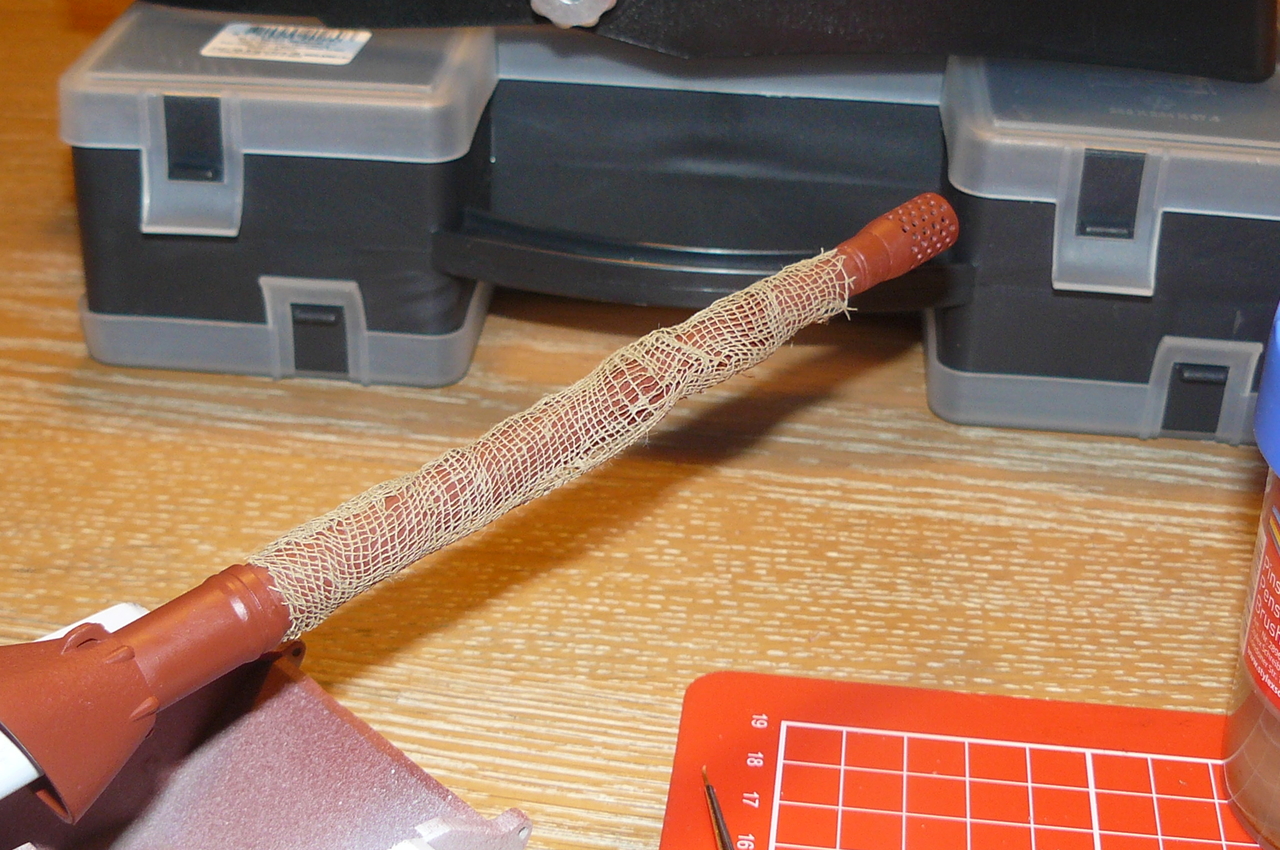
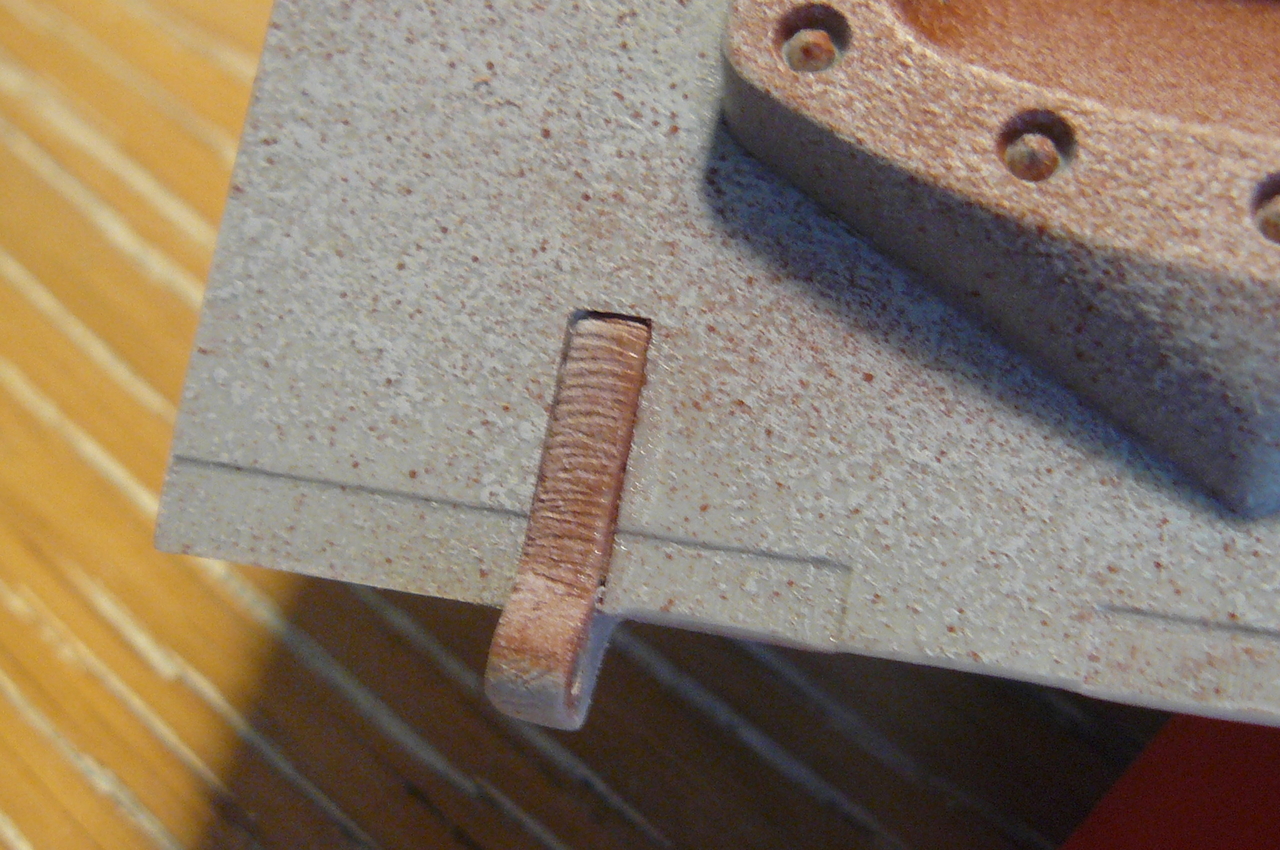
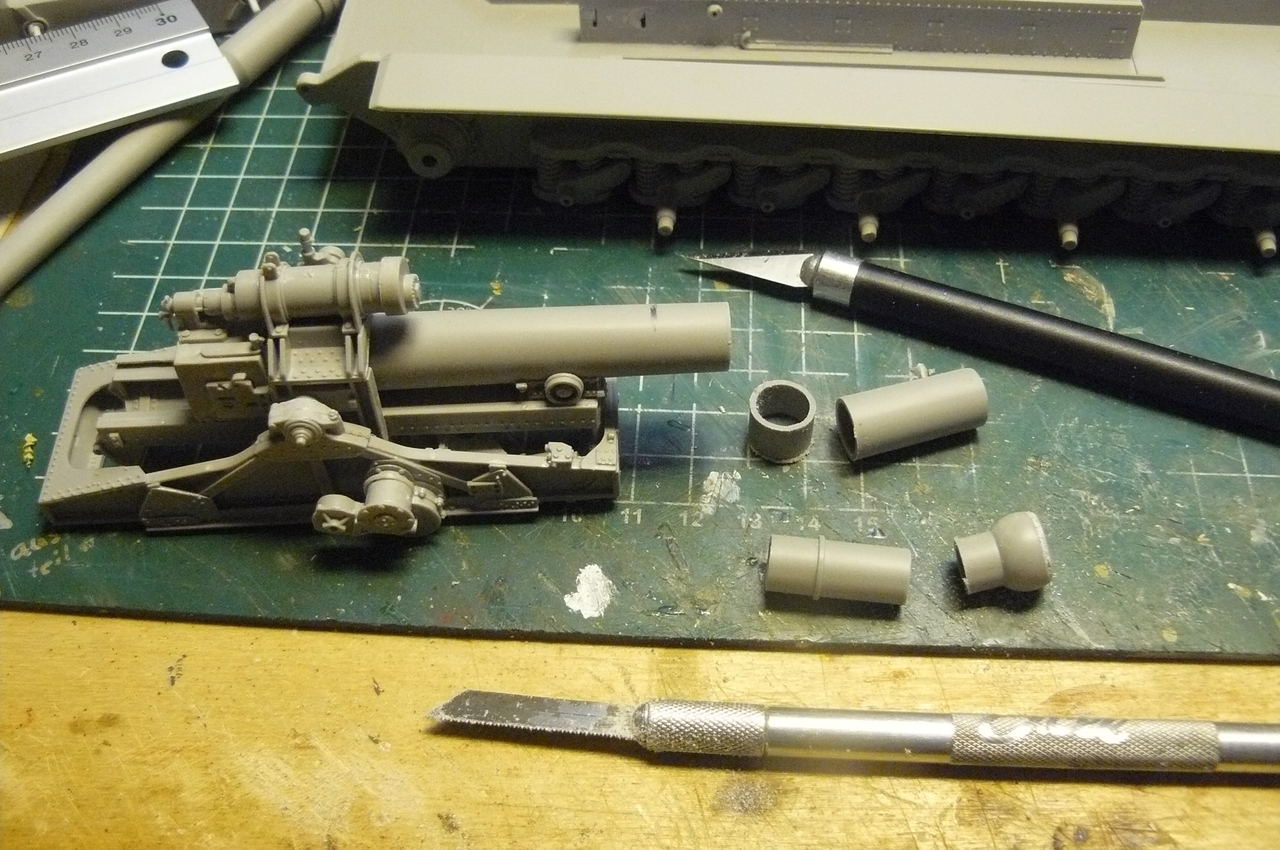
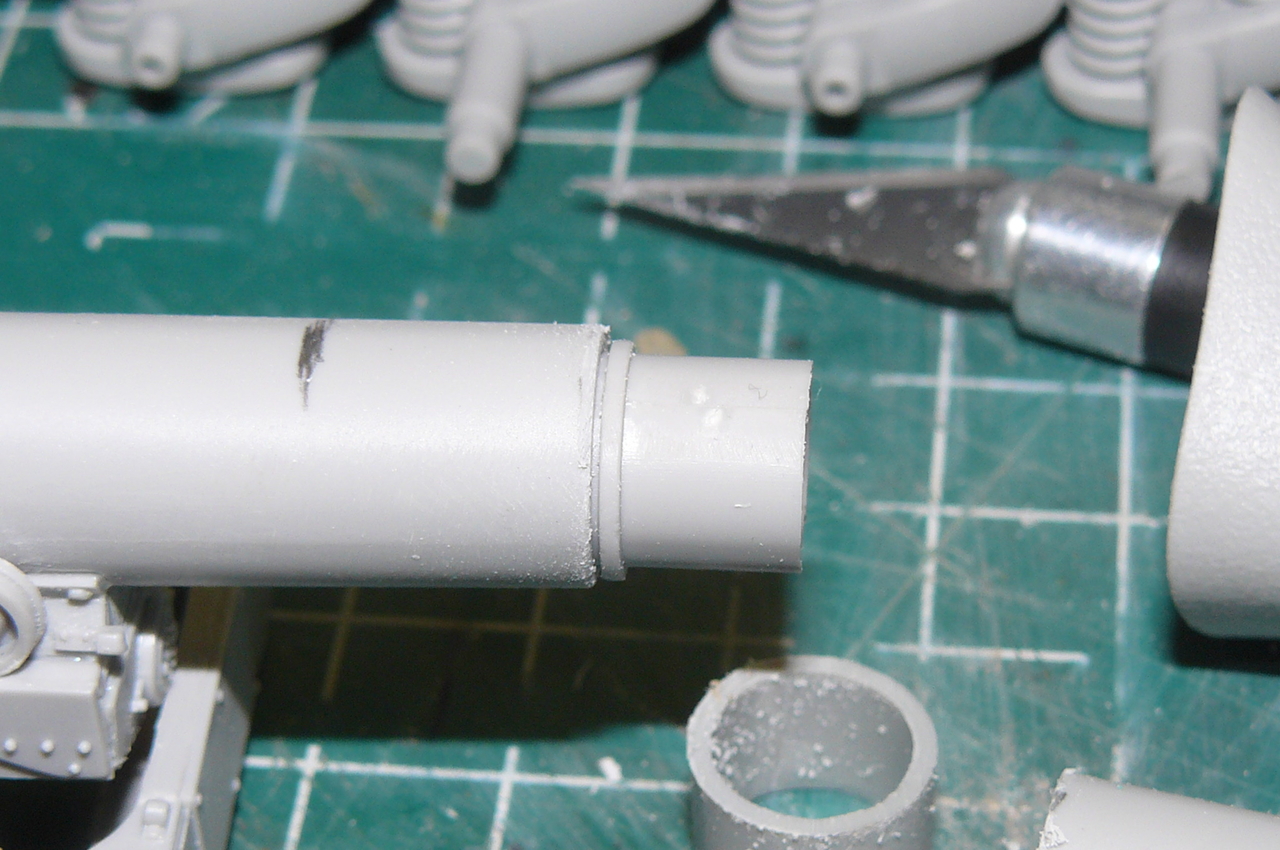
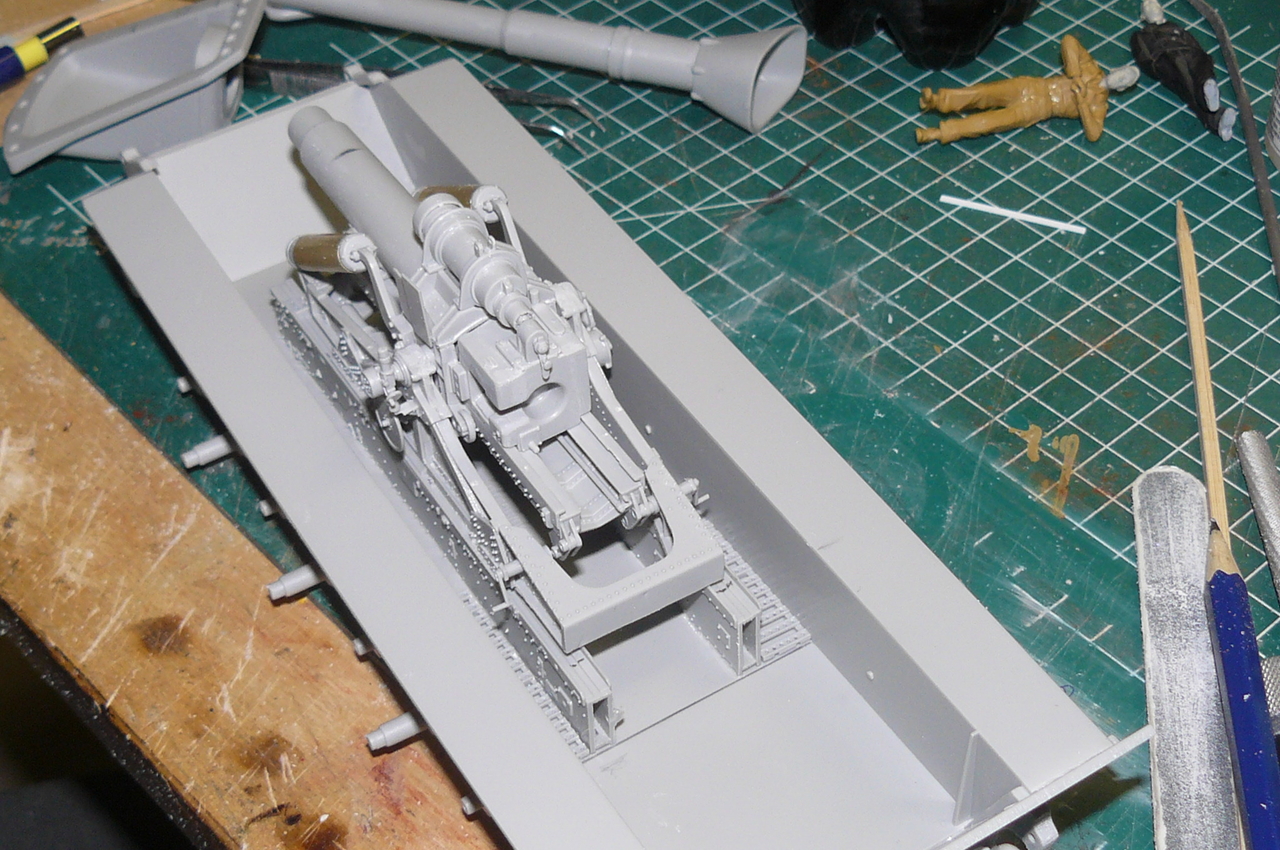
Trying tofigure out where to cut the barrel :hmmm
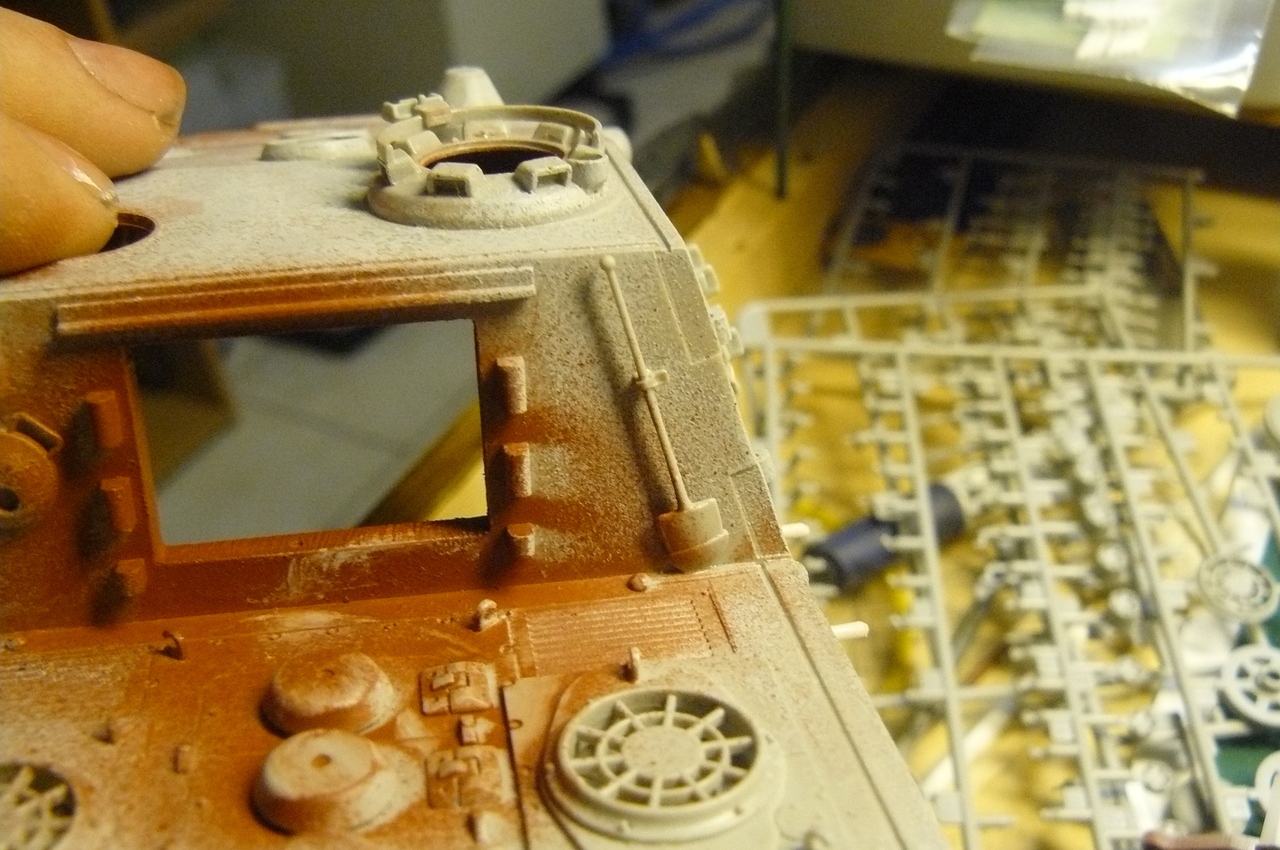
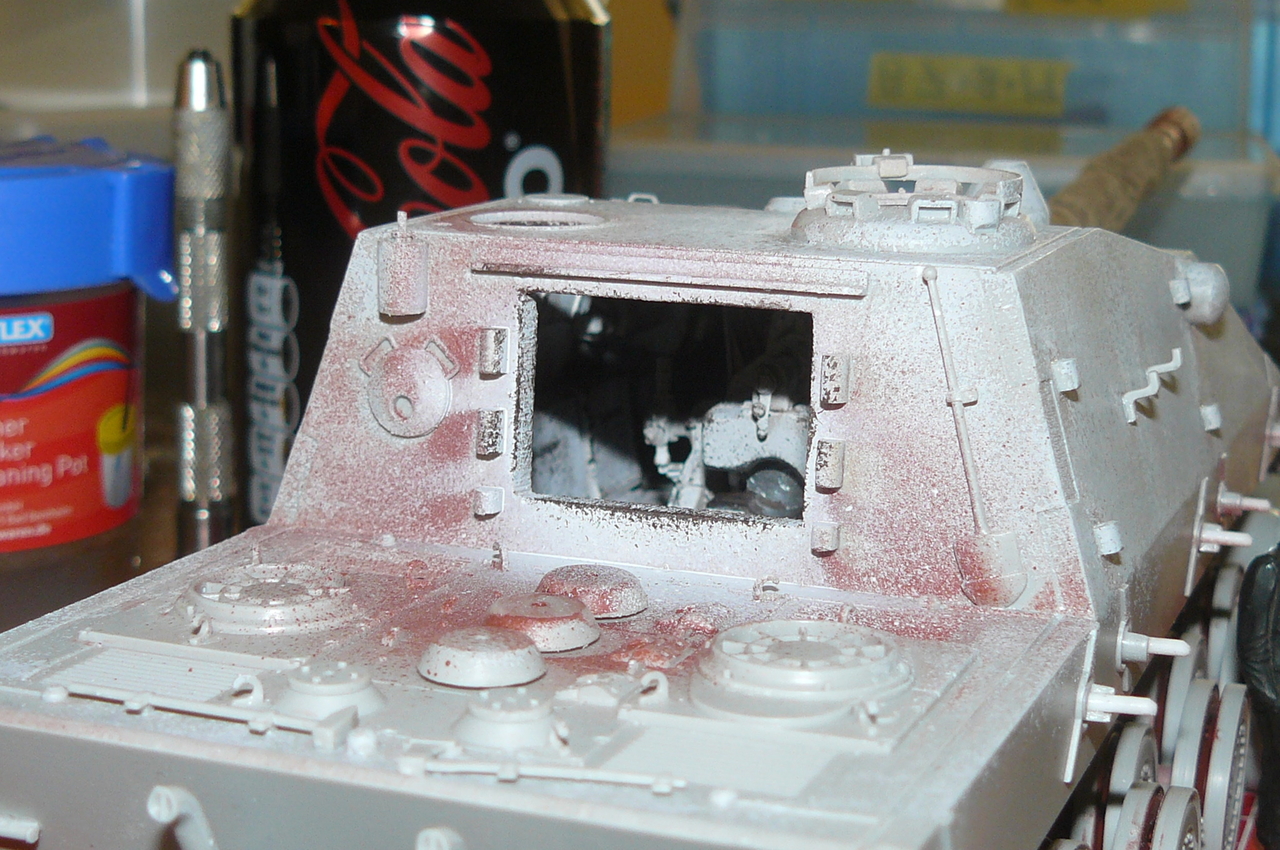
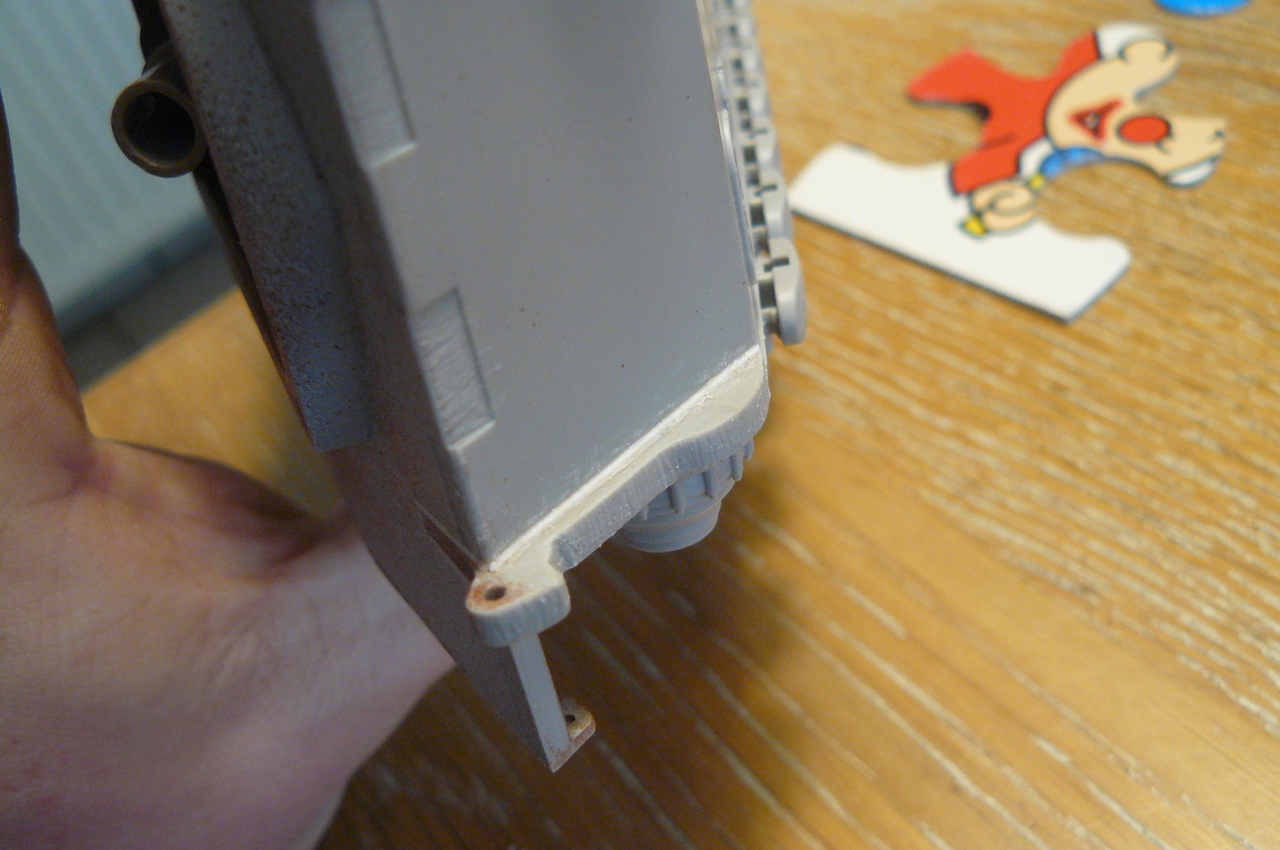
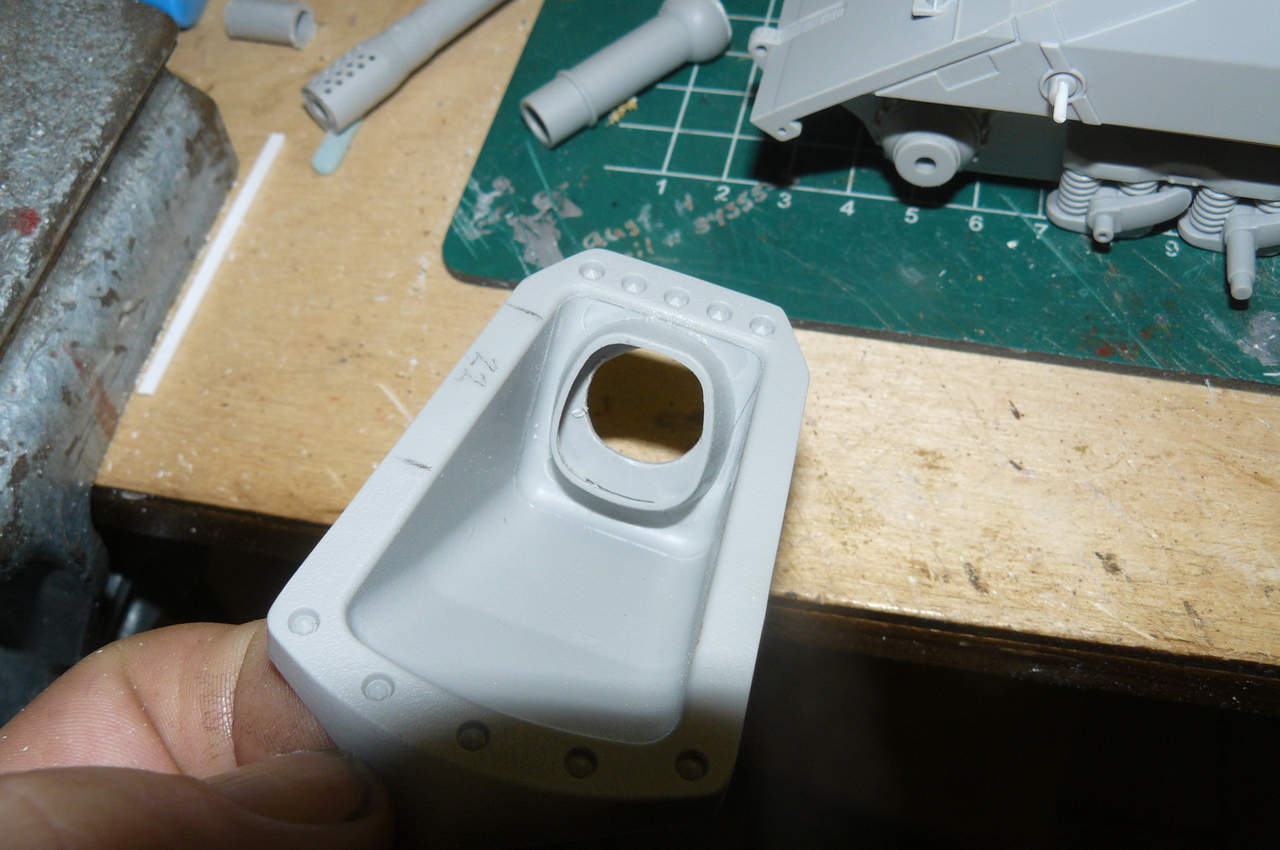
View from the backdoor
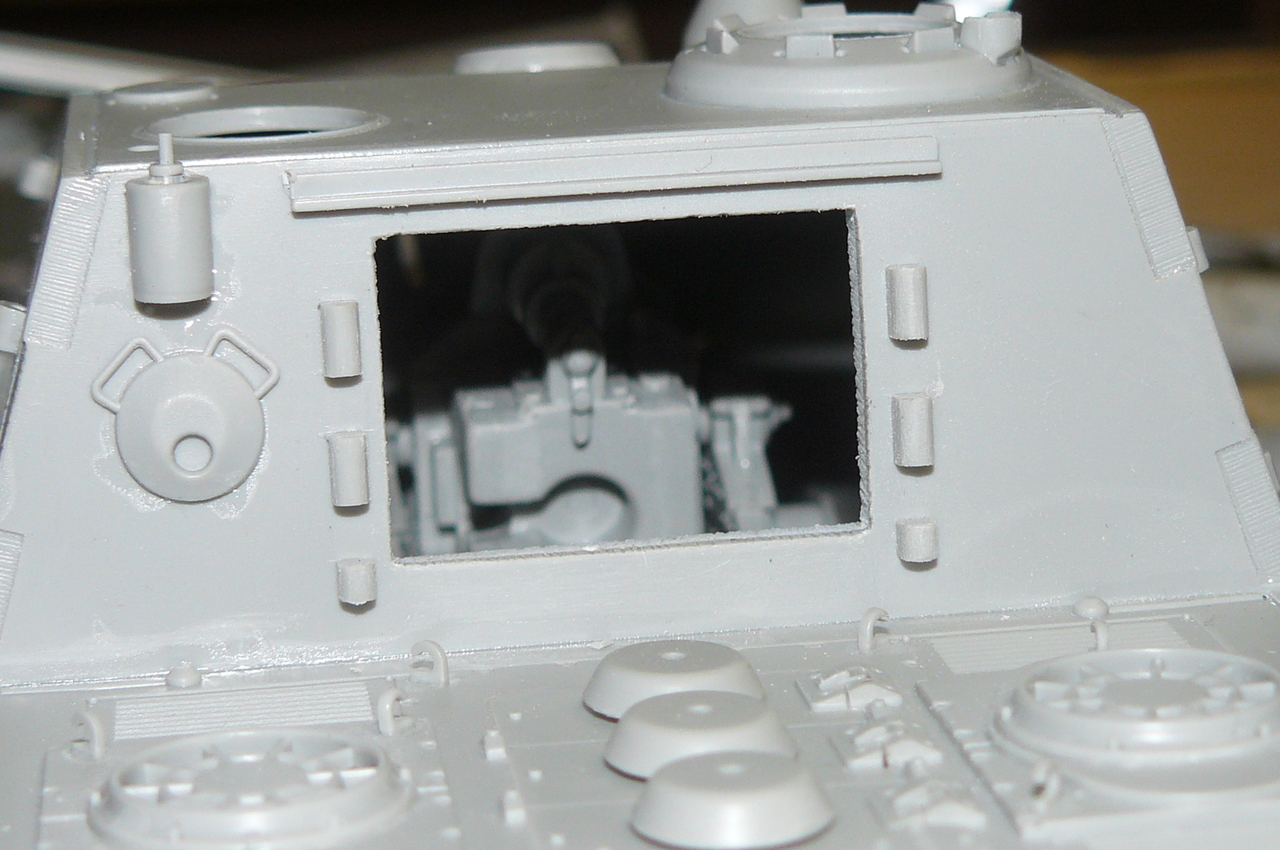
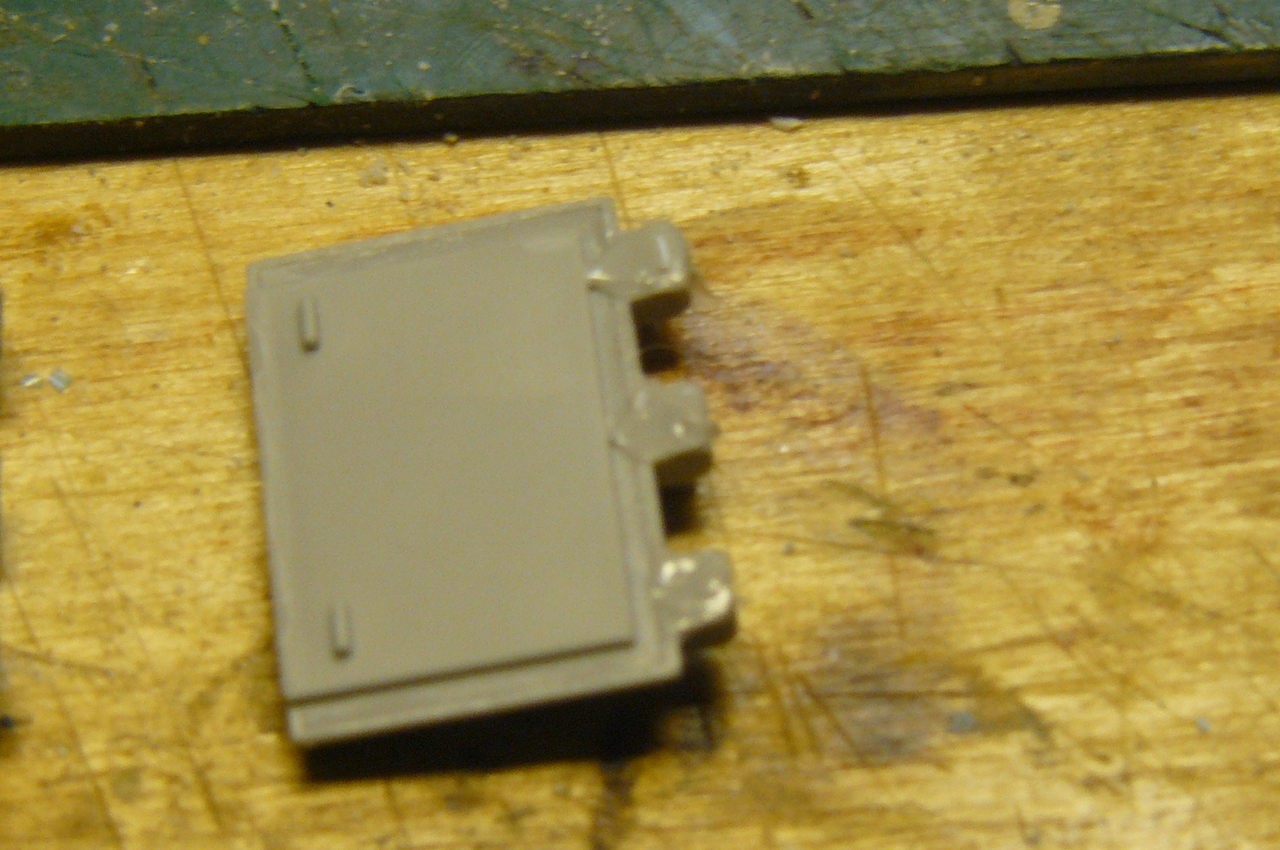
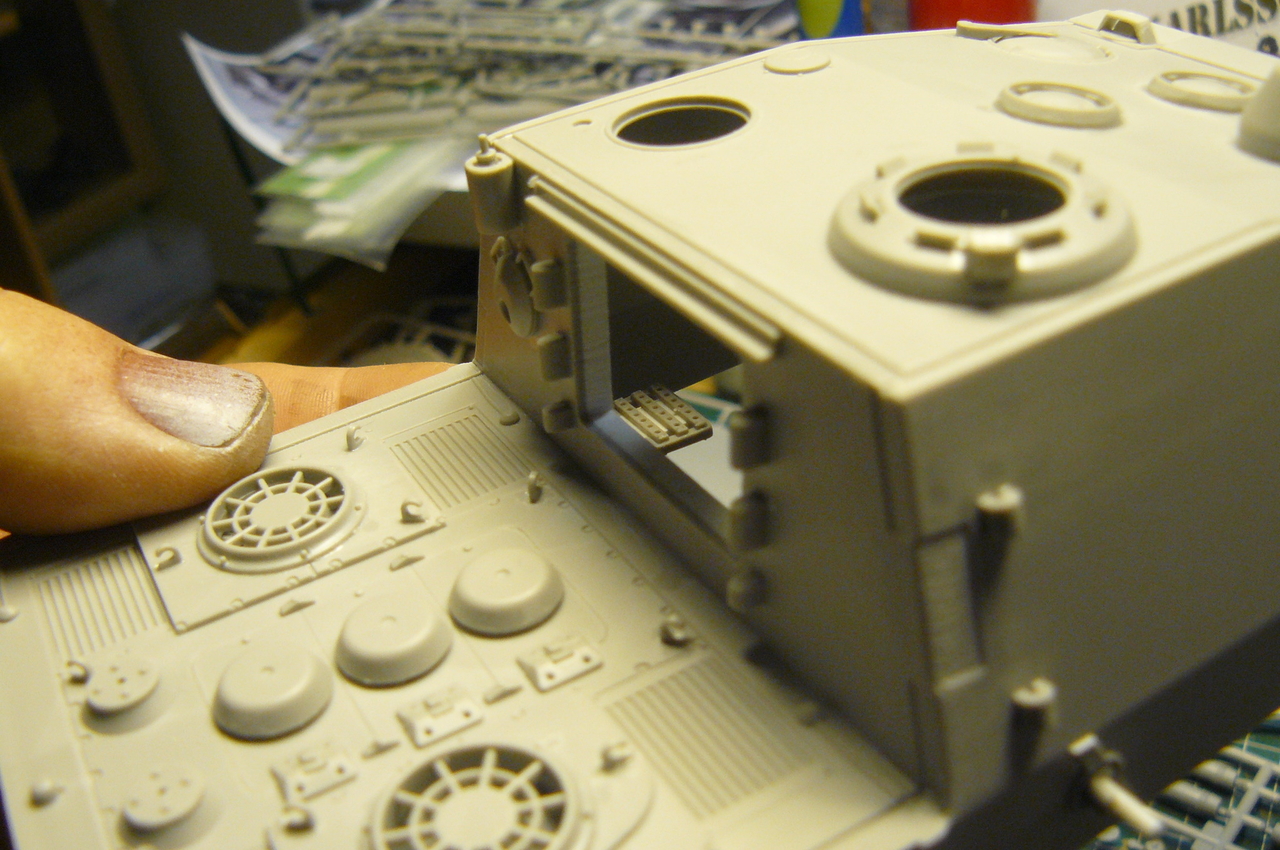
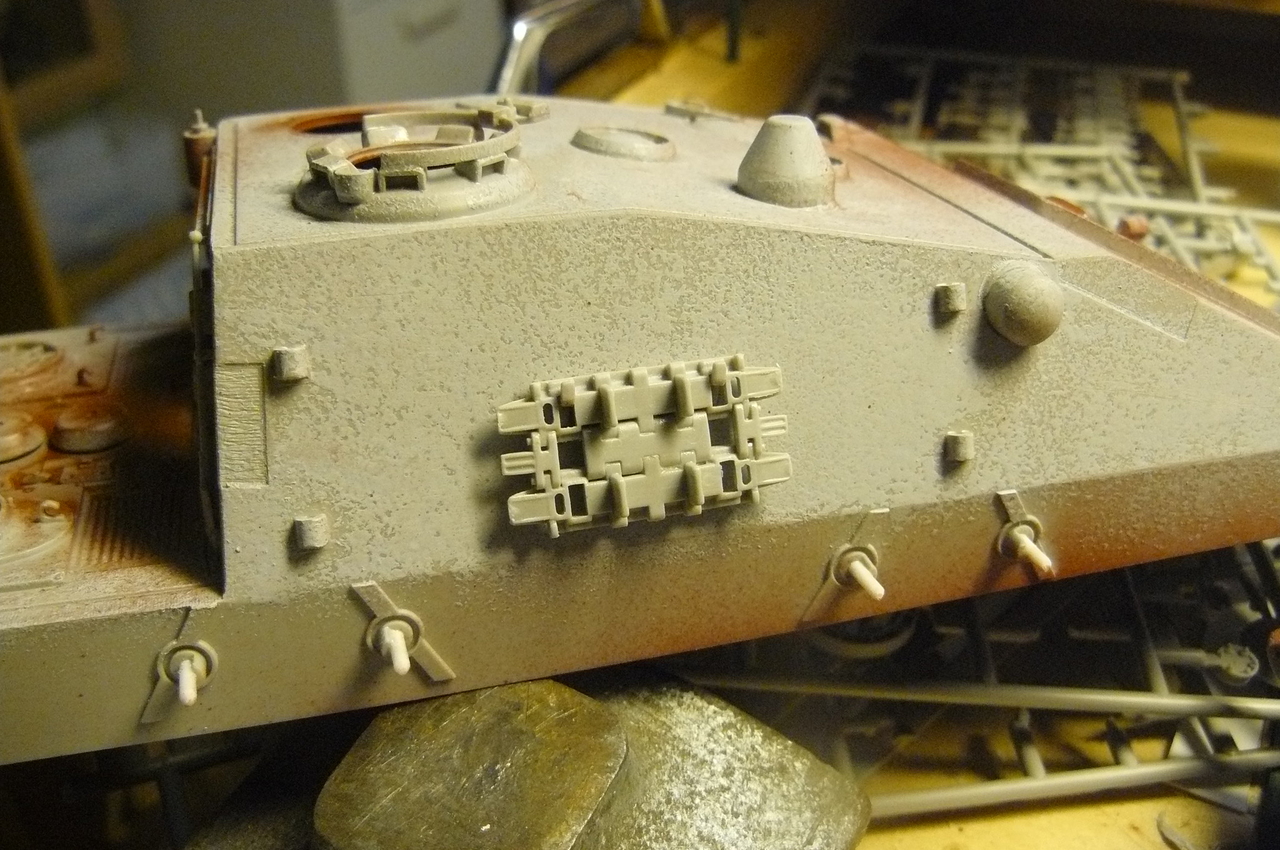
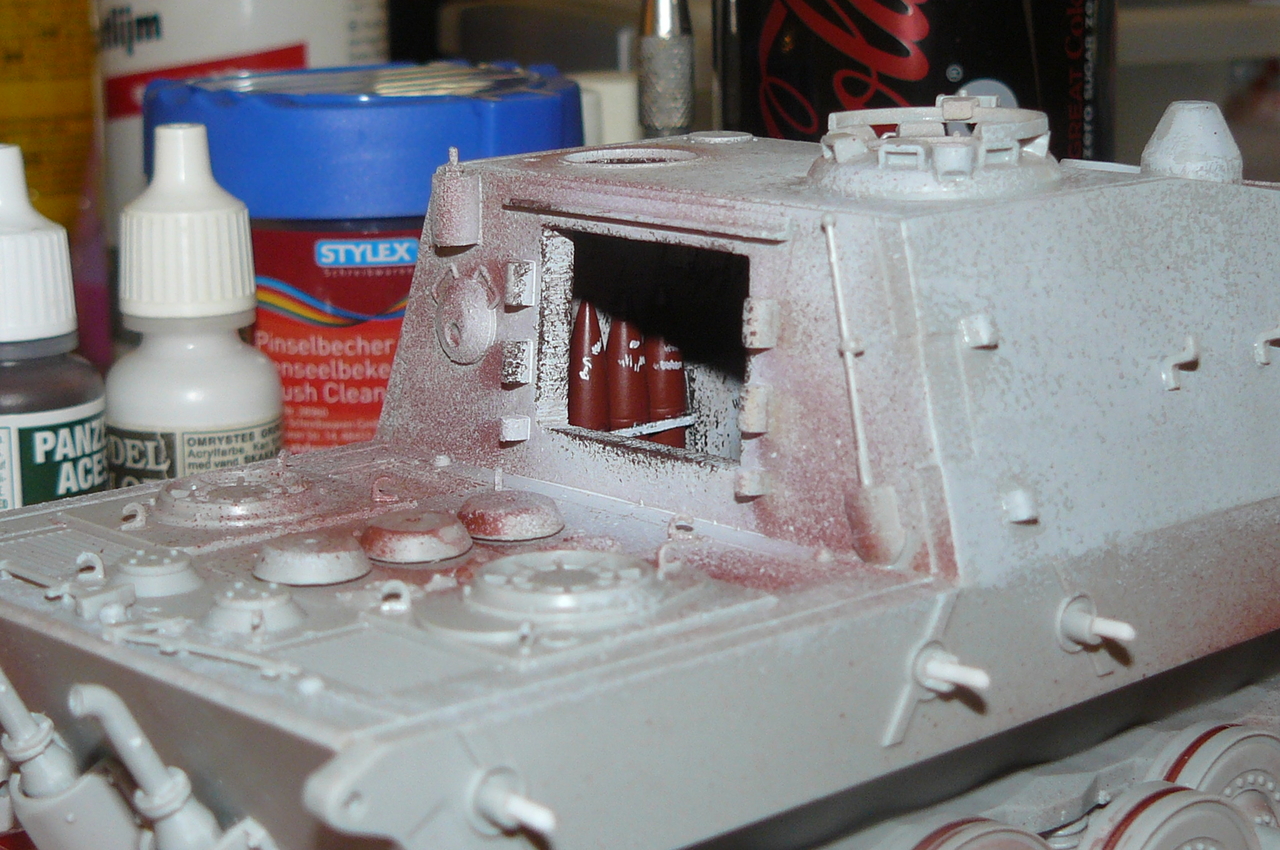
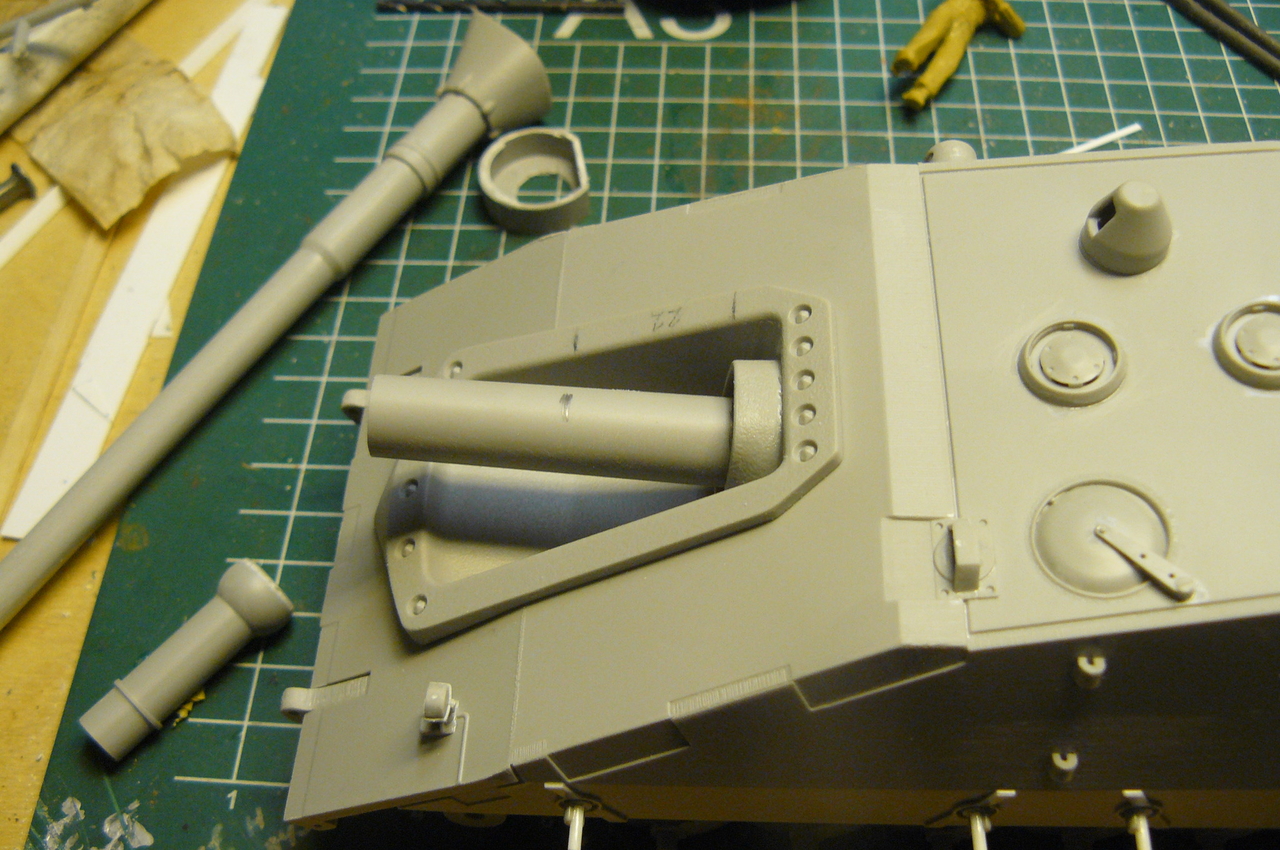
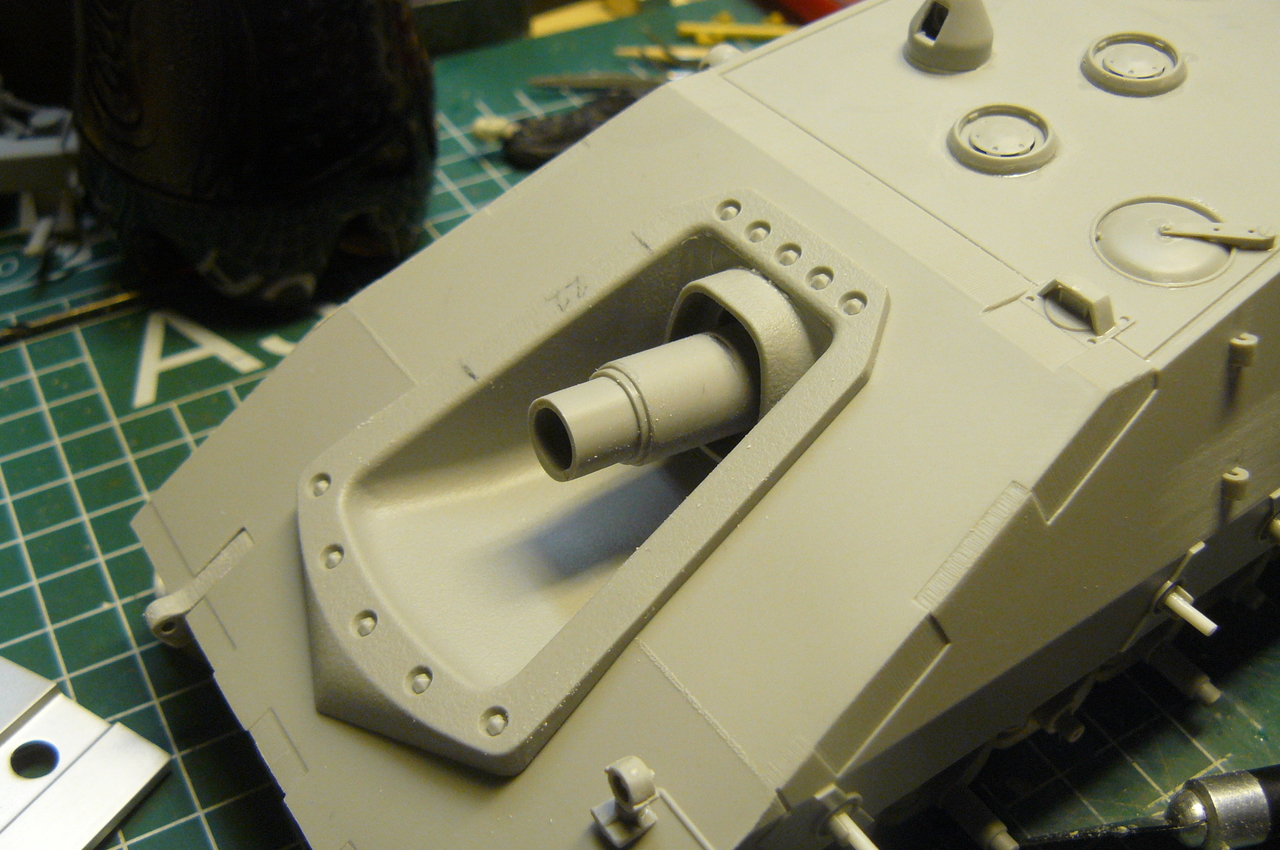
Opened up the hole in the mantlet to fit the new installation
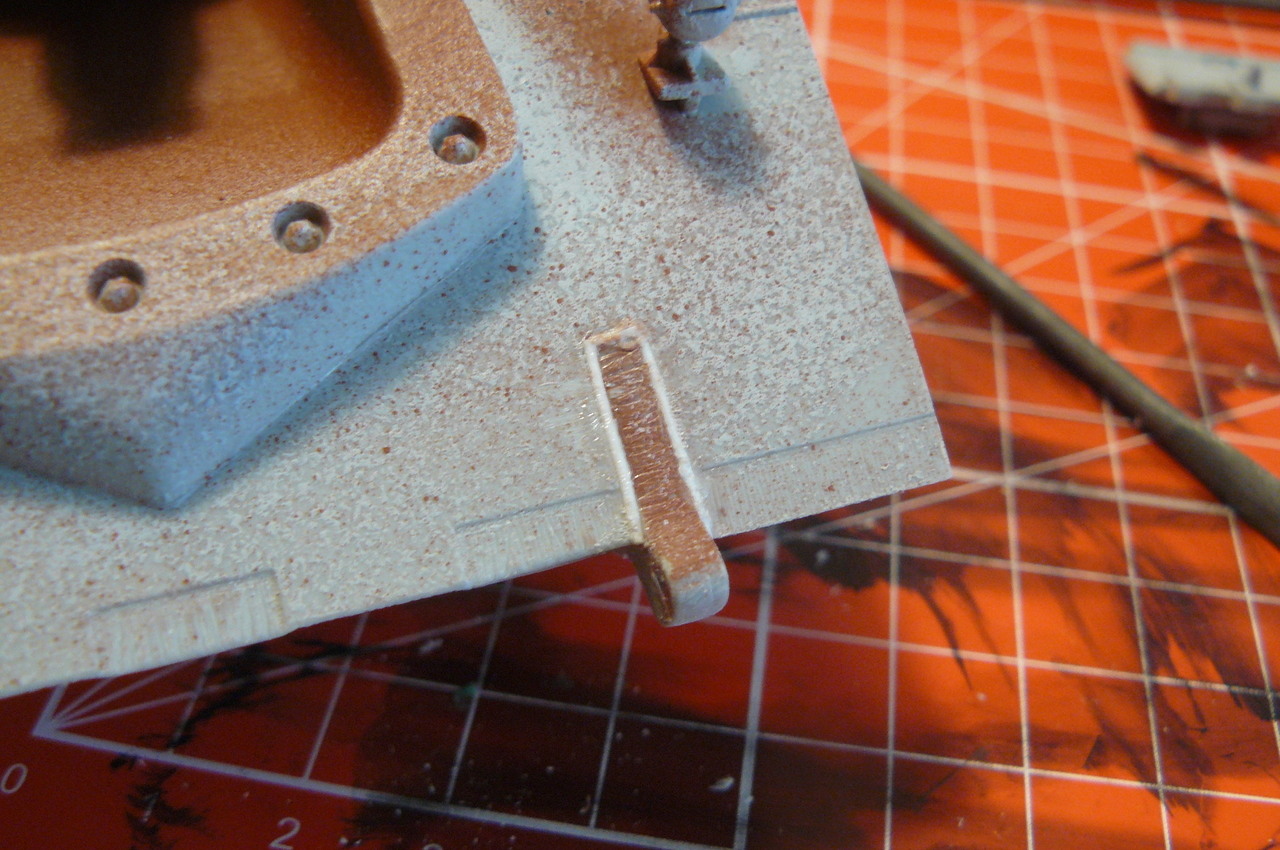
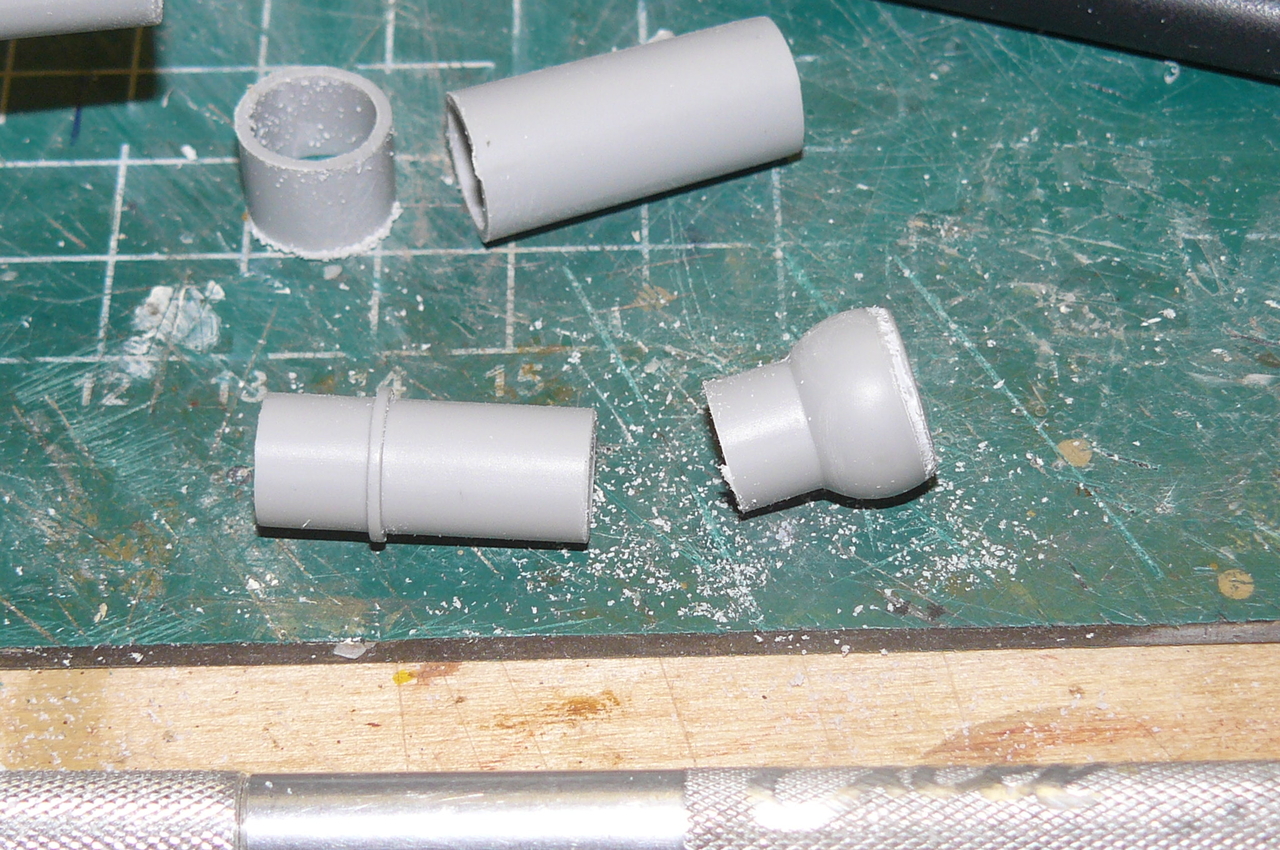
Cutting...
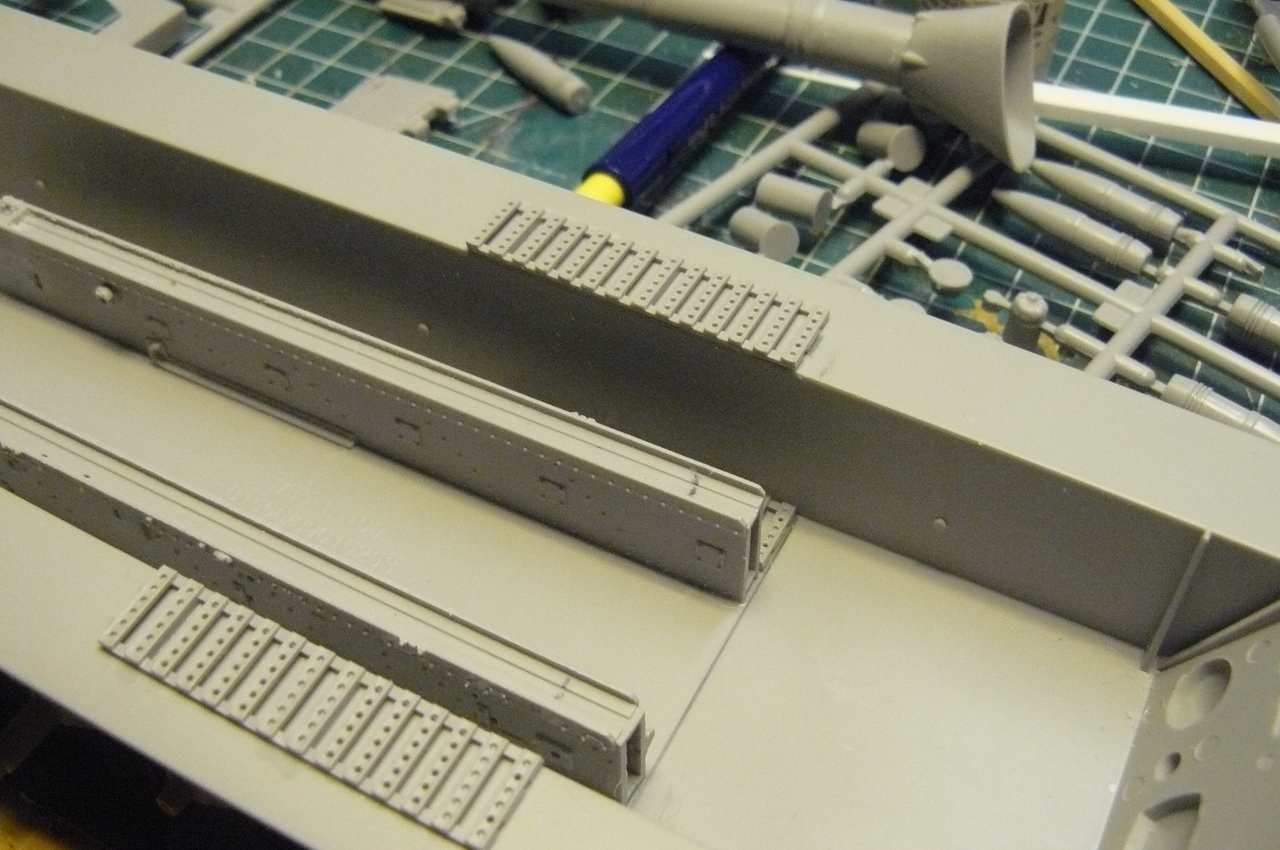
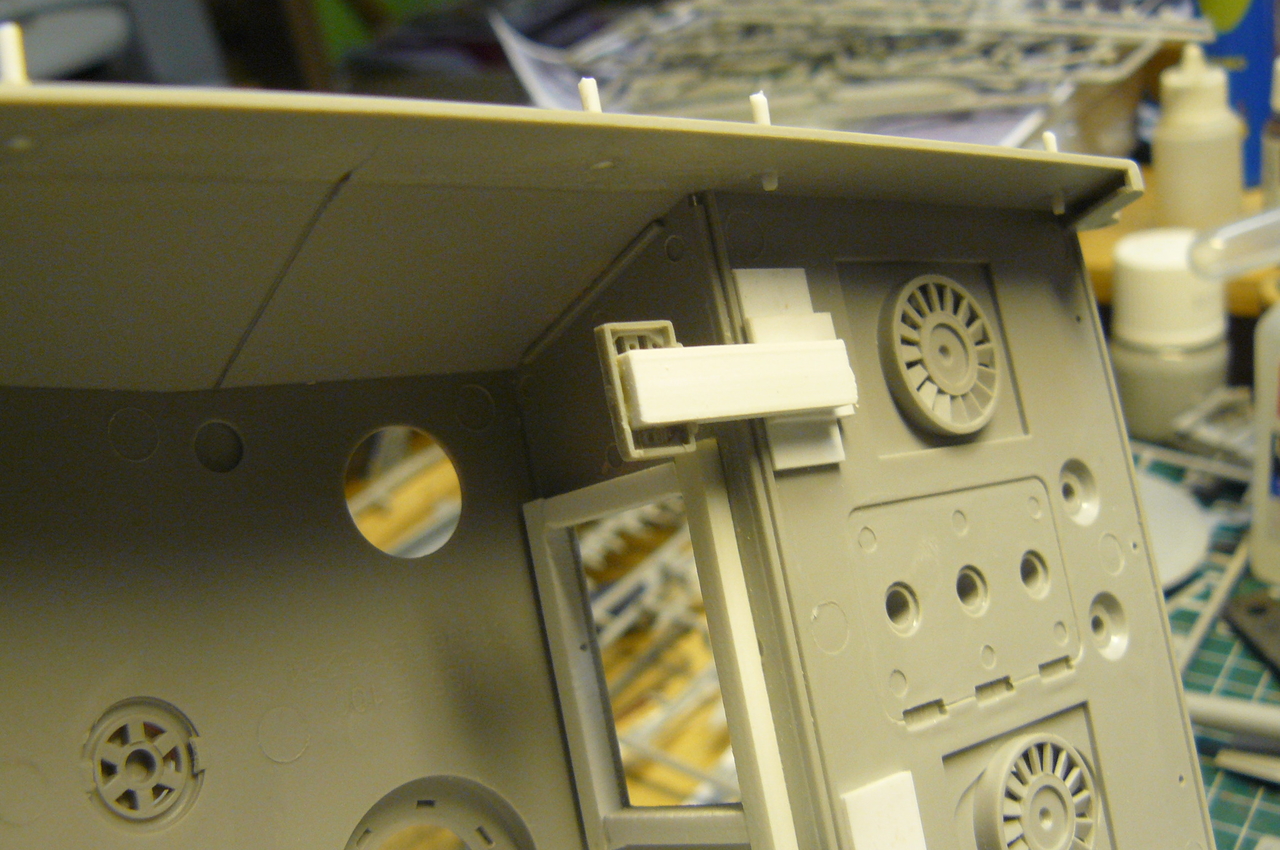
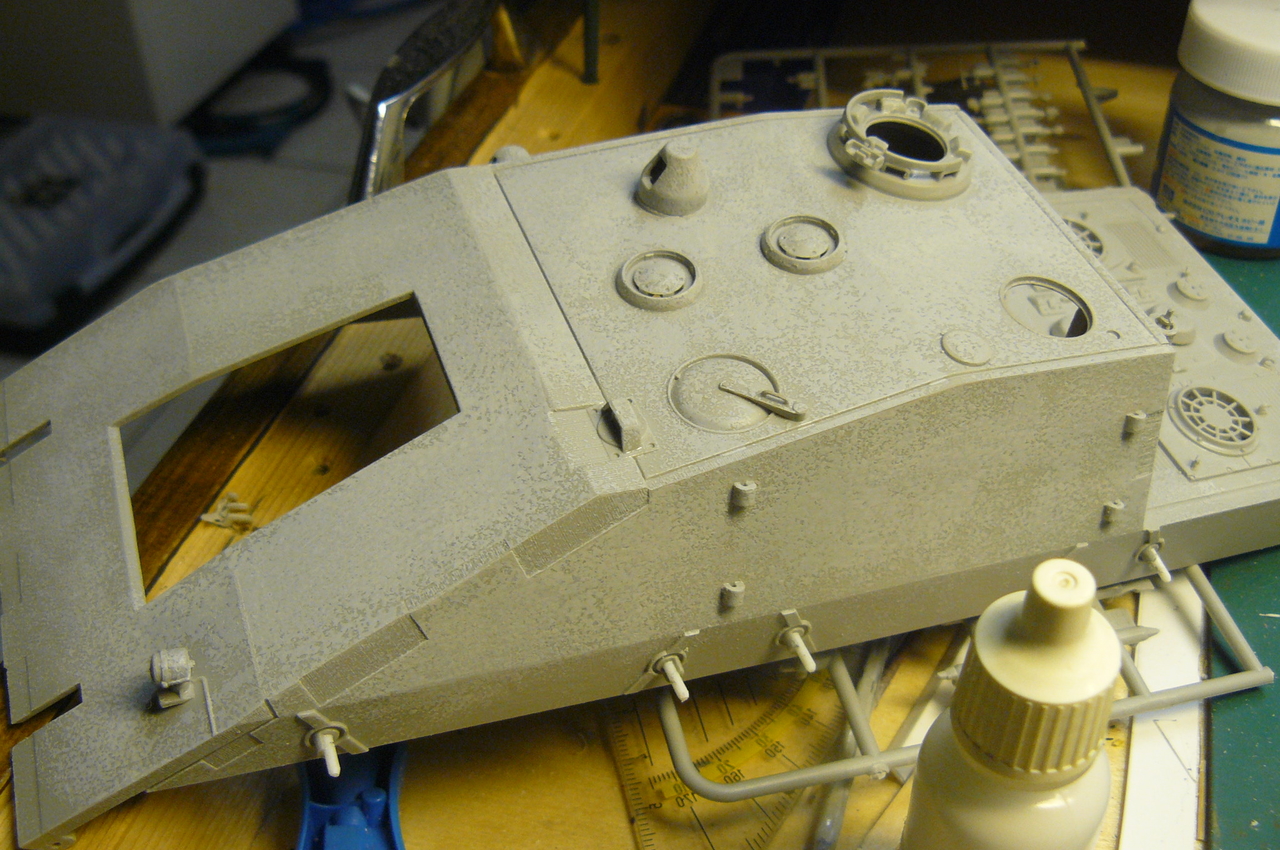
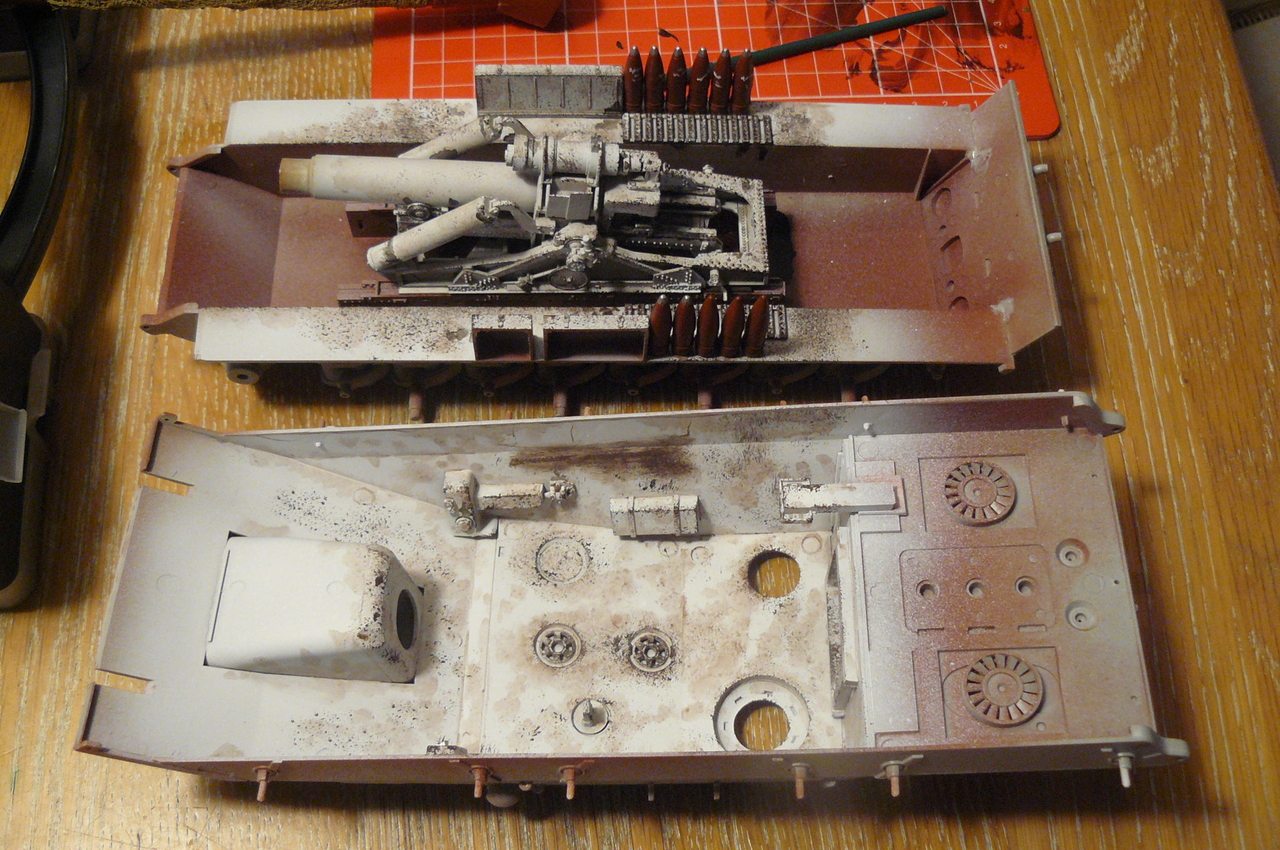
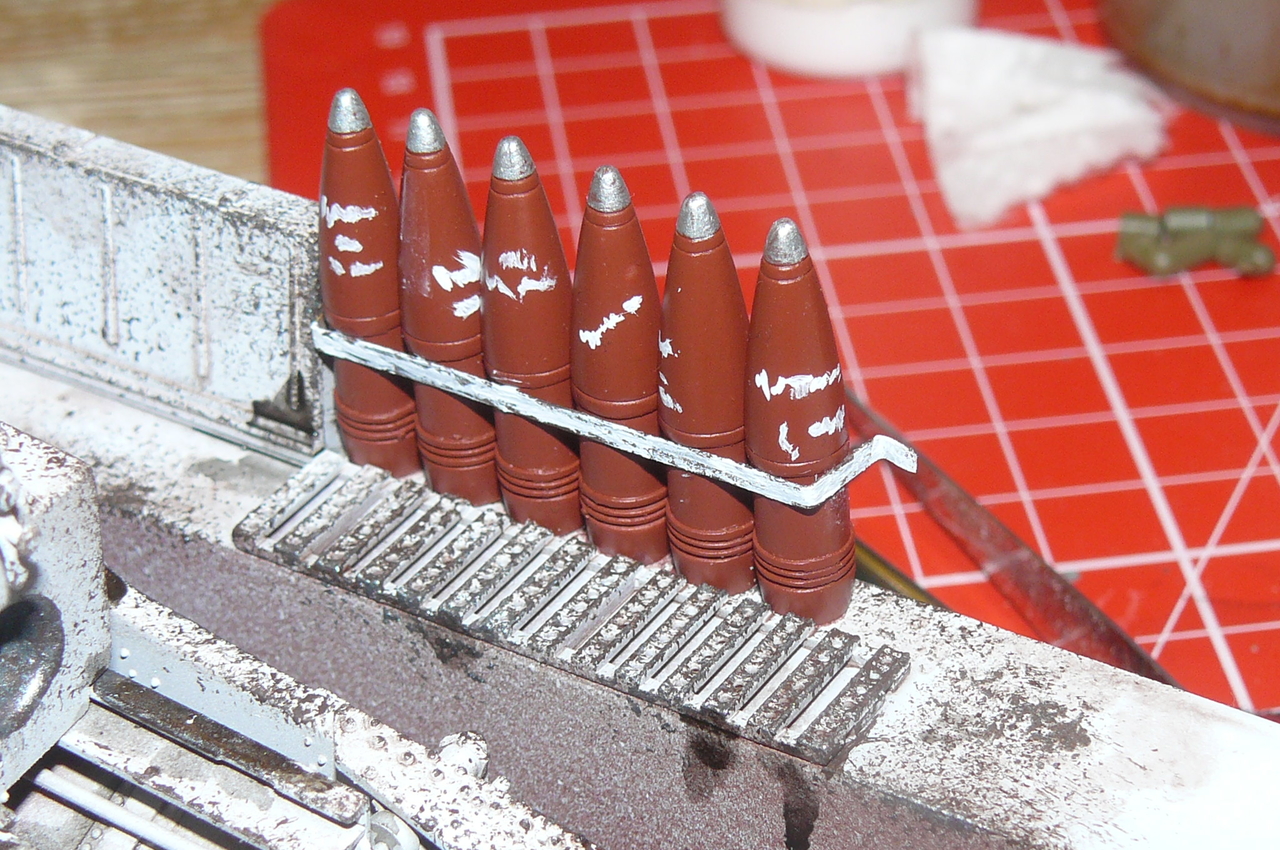
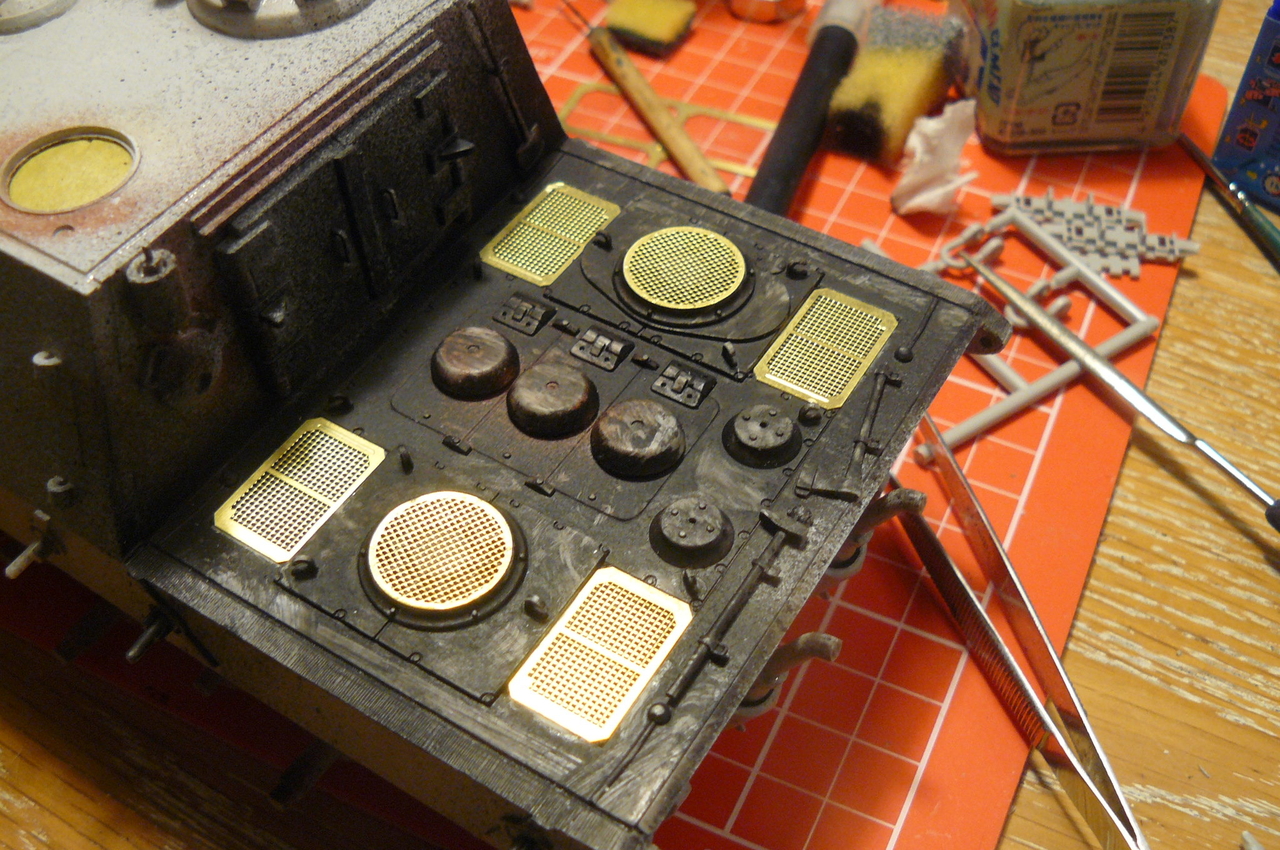
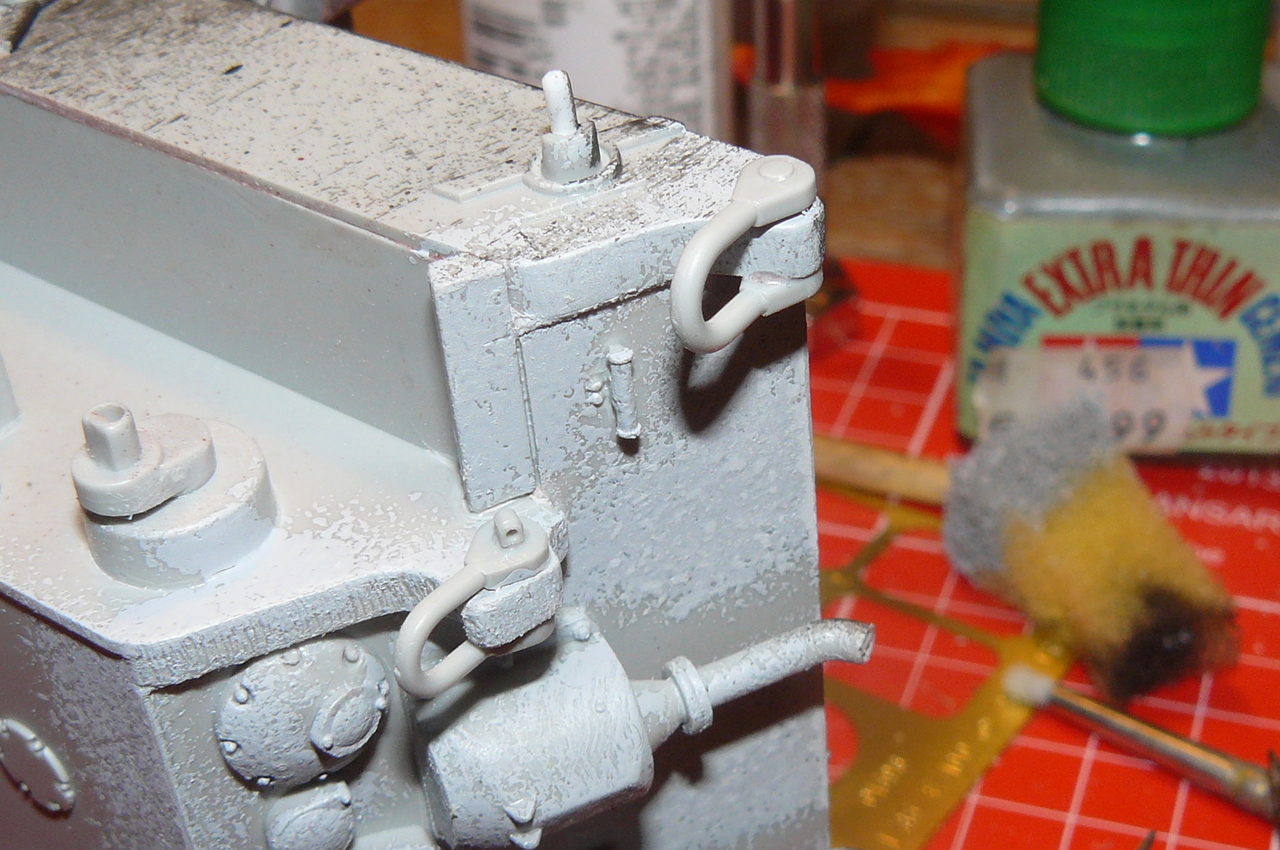
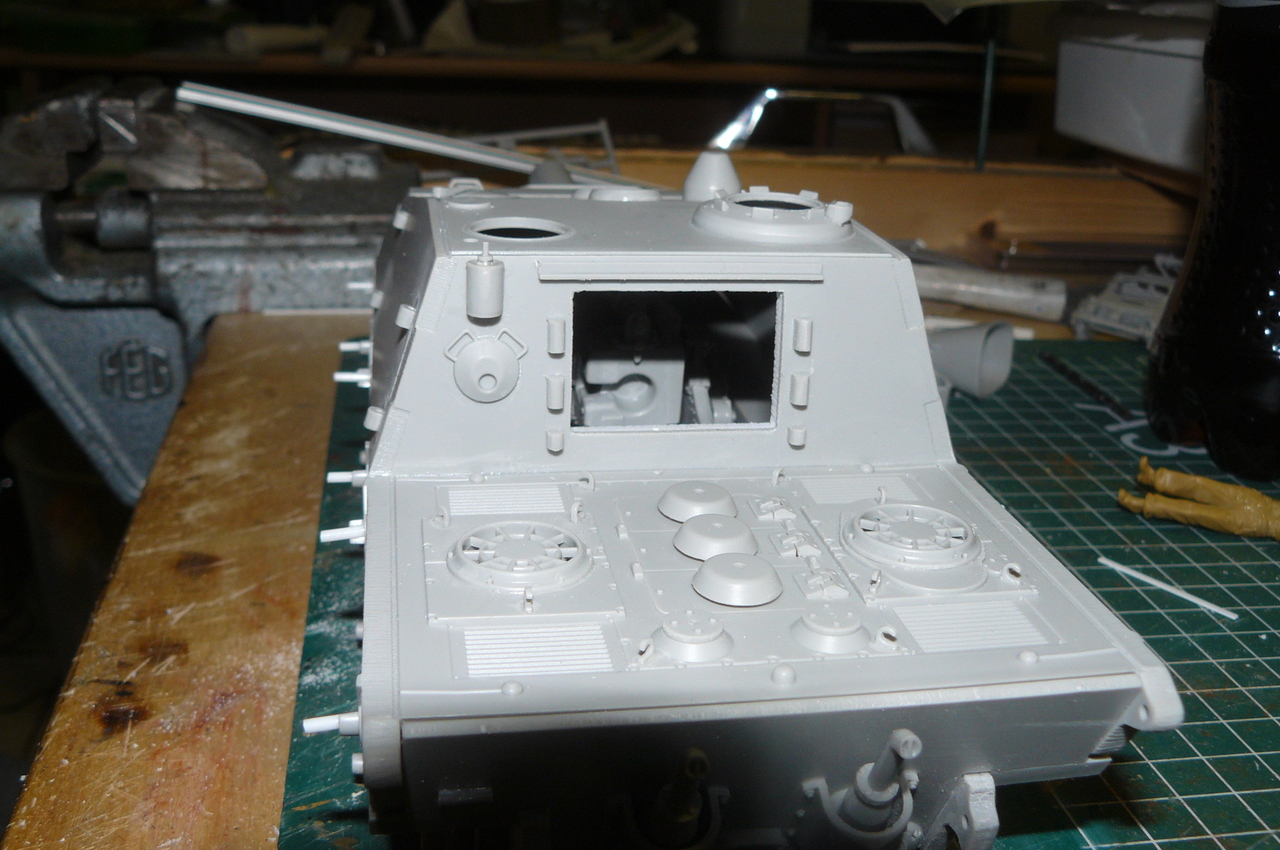
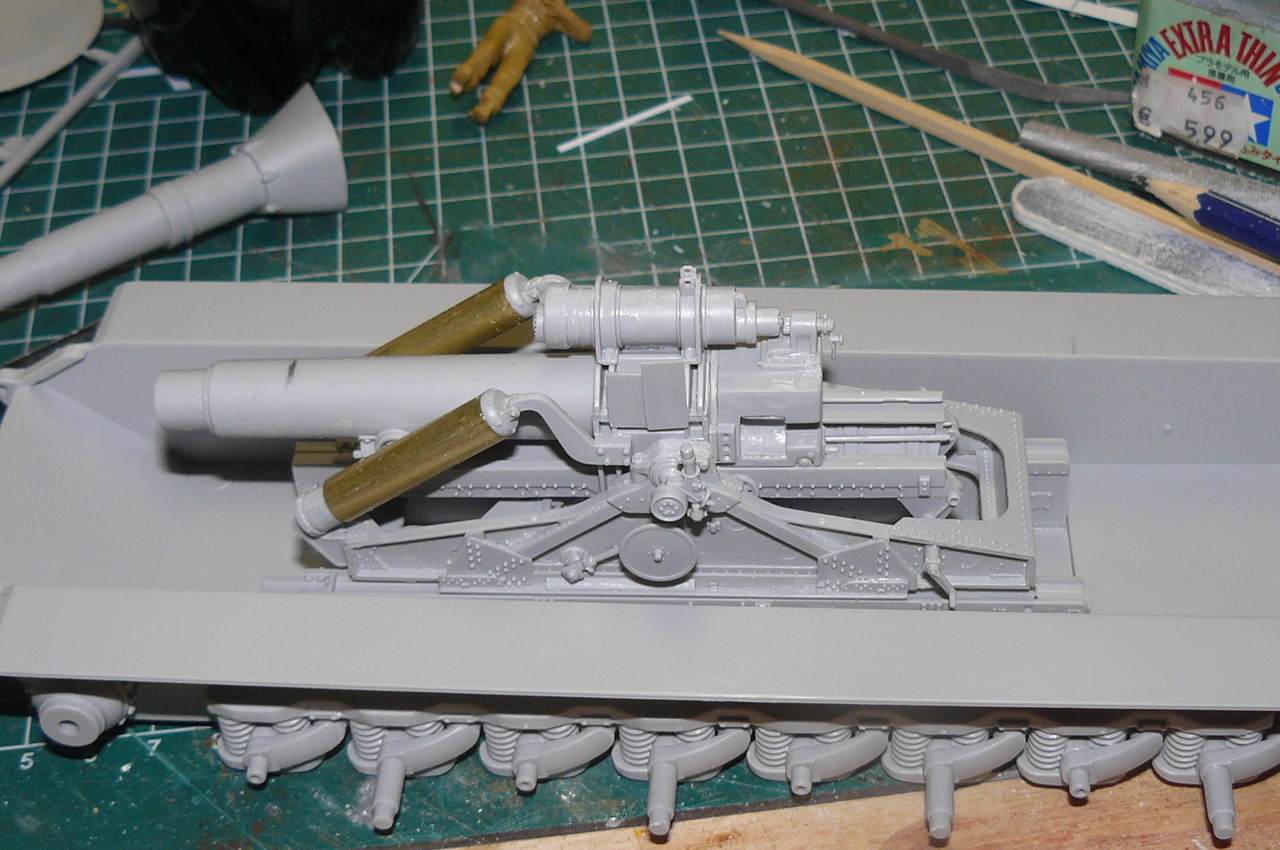
How it is looking inside, will add some more bits to it
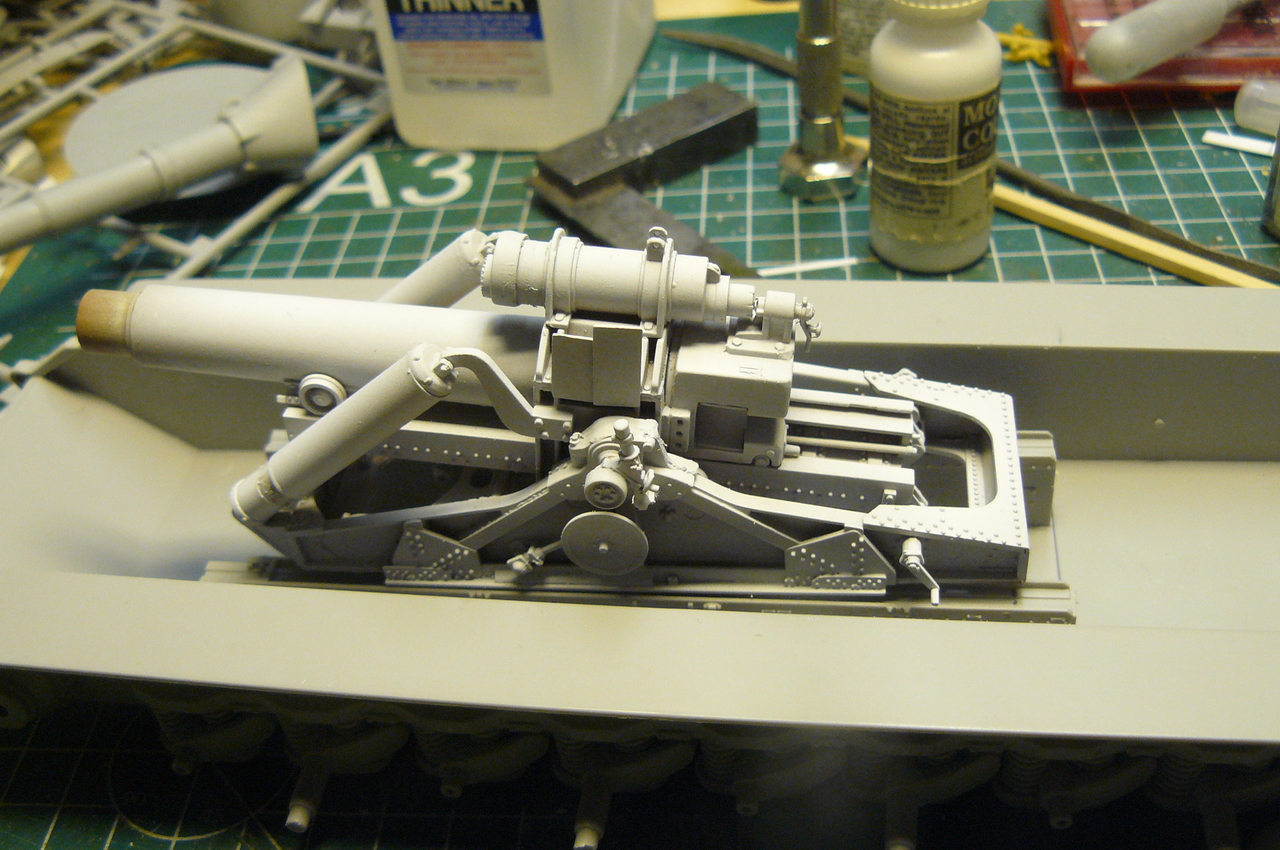
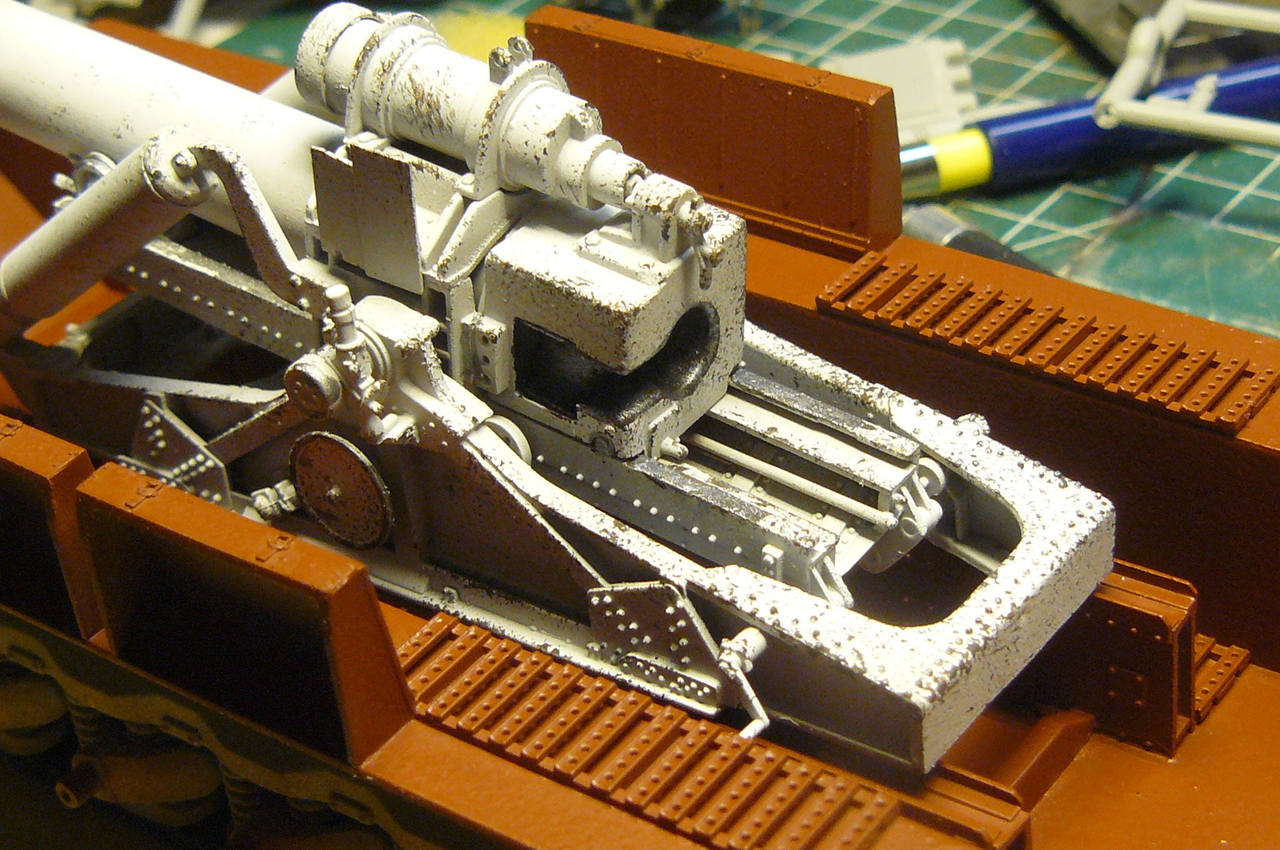
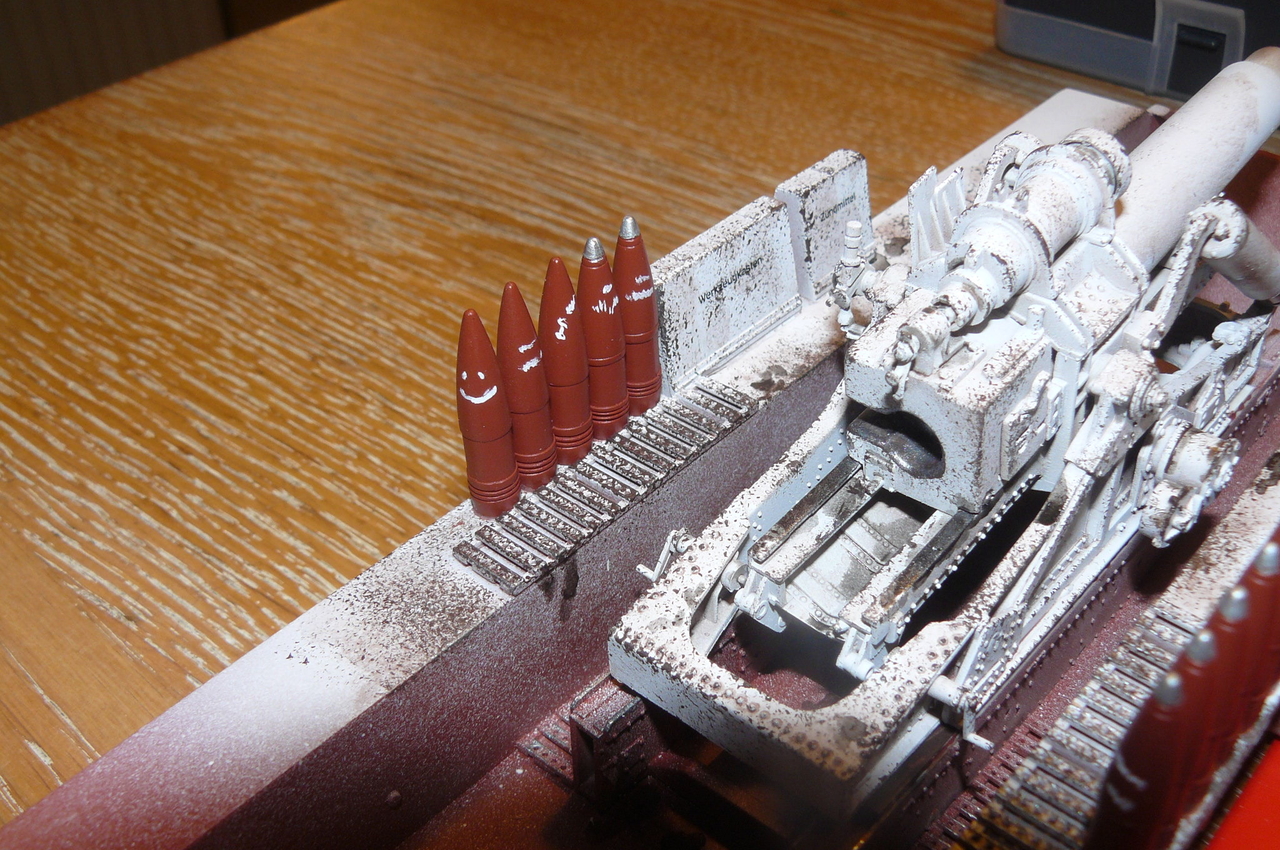
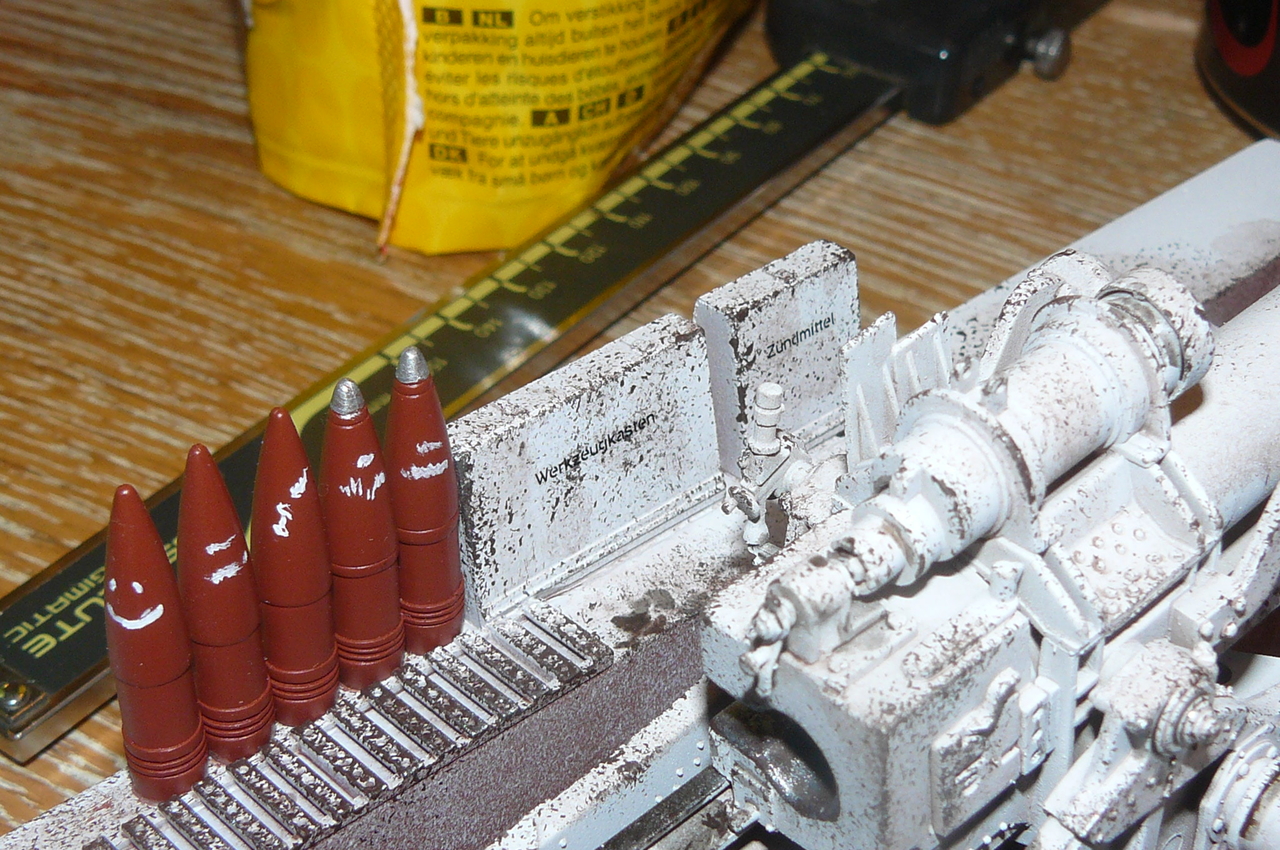
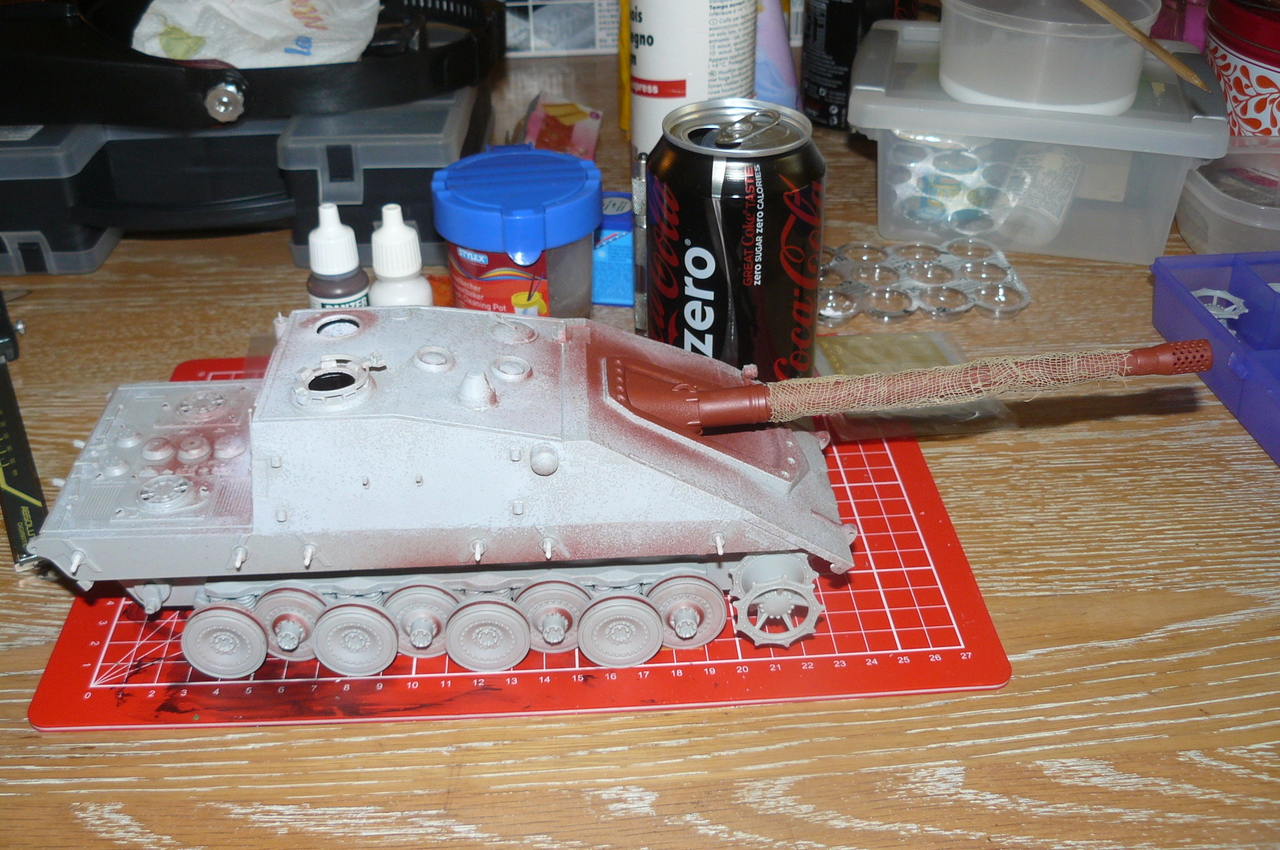
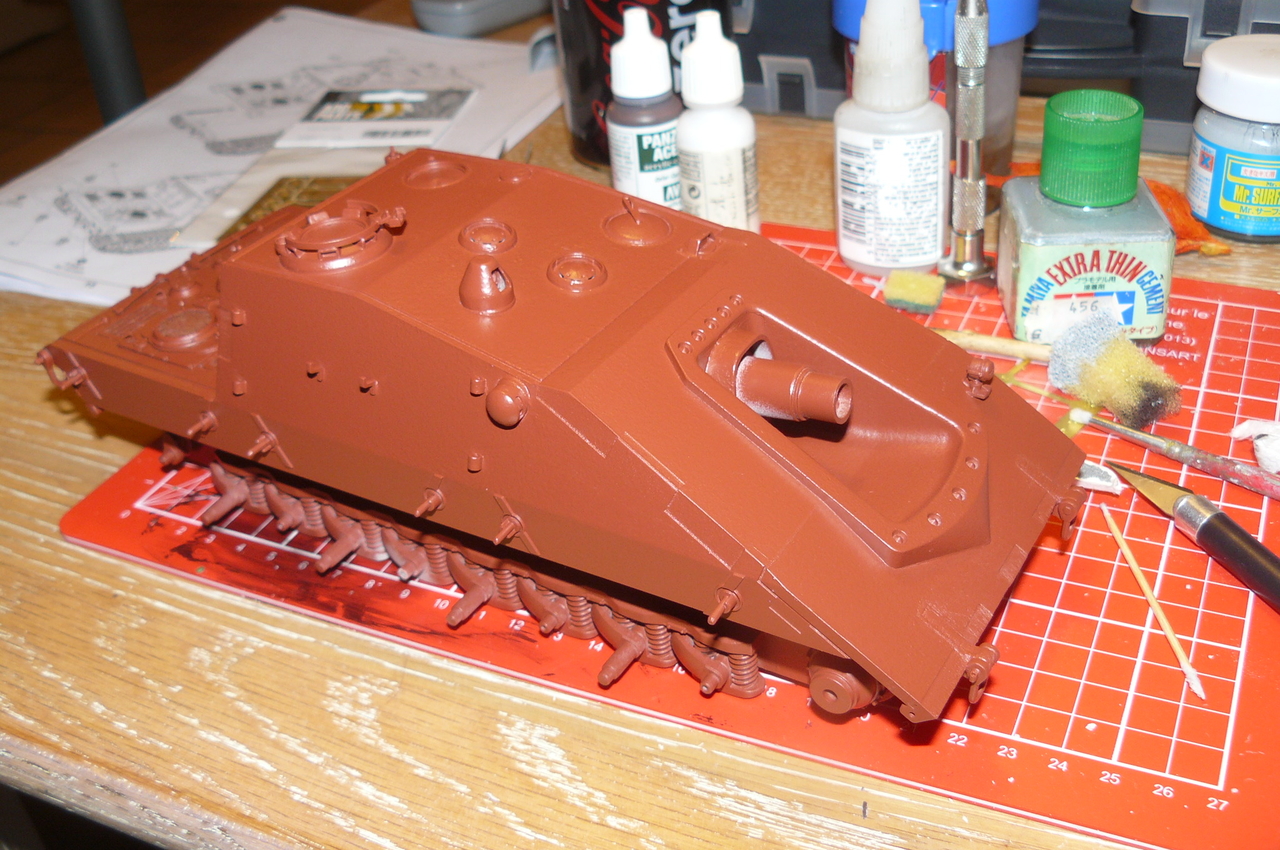
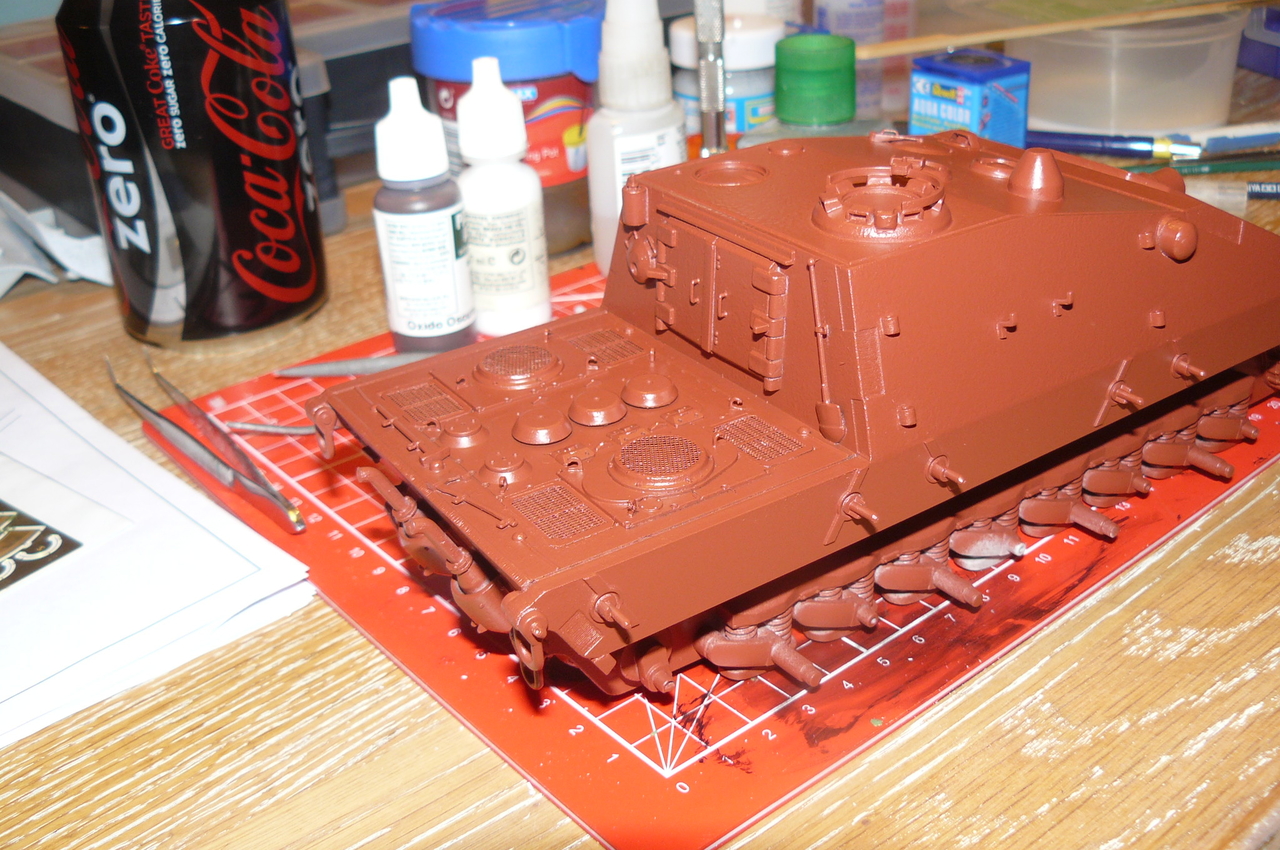
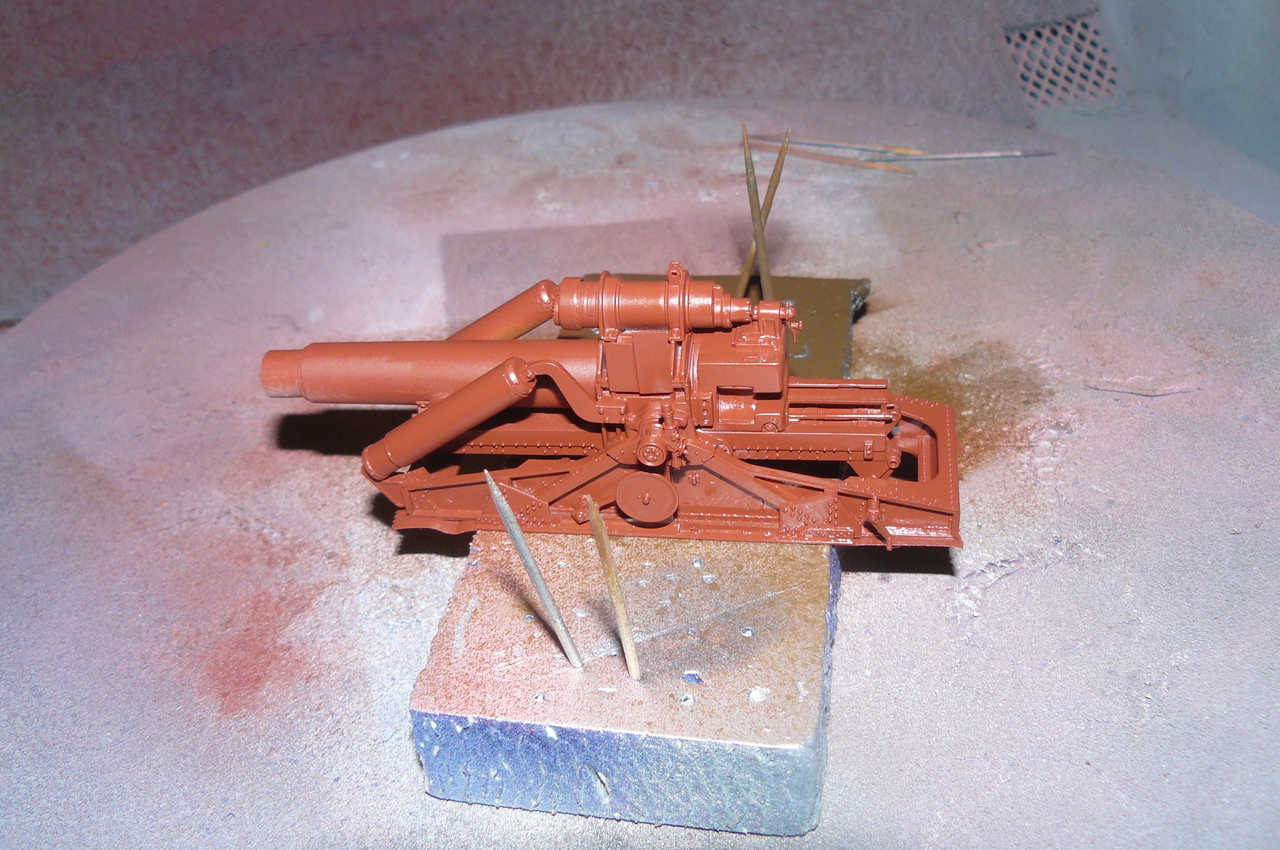
Gun Primed (not dry), will get a off-white colour soon
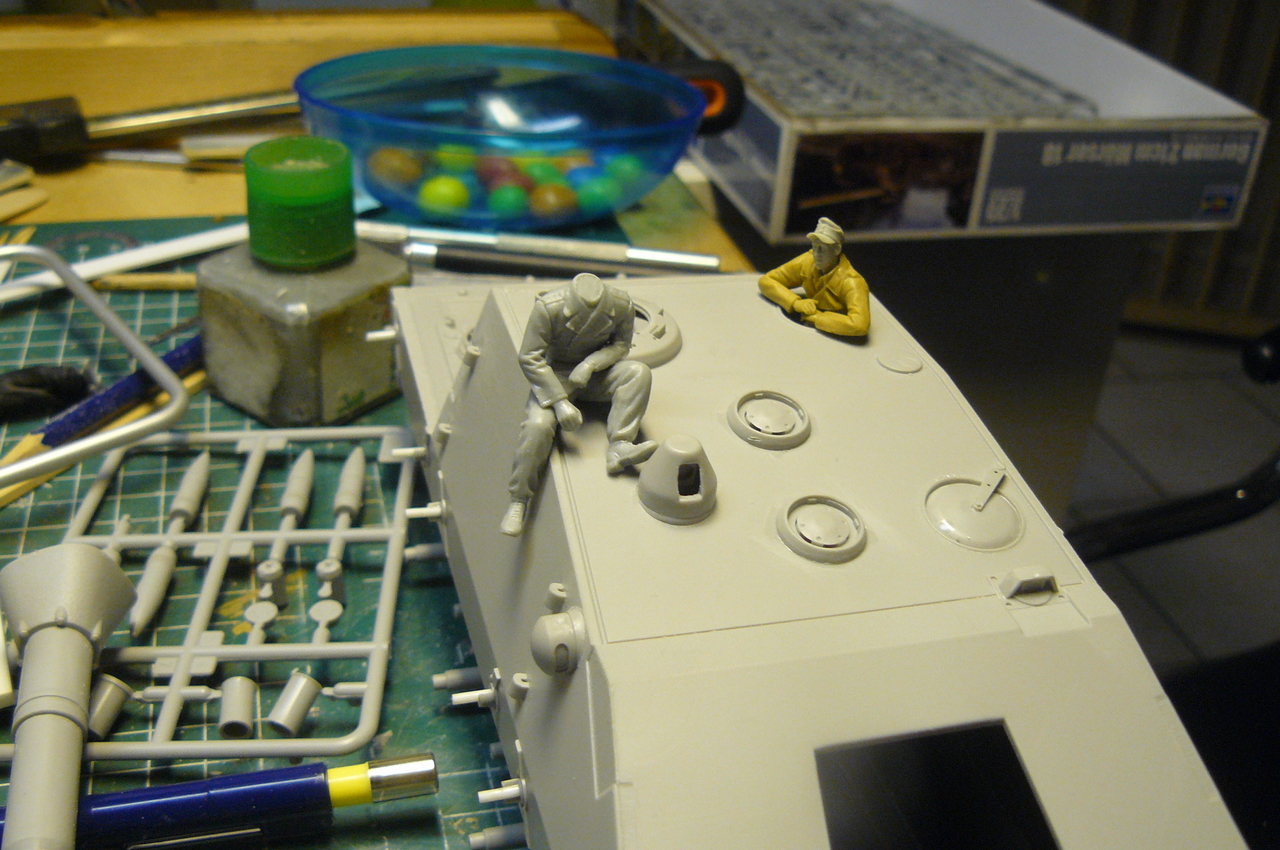
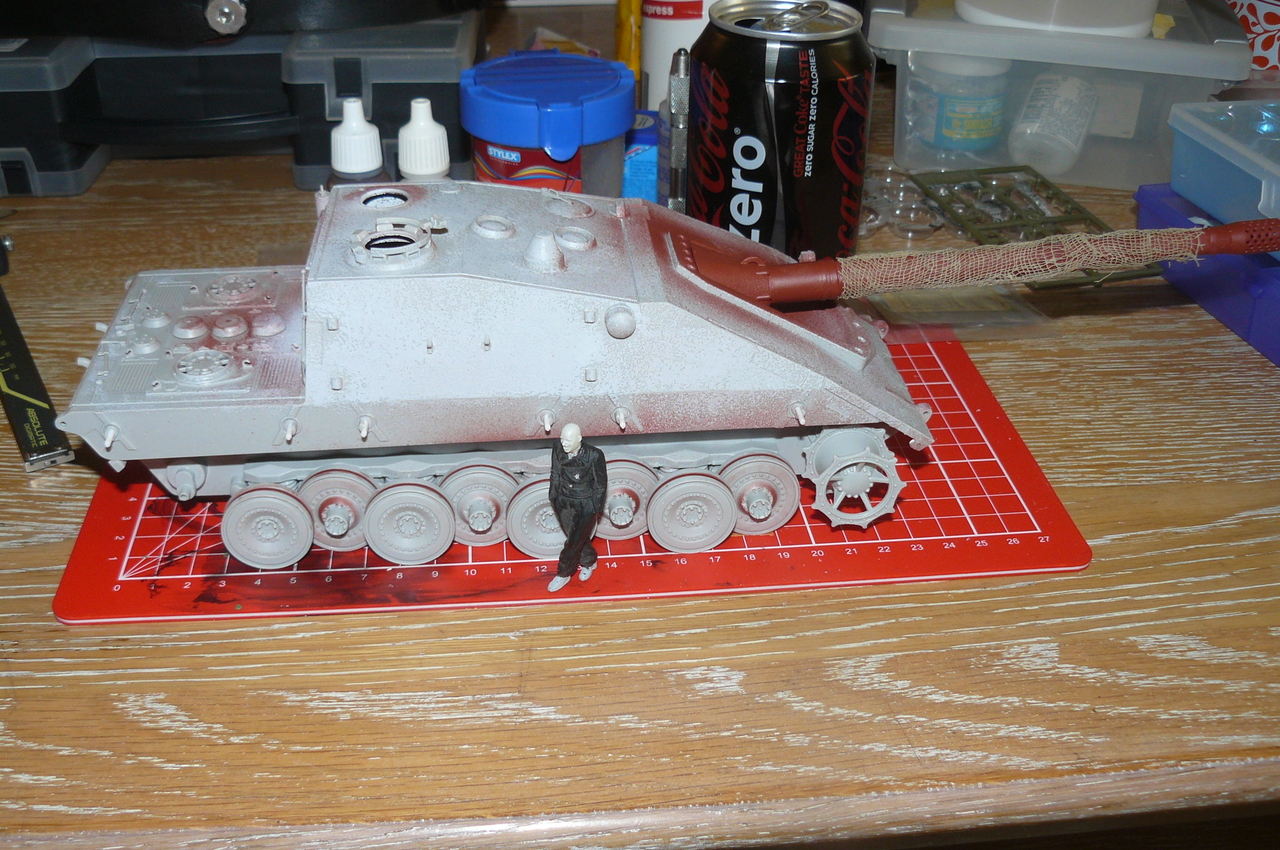
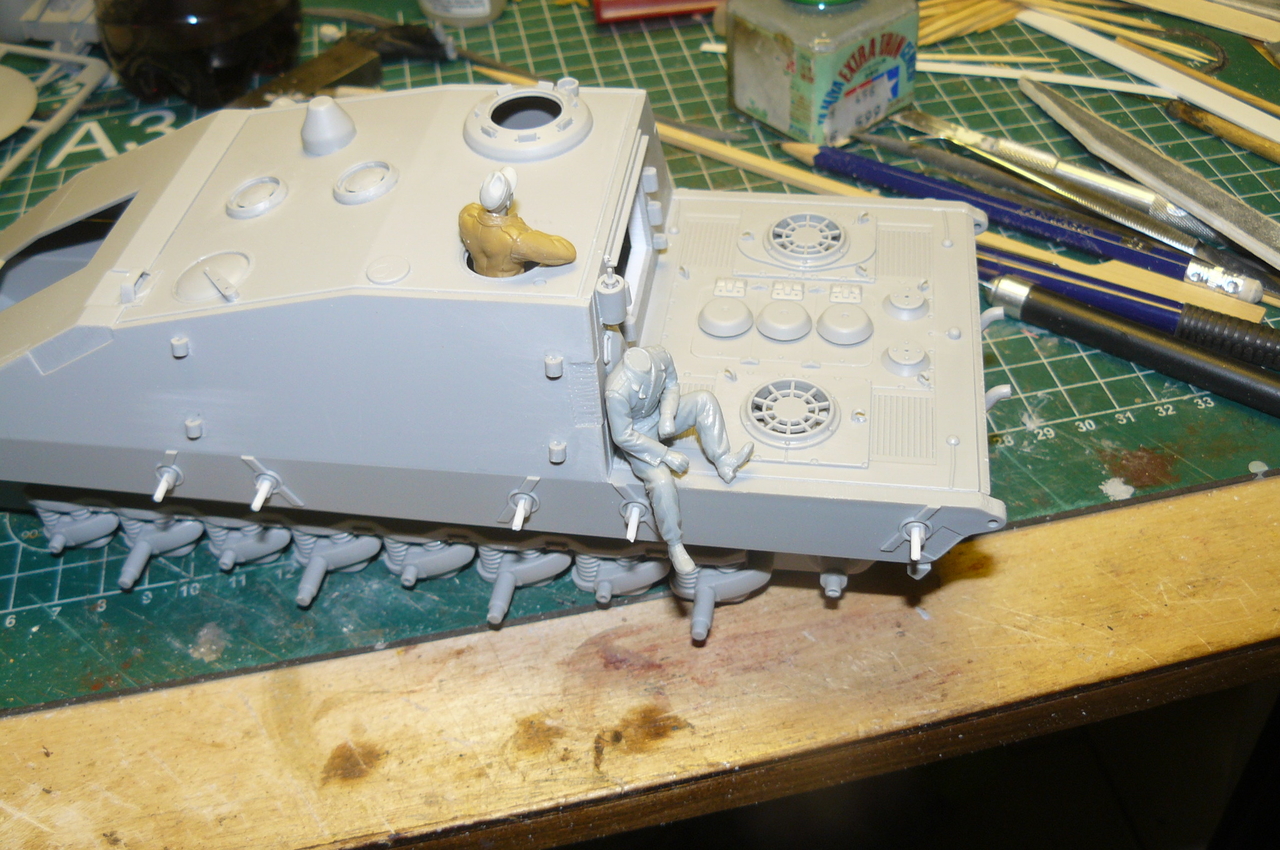
The crew is checking out their new ride
Ok back to the bench :coolio
//Mats
Trying tofigure out where to cut the barrel :hmmm
View from the backdoor
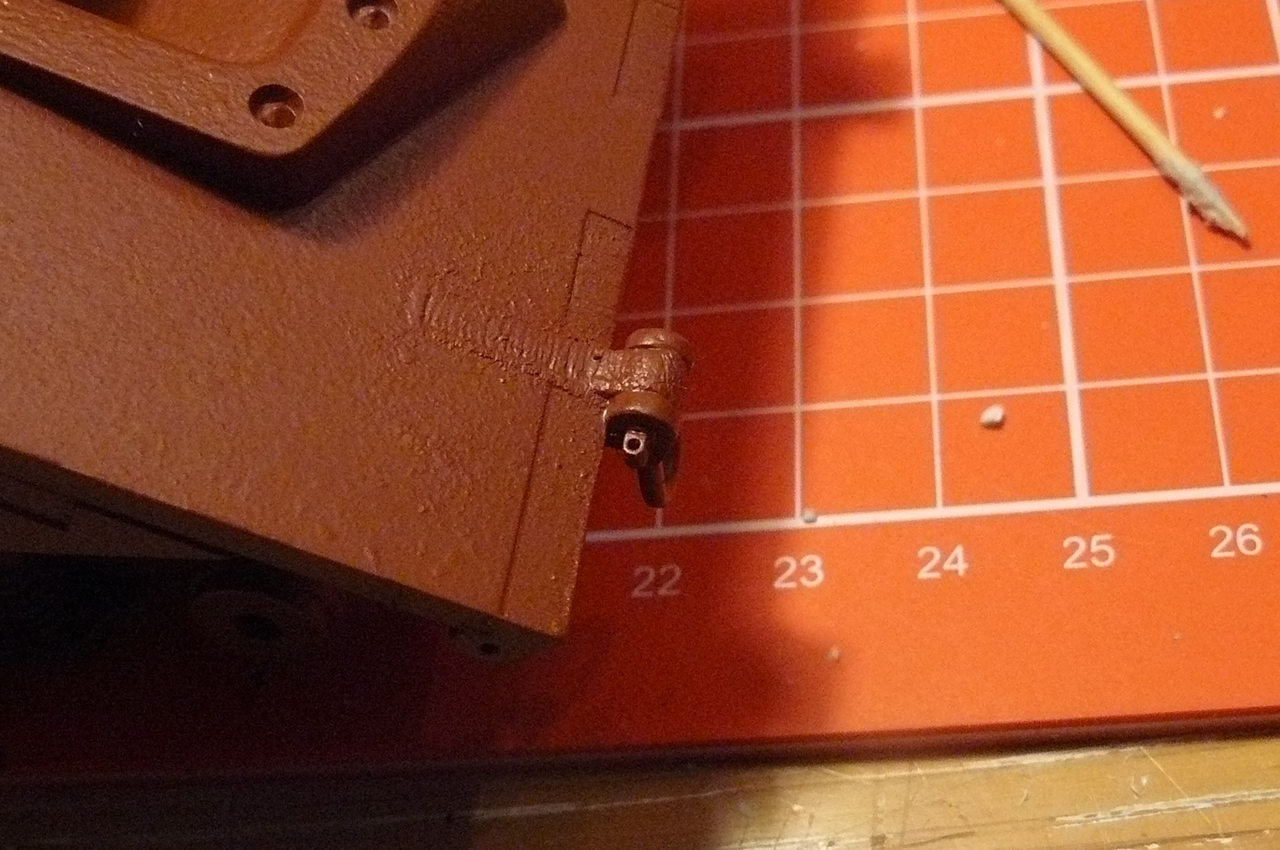
Opened up the hole in the mantlet to fit the new installation
Cutting...
How it is looking inside, will add some more bits to it
Gun Primed (not dry), will get a off-white colour soon
The crew is checking out their new ride
Ok back to the bench :coolio
//Mats