Next birthday project. A Japanese dio in 1/35th
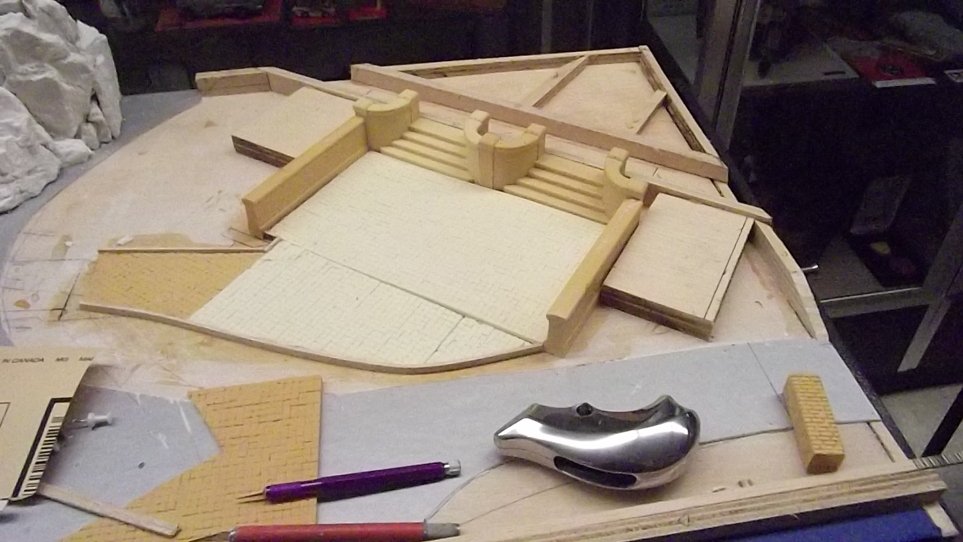
Got some more done today.
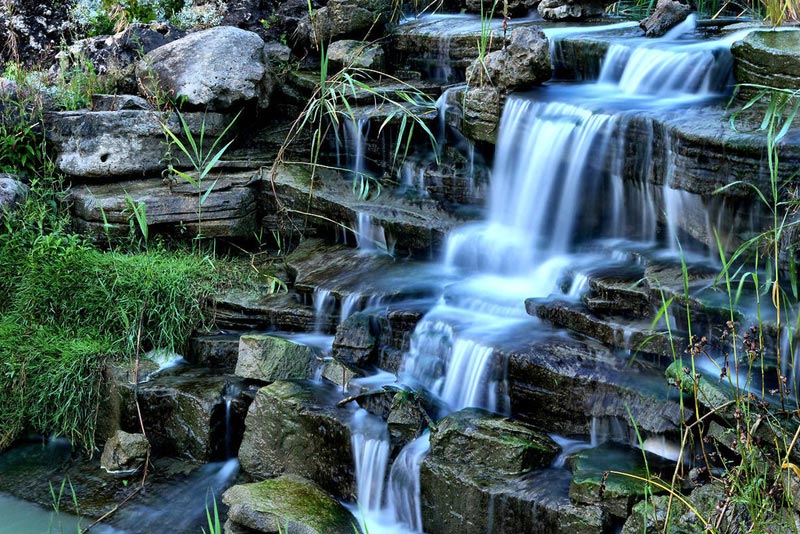
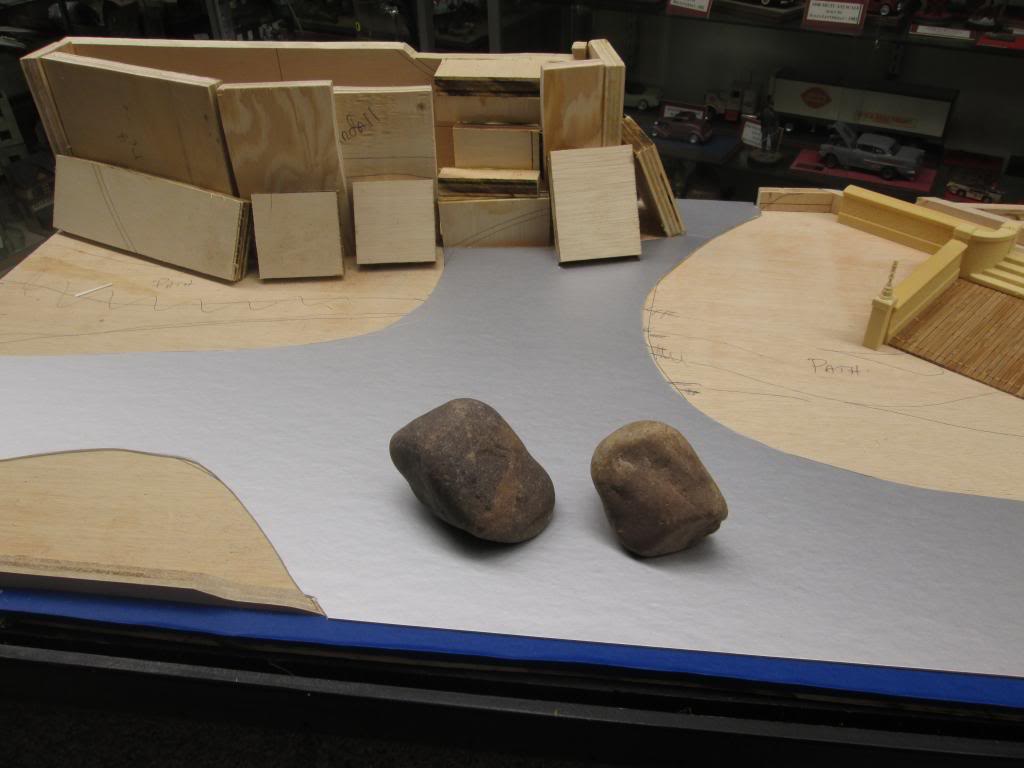
I have to have a perfectly flat and smooth area to make the water. I have always used matt board with a slick finish. The silver area will be the lake. I will use various colors, shades of green and brown to paint the water, then make the waterfall and cover with several coats of polyurethane gloss, as I did in other dioramas, See below.
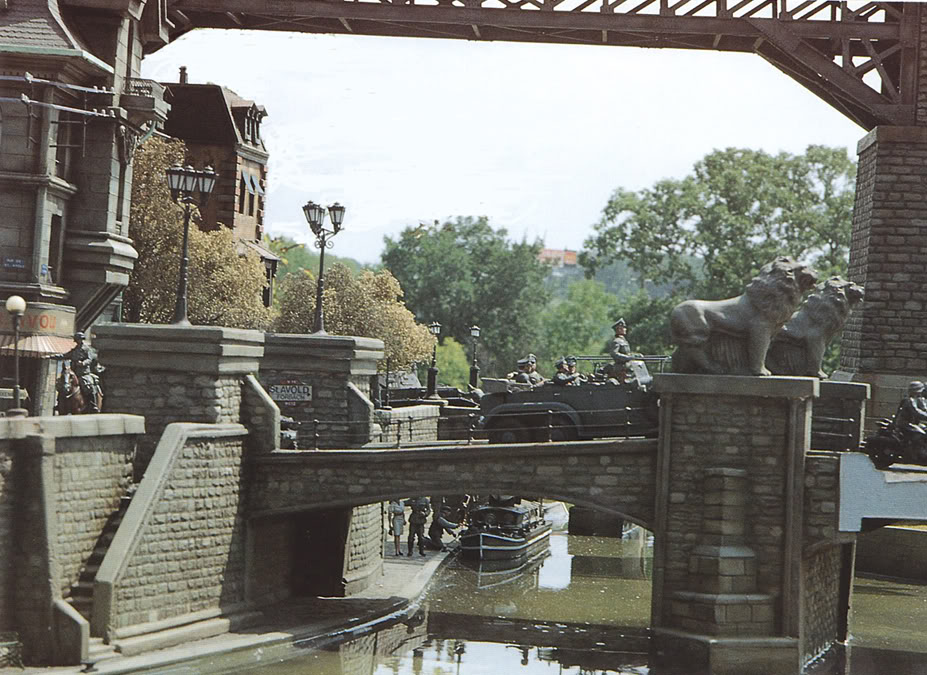
So, the silver mattboard will resemble the canal water in the above photo.
[
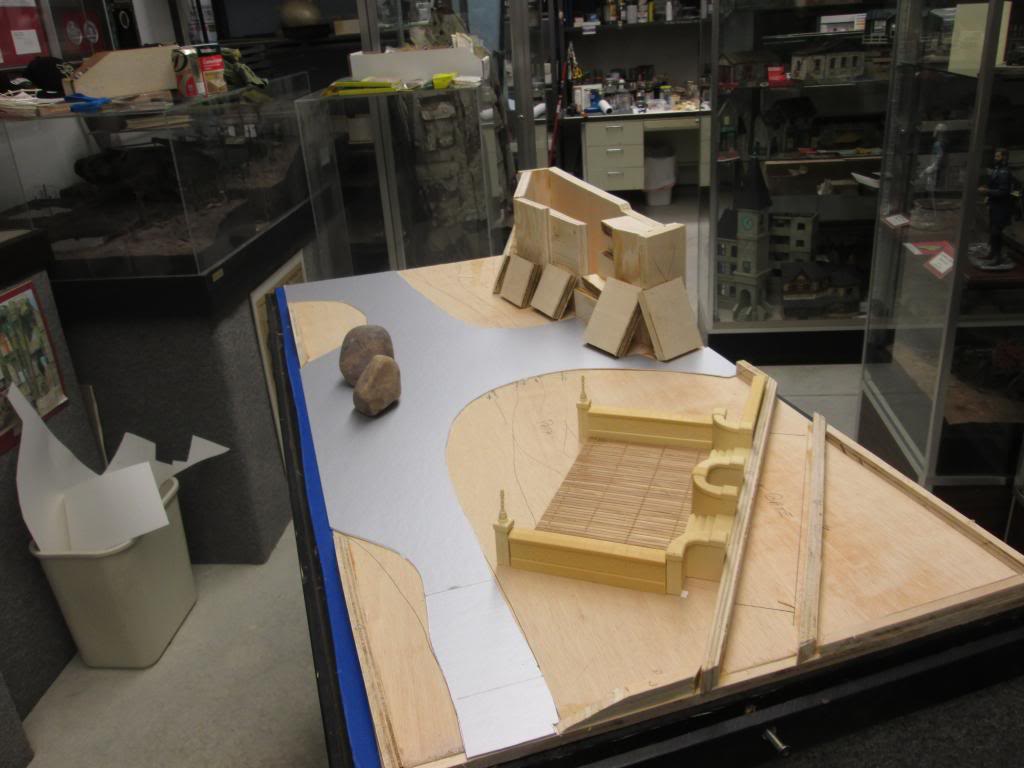
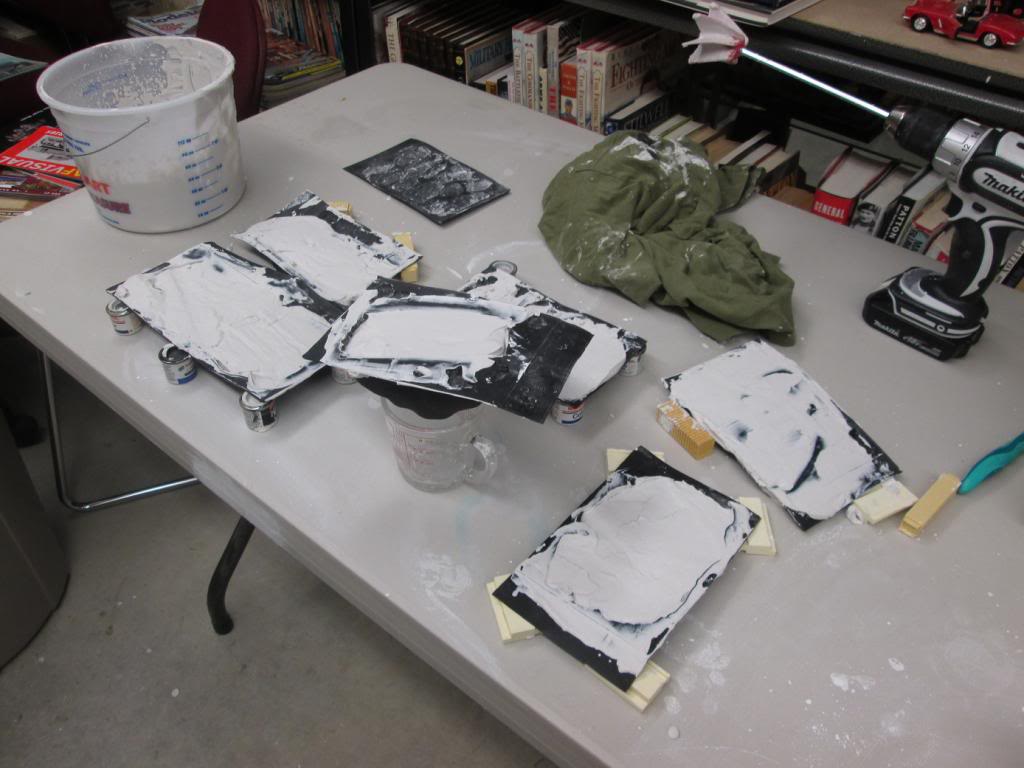
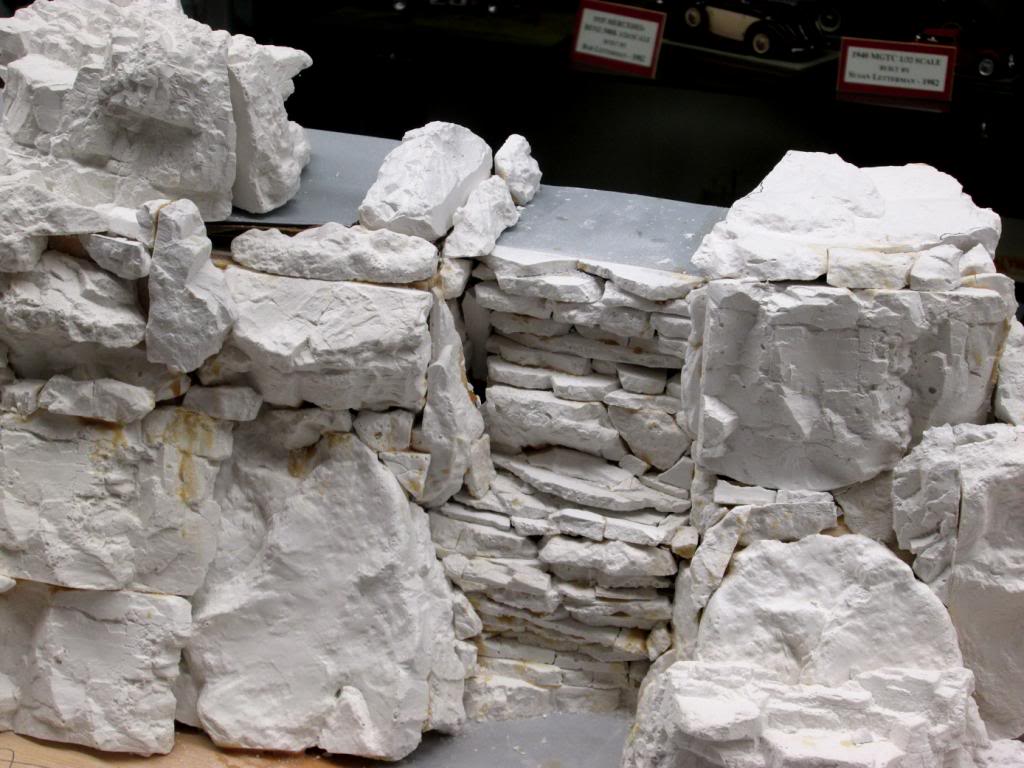
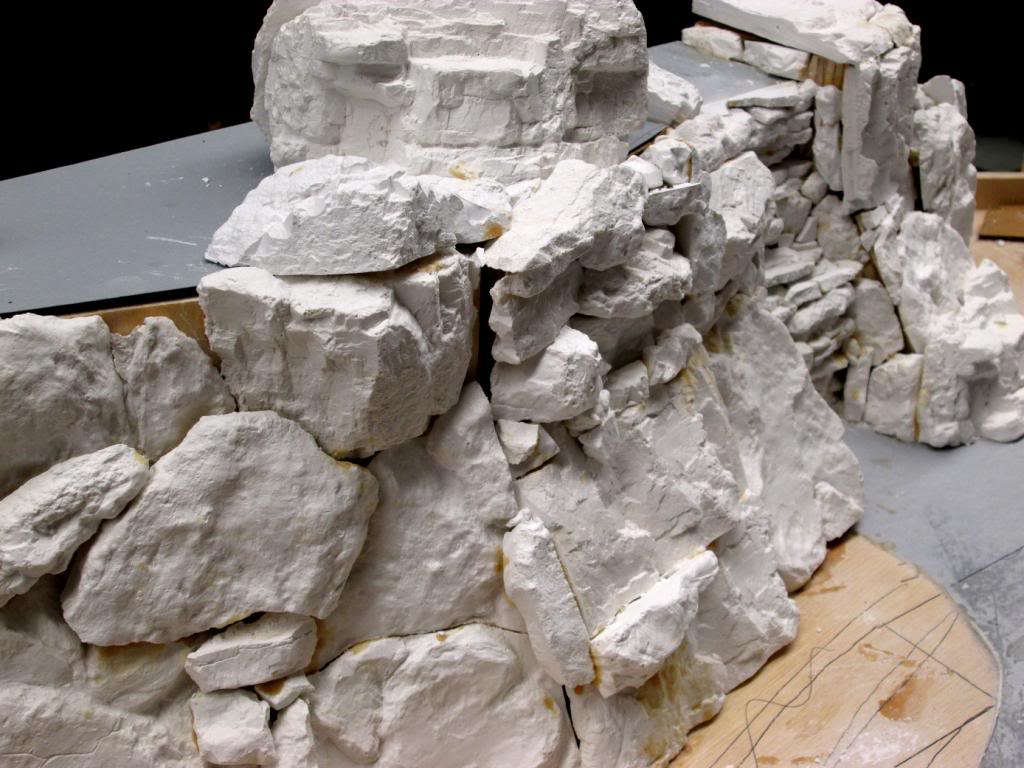
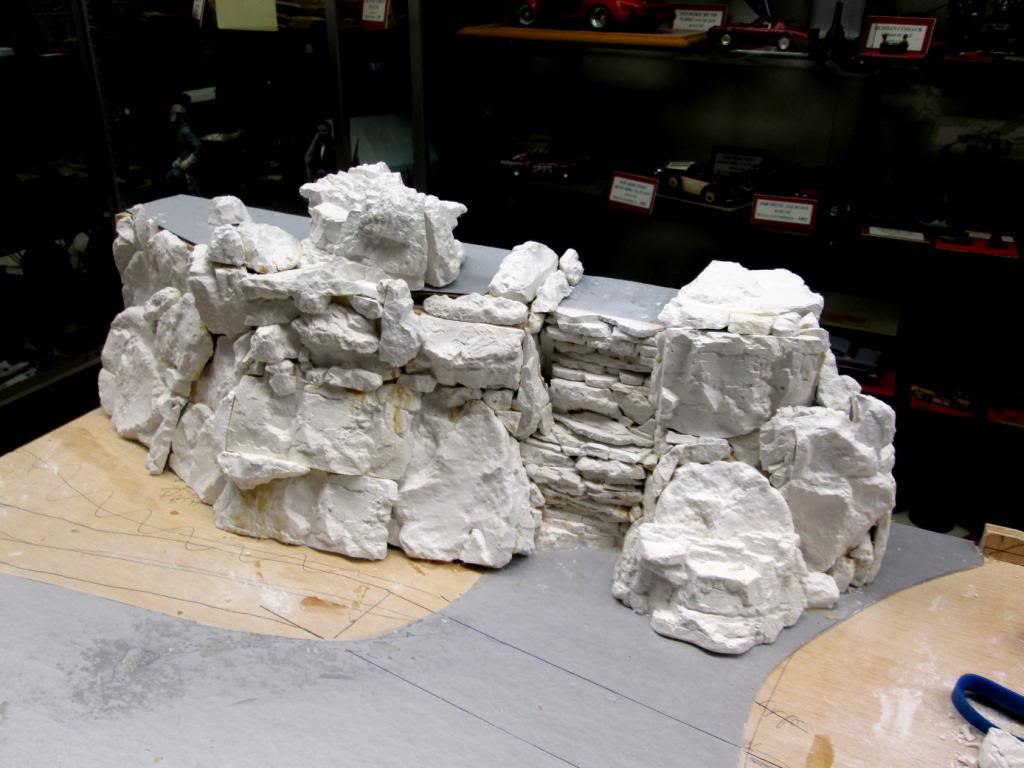
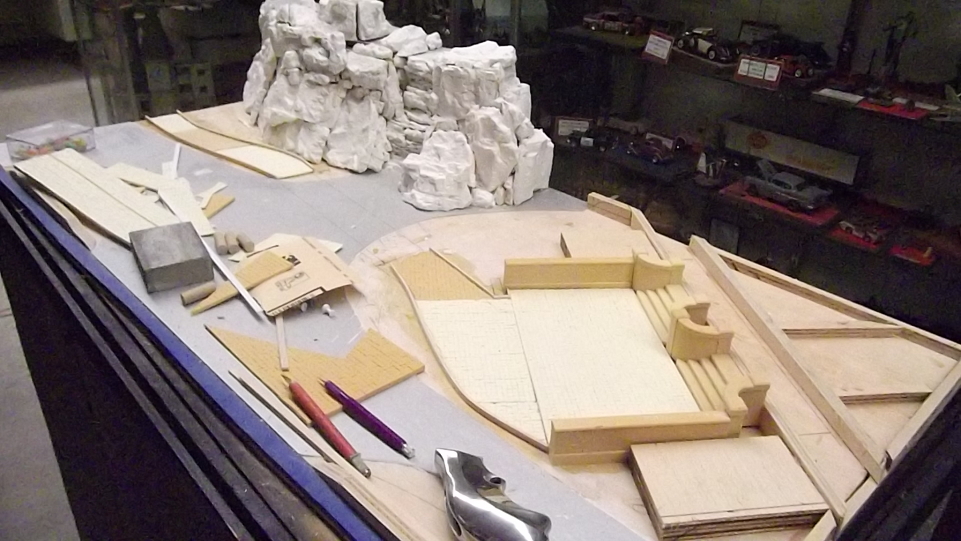
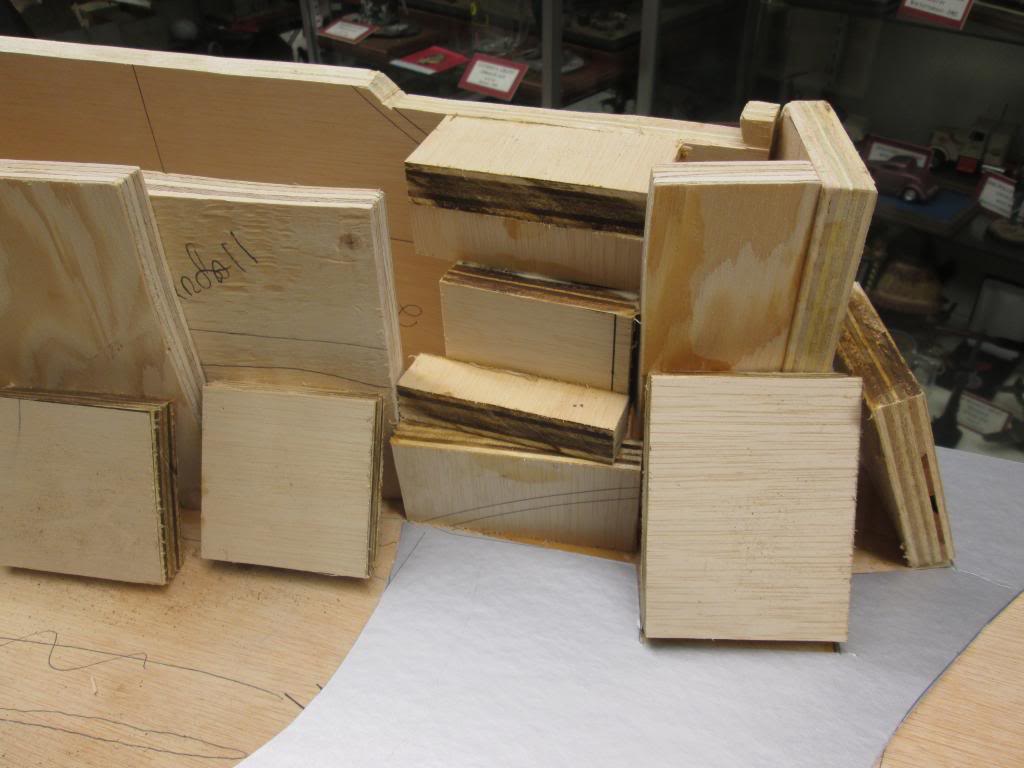
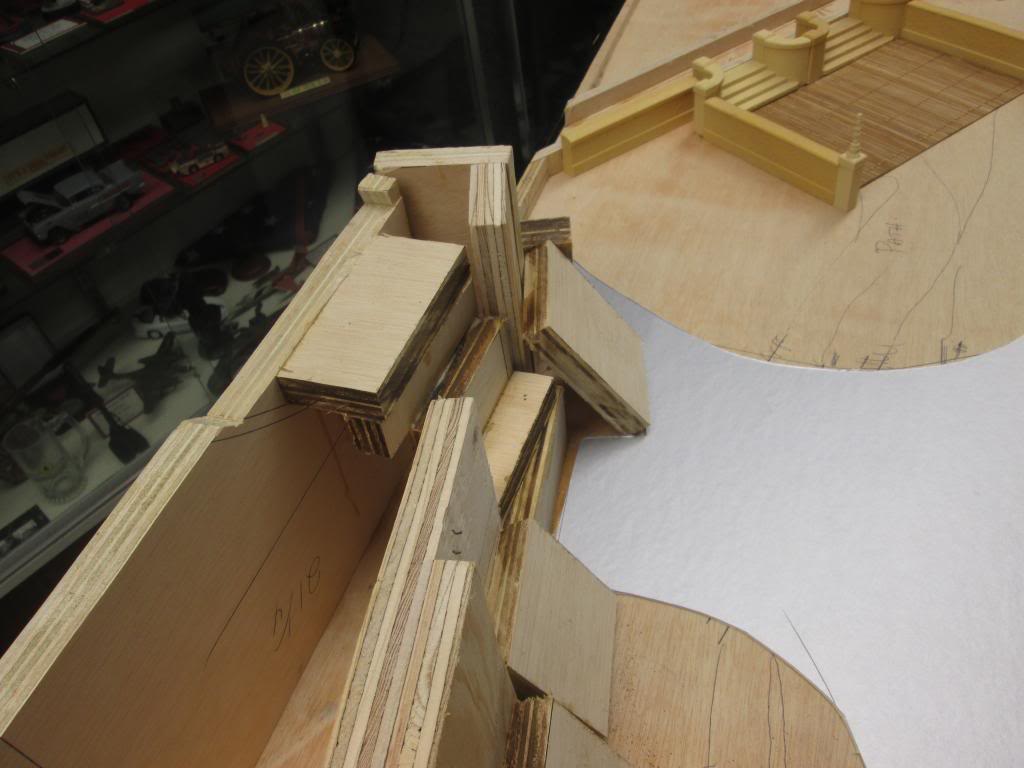
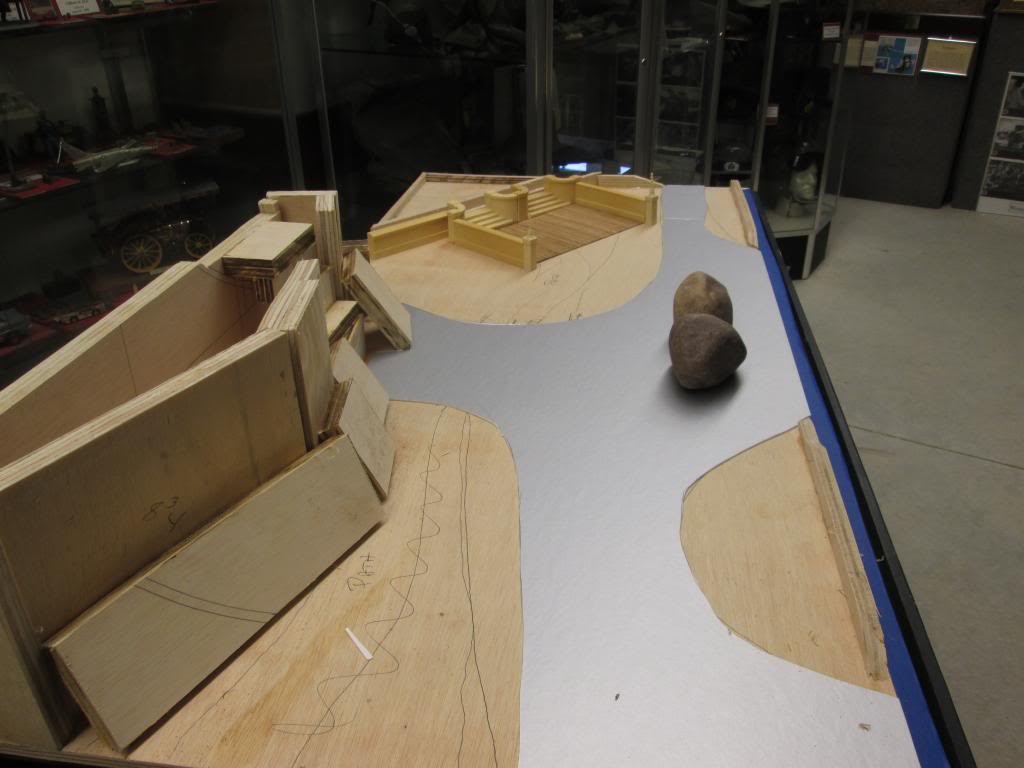
The plywood mish mash may not look good here, but it will be covered with plaster rocks as well as real ones. In and around thos rocks will be filled in with Cell-u-Clay and will simulate dirt collected over eons of time with various plants and trees growing out of them. I made a tier with the plywood that will become the waterfall. I will use clear epoxy resin laid out on wax paper, then I'll place it to conform to the tiers before it is completely cured. Then, I'll use Cell-u-Clay to make the foam at the bottom of each drop, then paint it a greenish white.

From the top.
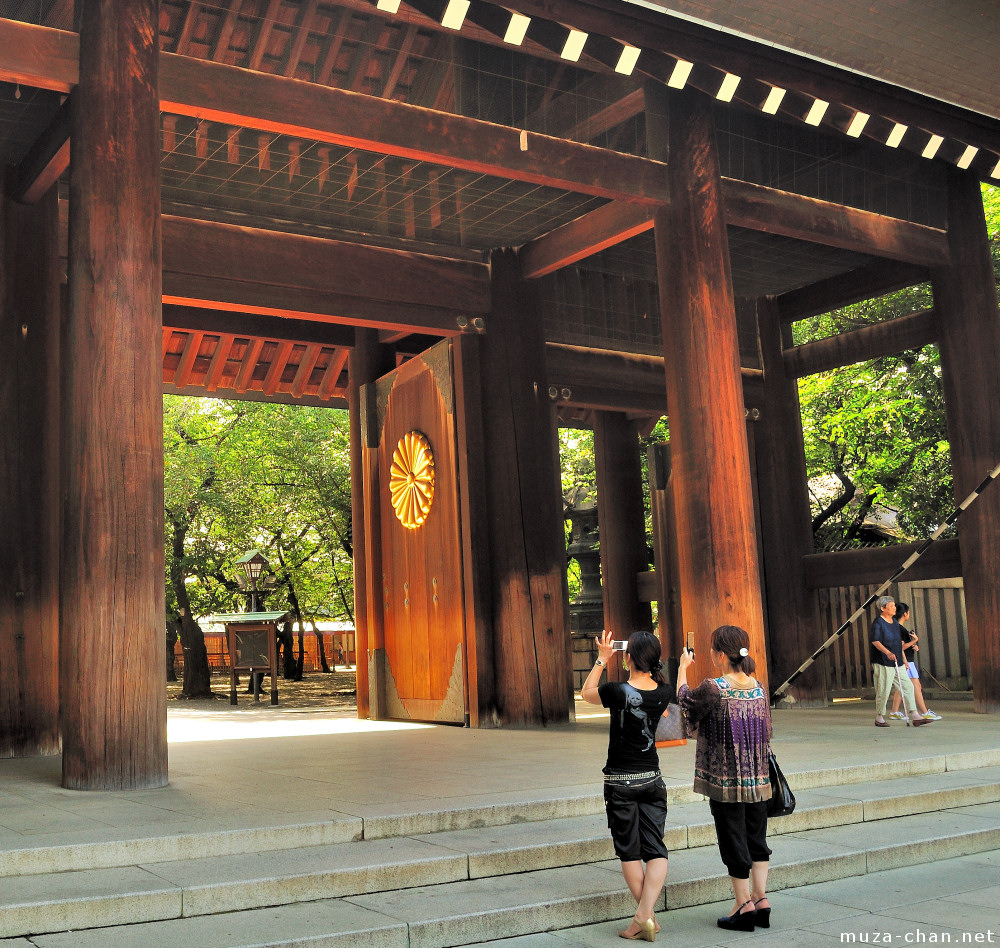
Next, there will be a massive Gate such as the one below. I won't make a replica, It will be my own design, but something similar.
[
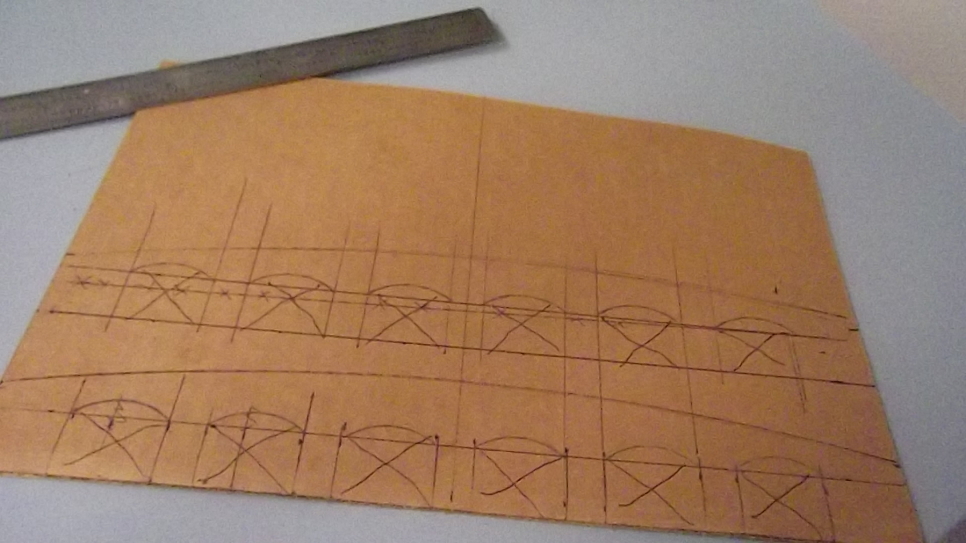
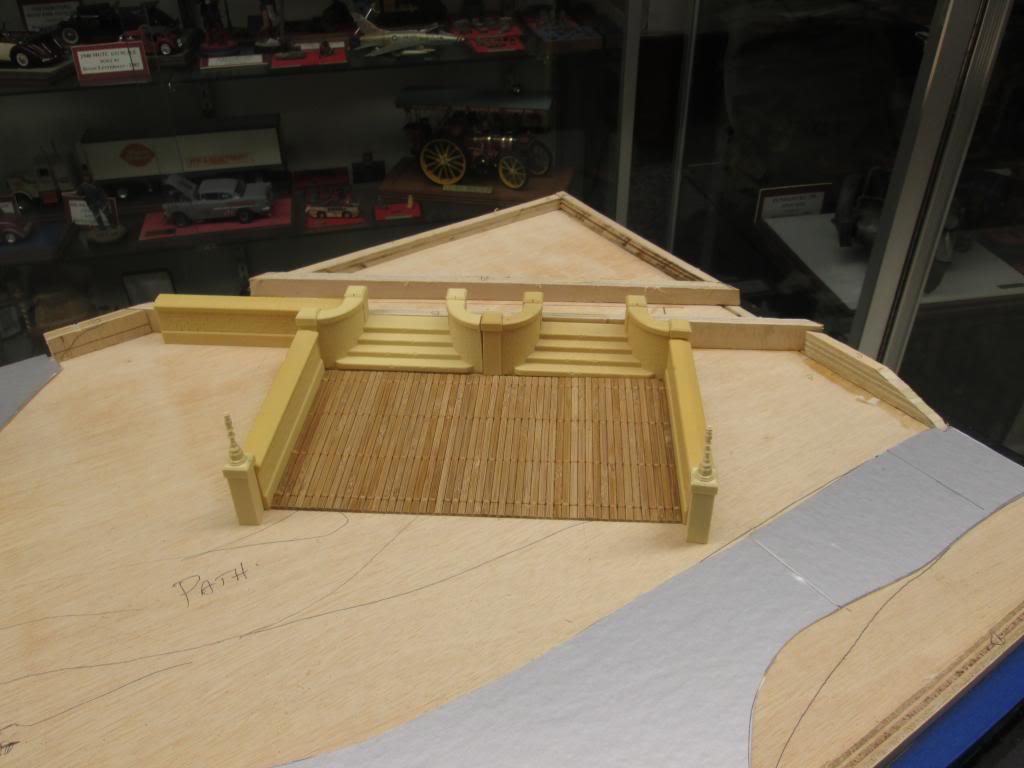
The Gate will have a court yard on either side, front and back. The front court yard will be made of some miniature bamboo. We used to have a medium sized box covered with this stuff and when Susan got tired of it and pitched it. I rescued it from the trash and pulled off all the bamboo. I know someday it would come in handy!
[
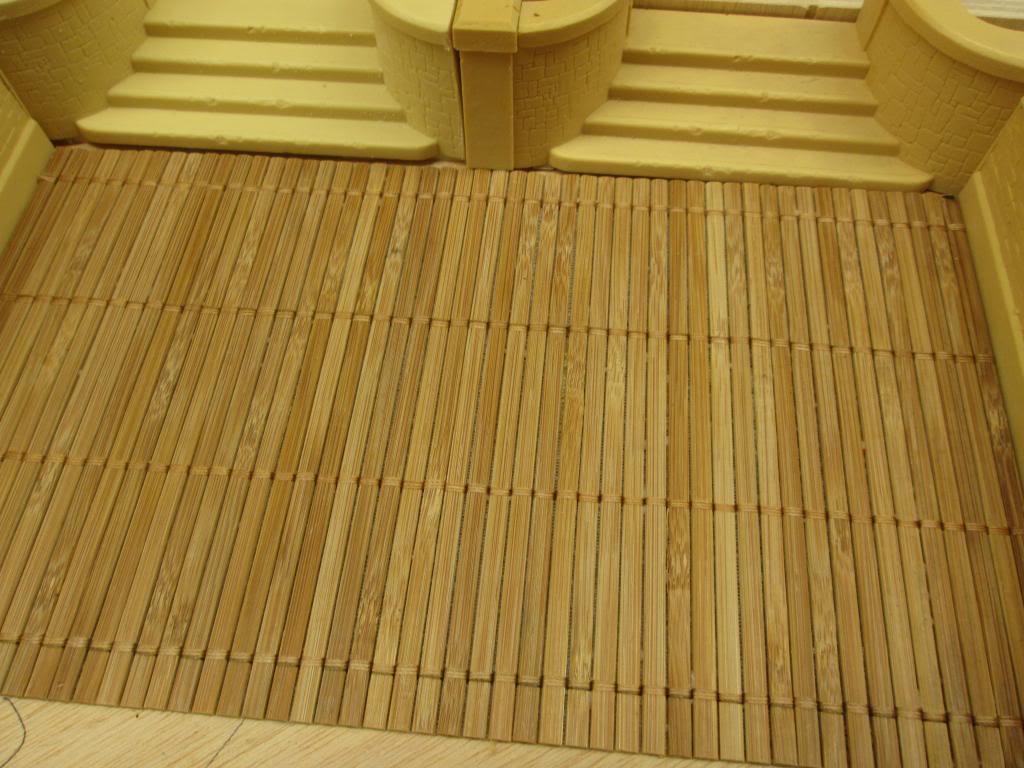
Closeup
The two front areas will be small islands in the lake. Mostly filled with trees and shrubs, the one on the left will also have a small pagoda.
There seems to be a custom to "Marry" twin rocks in Japan. I have seen several versions of this including one in the movie Sayonara. I'll give these the same treatment.

I'll use cell-u-Clay to shape them to a likeness of the above photo. Then, some heavy string can be made to simulate the heavy rope to "Tie the Knot".
I always like to have hidden things and meanings in my dioramas, so I did some research. It is common to have white vertical signs near the big gates, so I will have a Japanese sign with the following Japanese characters .


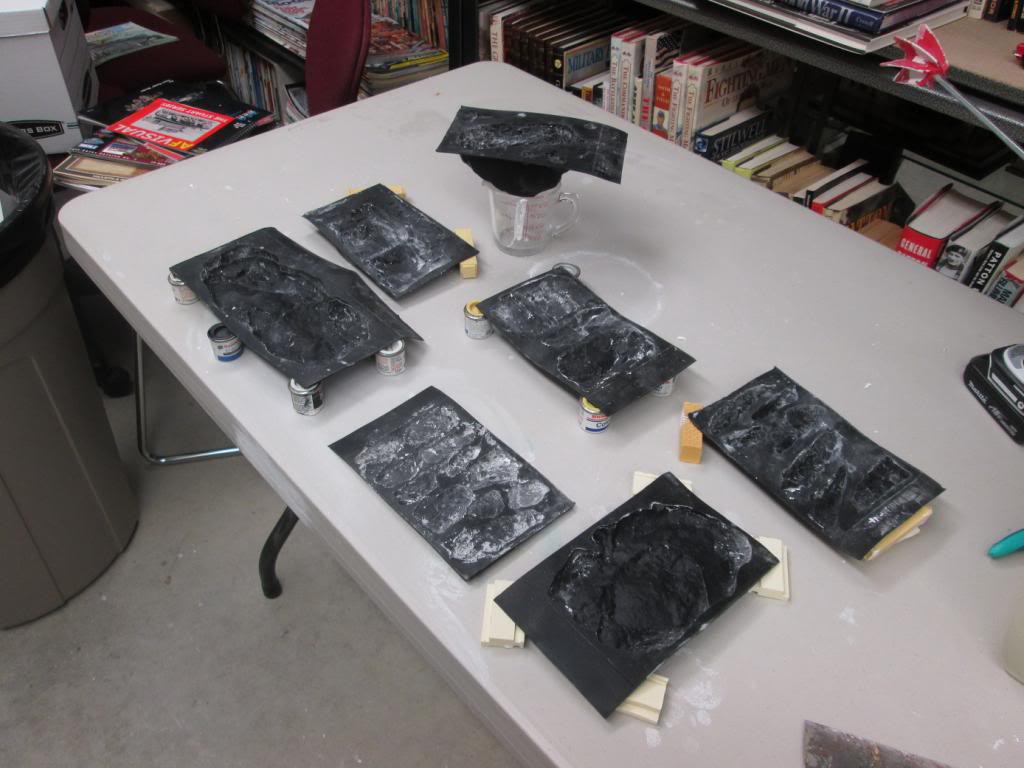
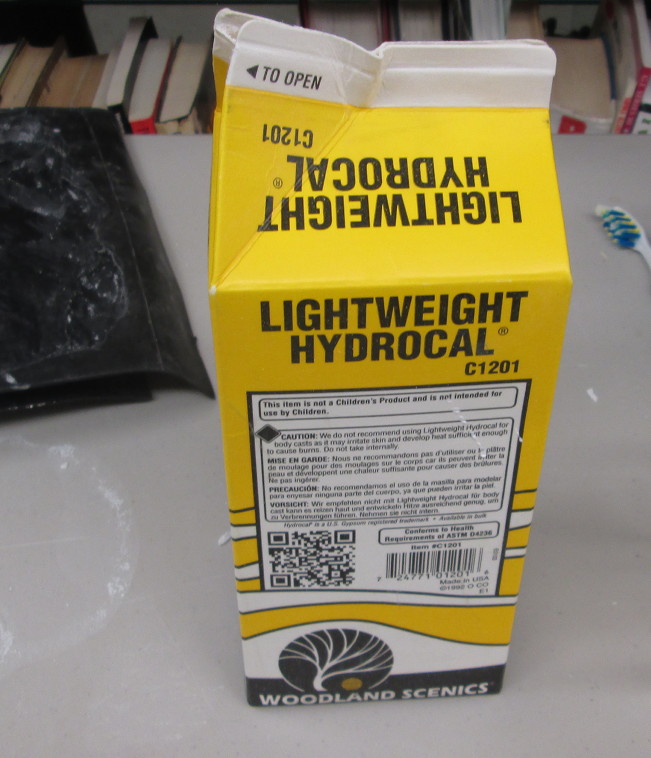
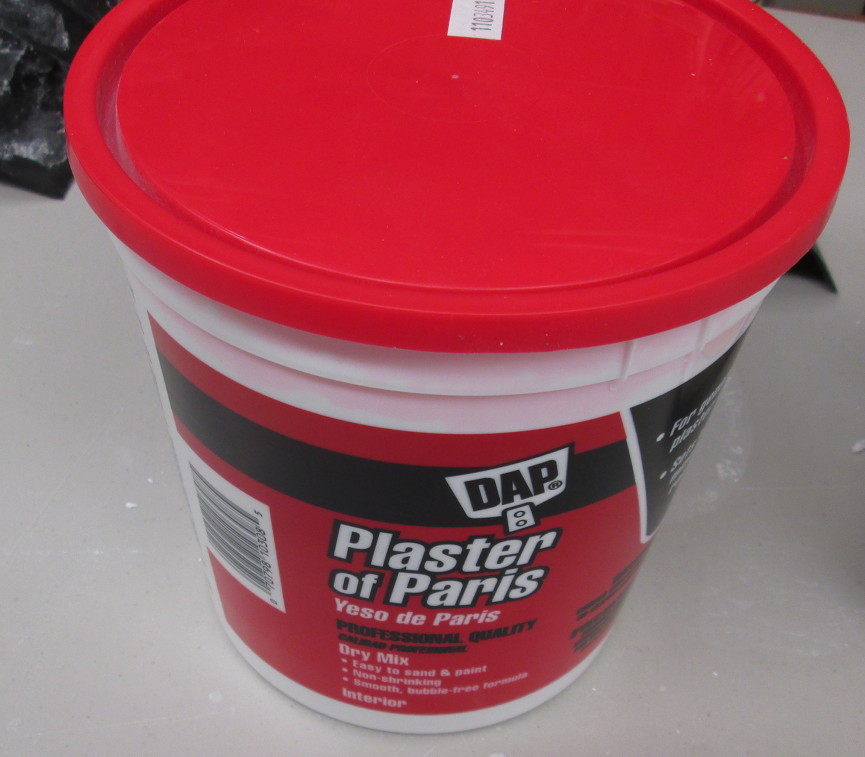
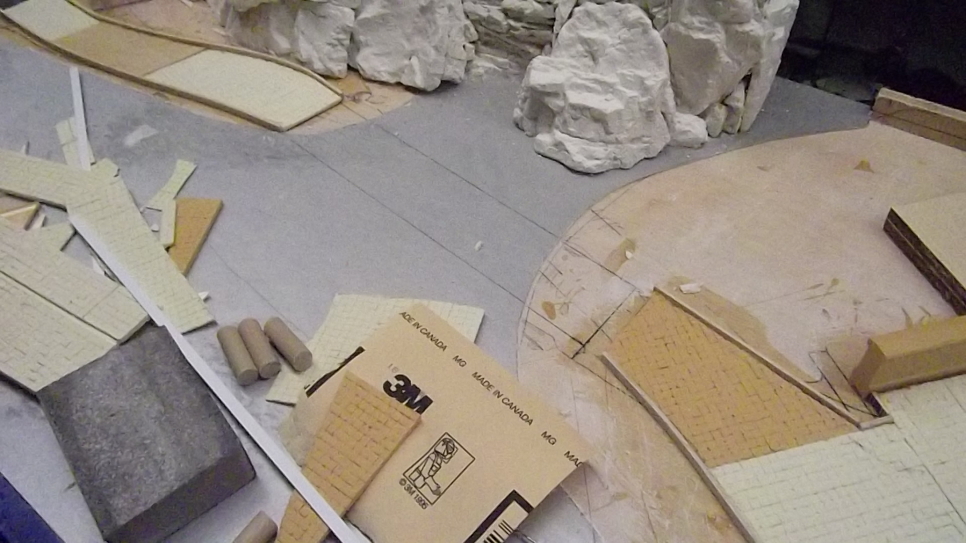
Next step, cast the rocks and dry them in the oven. Susan always appreciates it when I do things like that. Then I will search places with small rocks and stones and glue all of them in place.
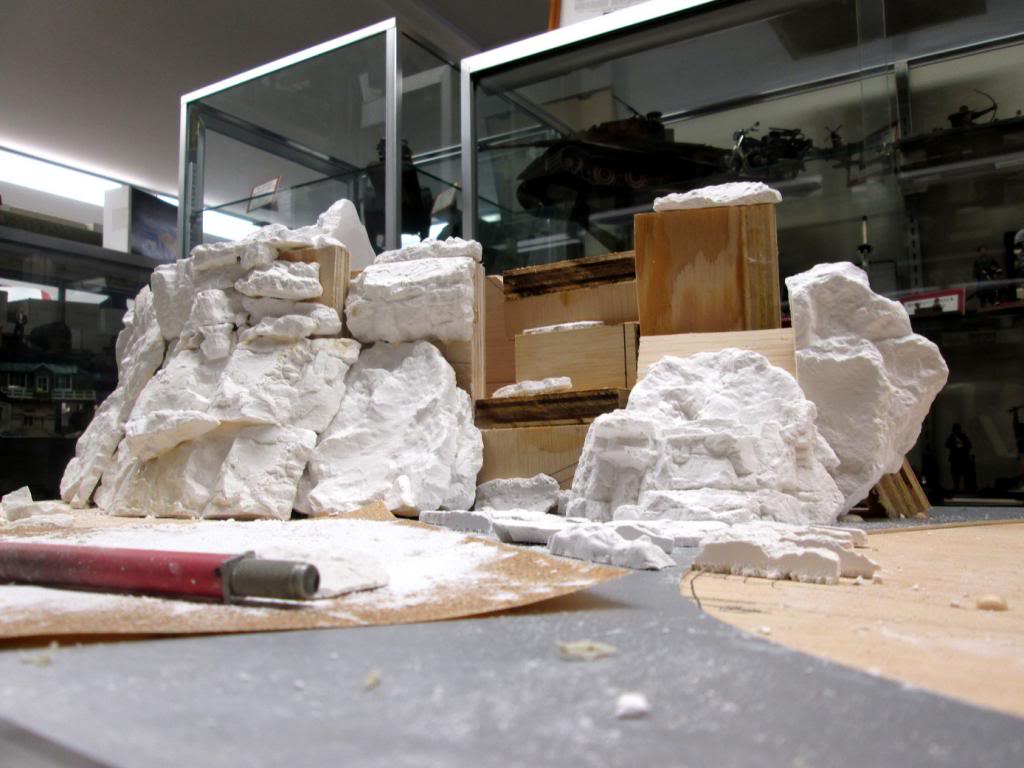
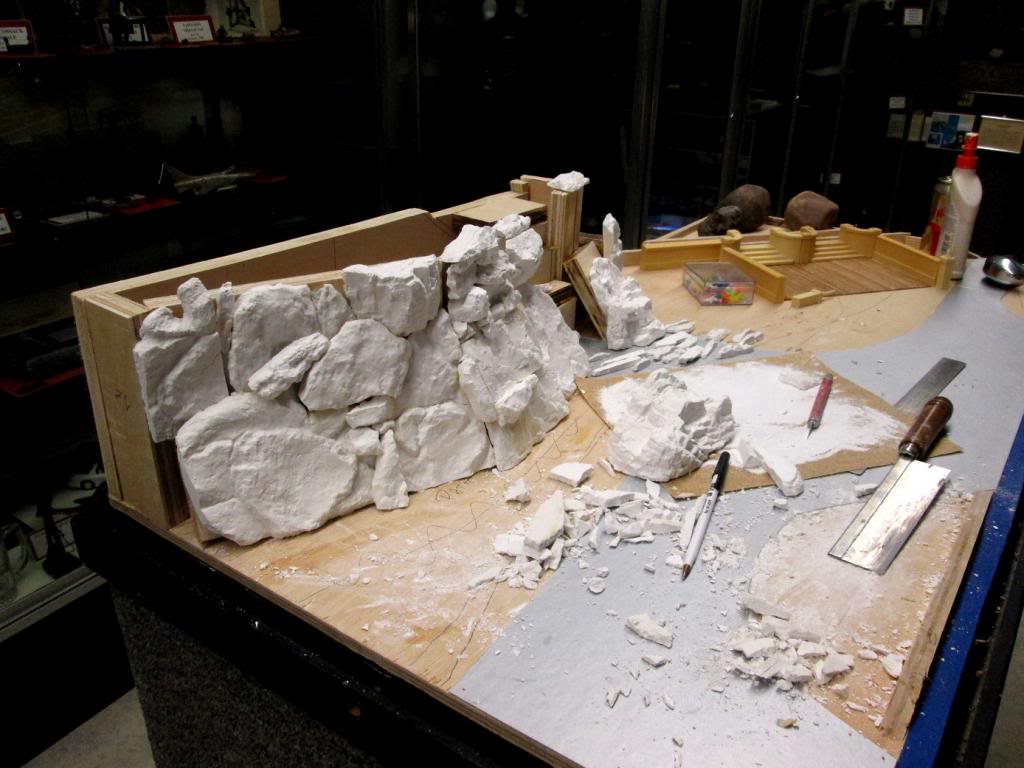
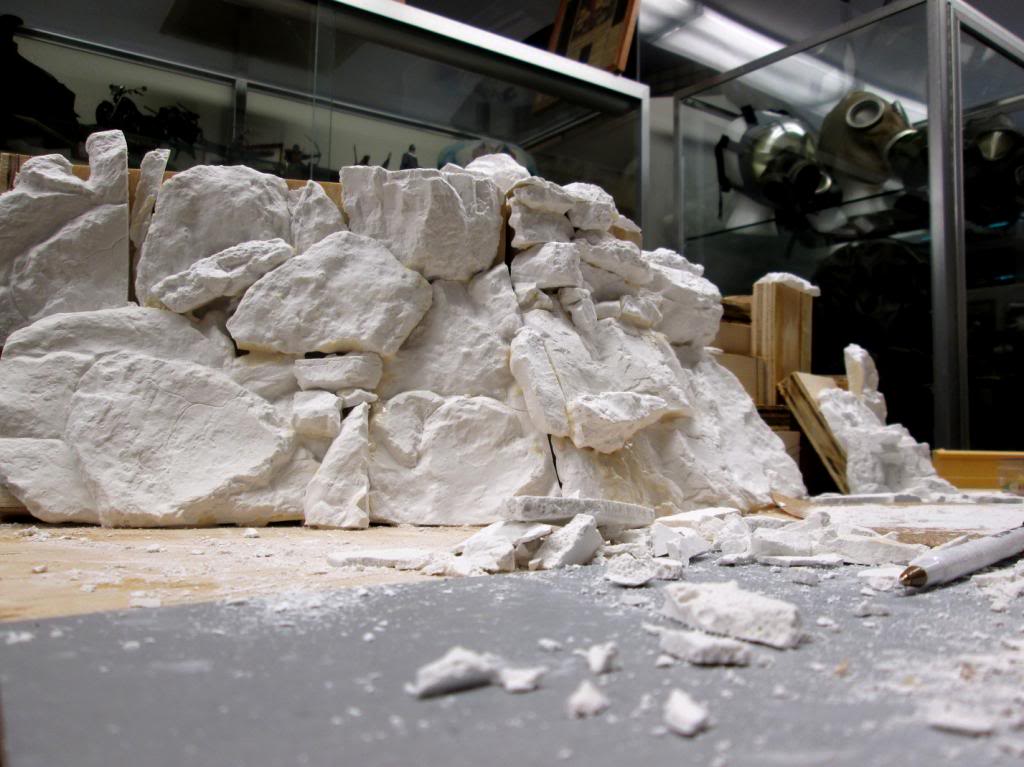
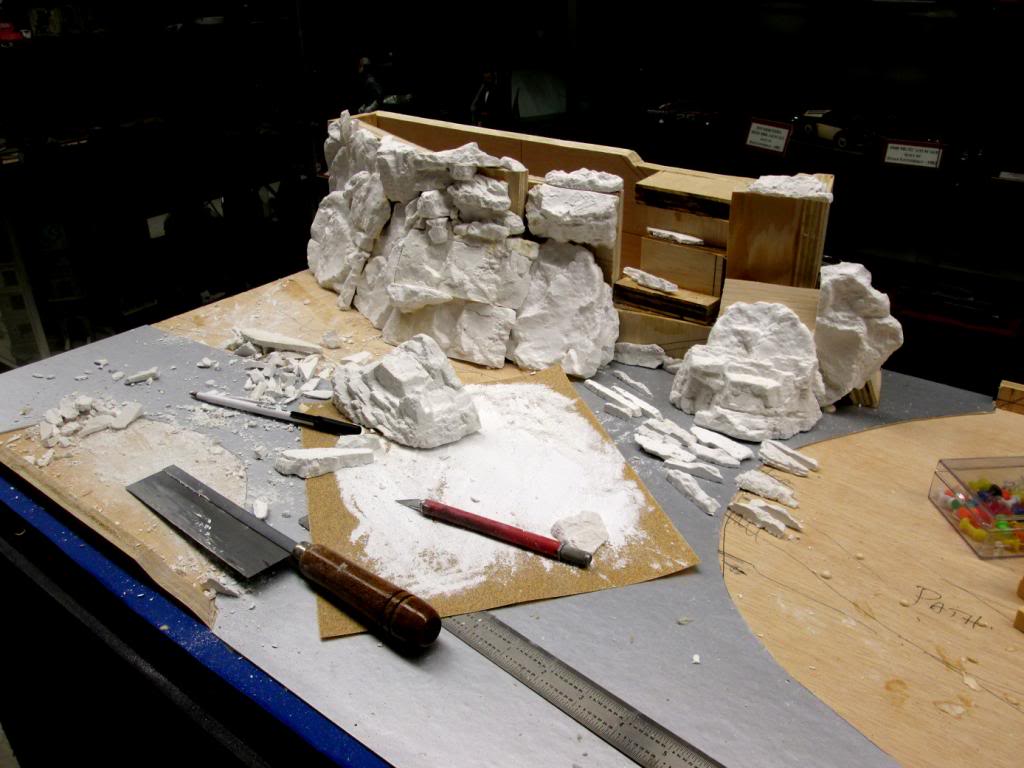
Got some more done today.
I have to have a perfectly flat and smooth area to make the water. I have always used matt board with a slick finish. The silver area will be the lake. I will use various colors, shades of green and brown to paint the water, then make the waterfall and cover with several coats of polyurethane gloss, as I did in other dioramas, See below.
So, the silver mattboard will resemble the canal water in the above photo.
[
The plywood mish mash may not look good here, but it will be covered with plaster rocks as well as real ones. In and around thos rocks will be filled in with Cell-u-Clay and will simulate dirt collected over eons of time with various plants and trees growing out of them. I made a tier with the plywood that will become the waterfall. I will use clear epoxy resin laid out on wax paper, then I'll place it to conform to the tiers before it is completely cured. Then, I'll use Cell-u-Clay to make the foam at the bottom of each drop, then paint it a greenish white.
From the top.
Next, there will be a massive Gate such as the one below. I won't make a replica, It will be my own design, but something similar.
[
The Gate will have a court yard on either side, front and back. The front court yard will be made of some miniature bamboo. We used to have a medium sized box covered with this stuff and when Susan got tired of it and pitched it. I rescued it from the trash and pulled off all the bamboo. I know someday it would come in handy!
[
Closeup
The two front areas will be small islands in the lake. Mostly filled with trees and shrubs, the one on the left will also have a small pagoda.
There seems to be a custom to "Marry" twin rocks in Japan. I have seen several versions of this including one in the movie Sayonara. I'll give these the same treatment.
I'll use cell-u-Clay to shape them to a likeness of the above photo. Then, some heavy string can be made to simulate the heavy rope to "Tie the Knot".
I always like to have hidden things and meanings in my dioramas, so I did some research. It is common to have white vertical signs near the big gates, so I will have a Japanese sign with the following Japanese characters .
Next step, cast the rocks and dry them in the oven. Susan always appreciates it when I do things like that. Then I will search places with small rocks and stones and glue all of them in place.