• Modelers Alliance has updated the forum software on our website. We have migrated all post, content and user accounts but we could not migrate the passwords.
    This requires that you manually reset your password.
    Please click here, http://modelersalliance.org/forums/login to go to logon page and use the "Forgot your Password" option.

Revell 1/32 P-51B Mustang for my Dad

IMG_6599.JPG

Spent shell casing ports, drilled, (not my finger this time) shaped, and shaded. I'm unsure whether I'll open the port for the belt links to fall out of. They don't show so much on other Mustang models. :idonno
IMG_6600.JPG

IMG_6601.JPG

It's not easy being Green. You blend in with so many other things.......................
 
Way to go Chris (y)

I think that most of us who use those bits have had some finger issues at one time or another . We just tend to be modest about it though :(

Cheers, Christian B)
 
Thanks Guys!! I rebuilt the seat pan with stretched sprue to give it that bucket look. The lower console I built to put more cool Eduard p/e parts. The belts are gonna be neat, but they're intended for use with the 1/32 Dragon D Model, so I'll bit them to the Ancient Revell B Model kit. :smack
 
IMG_6611.JPG

I cut the dog-snot out of my nice harness to get it to fit the old Seat. :facepalm I'm truly not good with P/E, but it will be visible. :idonno I weathered the seat and frame a bit more.
IMG_6612.JPG

I paused for C/A curing (and to work the cramp out of my hand) these look a mess at this point. Perhaps a big pile of seat belts actually did look unruly. I'll be glad to get back to my 1/72 scale decal belts! :bang head 
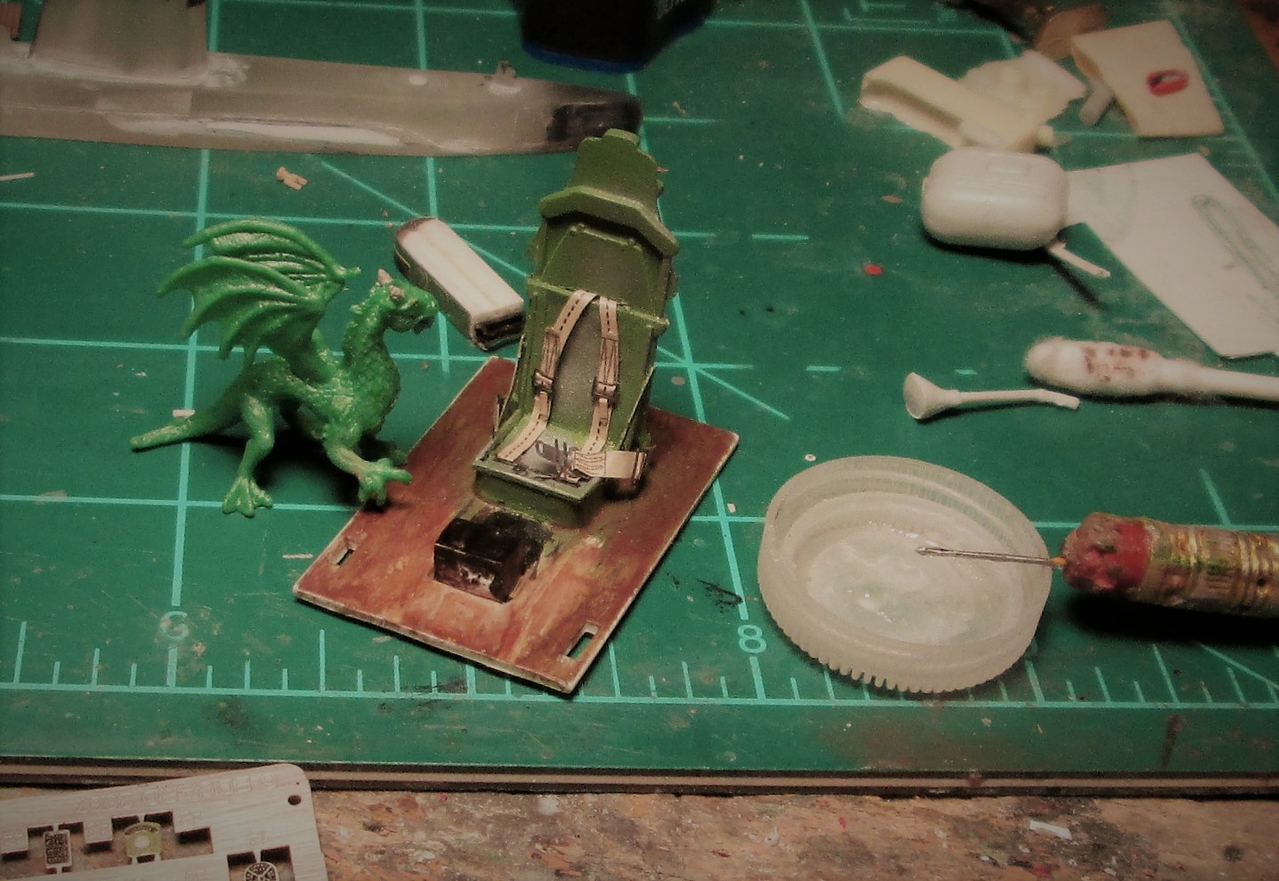
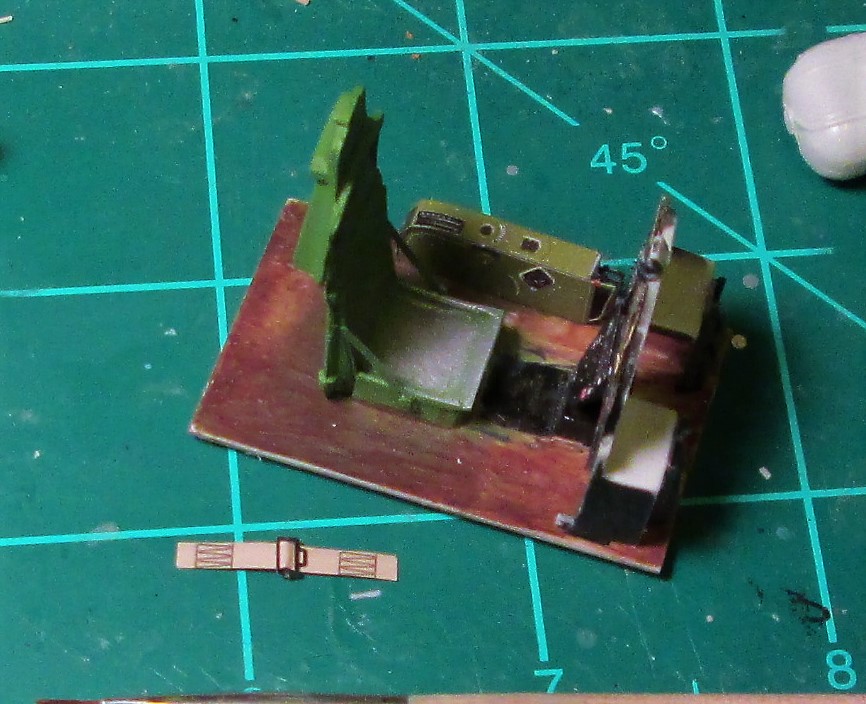
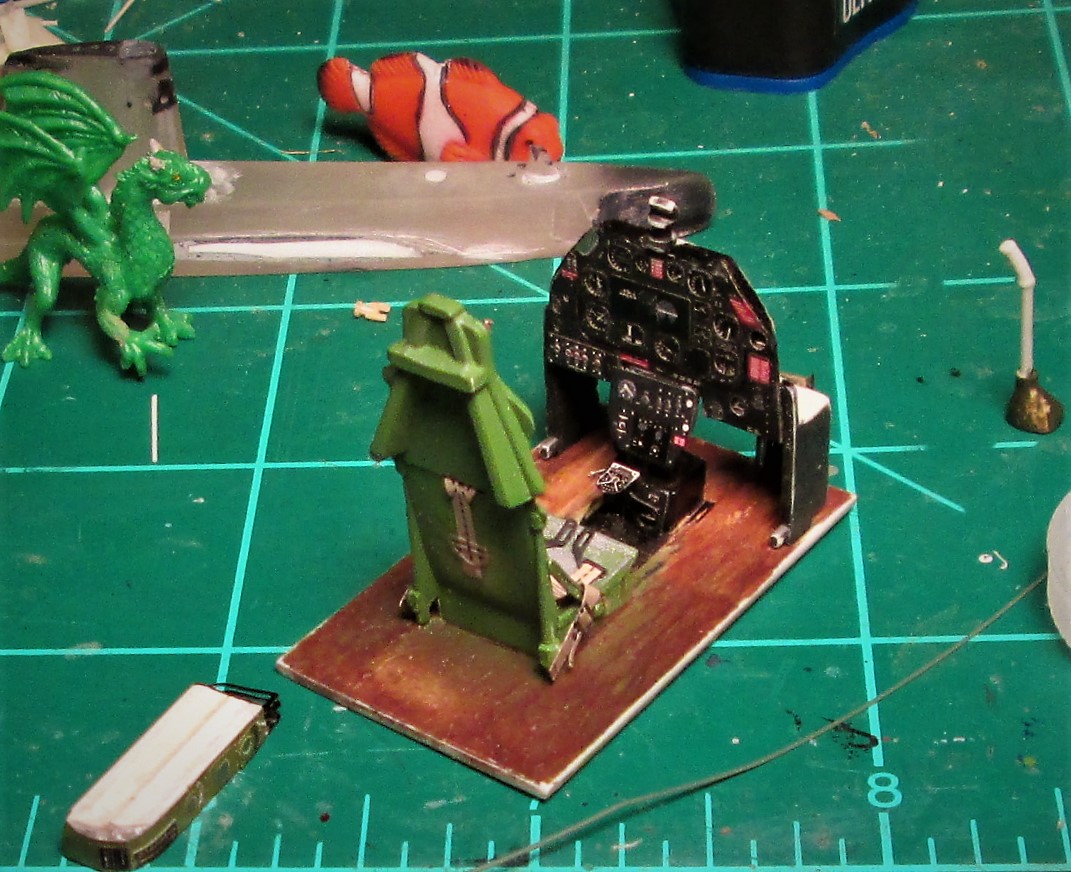
a light burnt umber wash, before flat coating. Whaddya think?
IMG_6613.JPG

Dat Bad Fish, He come nosing about, you know. He gittin into evryting, Mon! :bat General Olds had the night off. :salute :snoopy
Nuttin' but da Best for my Papa!
 
IMG_6614.JPG

I know it doesn't look much different, but this took HOURS to do!!
IMG_6615.JPG

External tank fuel level gauge, Tank release Lever, Fuel tank selctor and Harness (Mess) belts. :frantic
IMG_6616.JPG

I "low & slow" dremeled the instrument panel to fit the kit fuselage. It was simpler than carving out the groove in the cockpit coaming. :yipee
IMG_6617.JPG

Getting closer to the flat coat, and Future drops for the instrument lenses. I hope my Papa is pleased with the result. This is getting sort of outta-hand! :facepalm
IMG_6618.JPG

A start on the oil cooler for the inside of the ventral air scoop. I know what you're gonna say.
Those had 12 inlets on them rather than 8. By the time it's installed and backed with brass screen, it will be ok, but less than perfect. I know it! I'm going with 8 nonetheless. :pp

Thanks for looking in!! :eek:ldguy :salute :pilot
 
Cockpit looks magnificent! Even the dragon appears to have been eager to get in and start flippin' switches!

Don't worry about having eight holes in the ventral air scoop. This is for your dad, no one else. I doubt he's even going to care; he'll be too thrilled to have received this. Just continue doing your masterful work on this so that he gets it soon.

I want to see pics of his face when you present it to him. :bat
 
Thanks Guys! :notworthy
Presentation is planned for Christmas 2017. There WILL Be Pictures!!
I'm close to flat-coat on the I/P, then drops of future for the instrument lenses. More knobs, levers, wheels, and dials to add. My Papa is a close student of the Mustang. :eek:ldguy :pilot If he peeks and figures it out, He might would not mention it. He always wanted to wring out a Mustang. (He knows how!)
I just could not bear that big ol' empty scoop. :bang head

I hope I'm not the only one of us who admits "playing" while I model! I want to make it fun to look at! I have plenty of Toys!! :yipee
 
Back
Top