
-
Modelers Alliance has updated the forum software on our website. We have migrated all post, content and user accounts but we could not migrate the passwords.
This requires that you manually reset your password.
Please click here, http://modelersalliance.org/forums/login to go to logon page and use the "Forgot your Password" option.
You are using an out of date browser. It may not display this or other websites correctly.
You should upgrade or use an alternative browser.
You should upgrade or use an alternative browser.
Revell 1/32 P-51B Mustang for my Dad
- Thread starter Rhino
- Start date
There's much better looking stuff to go inside that the Eduard stuff. If CMK or Aries has something jump on it.
Or just paint up what's in there from the kit and I'm sure he'll appreciate it.
Or just paint up what's in there from the kit and I'm sure he'll appreciate it.
Rhino
Super Moderator

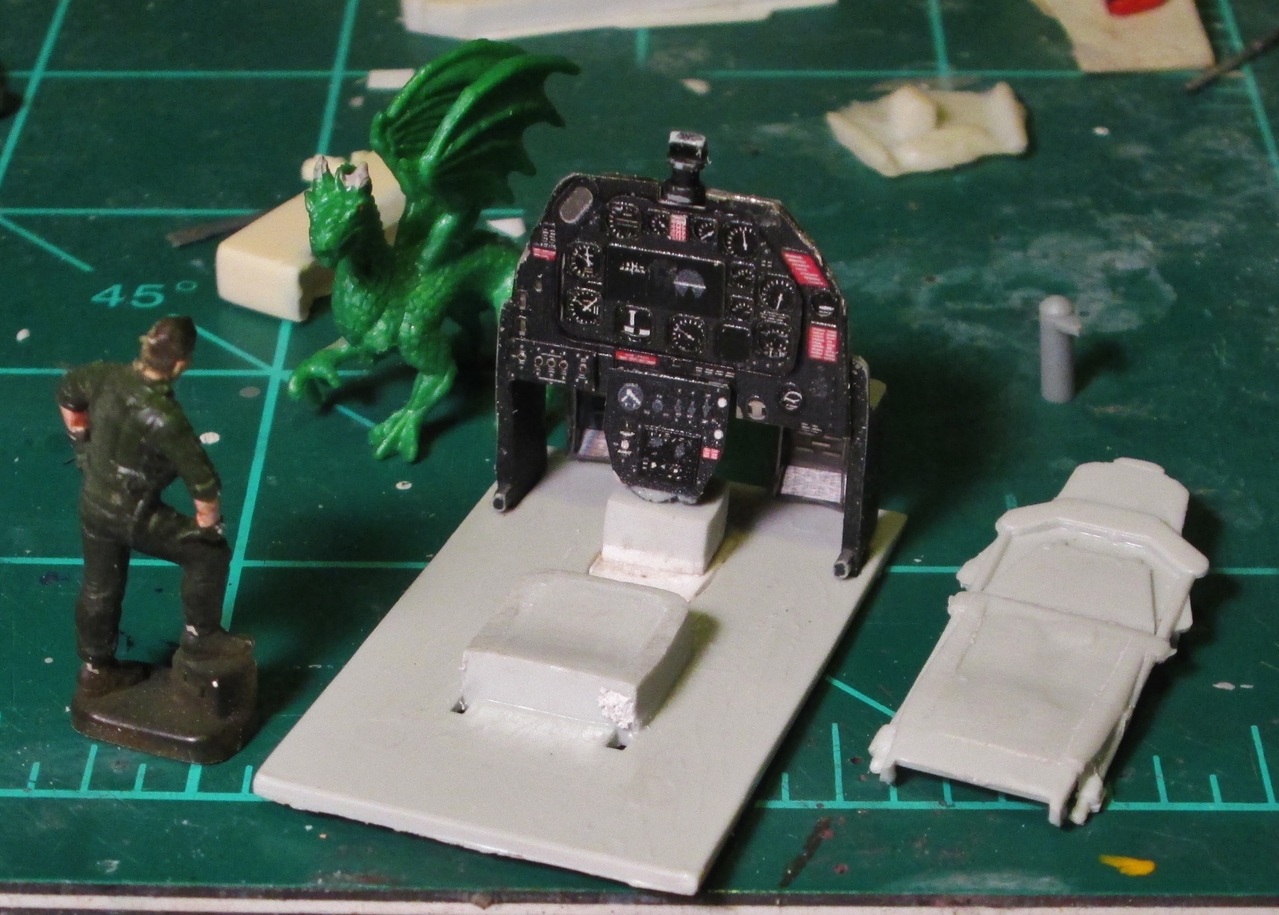
The Mission: Make a convincing looking instrument panel.
The Tools: Crappy Kit instrument panel. Eduard painted stuff. Non-magnetic tweezers. A cap from drinking water bottle. C/A blue thin glue. Pencil with broken sewing needle stuck in it. A green dragon. (not Pictured: Black Sharpie marker, Sharp #11 knife blade, Music, Too much coffee, comfy underpants. count your blessings!)
Ready! GO!!!
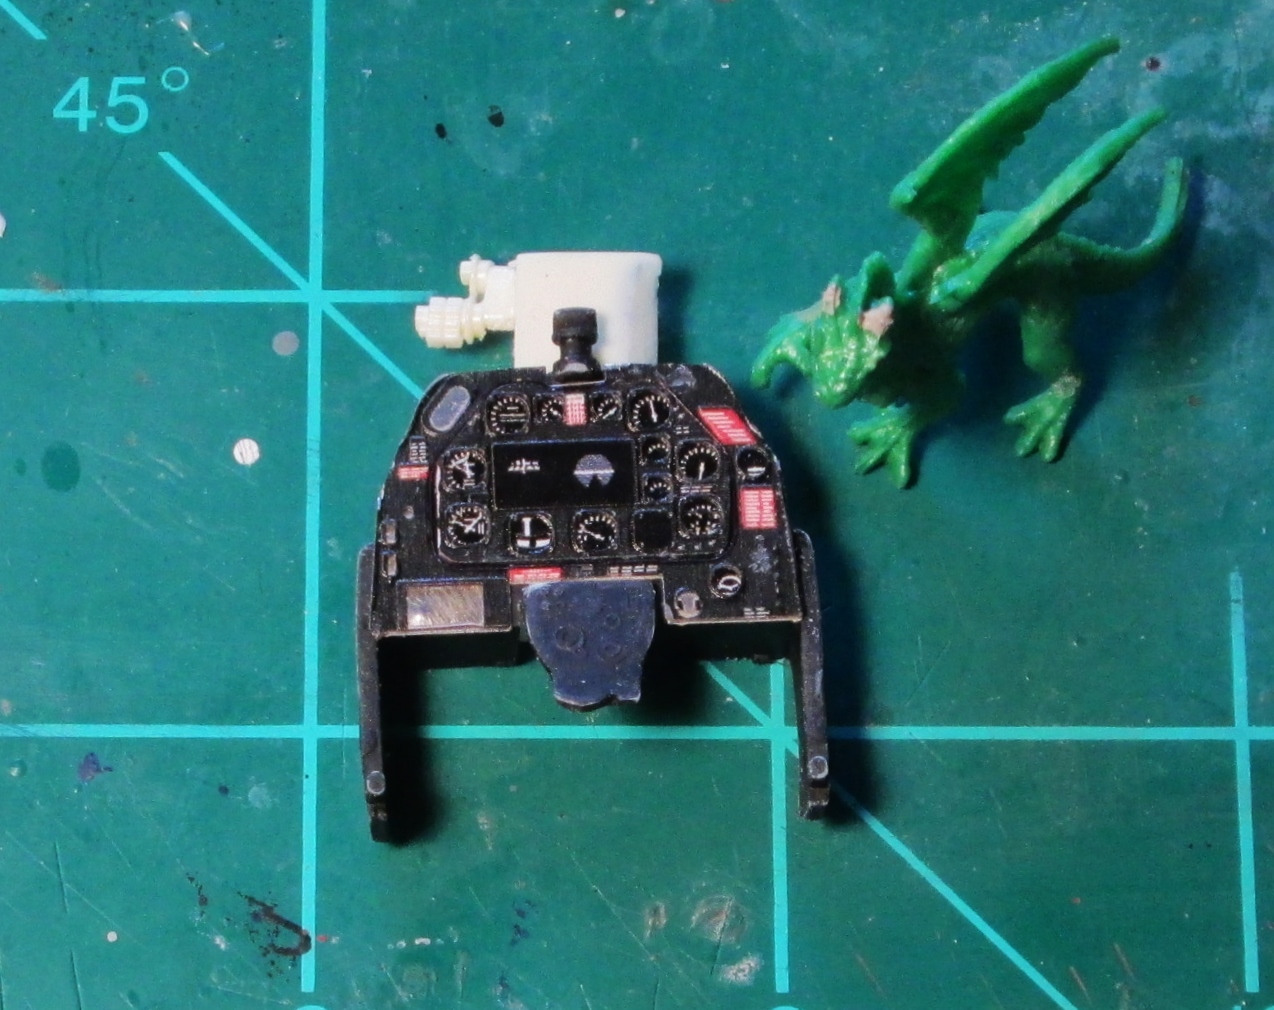
I won't go into too much detail about "how-to". You guys already know it! I edge the painted parts with the Sharpie.
A little C/A is plenty. For attaching smaller parts and clear gauge lenses I'm gonna steal Jon Bond's trick and use future for an adhesive as well. The Dragon's small claws are a BIG Help!! I only lost one part so far. :idonno
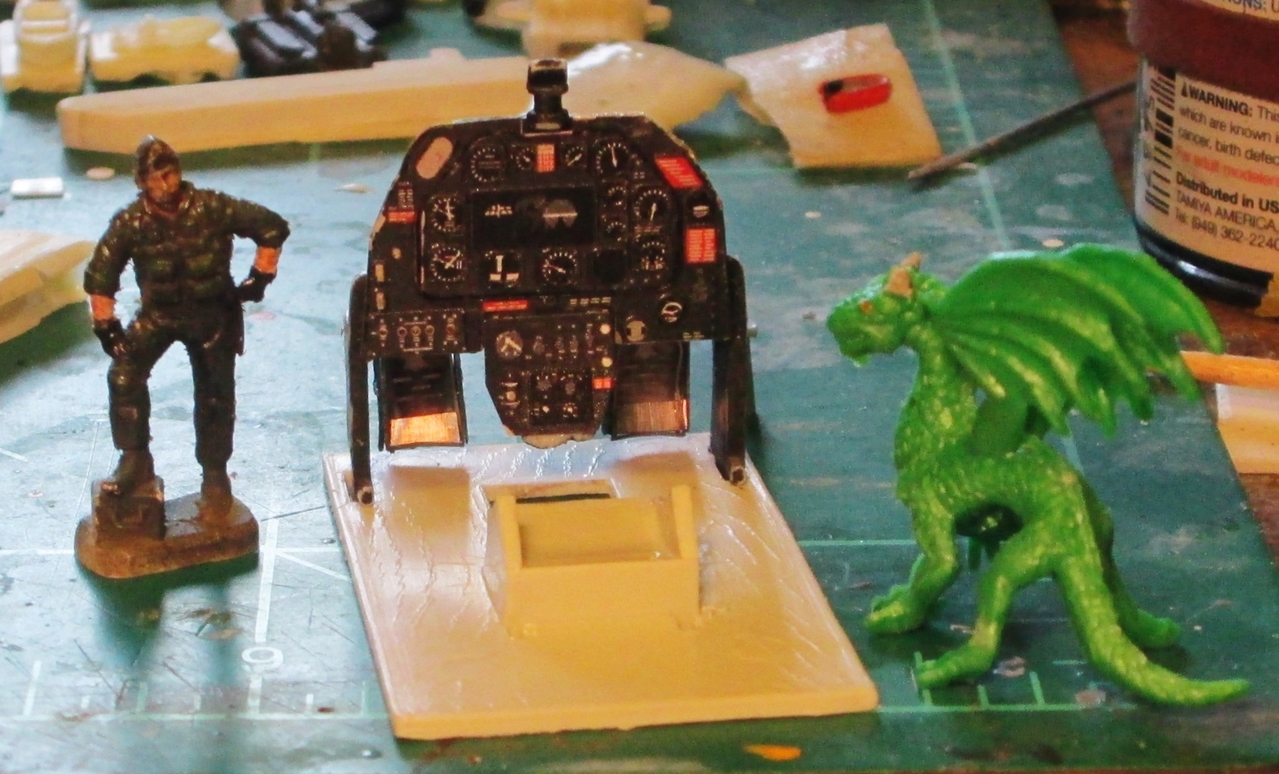
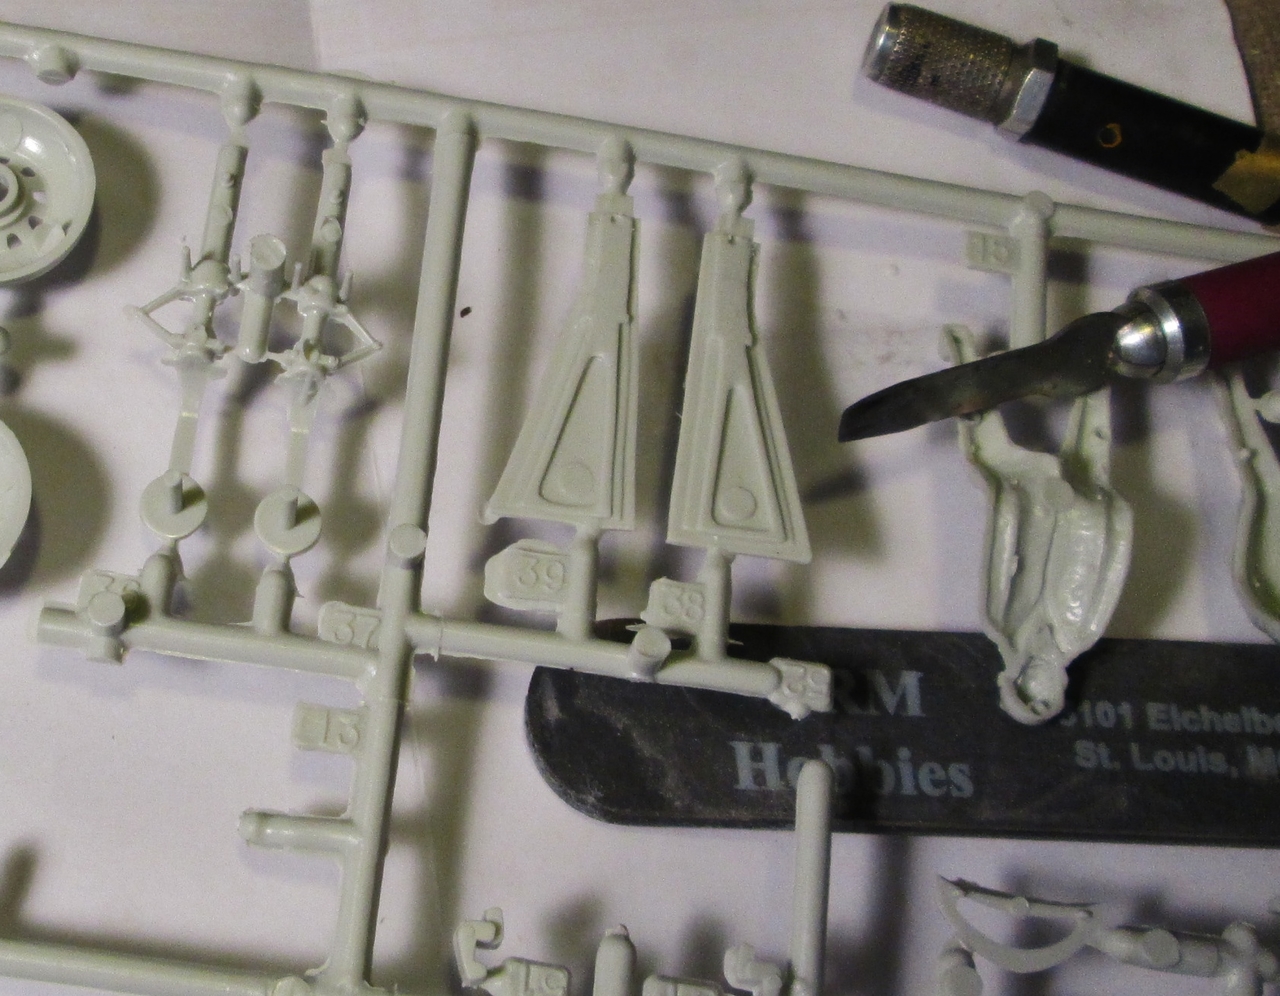
The General stopped by. :salute Overall in this scale, the Eduard parts are pretty nice. See if you can tell which of the nifty rudder pedals I did first! The second one went better. A vast improvement over the 1967 clunky plastic pedals! :yipee
Thanks for looking in!!
Duke Maddog
Well-known member
That looks fantastic! Man, it pays to have good help!
phantom II
Master at Arms
Cool ")
Cheers, Christian B)
Cheers, Christian B)
The Mission: Make a convincing looking instrument panel.
The Tools: Crappy Kit instrument panel. Eduard painted stuff. Non-magnetic tweezers. A cap from drinking water bottle. C/A blue thin glue. Pencil with broken sewing needle stuck in it. A green dragon. (not Pictured: Black Sharpie marker, Sharp #11 knife blade, Music, Too much coffee, comfy underpants. count your blessings!)
Ready! GO!!!
I won't go into too much detail about "how-to". You guys already know it! I edge the painted parts with the Sharpie.
A little C/A is plenty. For attaching smaller parts and clear gauge lenses I'm gonna steal Jon Bond's trick and use future for an adhesive as well. The Dragon's small claws are a BIG Help!! I only lost one part so far. :idonno
The General stopped by. :salute Overall in this scale, the Eduard parts are pretty nice. See if you can tell which of the nifty rudder pedals I did first! The second one went better. A vast improvement over the 1967 clunky plastic pedals! :yipee
Thanks for looking in!!
Nice work on the Eduard stuff. Well done!

Rhino
Super Moderator
PORCH RHINO! Why you young Whelp!  HA!
HA!
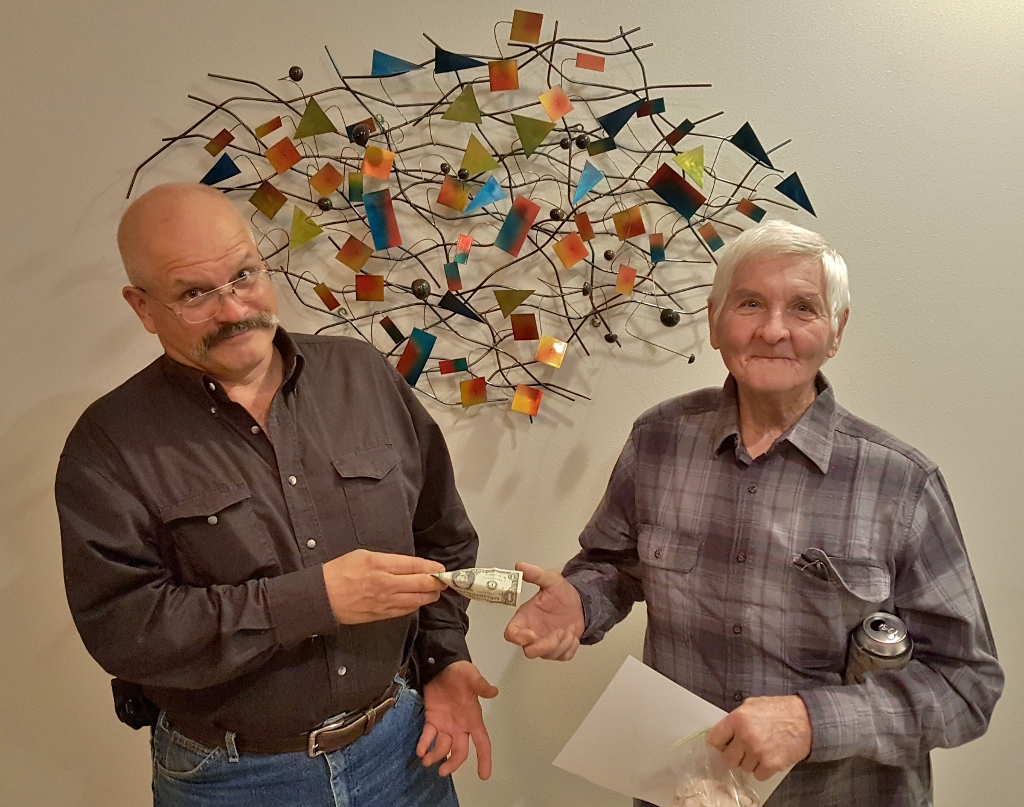 4 years later, Thanksgiving 2016, having your picture take with my Papa is still just one Dollar. There's value for ya!!
On the Kit cockpit floor, there is a monster hole, and you are instructed to throw the control stick into it. :facepalm
NO WAY! So while fixing this next glaring flaw, I womped up the little console under the instrument panel, to stick some more cool Eduard p/e parts to.
Then, I had to do SOMETHING with the pitiful seat, so I could add the complex p/e belts. GeneraL Olds, and the lil' green dragon were talking flying. A subject they both have boundless knowledge about.

A touch of STYLE, Baby! :woohoo:
Thanks, men for your kindnesses, and for looking in! A fine Model Day was had!!
HA!
On the Kit cockpit floor, there is a monster hole, and you are instructed to throw the control stick into it. :facepalm
NO WAY! So while fixing this next glaring flaw, I womped up the little console under the instrument panel, to stick some more cool Eduard p/e parts to.
Then, I had to do SOMETHING with the pitiful seat, so I could add the complex p/e belts. GeneraL Olds, and the lil' green dragon were talking flying. A subject they both have boundless knowledge about.
A touch of STYLE, Baby! :woohoo:
Thanks, men for your kindnesses, and for looking in! A fine Model Day was had!!
Rhino
Super Moderator

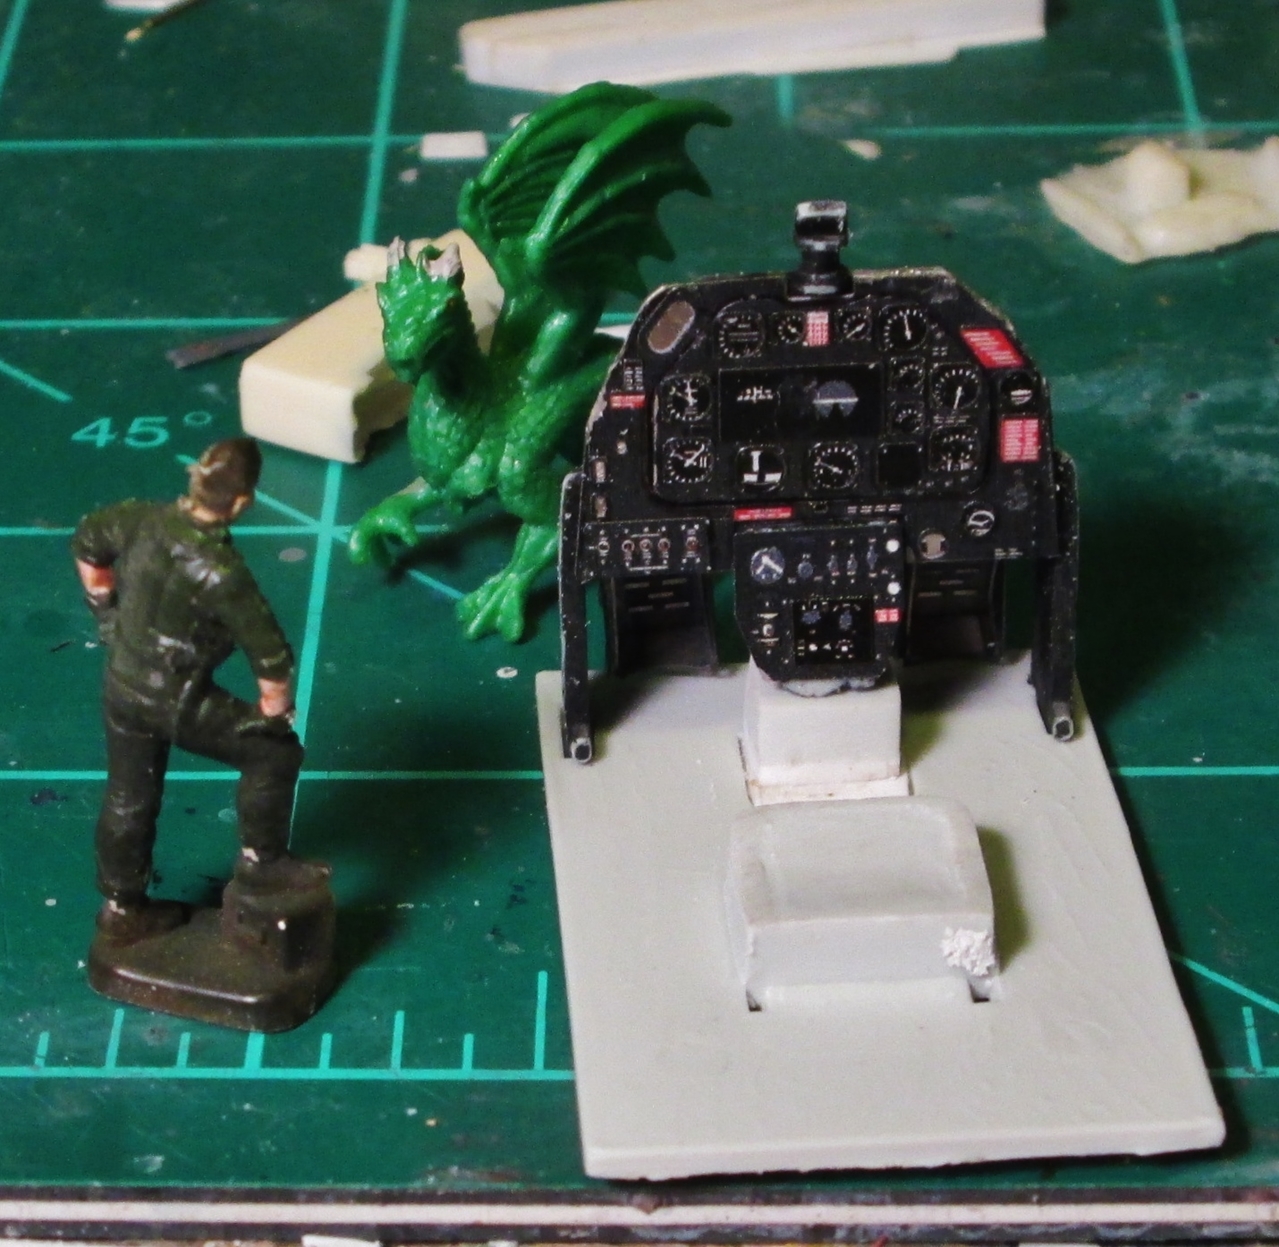
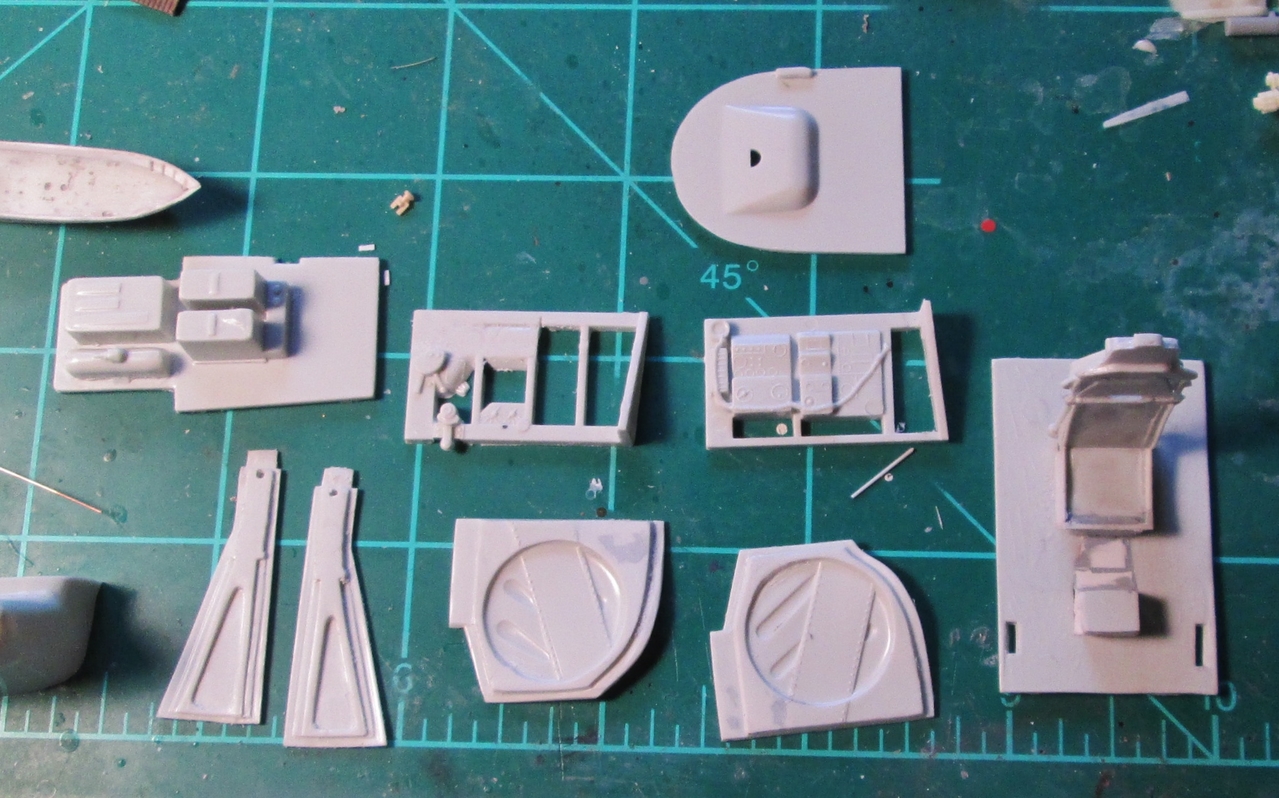
I chose to make the kit seat look more bucket-esque. Stretched sprue, tamiya filler and sanding! It will be only visible from above. I fixed the cockpit floor, and I decided to use more of the nifty P/E parts. I had to make the gear-retract/flaps/hydraulic console out of evergreen square tube.
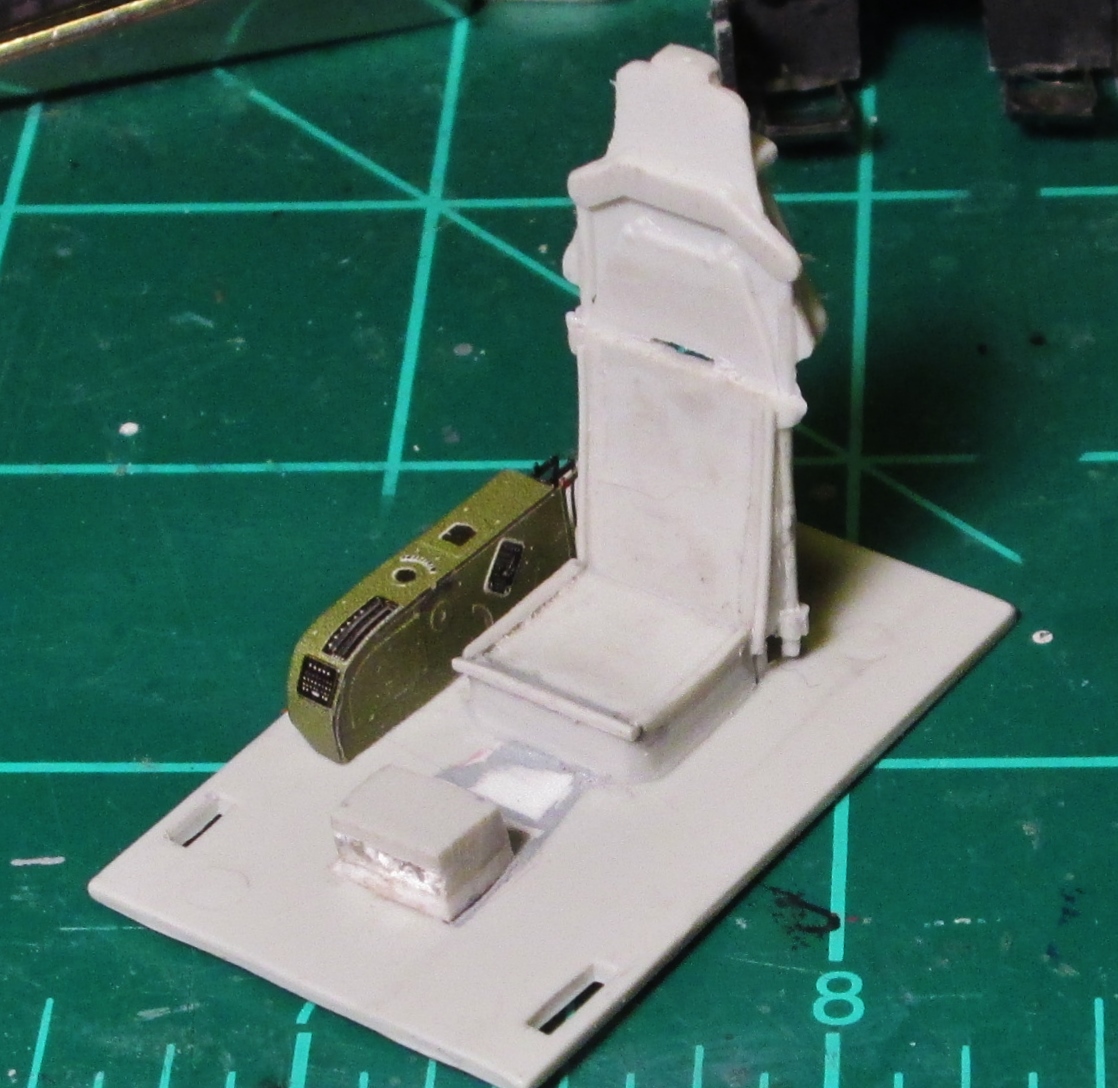
Pre-touch-up/detail. :idonno Seat assembled, less other p/e pieces. Almost ready to paint. New console actually mounts on the cockpit sidewall, but you get the idea. :hmmm
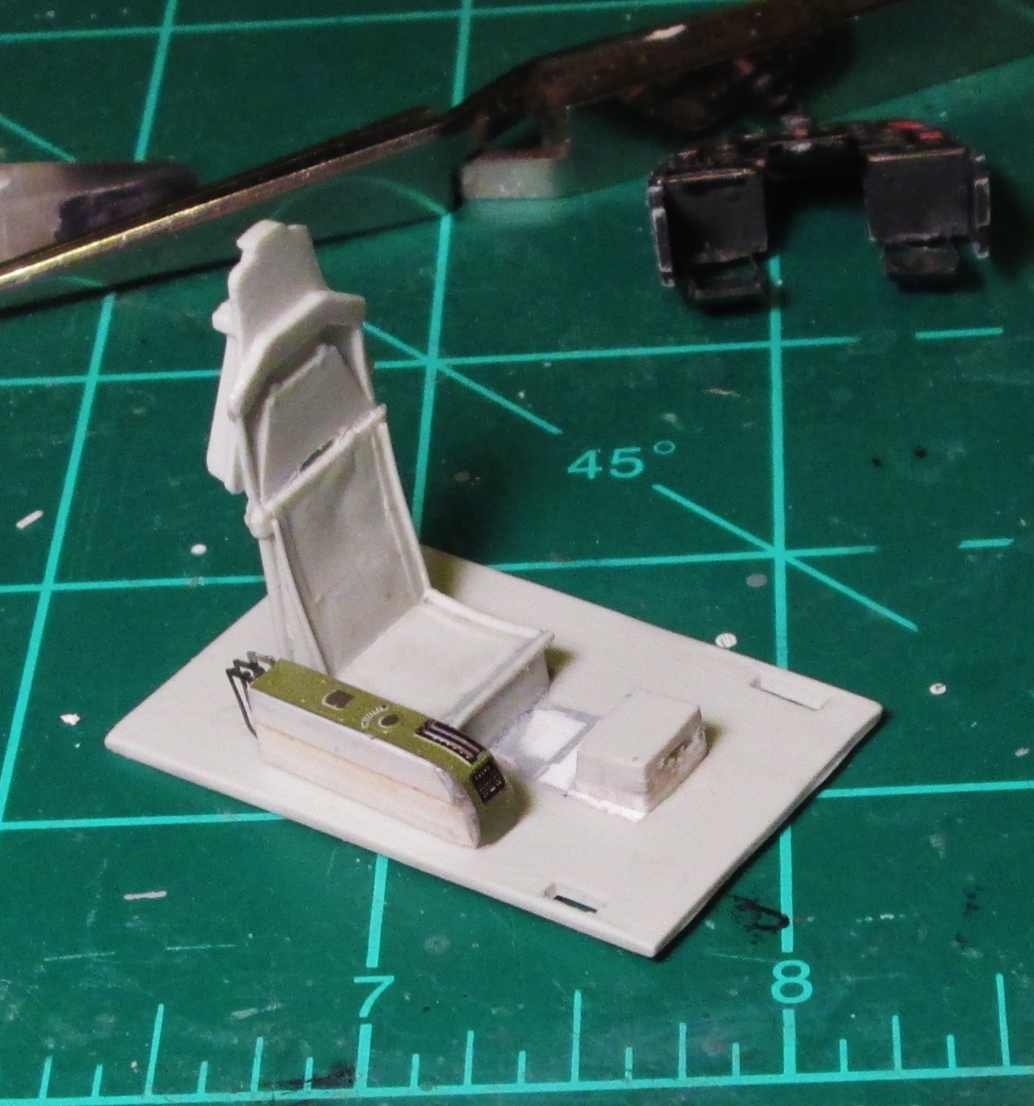
I'm enjoying this larger build. It's a nice break from my teenie TLAR stuff! :drinks
ldguy 
thanks for checking out The Papa's Mustang!

Rhino
Super Moderator
There's a catch with the old-school, Revell P-51B Kit. All the filing, sanding. filling that you must do, and the aftermarket stuff you add to make the model presentable. I'm getting ready to spray Zn/Cr green.
Closer. Ever closer, My Friends!! The Polish re-issue plastic carves well, is not easy to sand, and glues-up just dandy!

Rhino
Super Moderator
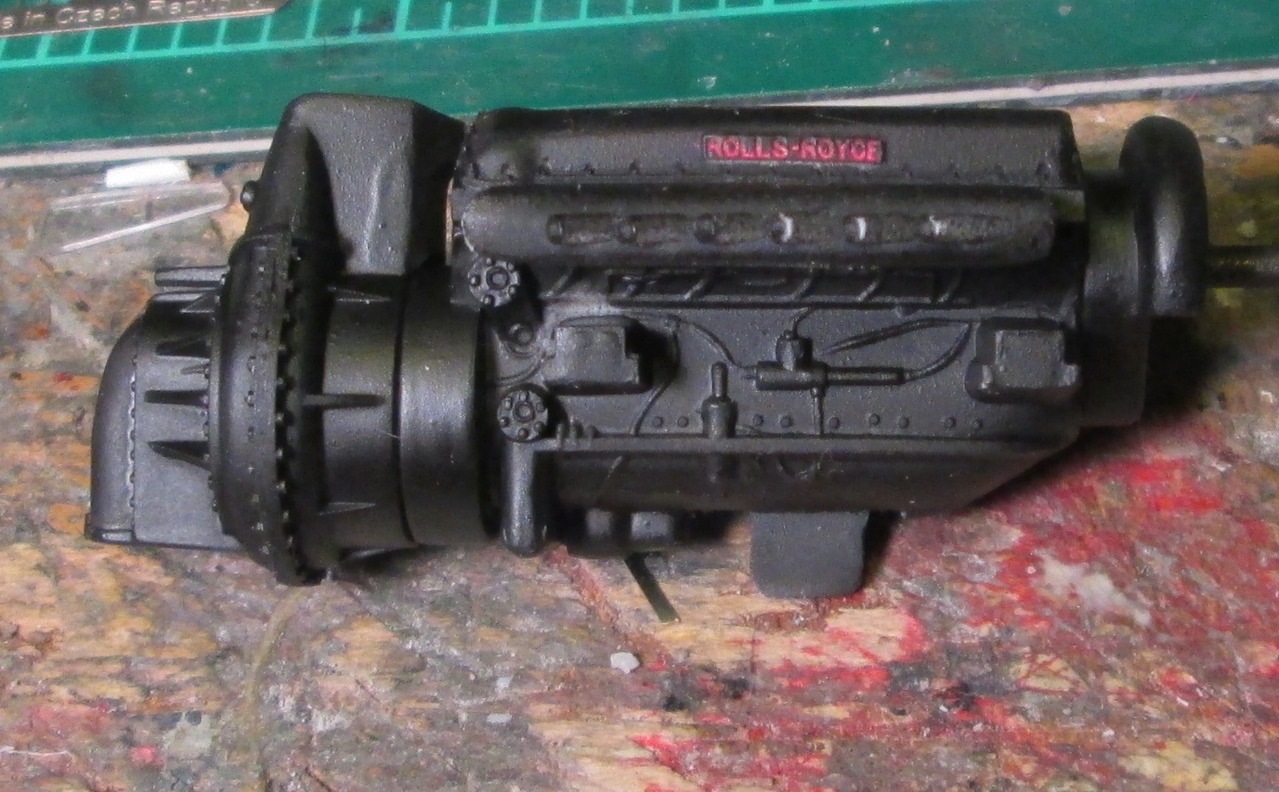
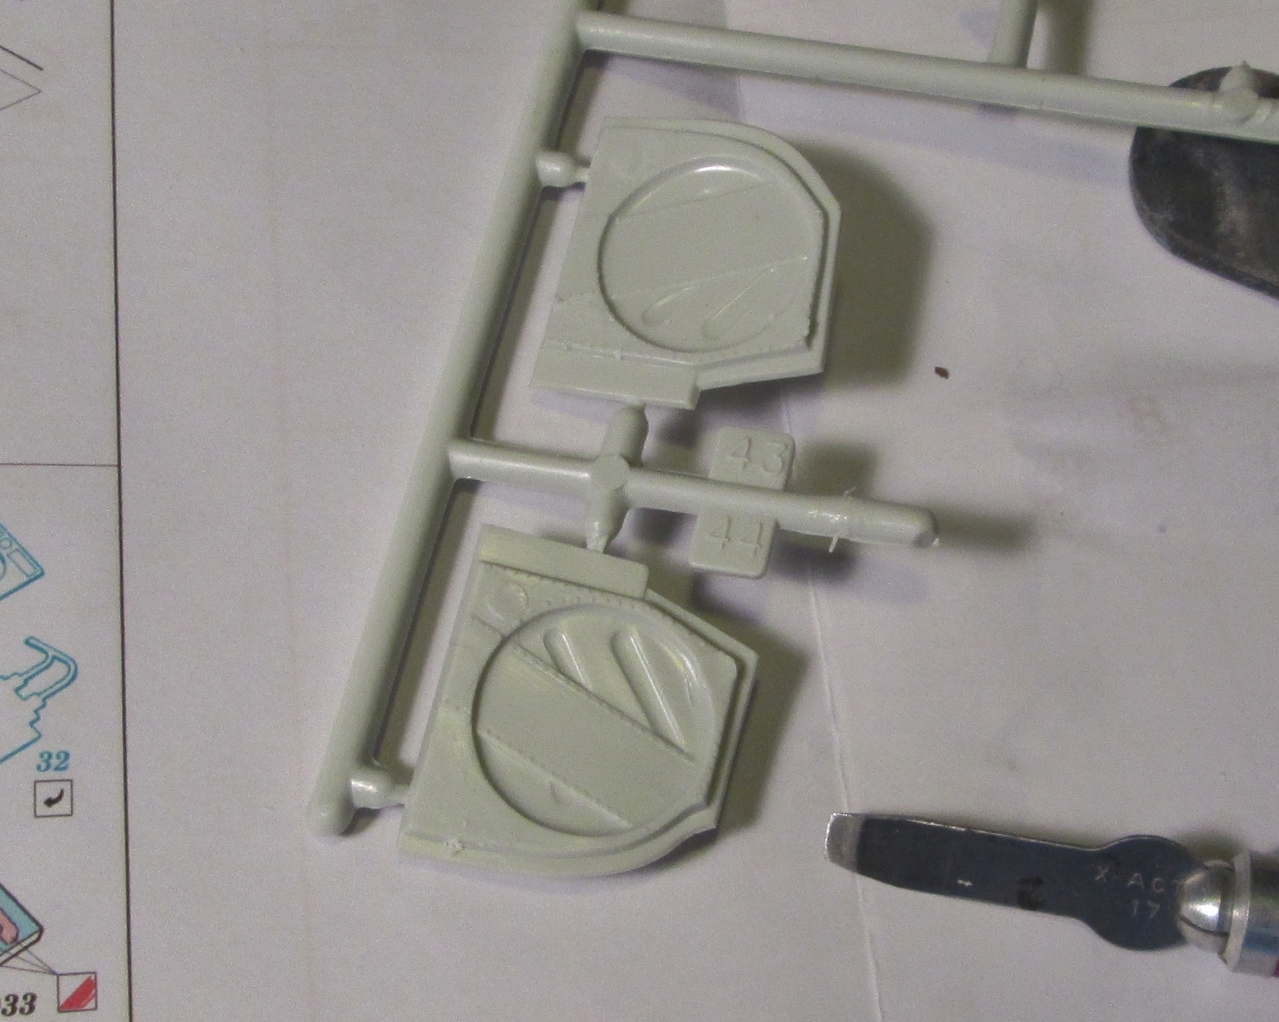
I filed/Sanded out the ventral air scoop. the was a lot of hash in there. Since the oil cooler I'm making will be visible, my Papa may peek in there, just to see how much I have learned about Pony Airplanes.
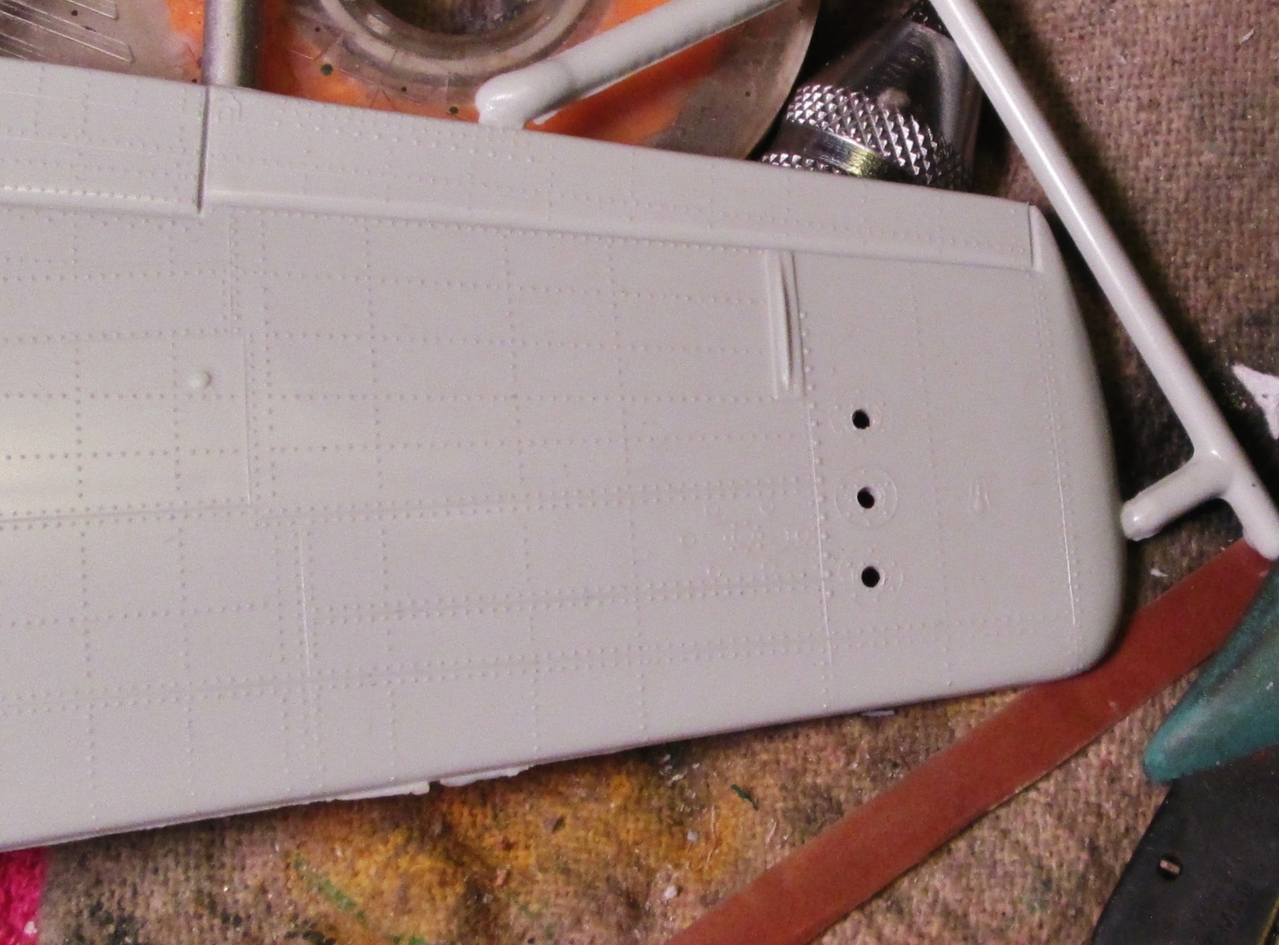
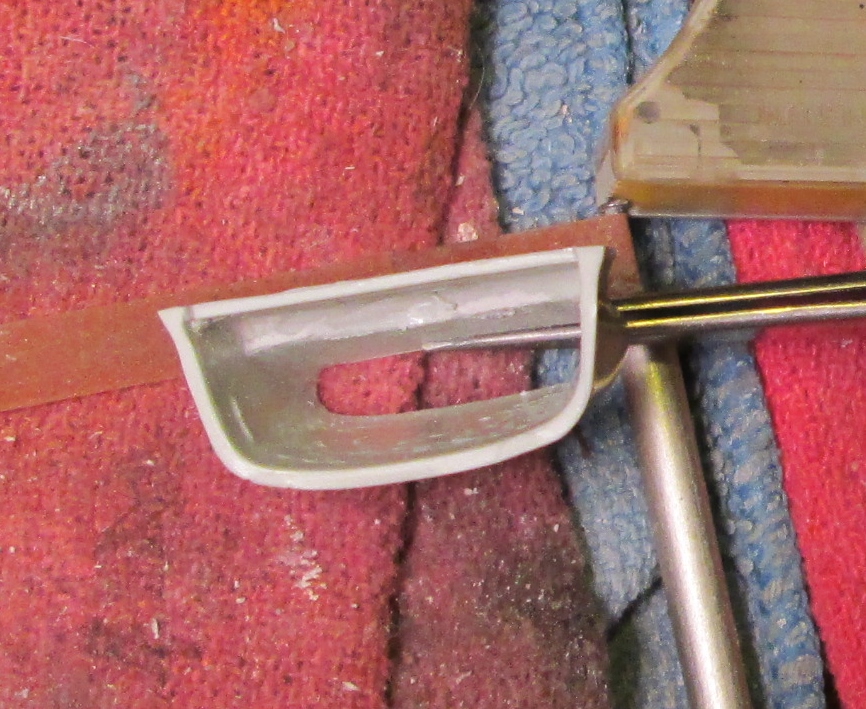
Drilled out the formation lights for for backing/Clear Tamiya color/Future treatment
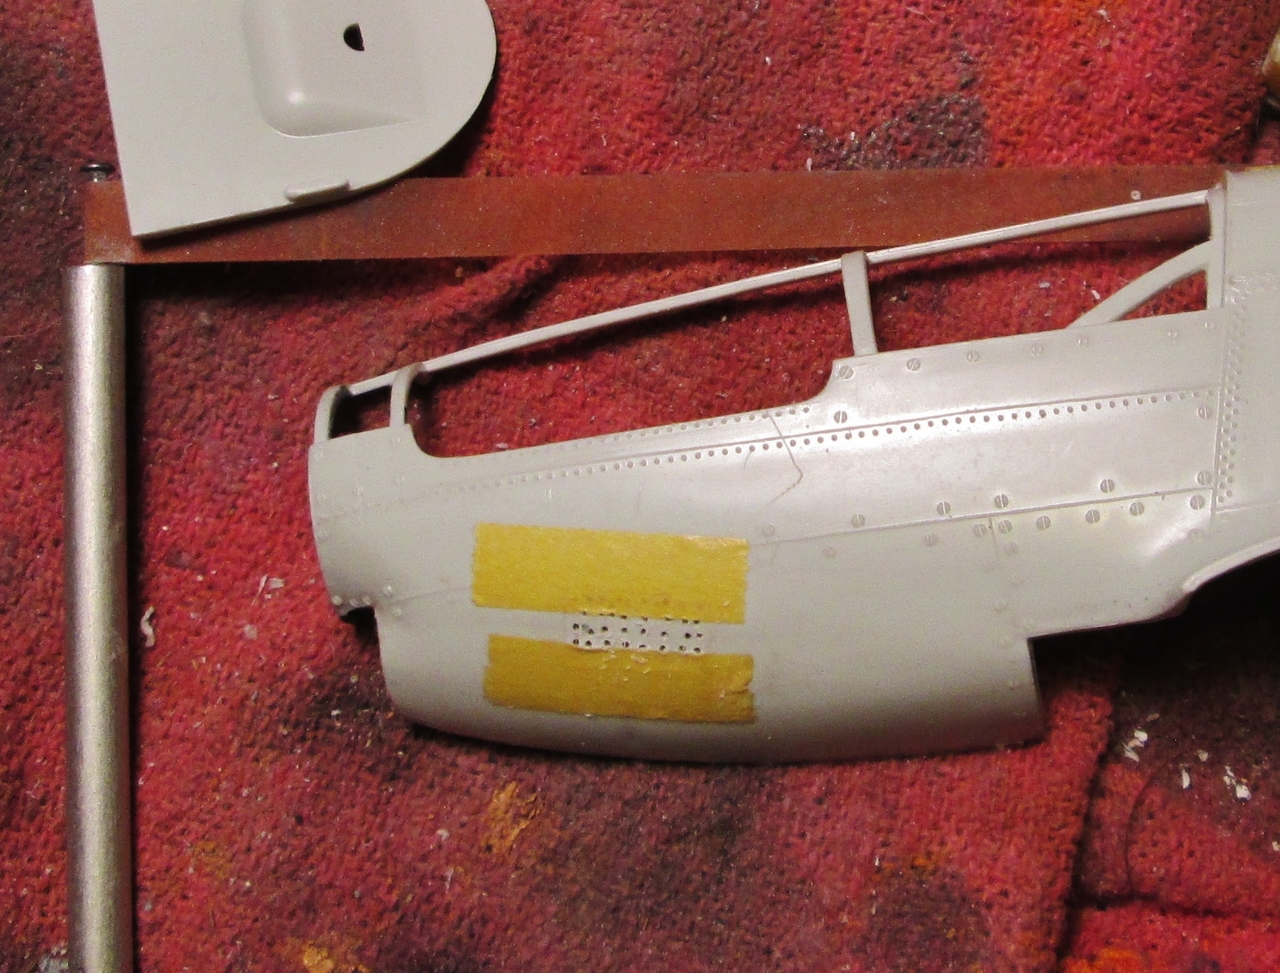
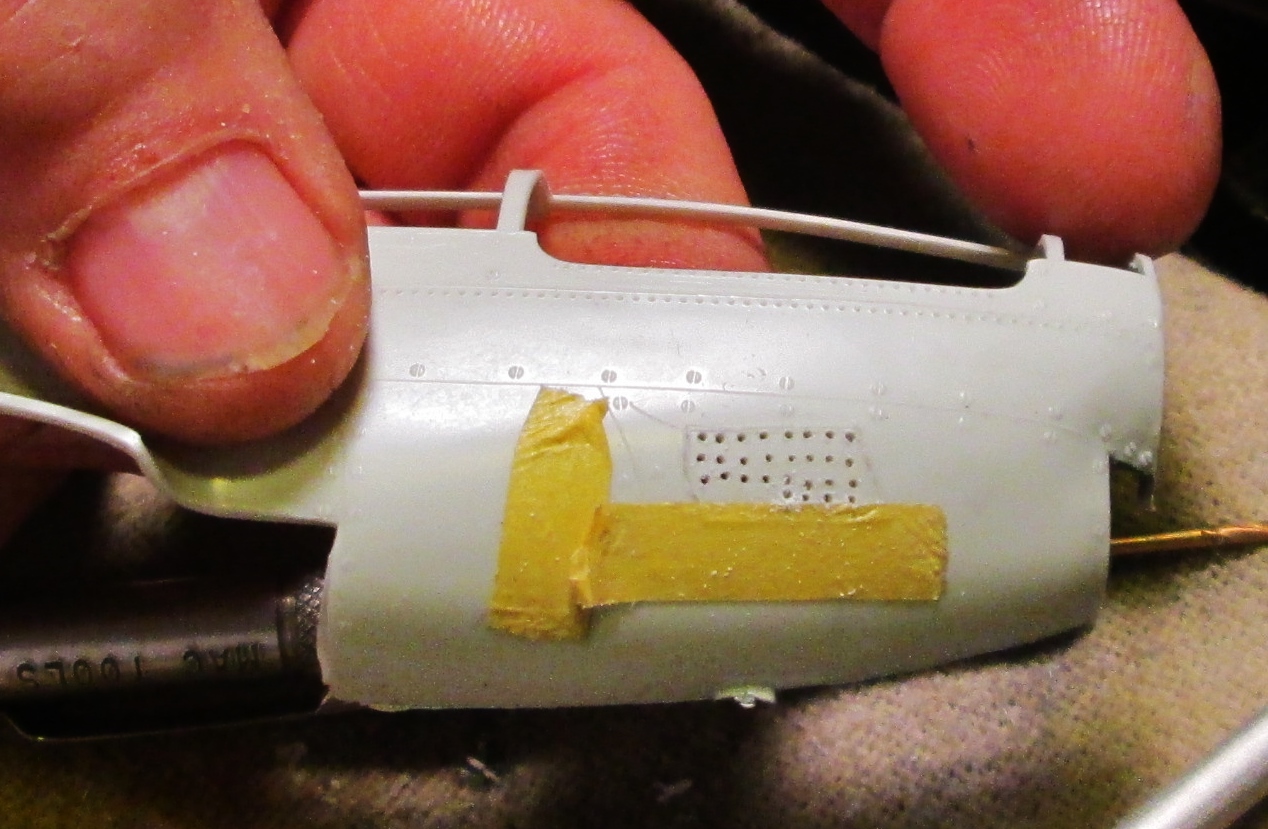
'Twere a fine day for drillin'! Yes, Men, 32 teeny holes in each air outlet plate. Nice sharp new #78 drill bit! (I snapped the old one) It was a mite tedious. I just couldn't leave them alone, and I wasn't gonna spend on more P/E for Her.

I learn't me sumpthin' else too!! :coolio
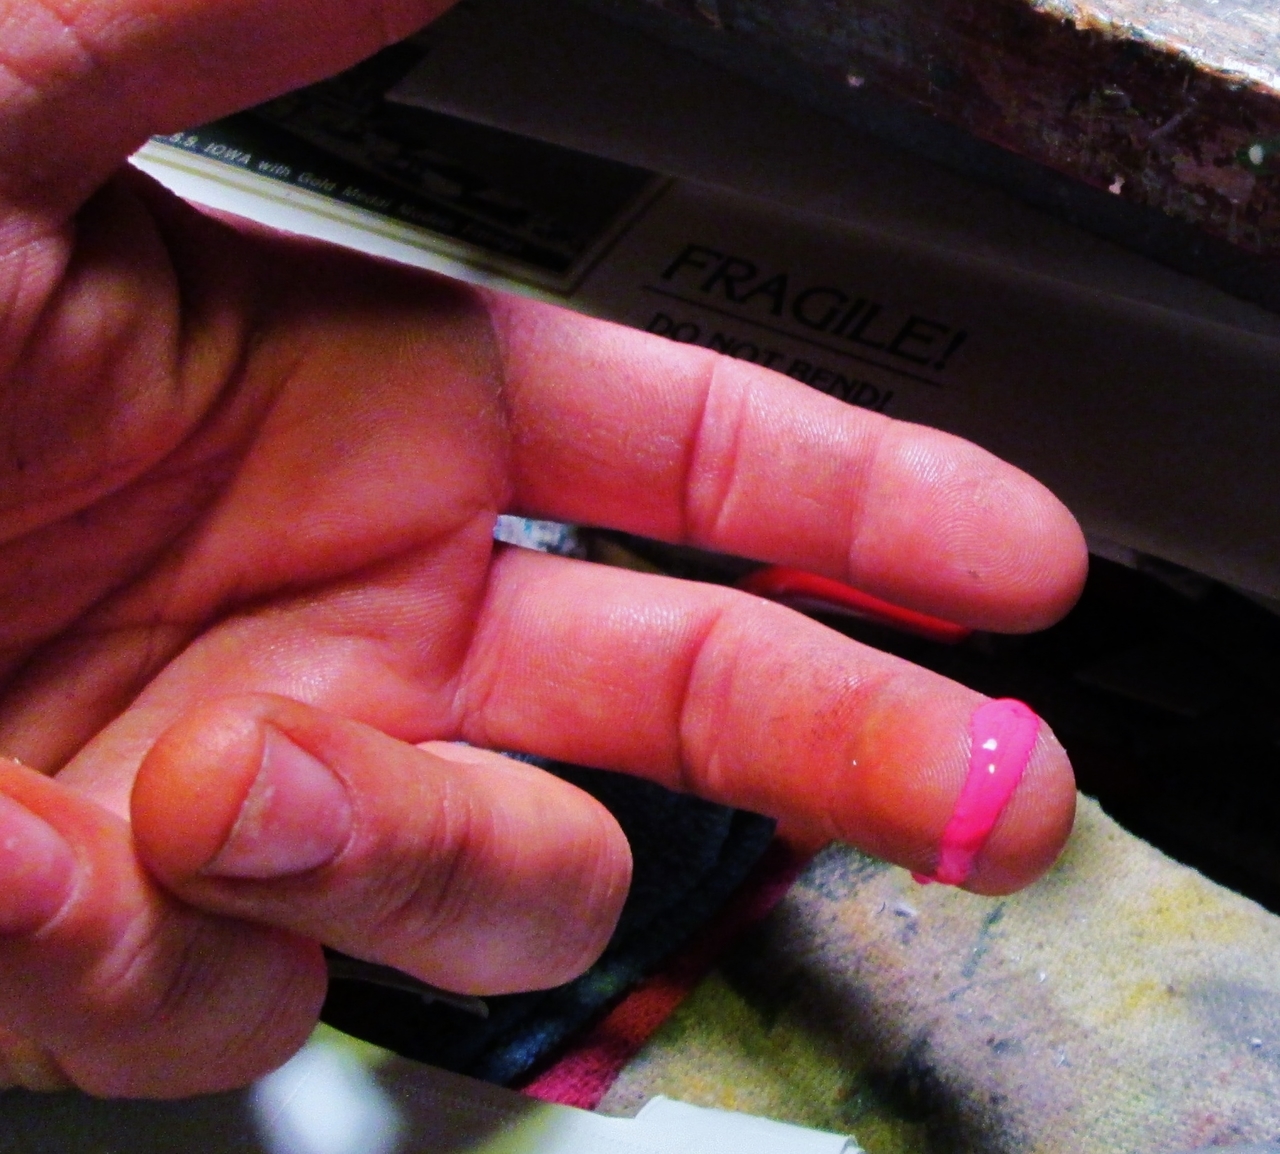
#78 drill bits drill other things most readily! :facepalm Care in finger placement is advised!
hmy: