TREEMENDUS
Member
Re:Groundwork Class with Anthony Reeves - update
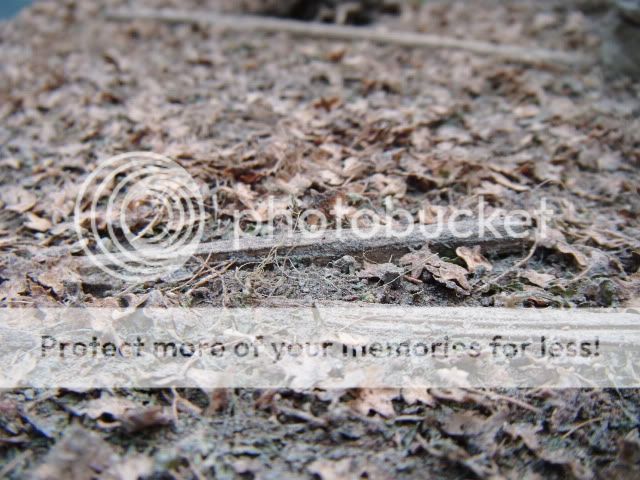
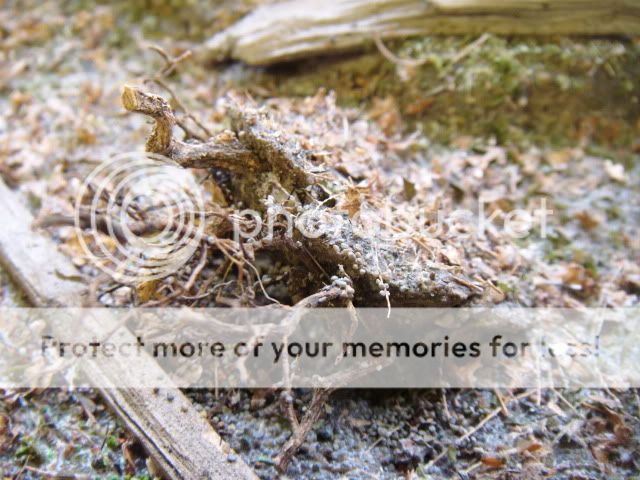
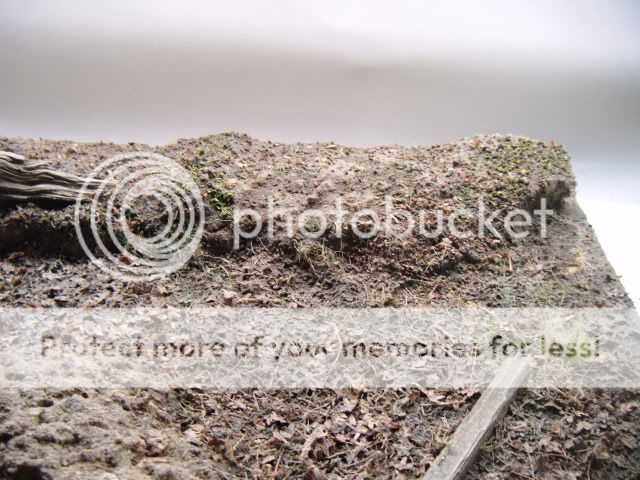
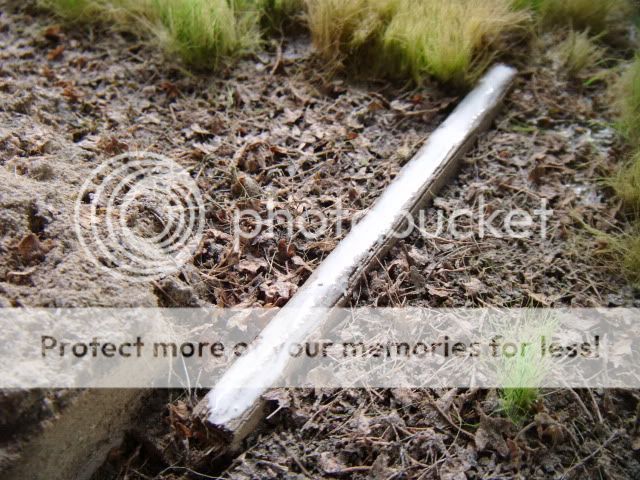
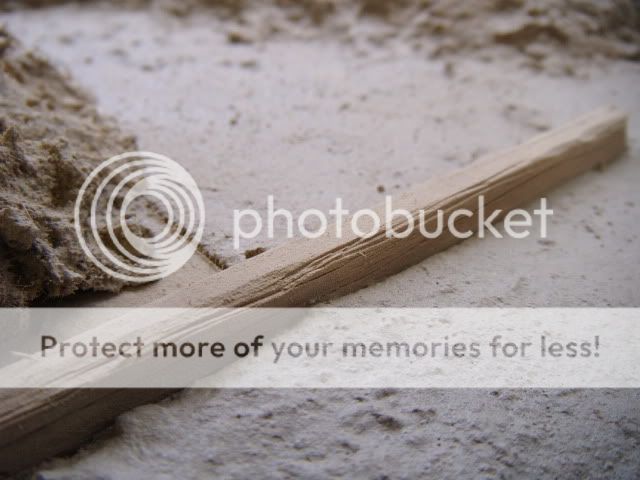
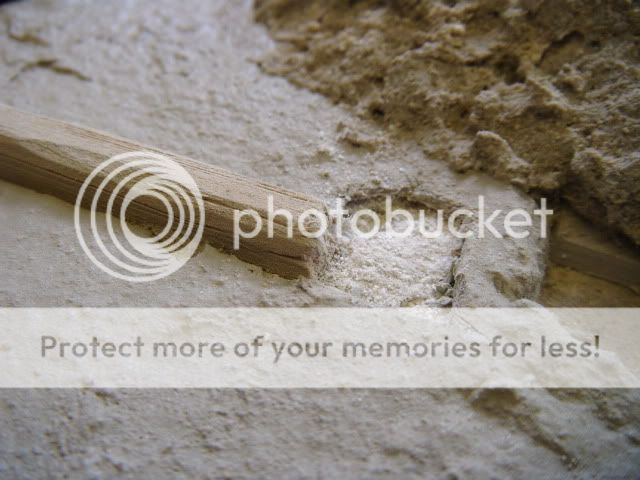
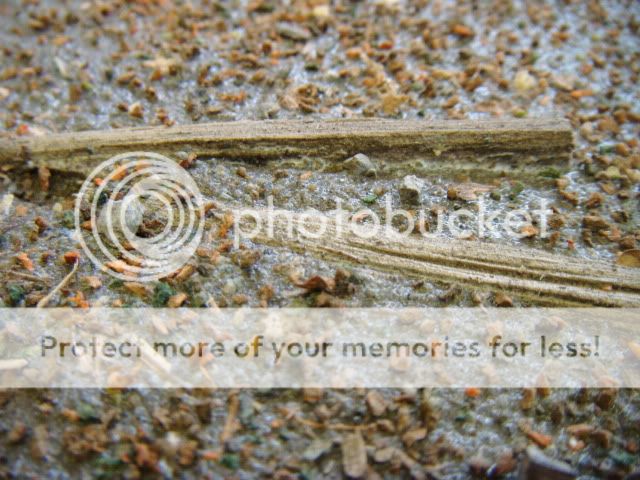
Now is the time to start detailing the terrain we have already laid down. The first thing I have done is to give the wooden beams some heavy graining to give the immpression of old weathered timbers. For this I use 6 or so very sharp blades held side by side and drag them along the surface of the wood. You can do this before gluing them down but in this case I have fixed them first then added the grain. Apply enough pressure so as to give nice deep cuts. When you are happy you have enough grain brush all the loose bits off, A firm tooth brush is ideal for this.
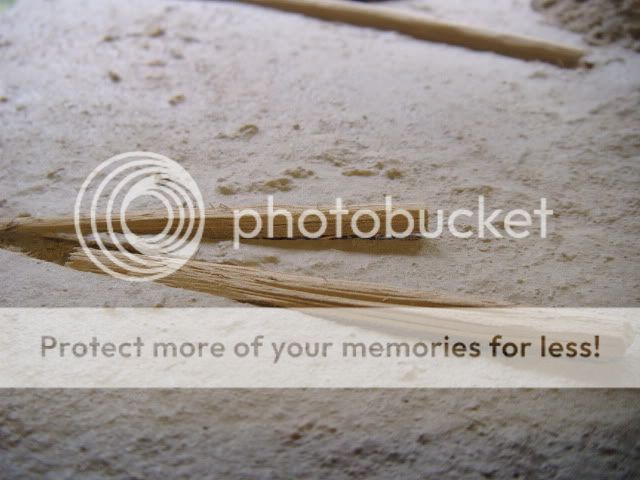
I have given all the timbers an undercoat of a tan coloured aerosol. These will be detailed at a later stage.
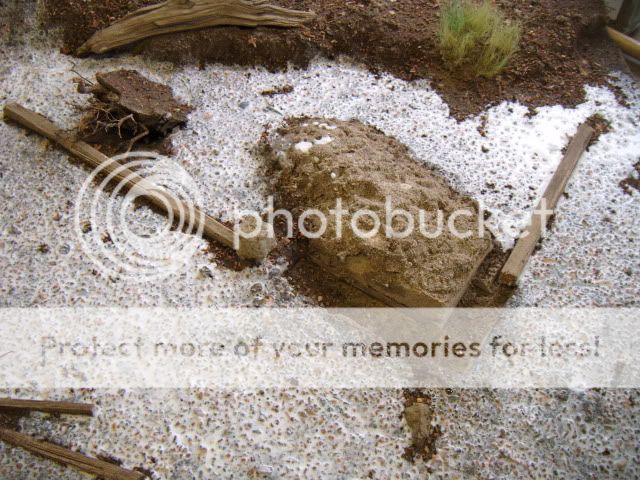
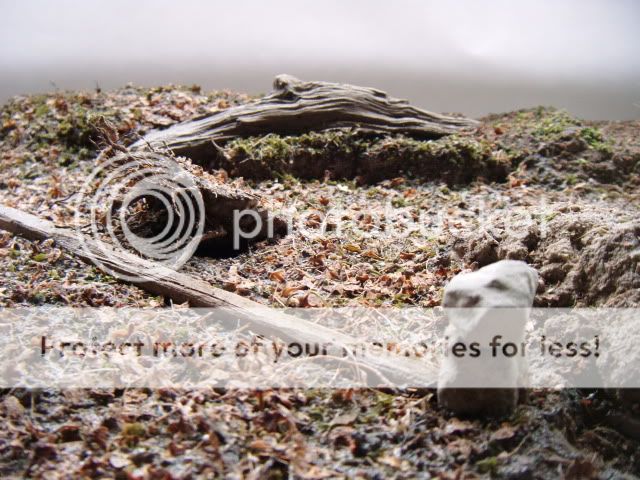
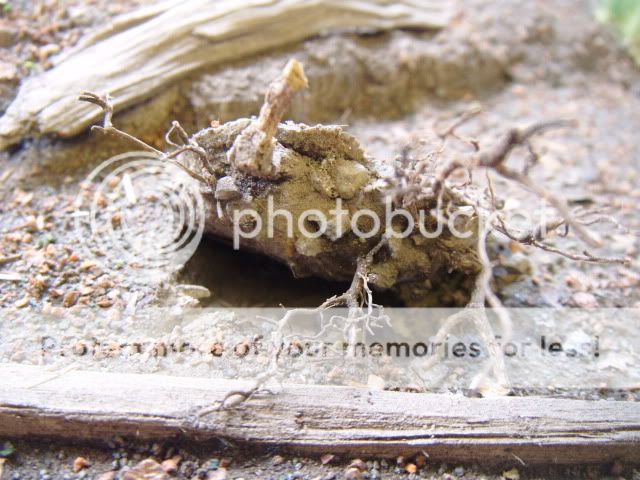
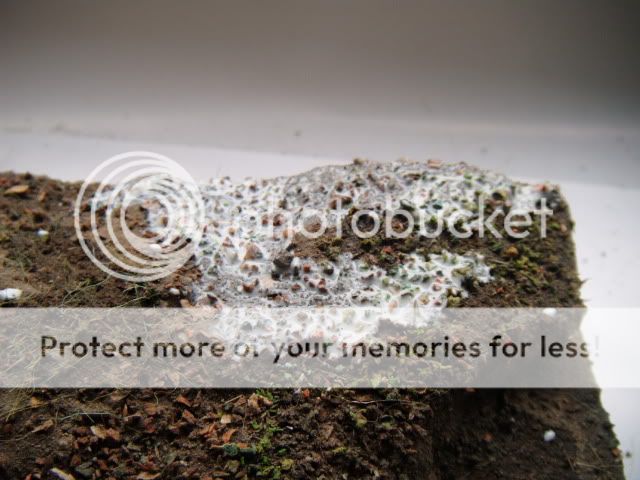
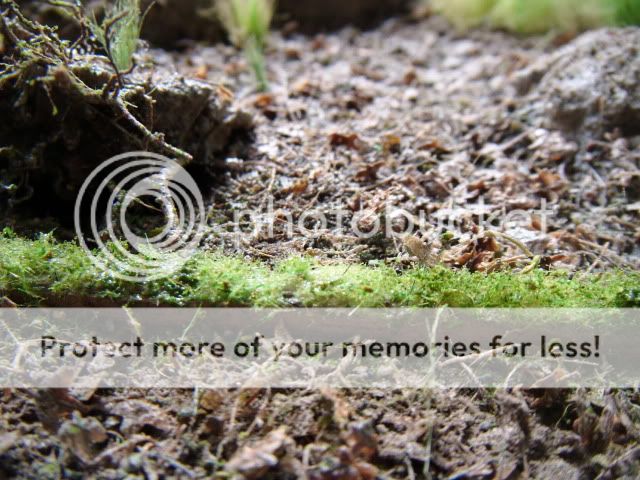
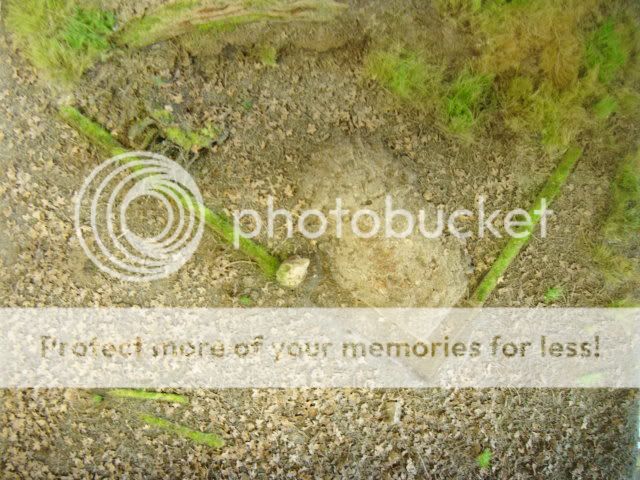
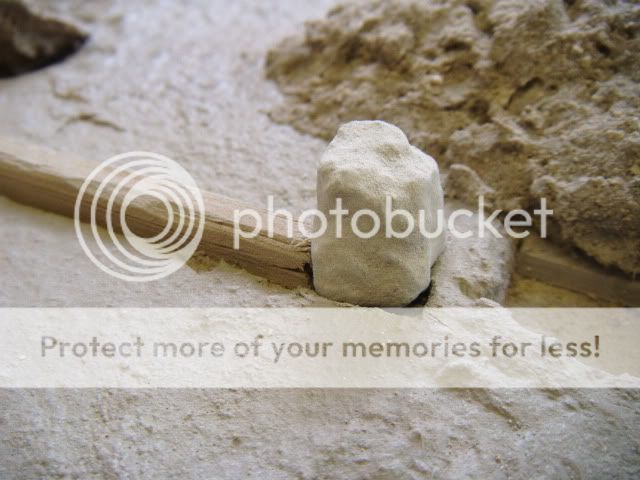
A small area of the base has been cut away here to allow for a "cornerstone" to be dropped in place. By cutting the area out (rather than just sticking to the surface) the stone will appear to be embedded in the ground and adds more realism to the overall appearance.
Cornerstone added - the gap will be filled in with various materials as we progress.
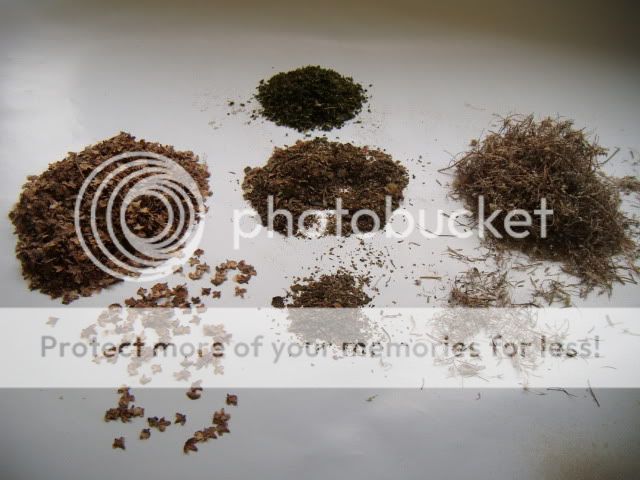
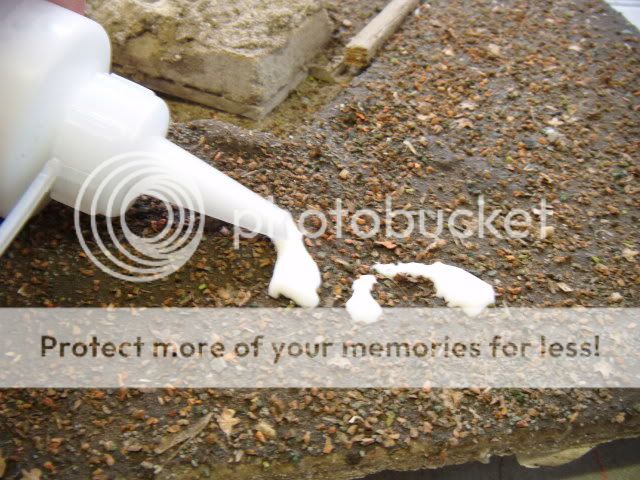
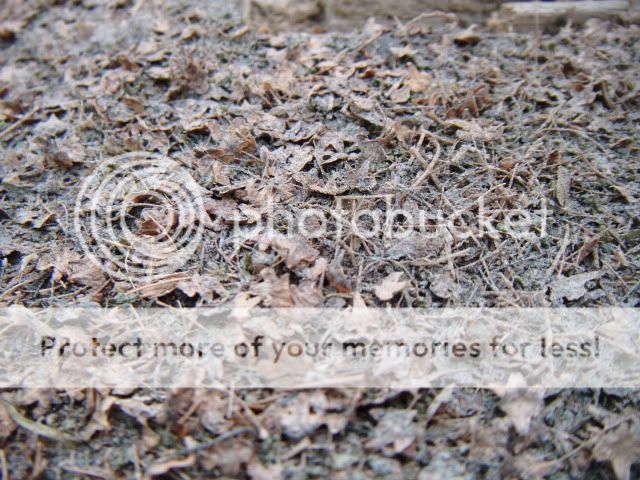
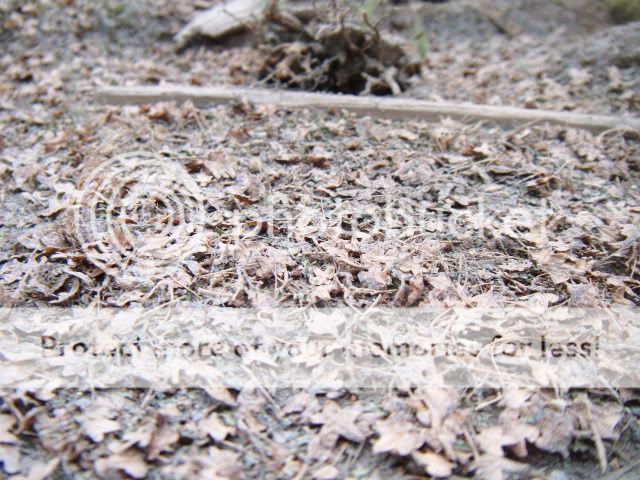
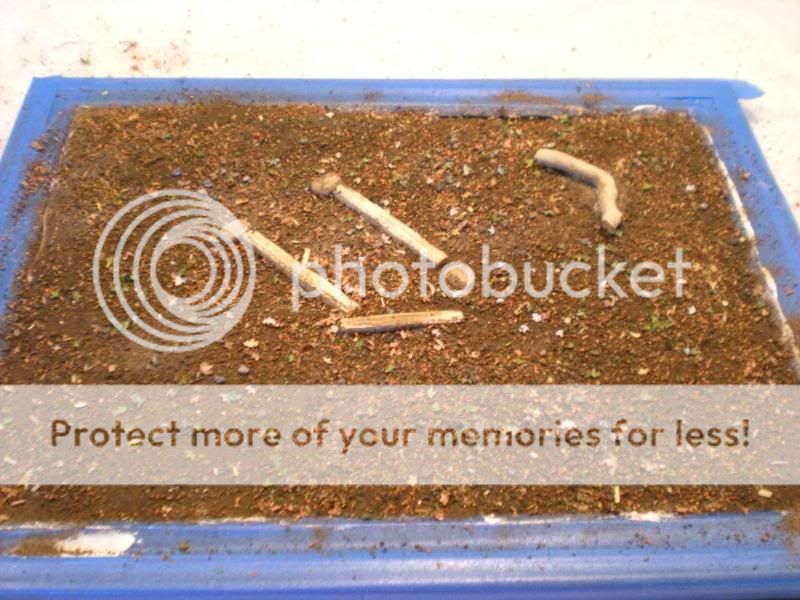
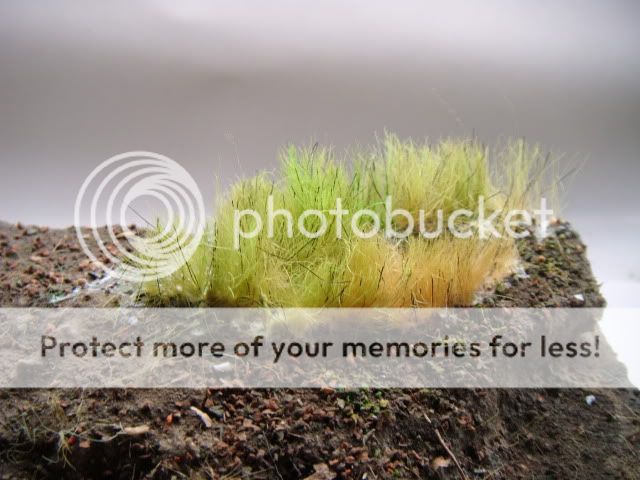
Now for the [strike]messy[/strike] best bit! cover the whole surface of your base with with a 50/50 mix of water and PVA glue. Try not to get any on the timbers but try to get it right up to them as this will help the impression of them being stuck firmly in the ground. When the whole surface is covered take the Earth powder and liberally sprinkle it all over the glue, 6" is a good height to sprinkle from. Brush any that gets on the timbers off with a firm bristled brush.
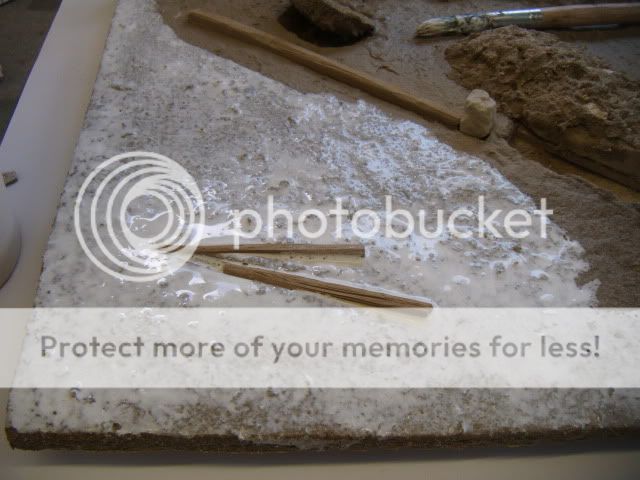
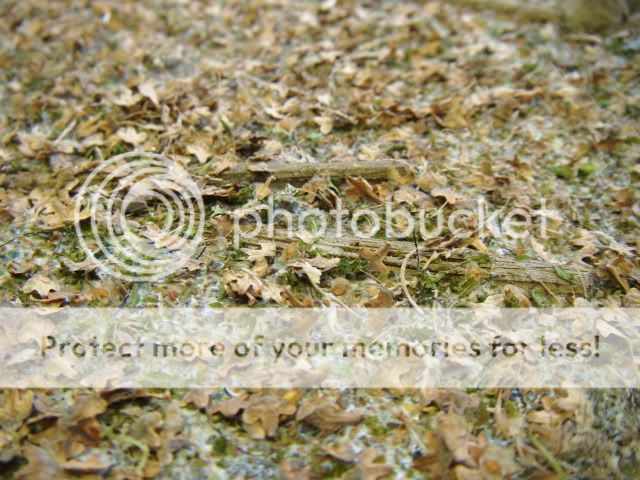
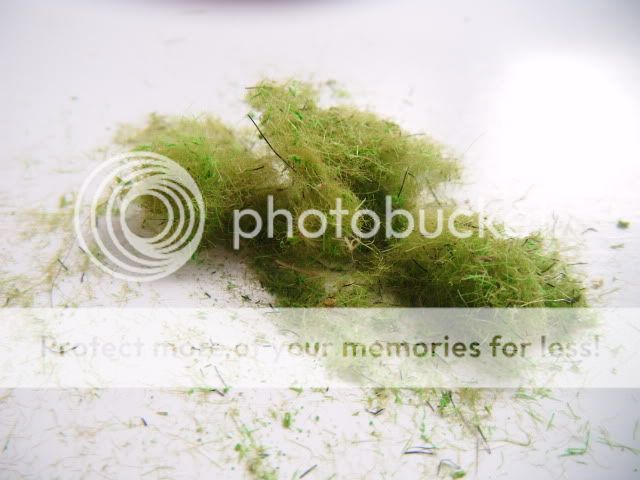
Give the whole base a really good soaking with hairspray so it becomes really wet and apply some of the Forest Floor material. This will add some colour and texture, Then give another light sprinkle of Earth Powder.
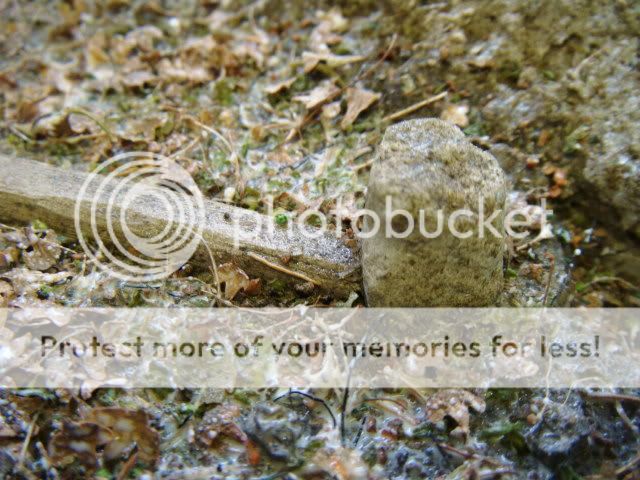
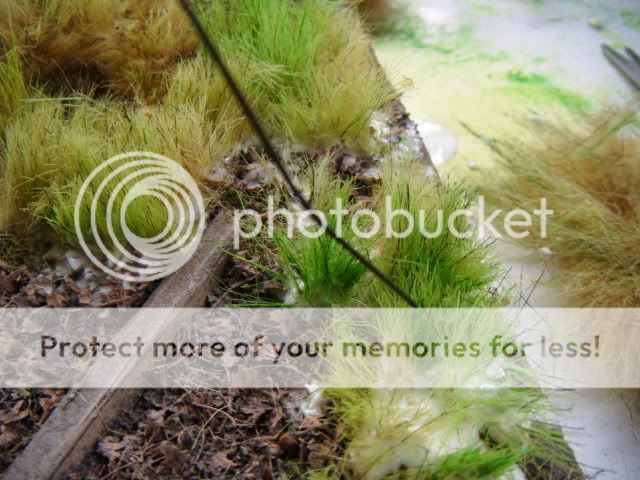
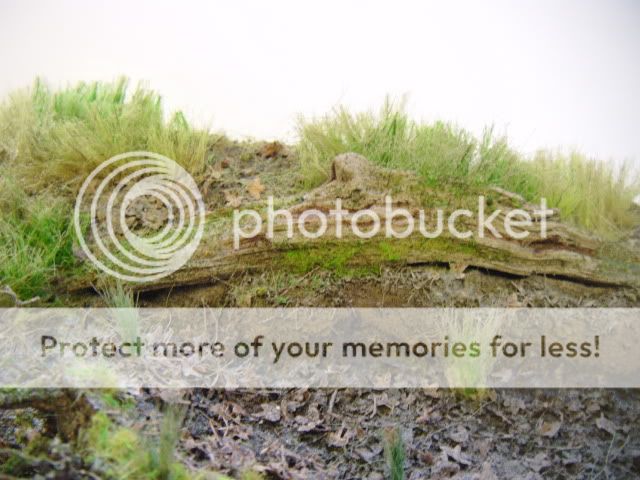
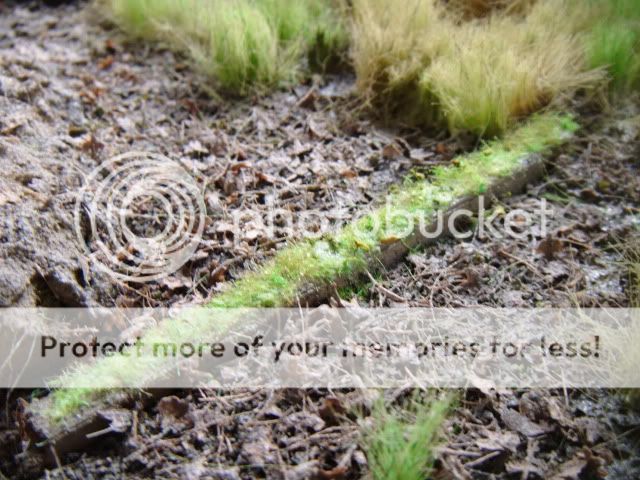
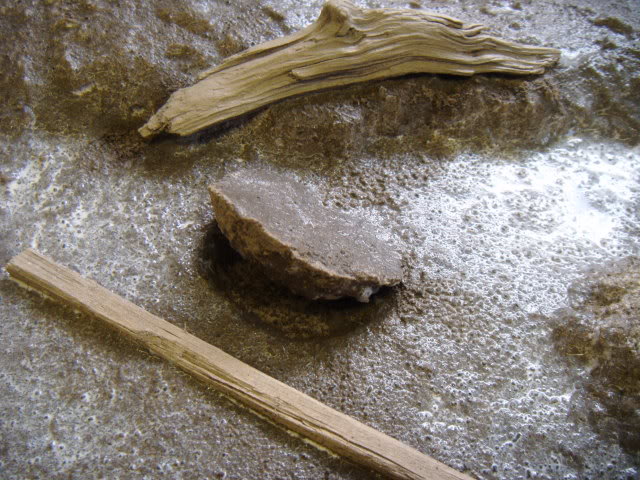
Note how the timbers become part of the woodland floor. Remember we will be adding moss to these soon.
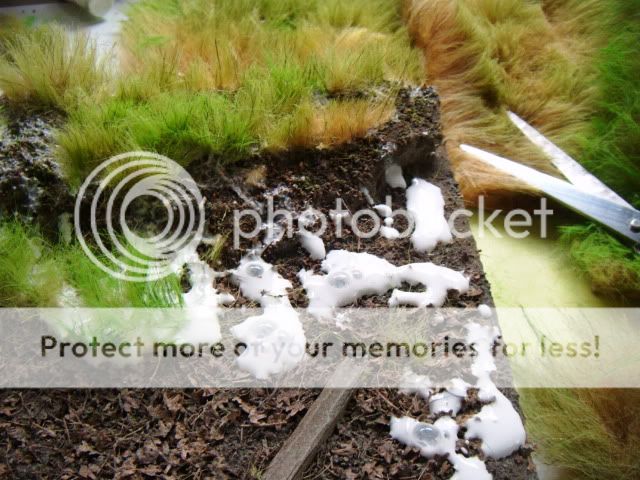
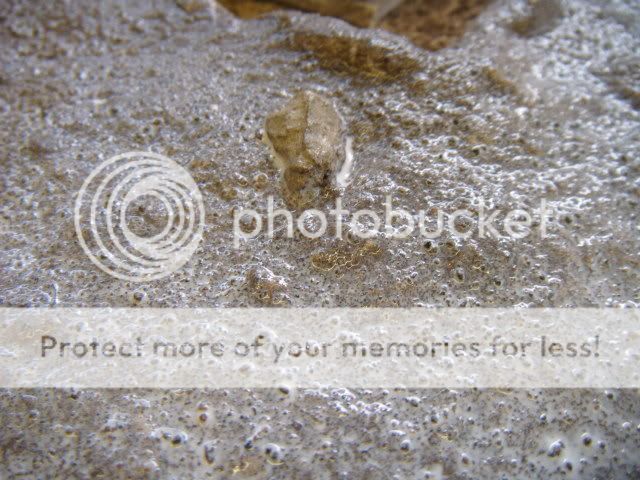
Whilst everything is still wet add some Scree to the surface and push it into the glue. You can add as much as you like but sometimes just a little amount works better than too much.
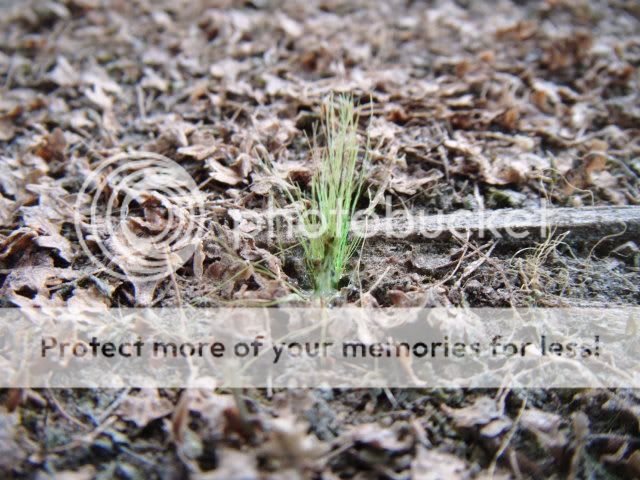
The above step should take no longer than a couple of hours and is best done in one go. Remember there is no exact science to this and you may choose to add twigs branches etc at this stage too.
If i'm not being clear enough with my text let me know and i'll try to be a bit more concise.
Cheers
Ant
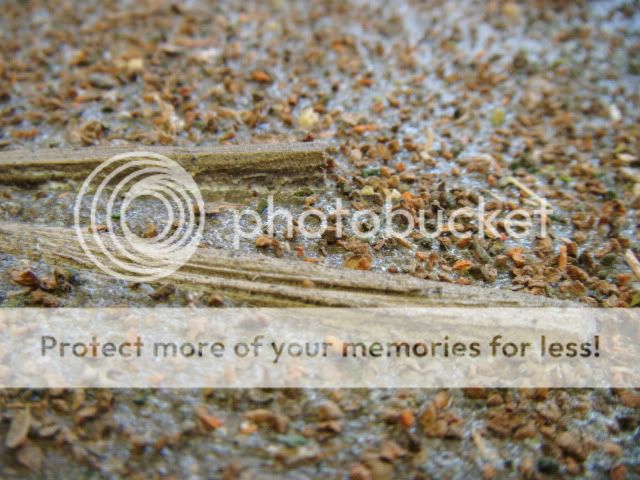
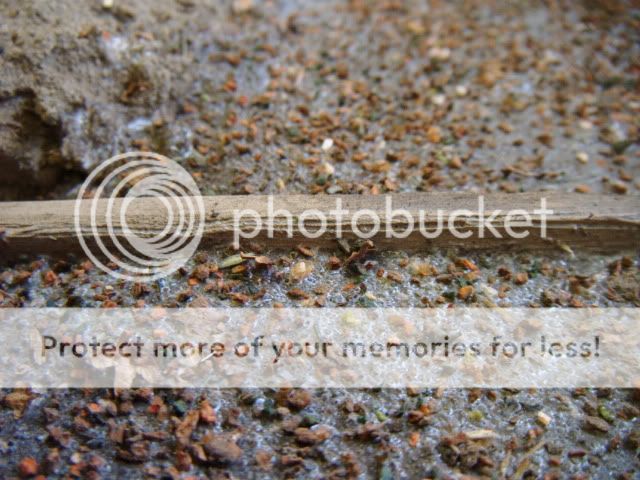
Now is the time to start detailing the terrain we have already laid down. The first thing I have done is to give the wooden beams some heavy graining to give the immpression of old weathered timbers. For this I use 6 or so very sharp blades held side by side and drag them along the surface of the wood. You can do this before gluing them down but in this case I have fixed them first then added the grain. Apply enough pressure so as to give nice deep cuts. When you are happy you have enough grain brush all the loose bits off, A firm tooth brush is ideal for this.
I have given all the timbers an undercoat of a tan coloured aerosol. These will be detailed at a later stage.
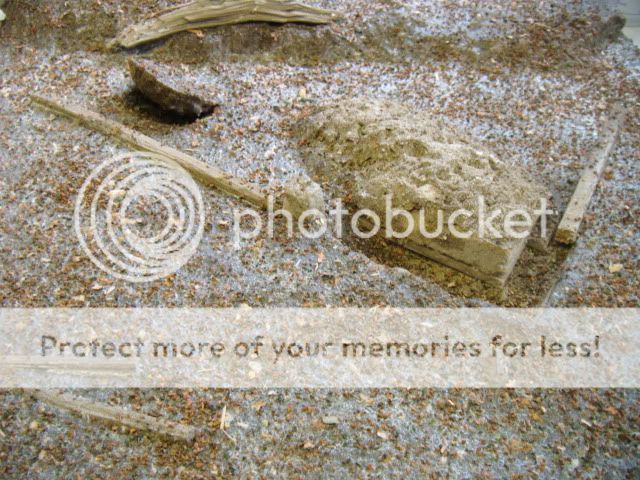
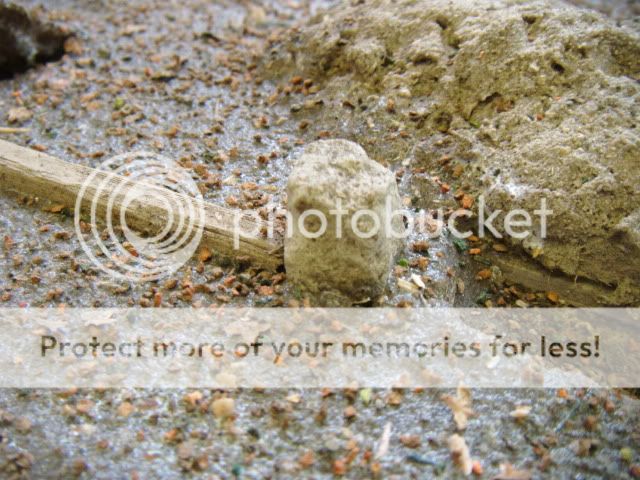
A small area of the base has been cut away here to allow for a "cornerstone" to be dropped in place. By cutting the area out (rather than just sticking to the surface) the stone will appear to be embedded in the ground and adds more realism to the overall appearance.
Cornerstone added - the gap will be filled in with various materials as we progress.
Now for the [strike]messy[/strike] best bit! cover the whole surface of your base with with a 50/50 mix of water and PVA glue. Try not to get any on the timbers but try to get it right up to them as this will help the impression of them being stuck firmly in the ground. When the whole surface is covered take the Earth powder and liberally sprinkle it all over the glue, 6" is a good height to sprinkle from. Brush any that gets on the timbers off with a firm bristled brush.
Give the whole base a really good soaking with hairspray so it becomes really wet and apply some of the Forest Floor material. This will add some colour and texture, Then give another light sprinkle of Earth Powder.
Note how the timbers become part of the woodland floor. Remember we will be adding moss to these soon.
Whilst everything is still wet add some Scree to the surface and push it into the glue. You can add as much as you like but sometimes just a little amount works better than too much.
The above step should take no longer than a couple of hours and is best done in one go. Remember there is no exact science to this and you may choose to add twigs branches etc at this stage too.
If i'm not being clear enough with my text let me know and i'll try to be a bit more concise.
Cheers
Ant